Follow:
Browsing Tag:

A-England

    Uncategorised

    Happy New Year Nails!

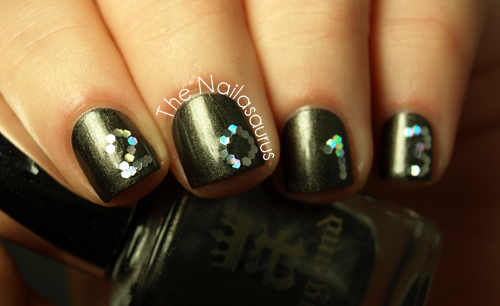
    I know it’s not really the New Year yet but I wanted to get this post up a bit early because I know most of you will be busy tonight (winky wink) and you might even be looking for some New Year nail ideas!
    These are the nails I plan to be wearing come the stroke of midnight but if I’m honest with myself, there’s no way they’re going to last that long! I’m sure I’ll end up peeling them off and slathering my nails in glitter polish before the evening.
    I guess now would be a good moment to look back and reflect on this year. In all honesty, it wasn’t really a big one for me. Aside from getting my first proper job, not a lot has happened in my life! My year was good, just not great compared to some of my other years! I really want to hear how you guys feel about 2012 so please let me know some of your highlights in the comments. Hopefully you can inspire me to make the most of the next 365 days.
     Here’s to 2013. May it be awesome for everyone!
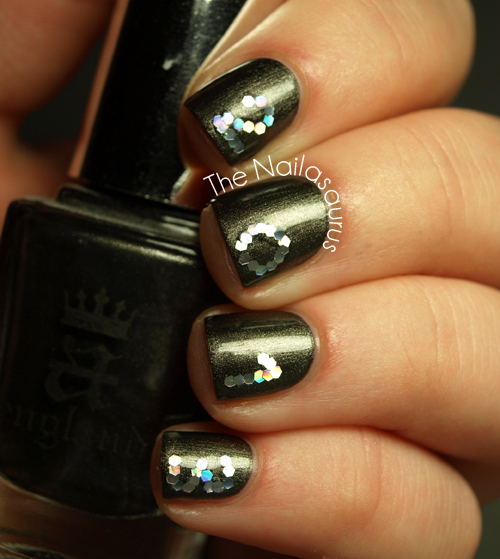
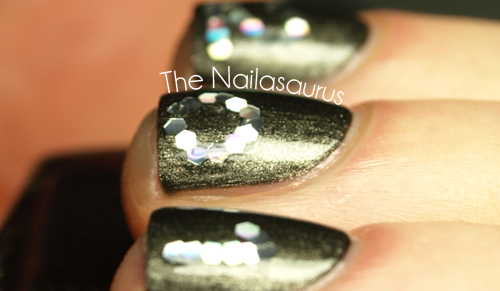
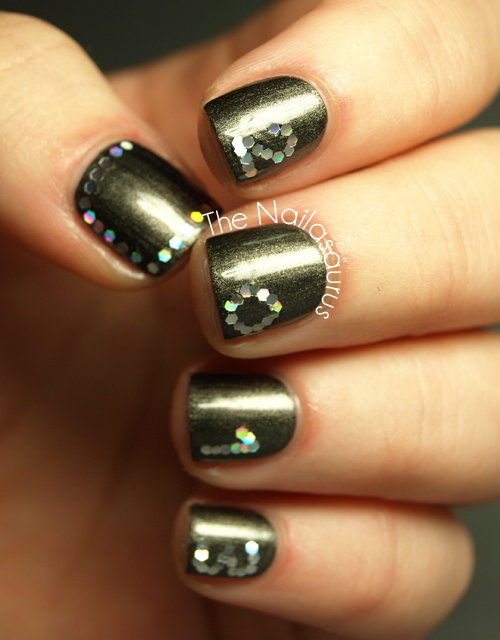
    I used 2 coats of A-England Dorian Gray as my base colour. One nail at a time, I painted on a coat of clear polish and placed on the glequins one by one in number formation (video tutorial here). Finally, I topped it all with two coats of NYC In A New York Minute.
    TwitterBloglovin’Tumblr

    Share:
    Studs, Uncategorised

    Pretty Polish? With a Stud on Top!

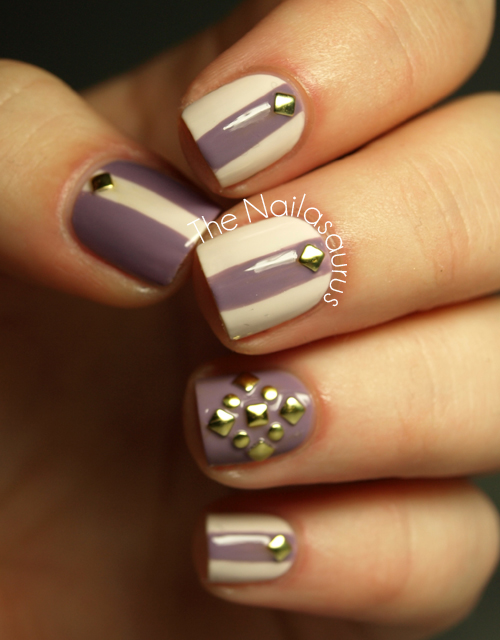
    Here’s something you don’t see round these parts very often. A dainty, girly base colour! Poundland has been selling loads of Sally Hansen Complete Manicure polishes recently and Crinoline is one that I picked up this week. I didn’t want to go all out girly so I added some studs for toughness. Credit for the stud arrangement goes straight to Pinpoint Polish.

    I used Sally Hansen Crinoline as my base coat with A-England Guinevere on my ring finger. Using a nail art brush I painted stripes of Guinevere then added on round studs and square studs from Born Pretty Store (10% off with SA5X31).
    I used one coat of NYC In A New York Minute to top it off.

    TwitterBloglovin’Tumblr

    Share:
    31 Day Challenge, Uncategorised

    31DC2012: Day 31 Recreate Your Favourite Challenge (Part 2)

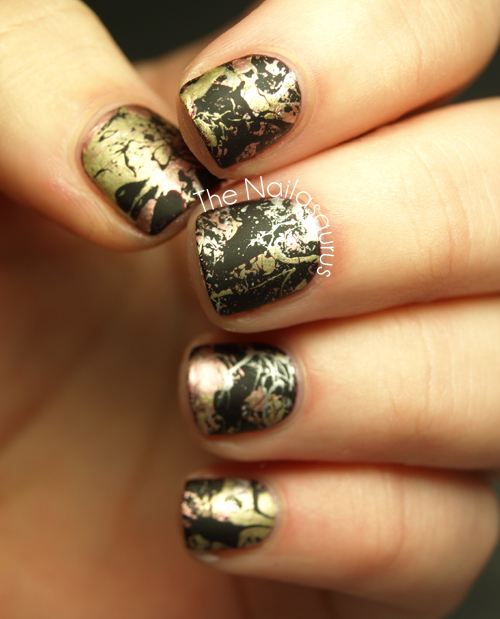
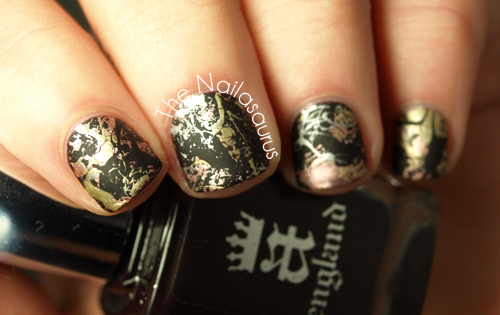
    Here it is. The very last. The final day of my 31 Day Challenge 2012! It’s been a long and bumpy ride, we even lost a woman 5 weeks in but just like last year, I’m so glad we did it! I don’t really have much else to say on the subject so I’ll just leave you with my recreation of Rie’s Day 8 Metallic Nails.
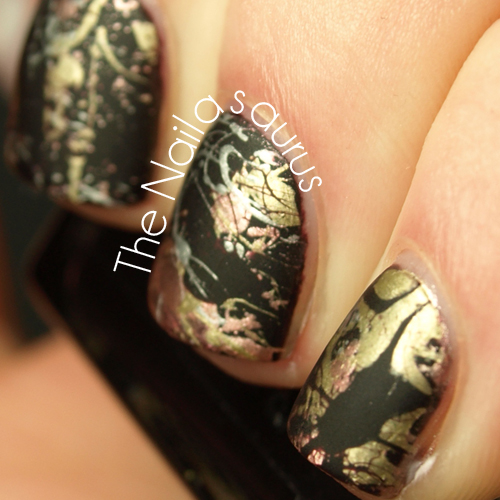
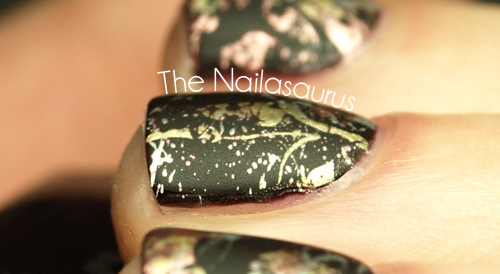
    I’ve never ever done a splatter mani before and I probably won’t be doing one again any time soon. The clean up on this took just as long, if not longer, than the mani itself! I think part of the problem was the metallic polishes. Whenever I touched acetone to the mess, it would send a million bits of shimmer swimming in to my cuticles and I just couldn’t get it all off! Saying that, I did grow to love the result and maybe a bit of practice will do me good.

    I used A-England Lancelot as my base colour, then used Essie Penny Talk, Barry M Gold Foil and Barry M Silver Foil for the splatters. I topped it with one coat of Seche Vite to make it dry quickly and then one coat of Rimmel Mattifying Top Coat.

    TwitterBloglovin’Tumblr

    Share:
    31 Day Challenge, Uncategorised

    31DC2012: Day 25 Inspired by Fashion

    Welcome to Day 25 of the challenge! Today, we have to create nails inspired by fashion so the first thing I did (again) was type ‘Fashion’ in to Google! I came across the Vogue website and started clicking through this season’s catwalk shows.
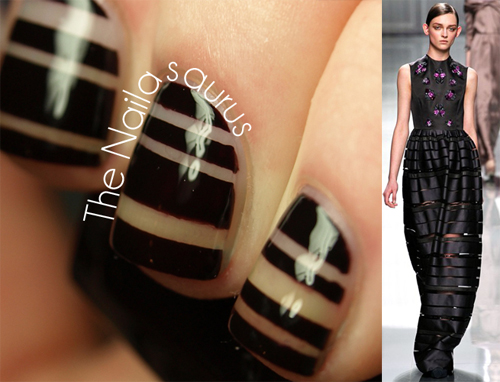
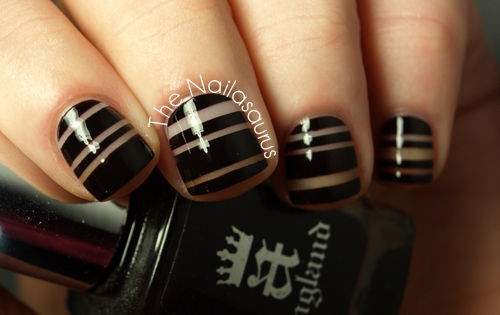
    I spent a long time looking through and I was waiting to see something… ANYTHING that I could immediately envisage on my nails when the bottom half of a dress from Christian Dior’s ready-to-wear collection caught my eye. I immediately knew that this would be the nail art I’d do to match and I’m so pleased with the way it turned out.

    Runway photo credit: Vogue.co.uk

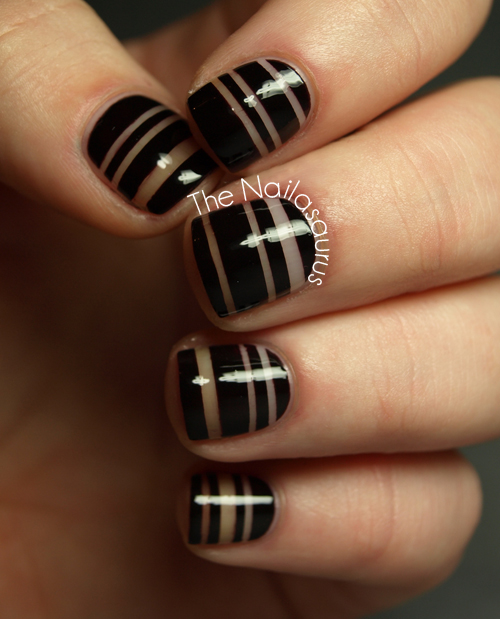
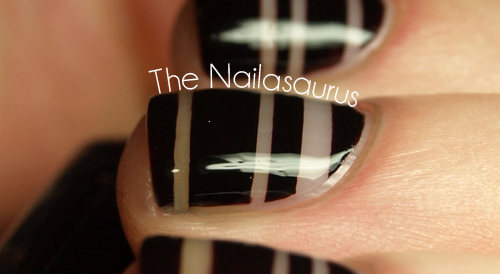
    For this manicure, I didn’t use a base colour or even a base coat, I went straight in with some striping tape to mark off the lines. I did this for two reasons. Firstly of course, you’ve got the authentic see through look and also I couldn’t be bothered to wait for anything to dry! For the thicker lines I just used two pieces of tape right next to each other. I used nail art tweezers for this step because it’s very fiddly.
    When all the tape was in place, I painted on a coat of A-England Lancelot, one nail at a time, and carefully peeled off the tape using the tweezers. There was some polish out of place, especially near the edges where the tape had come away from the nail a little, so I dipped a nail art brush in some acetone to clean away the bits I didn’t want. When everything was completely dry, I used two coats of Seche Vite to glaze it over.

    Now go to Rie and Cris‘ blogs to see their fashionicures!

    TwitterBloglovin’Tumblr

    Share:
    31 Day Challenge, Freehand, Galaxy, Uncategorised

    31DC2012: Day 19 Galaxy Nails

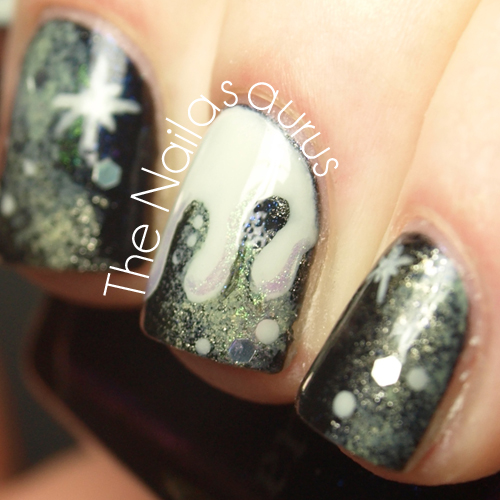
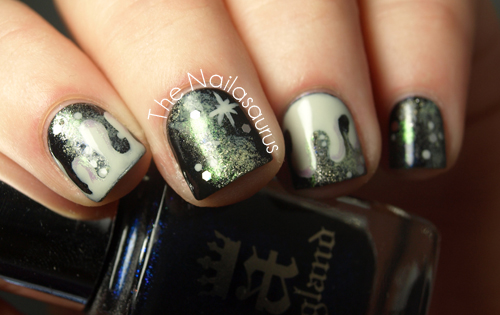
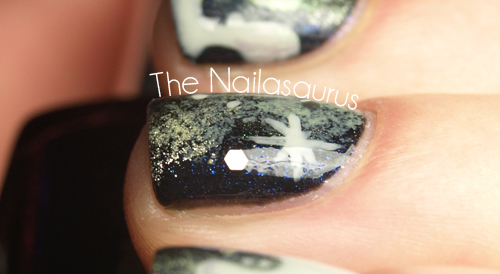
    Day 19 of the challenge calls for some galaxy nails! I saw this drippy galaxy design on Very Emily and traced  it back to Starlett Approved. I heart galaxy nails pretty hard and wish I could muster the effort to create them more often. Saying that, they’re so easy. You literally just need a sponge and some sparkly colours! There’s a great tutorial and an amazing galaxy look to be found here at Coewless Polish.
    Cristina and Rie also have cosmic claws for you today!

    I used A-England Lady Of Shalott* as my base colour and then used a sponge to create the galaxy effect with…
    NYC Full Metal Jacket*
    A-England Dorian Gray*
    Rimmel Metal Rush Pearly Queen*
    Essie Navigate Her
    With Sally Hansen Ion*, I used a nail art brush to draw on the drips and stars. Then I added a highlight to the drips with Rimmel Pearly Queen and placed on a few holographic glequins before topping it all off with 2 coats of Seche Vite.

    TwitterBloglovin’Tumblr

    Share:
    31 Day Challenge, Glitter, Uncategorised

    31DC2012 Day 5: I Just Blue Myself

    Sorry, I just couldn’t resist with the title. Cool points for you if you know the reference.
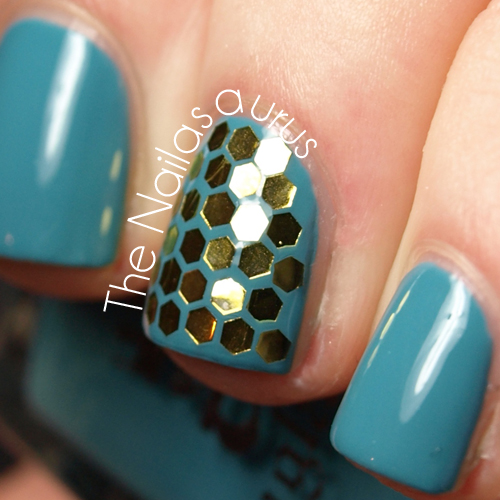
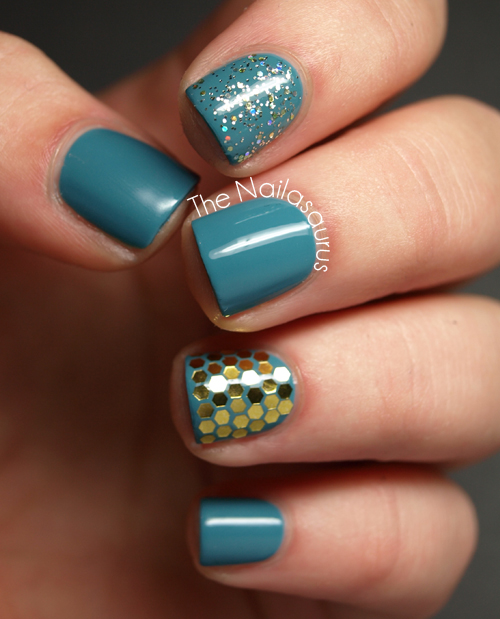
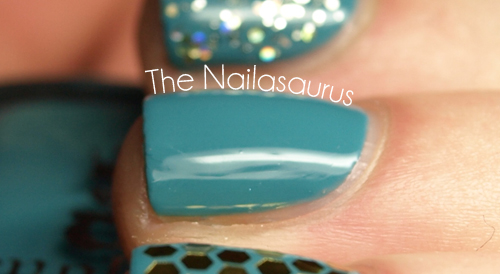
    Okay so today’s nails are debatably blue. I’ve always considered this polish, A-England’s Galahad, to be a  blue one but now that I’m staring at it on the screen I can see that it leans a lot towards green! It’s one of those that sits on the line right between the two so I guess it really comes down to personal opinion today!
    I used two coats of A-England Galahad with two coats of BYS Gold Finger on my index finger and some gold glequins applied in a honeycomb pattern on my ring finger (video tutorial for that here). I topped it all off with a top coat of Seche Vite.
    As always, check out Rie and Cristina ‘s blogs to see what beautiful blues they’ve found today!

    TwitterBloglovin’Tumblr

    Share:
    Stamping, Uncategorised

    A-England Gothic Beauty: Jane Eyre Swatch

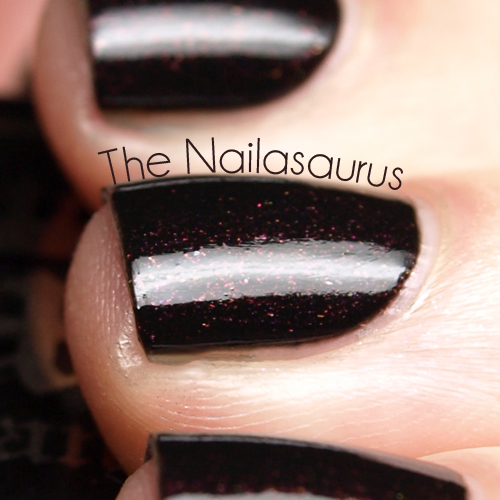
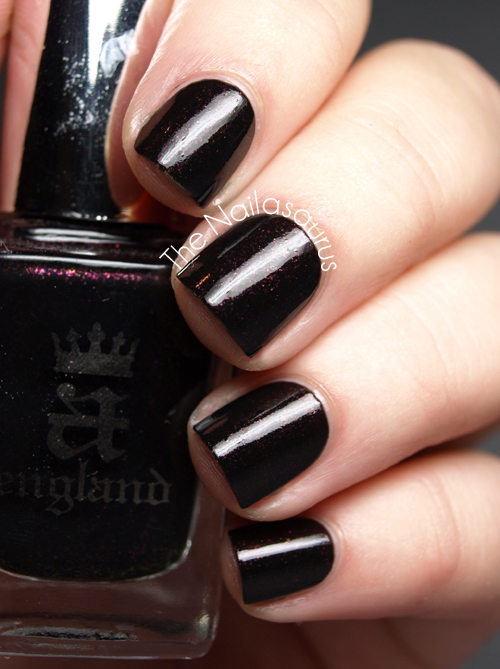
    I’m so behind on all the nail news. I didn’t even know A-England have a new collection out – the Gothic Beauties. The collection contains 5 shades which are all black based with coloured shimmer and flecks, bar Dorian Gray which is a metallic-y pewter shade.
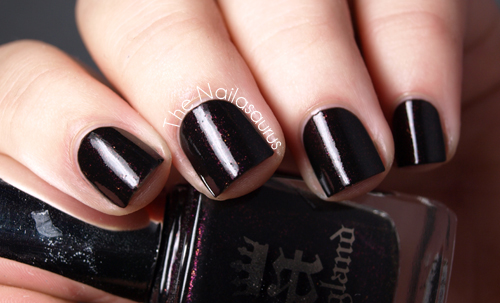
    The hints of colour in these polishes are very pretty in the bottle but not so obvious once it’s on the nail. As a lover of black nail polish, this is of no concern to me! Jane Eyre is full of bronze and light pink flecks in a perfect black creme base. The swatches are two coats of Jane Eyre* with a top coat of Essence Better Than Gel Nails.

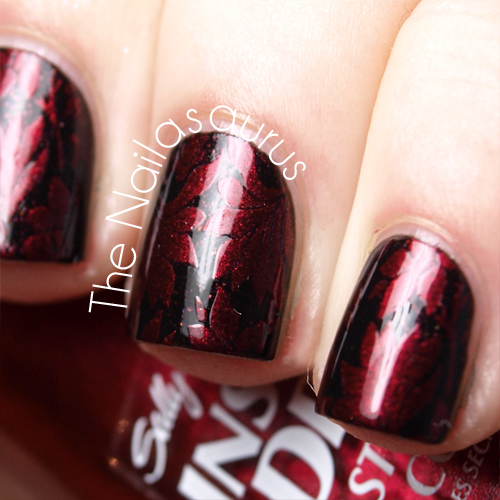
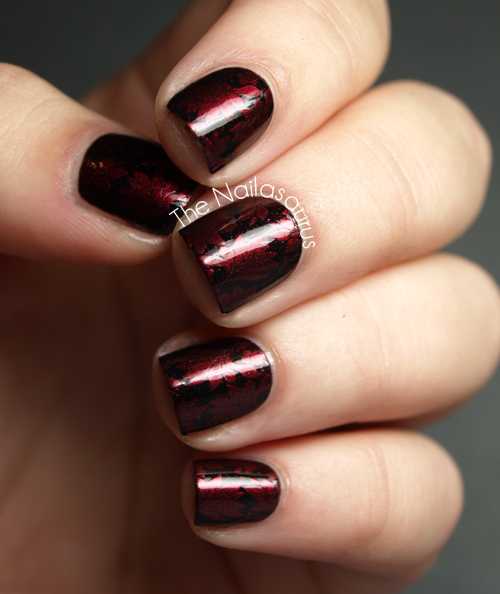
    I stamped on a Red Angel design from plate RA109 using Sally Hansen Insta Dri in Quick Brick. This is definitely some of my favourite stamping ever! It’s very subtle but still striking and it looks very oriental. Definitely something I’m going to be trying with other colour combos.
    You can buy Jane Eyre from the A-England website with free worldwide shipping!
    *This item was sent to me for review. All opinions are my own. See my disclaimer for more information.

    TwitterBloglovin’Tumblr

    Share: