Follow:
Browsing Tag:

Striping Tape

    Freehand, Galaxy, Tutorial, Uncategorised

    Let Me Update You

    With the 31 Day Challenge commandeering my blog this month, I’ve talked about little else here. There are a few bits of news I wanted to share so I thought I’d do a little round up post to get up to date!

    A few days ago, I made an Instatorial for the Art Deco nail art I created for Day 8 of the challenge which I thought would be good to share here too. I also confessed my intention to make more YouTube tutorials to the whole world. I guess that means no take backs!

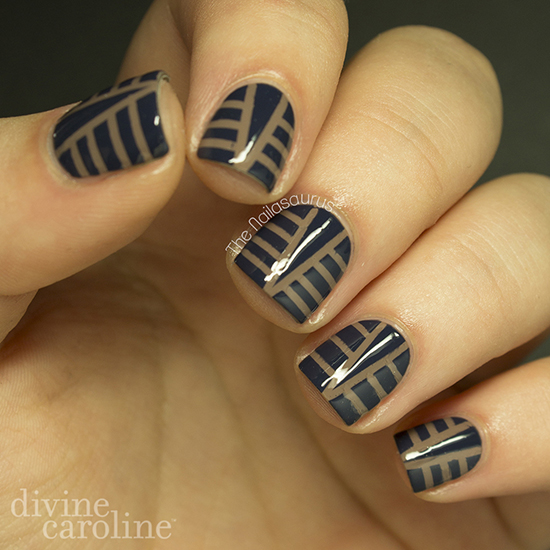
    Staying on the theme, my post at Divine Caroline this week is an Art Deco inspired striping design.
    Check out the whole post with extra pictures here.
    Allie invited me to write a guest post for her blog, Brit Nails, while she’s away on holiday this week so I created some galaxy nails. No surprise there huh?!
    See the full post here.

    Share:
    Uncategorised

    31DC2013 Day 12: Stripes

    Today’s nails were created with a ‘bit of this, bit of that’ attitude! I knew I wanted white pinstripes but I didn’t want a plain colour underneath so after checking galaxy and gradient off the list, I ended up settling on Saran Wrap nails. Or something of the sort. I’ve never really understood the concept and the methods I looked up seem to vary! I decided to just blob out some colours on to a sheet of plastic, lay saran wrap (or cling film to us Brits) flat on top to smush the colours together and attempt to transfer the resulting marble pattern on to my nails. It was okay for a first go and it makes a nice base for the stripes but I definitely need a little more practice.

    31DC2013 Day 12: Stripes

    31DC2013 Day 12: Stripes

    For this nail art, I used a base coat of NYC Raindrop then used the RaindropNYC Blue Sky and Sally Hansen Water Color in the saran wrap method I metioned above. I used one coat of Sally Hansen Dries Instantly to dry that quickly.
    When it was completely dry, I stuck some striping tape in a uniform pinstripe pattern on my nails and painted over it in BK Matte White before removing it immediately.
    Finally I topped it with two more coats of Sally Hansen Dries Instantly.

    31DC2013 Day 12: Stripes

    31DC2013 Day 12: Stripes
    Day 12: Stripes 2012
    Day 12: Stripes 2011
    Share:
    Uncategorised

    Geometric

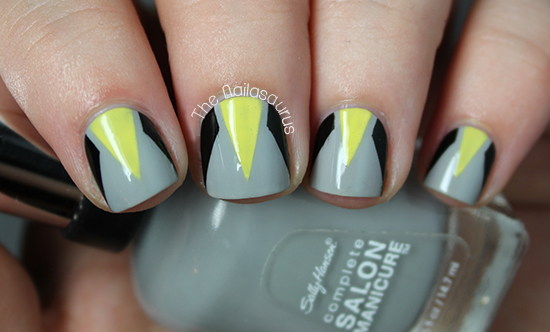
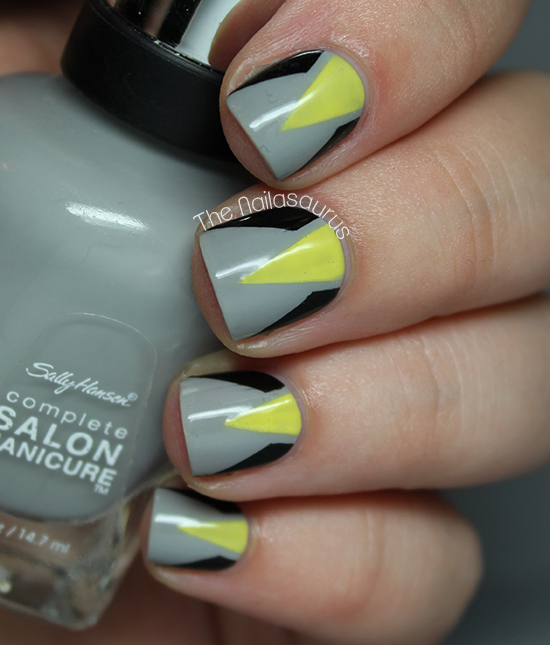
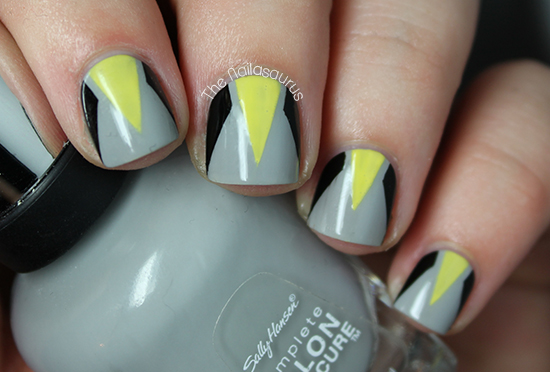
    Geometric nail art has never really been my thing but I still persevere and try to make it work. This time around my nails just remind me of Wolverine! I think I’ll stick to the gradients and waterfalls for now and leave the edgy stuff to the professionals!
    I’m still trying to get the hang of this new camera which is why my pictures are kind of all over the place at the moment. I’ve been tempted to go back to my old one while I figure things out in the name of consistency and decent pictures but I refuse to let this beat me!

    1. I used Sally Hansen Dorian Grey as my base colour and topped it with a coat of Sally Hansen Dries Instantly.
    2. Once that was all dry, I marked off 3 triangles at the base of my nail with striping tape and filled them in with a nail art brush one nail at a time.
    3. I quickly removed the tape while the polish was still wet and when everything was dry, applied a few more coats of Dries Instantly.

    Share:
    Studs, Uncategorised

    Introducing The Nailasaurus Emporium (and a Giveaway)

    Today I’m very excited to tell you guys about something that’s been in the works for a few weeks now… The Nailasaurus Emporium!
    The Nailasaurus Emporium is my online store where I’ll be stocking my favourite nail art tools and accessories. Basically, it’s one place for me to curate all my favourite things for you guys to shop the nail art looks I post here. At the moment I’m on a trial run and I’m stocked up with studs, striping tape and some brushes but if everything goes smoothly and you guys like it enough, I’ll soon be stocking mountains of nail goodies!

    Round Gold Studs 1.5mm

    Because I’m so excited about this launch and I want you all to experience my amaaaazing customer service skills, if you spend more than £10 in August you’ll get 20% off with the code ‘EARLYBIRD‘. I’m also giving away a £15 gift card! Jump to the Rafflecopter below to enter…

    a Rafflecopter giveaway

    TwitterBloglovin’Tumblr

    Share:
    Freehand, Uncategorised

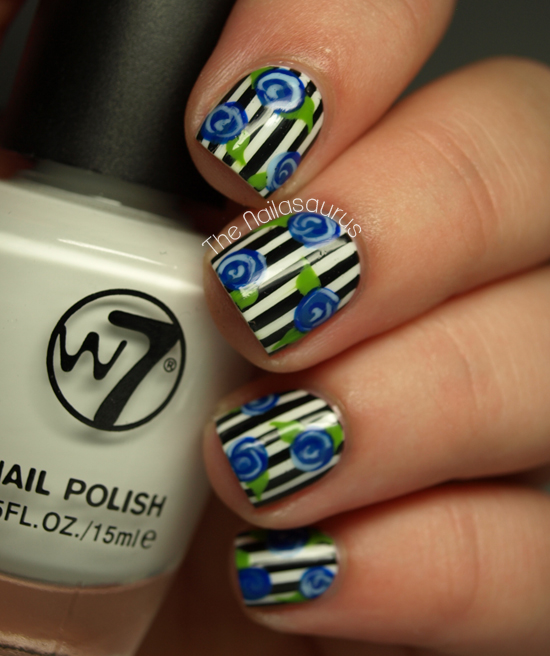
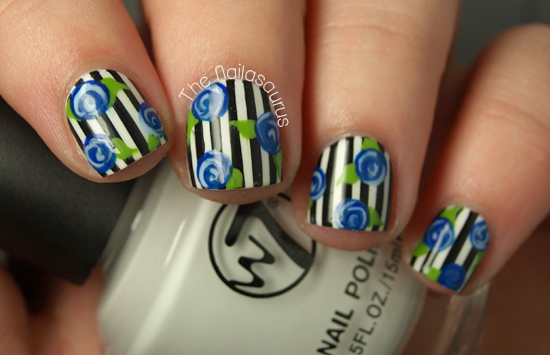
    Rosey Posey Pinstripe

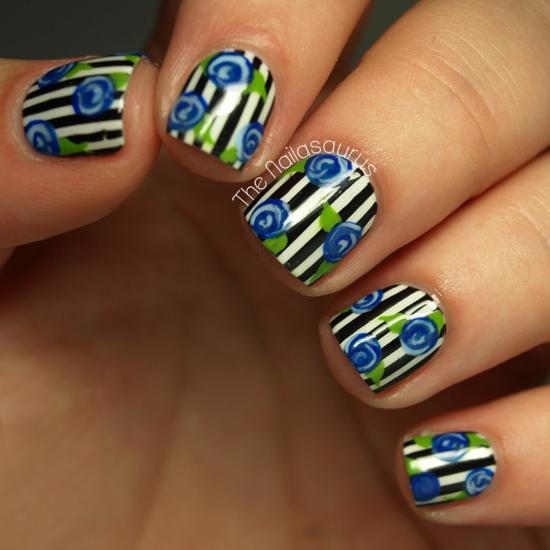
    Today is the first time in a very long while that I’ve decorated every nail with the same design and I have to be honest – I don’t like the feeling! As much as I love this nail art, I’m just itching to remove the polish from a couple of nails and add in a plain glitter accent or some simple studding!

    1. I used a base of W7 White followed by a coat of No7 Stay Perfect Top Coat.
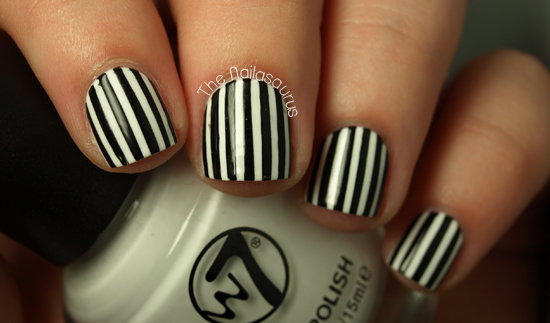
    2. I used striping tape to mark off pinstripes and painted over it with W7 Black. While the black polish was still wet, I removed the striping tape.
    3.  I waited for it to dry and added another coat of No7 Stay Perfect.
    4. I freehanded the roses using a nail art brush with Barry M Blue Grape, Nails Inc. All Saints Road and NYC Raindrop. I used Saly Hansen Grass Slipper for the leaves. There’s a tutorial for the roses here.
    5. Finally, it’s all topped off with another coat of No7 Stay Perfect!

    And a few shots before the flowers because I was proud of my pinstripe!

    TwitterBloglovin’Tumblr

    Share:
    Uncategorised

    Nautical But Nice

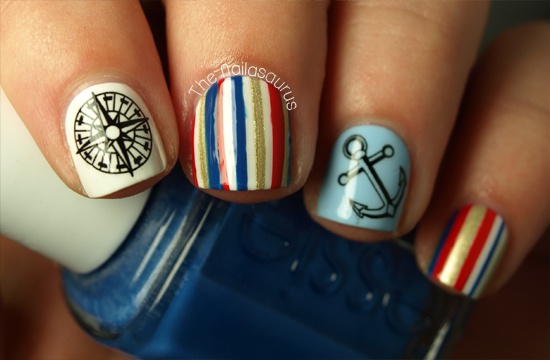
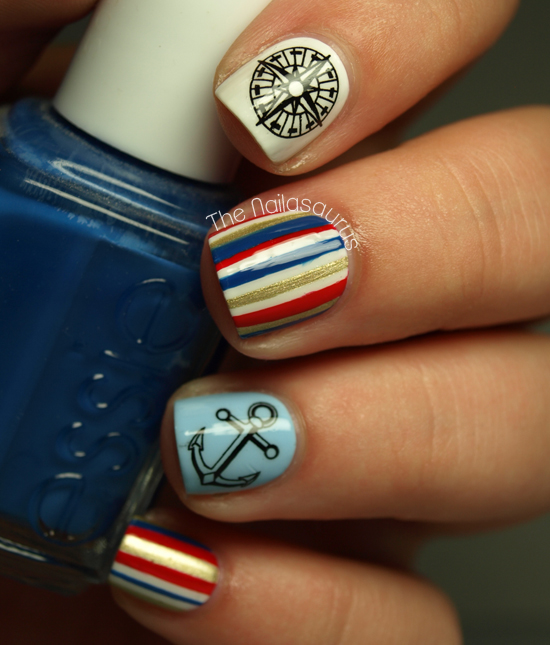
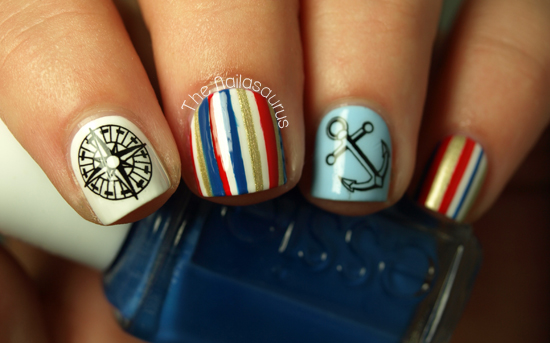
    I really love nautical nails. There’s something about wearing the scheme of red, blue, white and gold in the summer that just makes you feel very sophisticated; like you’re always ready at the drop of a (captain’s) hat to hop on to the yacht and sail around Europe!
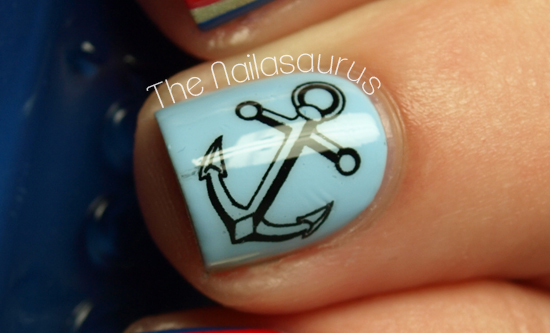
    I spotted these water decals at Born Pretty Store and fell in love immediately! The pack is $2.86 (approx £1.90) and you get a selection of 20 decals in compass and anchor designs. I’m beyond impressed with these. As you can see, they’re the kind that are really thin so as long as you apply them carefully and give them a good smooth over, you can’t even tell they’re decals. Although this does mean they’re very delicate so you have to be light handed when applying them!

    1. My base colours are Barry M White and NYC Raindrop on my index finger.
    2. I applied the nautical themed water decals using a pair of tweezers.
    3. Using striping tape, I marked off some stripes on the other fingers and used a nail art brush to fill in the gaps with Barry M Gold Foil, Essie Mezmerised and Rimmel Heart on Fire.
    4. I finished it all off with two coats of No7 Stay Perfect Top Coat.

    TwitterBloglovin’Tumblr

    Share:
    Uncategorised

    Stripes and a Feather from Brit Nails

    Allie from Brit Nails is bringing you today’s nail art. Allie has some of the most beautifully manicured nail beds I’ve ever seen and I just can’t get enough of her amazing photos. As an appreciator of minimalist design, I jump for joy when one of Allie’s nail art posts shows up on my dash. If you’re one for amazingly detailed swatches and understated nail art, make sure you go and follow Allie’s blog!

    Where to find Brit Nails
    Blog – FacebookTwitterInstagram
    ——————————————————————————————-

    Hi! I’m really happy to be doing a guest post on The Nailasaurus as it’s one of the blogs that has inspired me from the start, so it’s quite exciting! I knew I wanted to do something using shades of blue, so I just sat at my desk and this is what I came up with.

    I started with a base of Illamasqua Caress. I added a stripe of Illamasqua Cameo over half of my nail, and then a stripe of Barry M Turquoise down the middle. I used a small striping brush to paint the dividing lines on, using Barry M Cyan Blue and piCture pOlish Ocean
    I didn’t want to do a whole manicure of stripes, so I decided to bust open my packet of craft feathers! I started with a base of Barry M Cyan Blue. I added some top coat and then stuck the feather down and trimmed the edges to fit using a cuticle trimmer. There is a great tutorial for using feathers right here on The Nailasaurus! 
    Thank you Sammy for asking me to do a post! I hope everyone likes it! – Allie x
    Share: