Follow:
Browsing Tag:

Striping Tape

    Glitter, Tutorial, Uncategorised

    Faviana Prom Dress Nail Art Tutorial

    For today’s post I’ve teamed up with Faviana, to bring you a nail art tutorial inspired by one of their designer prom dresses. The website is chock full with a good mix of short and flirty, insanely glamorous and classical formal dresses and the one that inspired this nail art is somewhere in between all of them. I picked Faviana Style 7364 which is cheeky with a hint of glamour and completely perfect for any formal occasion.
    With prom season coming up, I know a lot of you will be matching your nail art to your prom dress and you can keep it simple by painting your nails a perfectly complimentary or contrasting colour or go all out and take elements from the dress like I have!
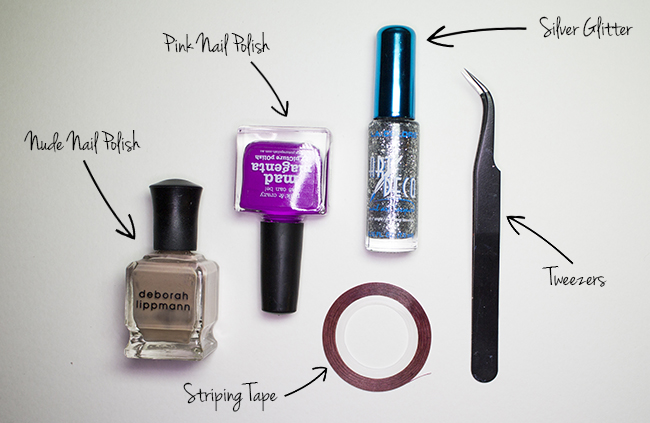
    Tutorial Equipment

    Before you start, make sure you have everything you need. I’m using Deborah Lippmann Fashion and piCture pOlish Mad Magenta as my main colours along with a LA Colors silver striper. You’ll also need some striping tape – in a pinch, you can cut up scotch tape in to very thin strips. The tweezers are an optional extra but I’d suggest keeping a pair on standby if you can!

    1. Start with a nail polish that matches your skin tone and let it dry completely. You can add a fast drying top coat like Seche Vite to speed up the process.
    Tip: You can completely skip the first step and do this on naked nails for a negative space manicure.
    2. Place striping tape on the nails where you want the base colour to show through. I’ve marked off a triangle at the base of my nail and then a few strips at the sides. I used a pair of tweezers to place the tape on my nail.
    3. Using your pink polish, paint over the tape taking care to avoid the triangle near the base of your nail. You can cover the triangle with a piece of scotch tape if you want to be sure you won’t paint over it.
    4. While the polish is still wet, remove the striping tape. Again, I always use a pair of tweezers to do this because it’s a really fiddly job.
    5. This is what your nails should look like once your tape’s removed.
    6. Take your glitter polish and add a healthy amount over the sections at each side.
    7. Finally, add your favourite top coat and sweep around the edges with a clean-up brush dipped in acetone to get rid of any mishaps.
    faviana-nail-art-tutorial
    faviana-nail-art-tutorial-01
    Make sure you stop by faviana.com for more prom nail art inspiration and any last minute dress shopping!
    Share:
    Uncategorised

    LFW Inspired Nail Art: Louise Alsop

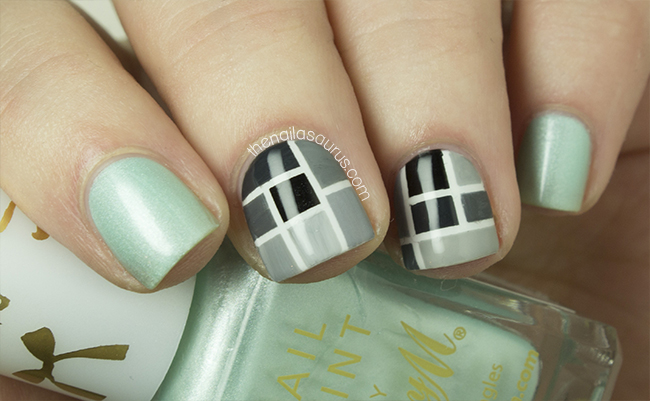
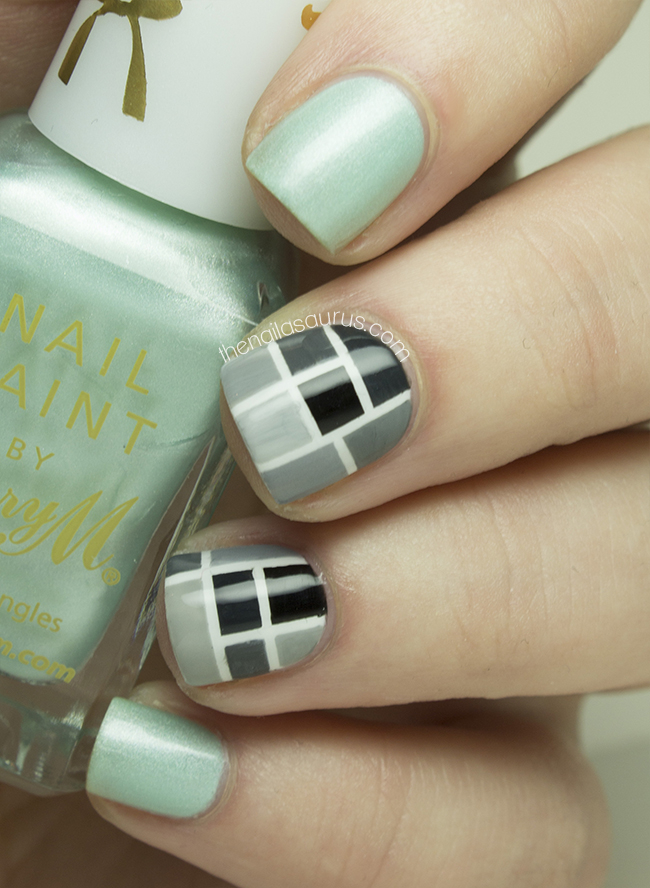
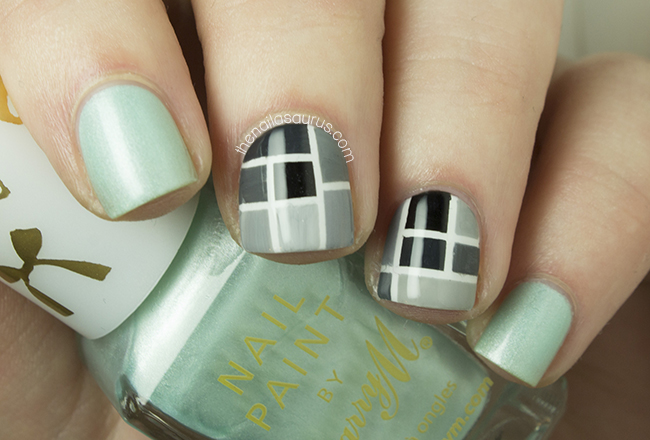
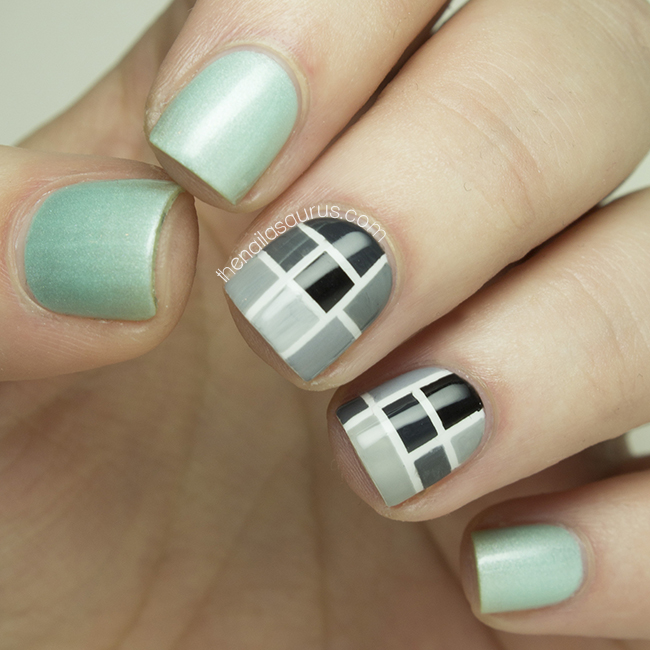
    Louise Alsop is a designer that’s pretty new to the scene and she had a slot at London Fashion Week in the Fashion East show. A few of her designs caught my eye as being perfect for a nail art adaptation. I really loved the effect of the grungy black and white, geometric patterns contrasted with the floaty mint green pieces.

    I used Barry M Meadow for the glimmery mint and set down Barry M White as the base for the nail art.
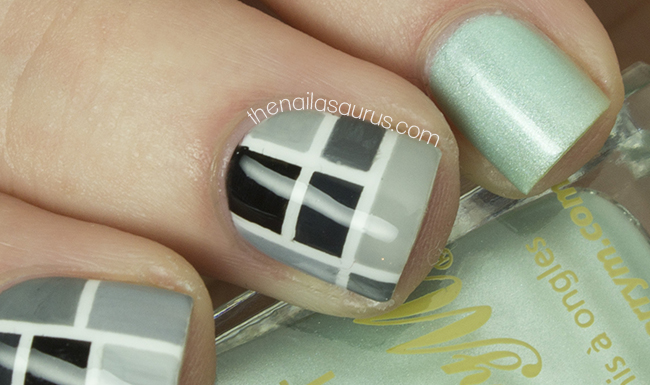
    To create the tiled effect, I placed striping tape where I wanted the white lines to show through.

    Using a nail art brush, I mixed Barry M White, Rimmel Grey Matter and W7 Black in varying quantities to create all the different shades of grey one shade at a time. I then used the nail art brush to paint each shade on to my nails, staying in the lines!

    As soon as I was done, I peeled off the tape to reveal the perfectly crisp lines underneath.

    It’s all finished with two coats of Glisten and Glow HK Girl.

    Photo credit: Vogue.co.uk

    Share:
    Freehand, Gradient, Uncategorised

    Valentine’s Day Mish Mash

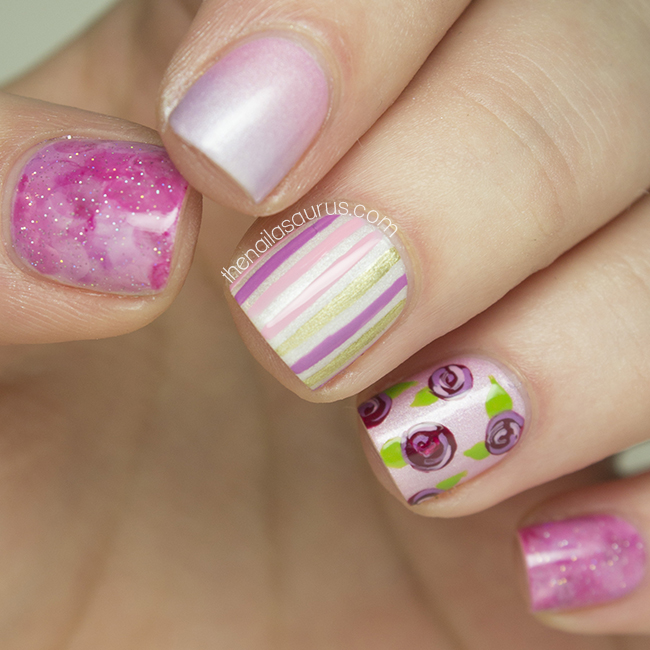
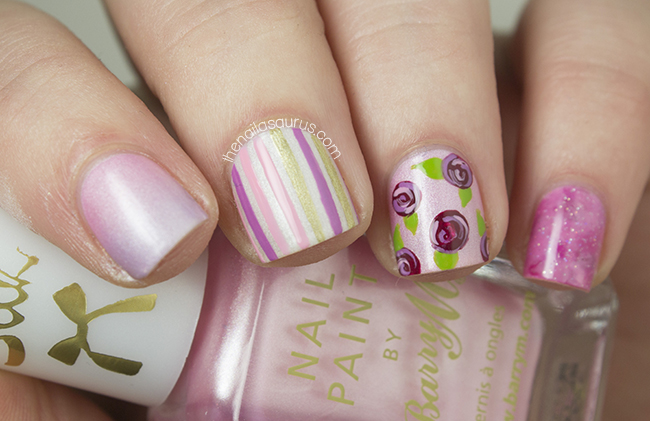
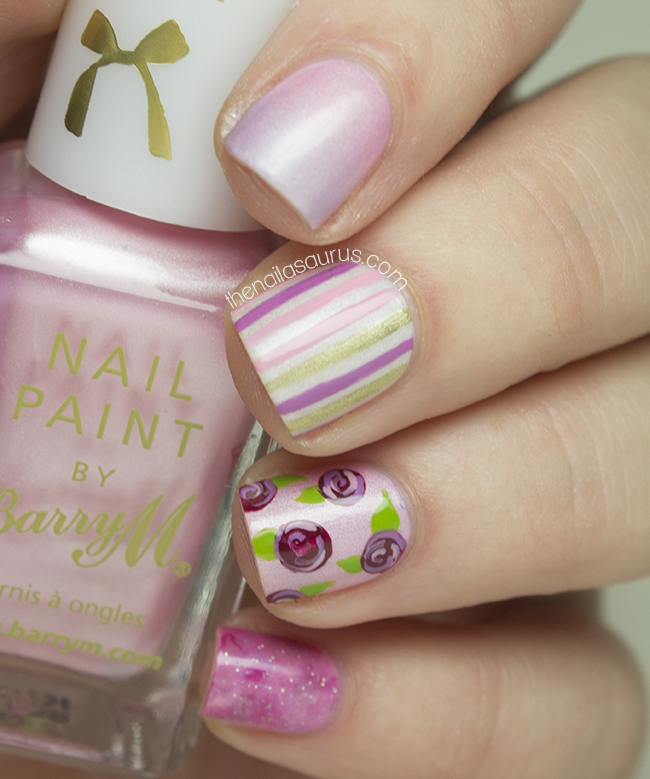
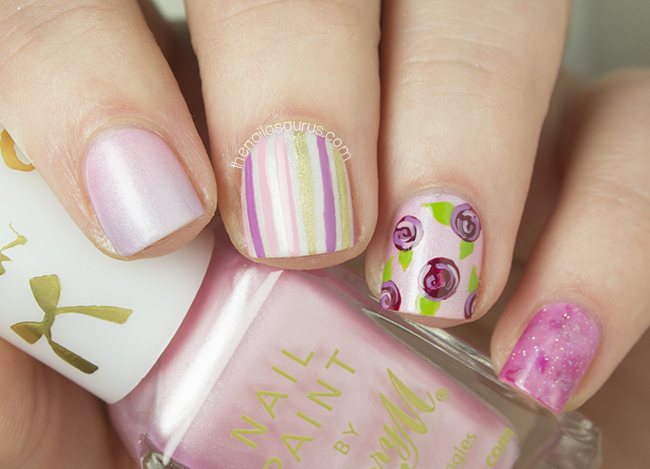
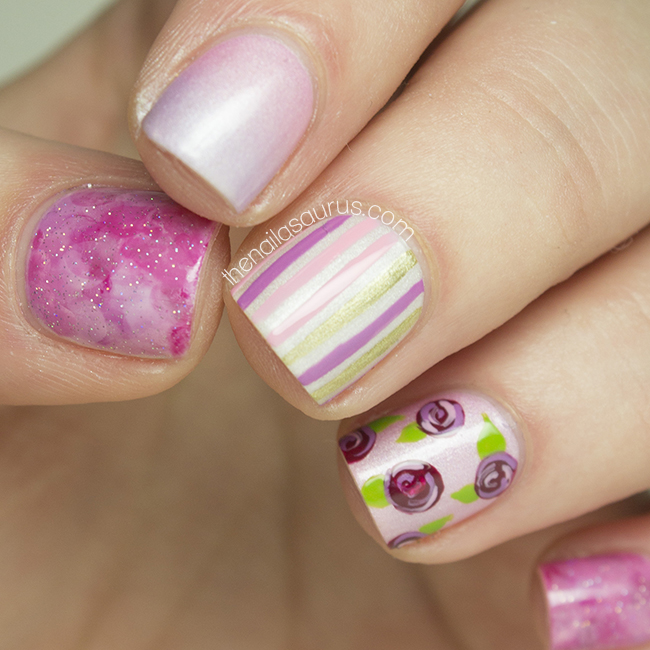
    This mani features a few of the designs from the nail wheel I posted at the start of the week. It’s been quite a while- since I used any of these techniques so it was a good chance for me to refresh my skills! 
    This is my first shot with the new Barry M Silk polishes and I must say that I really like them. It seems that opinion is divided but I personally love how fresh they are and I’m a sucker for a Barry M innovation. It’s a kind of finish that I haven’t seen before – somewhere right in the middle of shimmer and matte – and the colours just scream out Spring to me.

    I used Barry M Blossom and Pearl as the base colours for this manicure.
    On my first finger, I created a gradient using Barry M Heather. Gradient tutorial here.
    On my middle finger, I used striping tape with Barry M Gold, W7 Baby Pink and Sally Hansen Lovely Lilac. Striping tape tutorial here.
    On my ring finger, I freehanded the roses using Revlon Bordeaux, W7 Baby Pink and White Acrylic Paint. Rose tutorial here.
    On my thumb and pinky, I did some nimbus nail art using a bunch of colours that have already been mentioned here but most notably Revlon Bordeaux and W7 Baby Pink. Nimbus tutorial here.
    It’s all topped off with a coat of Glisten and Glow HK Girl.

    Share:
    Uncategorised

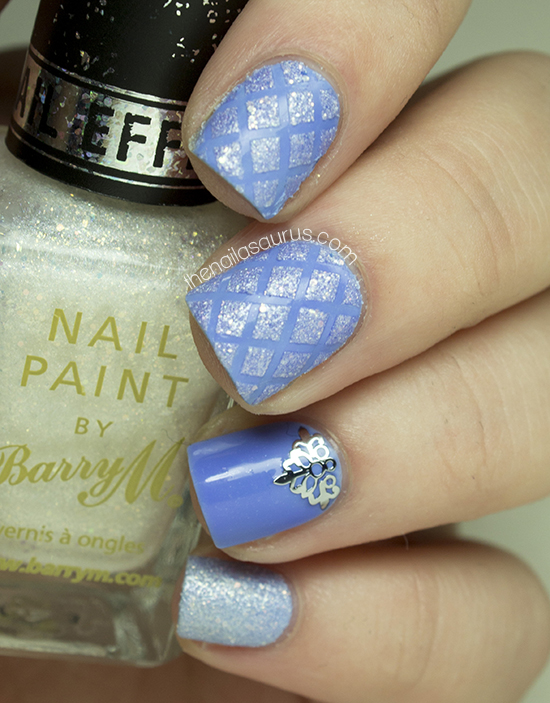
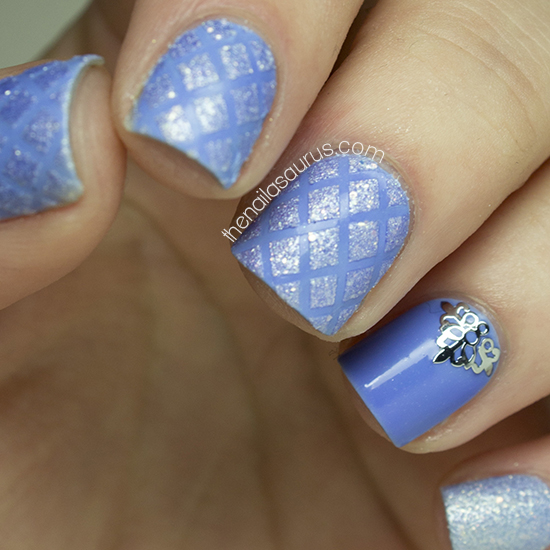
    Baby Blue Quilted Nail Art

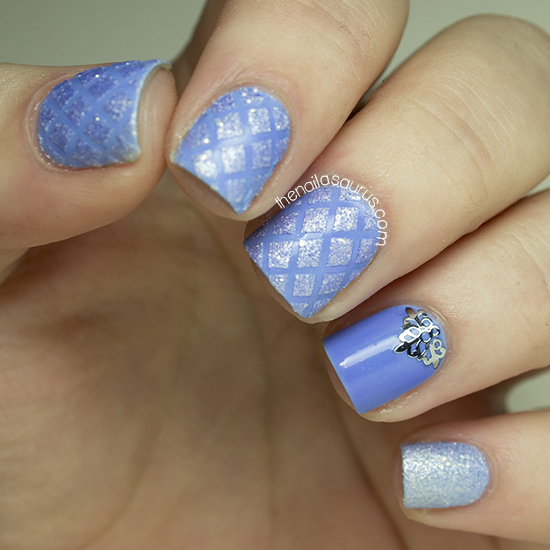
    Yesterday I asked what nail art I should do next on Facebook and one of the suggestions was a Quilted Nail Art. I’ve only done this kind of nail art once before and I totally defeated the object when I put a top coat over it! It smoothed over the quilted effect so it just looked like a diamond pattern on my nails.
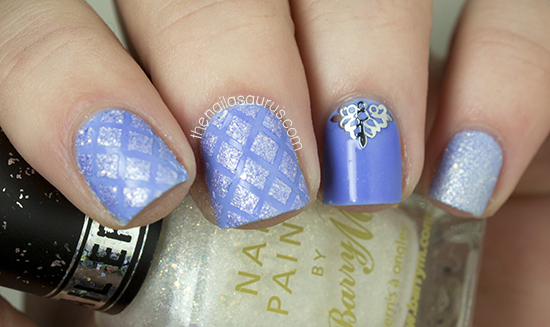
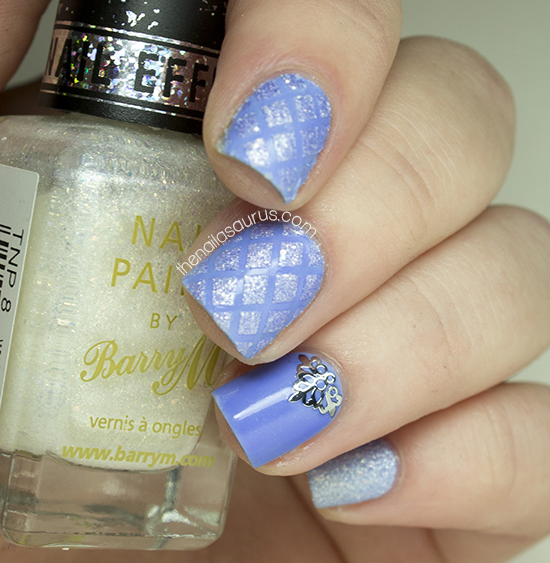
    This time around, I used a textured polish and skipped the top coat to get a very nice, 3D quilted effect!

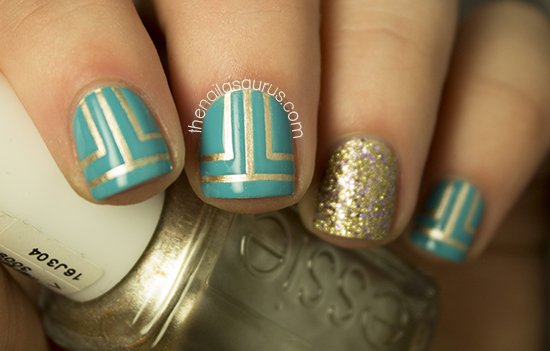
    I started with a base of Essie Bikini So Teeny and used a coat of HK Girl to dry it nice and quickly on the nails where I was planning to do the quilting.

    I used striping tape to mark off a criss cross pattern on my nails. Next I painted two coats of Barry M Pearl Lady over the top.and removed the tape while that was still wet.

    The swirly decal is from Born Pretty Store and I just attached that with some clear polish and added two top coats to seal it in. And finally I painted two coats of Barry M Pearl Lady over Bikini So Teeny on my pinky finger.

    Share:
    Glitter, Uncategorised

    Could Have Foiled Me

    I have to put my hands up and admit that I was a bit quick to judge the Color Club top coat. It actually is a really good topcoat. I painted these nails last night and today – no sheet marks. Sorry Color Club, my bad!
    Thank you all so much for your top coat recommendations. It seems that Glisten and Glow’s HK Girl topcoat was by far the most popular suggestion so I think I need to get my hands on a bottle on that fact alone! Another one that stood out was Revlon and since I can easily dash in to Superdrug and pick up a bottle any time, that’s exactly what I did. I haven’t had the opportunity to try it yet but it’s very… pungent. I hope that means there are some super strong drying chemicals in there!

    For this nail art, I used a base of Essie Good as Gold with a coat of Essence Better Than Gel Nails Fast Dry Top Sealer.
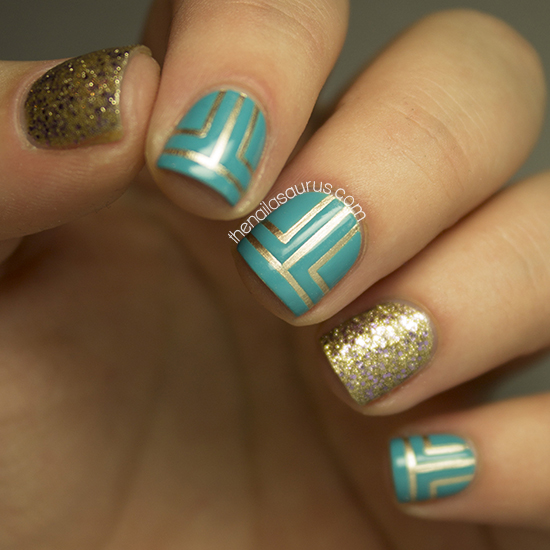
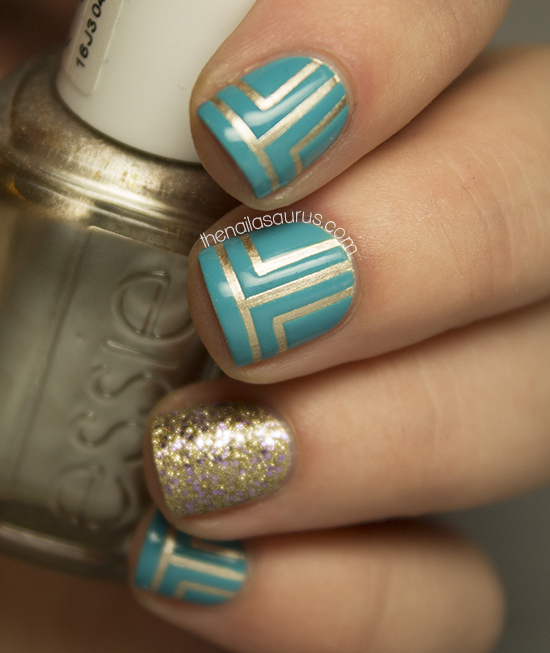
    When that was dry, I placed on the Striping Tape to mark off where I wanted the foil shade to show through, then painted over it with Barry M Guava. I removed the striping tape immediately, while Guava was still wet.

    On my accent fingers, I used two coats of Sally Hansen Big Money over Essie Good as Gold.

    It’s all topped off with two coats of Color Club Top Coat.

    TwitterBloglovin’Tumblr

    Share:
    Freehand, Uncategorised

    Fancy Pants

    I thought that once the 31 Day Challenge was over, I’d have a huge list of ideas waiting to spill out of me on to my nails. But alas, I feel a bit creatively drained! Hopefully I’ll get my spark back soon. 
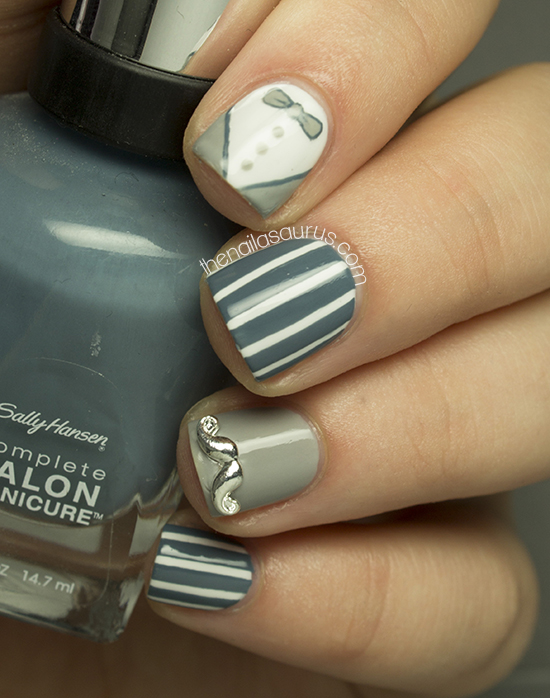
    Today I was looking for inspiration in the little things. I decided to work something around these cute moustache charms and the first thing that came to mind was a fancy suit. I kept it simple with some pinstripes and a tuxedo nail!

    I used Barry M White as a base except on my ring finger which is Sally Hansen Dorien Grey. Then I topped them all with a coat of Essence Better Than Gel Nails Fast Dry Top Sealer.

     For the pinstripes, I used striping tape to mark off the thin white lines and painted over it all in Sally Hansen Gray by Gray. I quickly peeled the tape off while Gray by Gray was still wet on my nails.

    The tuxedo nail is freehanded using a nail art brush with a dotting tool for the buttons and centre of the bow-tie. Again, I used Sally Hansen Dorien Grey, then Gray by Gray to outline the details.

    I attached the moustache charm using a dot of nail glue right in the middle.

    It’s all topped with a coat of No7 Stay Perfect Top Coat.

    TwitterBloglovin’Tumblr

    Share:
    31 Day Challenge, Uncategorised

    31DC2013 Day 25: Inspired by Fashion

    For today’s inspiration I picked a Paul Smith Scarf. The minimalist design and great use of contrasting colours immediately drew me to this scarf when I saw it on the Asos website and of course, anything with stripes always jumps out at me!

    Photo courtesy of paulsmith.co.uk
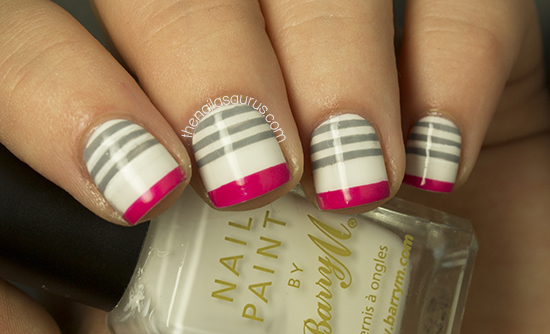
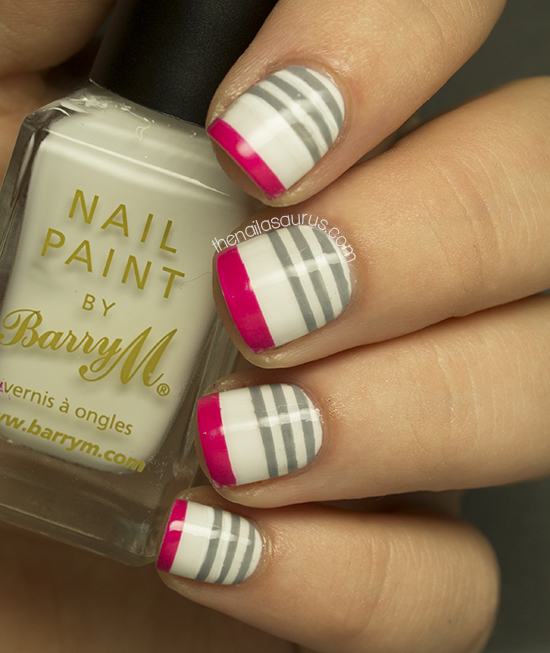
    I used a base of 2 coats of Barry M White with a coat of Sally Hansen Dries Instantly.
    Once that was dry, I used striping tape to mark off all the lines, then used a nail art brush to paint on Sally Hansen Back to the Fuschia and Rimmel Grey Matter, creating the stripes.
    Finally I topped it all off with two coats of No7 Dries Instantly.

    Day 25: Inspired by Fashion 2012
    Day 25: Inspired by Fashion 2011
    See what’s coming next in the 31 Day Challenge 2013!

    TwitterBloglovin’Tumblr

    Share: