Follow:
Browsing Tag:

NYC

    Freehand, Glitter, Uncategorised

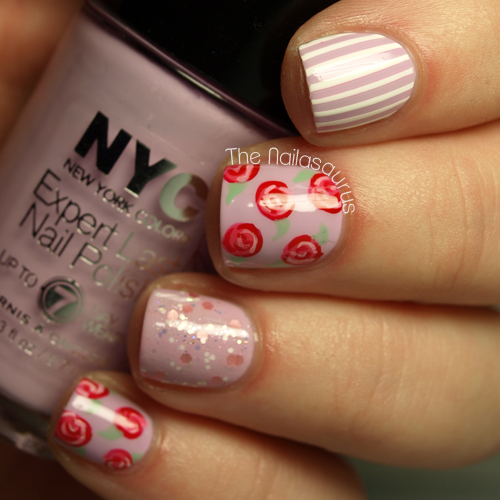
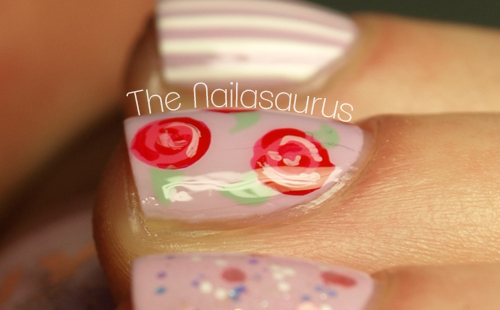
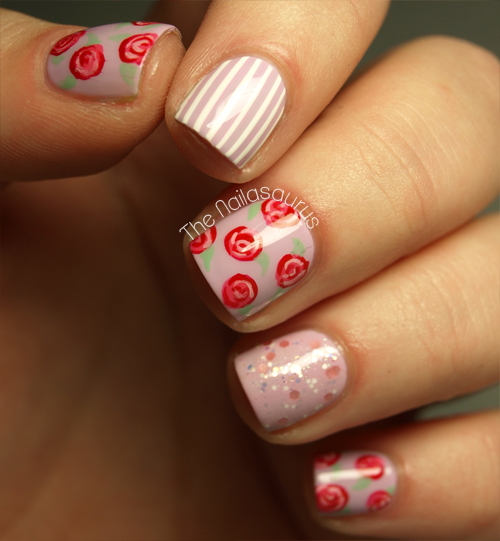
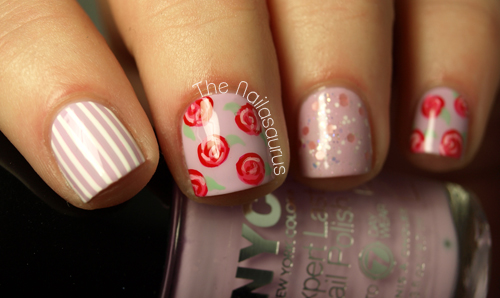
    Stop and Smell the Roses

    Happy Monday! I know some of you will be thinking that Monday is not a day to be happy, but it’s recently become my favourite day of the week because it means a new episode of Game of Thrones! I can’t believe there are only 2 episodes left in the season after today’s. I must confess I haven’t read the books, so far I’ve only made it half way through the first, so I have plenty of material to tide me over until the fourth series.

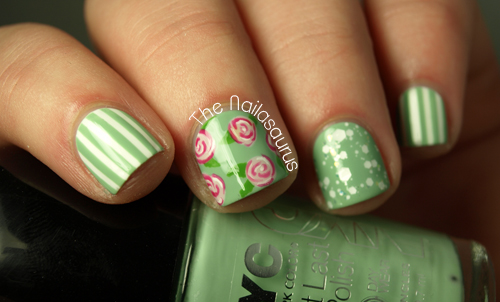
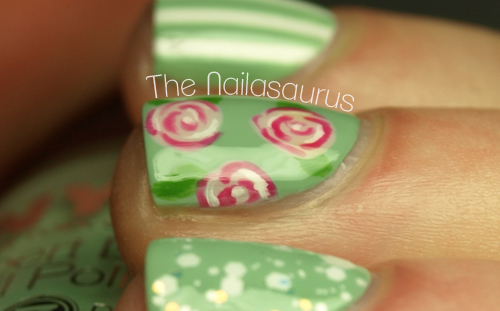
    I used NYC Lavender Cupcake as my base colour with Sonnetarium Lenten Rose glitter on my ring finger. I did the pinstripes on my index finger using striping tape and BK Matt White. For the roses I used NYC Bubblegum Pink, Barry M Blood Orange and BK Matt White with NYC Mint Macaroon for the leaves. There’s a full tutorial for the roses here. Finally I topped it all off with two coats of Sally Hansen Dries Instantly.

    TwitterBloglovin’Tumblr

    Share:
    Freehand, Gradient, Uncategorised

    Thnks Fr Th Mmrs: Gradient Nails

    I really enjoyed putting together a Thnks Fr Th Mmrs post earlier this month so I think I’m going to make it a regular feature around here if that’s okay with you!
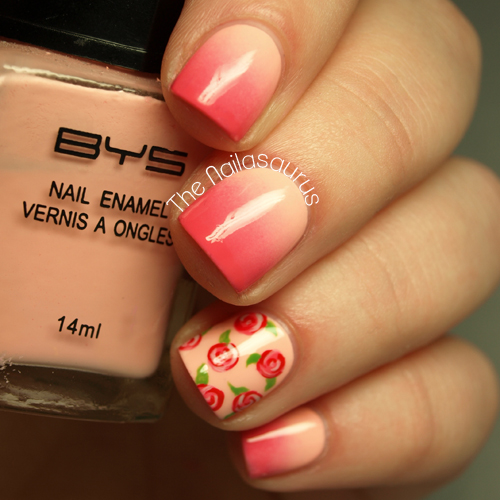
    Today is the one year anniversary of my Gradient Nails Tutorial and just I knew I had to mark the occasion with a little homage. That tutorial is the most visited page on my blog… by miles and miles and lightyears even to this day. 
    I think it really took off because everyone was having the same problem as me. They were seeing pictures of pretty gradient nails on the internet and wanted to do it themselves, but there wasn’t an easy DIY tutorial out there yet until the one that I wrote came along to fill that gap.
    As you can see, my gradient skills have improved immensely since then which is a good testament to my motto, ‘Practice makes perfect’ or as Macklemore more eloquently put it, ‘The greats weren’t great because at birth they could paint, the greats were great because they’d paint a lot’. 
    No one gets it perfect first time and you pick up tricks as you go; the little things which can’t be taught that you just have to learn from your own experience. For example, the sponge that I was using at first wasn’t ideal and now I’ve learned to use much ‘finer’ sponges… make up wedges are the best! Gradient nails… thanks for the memories!

    I used the same base colour, BYS Pretty as a Peach, as I did last year but unfortunately the darker of the two colours has long since dried up so I replaced it with NYC Bubblegum Pink which I think is a pretty good match.
    I couldn’t resist adding some roses for an accent finger. For those I used the NYC Bubblegum Pink again, Rimmel Heart on Fire, Models Own Utopia and NYC High Line Green with a nail art brush.
    It’s all topped off with a coat of of Sally Hansen Dries Instantly.

    TwitterBloglovin’Tumblr

    Share:
    Freehand, Uncategorised

    Flowers and Pinstripe

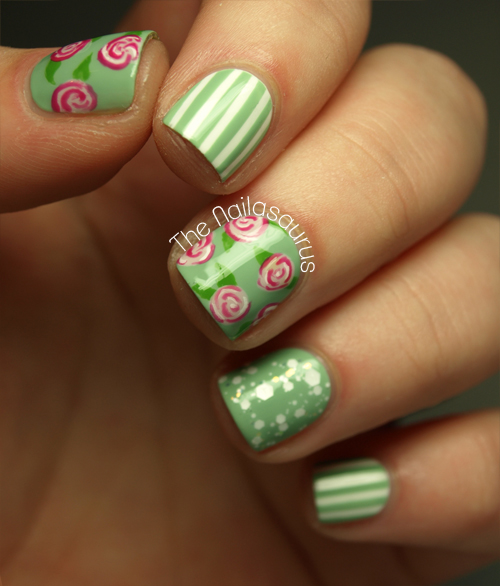
    Every now and then, one of those special manis comes along. The ones you absolutely love and never want to take off. This is one of those! I wore it for very close to 48 hours which is probably the longest I’ve kept anything on my nails all year.

    The green polish is NYC Mint Macaroon although I’d say it’s closer to Jade green than mint, stuck somewhere in between.
    For the pinstripe nails, I started with a coat of Born Pretty Matt White then used the striping tape method to create the thin stripes (tutorial here).
    I freehanded the roses with a nail art brush using Models Own Utopia, NYC Moma and a hint of the Born Pretty White. The leaves are NYC High Line Green.
    The glitter on my ring finger is Sonnetarium Snowfall.

    TwitterBloglovin’Tumblr

    Share:
    Freehand, Uncategorised

    Drip

    I found myself in a tricky spot earlier this week when I tried to get Google+ integrated with my blog. What a nightmare. I’ve never been a fan of Google+ or the way it was sort of forced upon us all and I was reminded exactly why when I tried to get a simple gadget for my sidebar! 
    Now that Google Reader’ facing iminent death (with GFC and Feedburner likely to follow), I suspect Google have some major changes up their sleeve to do with Google+ so I thought it was about time I just accept that and let it happen! I’m pleased to tell you The Nailasaurus now on Google+ right here and I really appreciate all your spare +1s or if you add me to one of your circles or something. There’s also a gadget in the sidebar where you can add me directly!
    If, like me, you’re not quite sold on the idea of Plus just yet, there are plenty of ways to follow this blog over there in the sidebar but I must say I recommend Bloglovin’ if you want to keep up with every post.
    Today’s nails really remind me of Art Attack. It’s completely unintentional but when I was admiring my handywork after the fact, that TV show came to mind. I loved watching that cheesy old show as a kid!

    My base colour is two coats of Sally Hansen Ion.
    I used a small art nail brush for the drips and the polishes I used, from pinky to thumb, are:
    NYC Wild With Passion, Sally Hansen Himalayan Blue, Sally Hansen Grass Slipper, Sally Hansen Rapid Red, NYC Lexington Yellow
    I used China Glaze Dandy Lyin’, a shimmery white, for the highlights.
    It’s all topped off with a few coats of Sally Hansen Dries Instantly.

    TwitterBloglovin’Tumblr

    Share:
    Beauty, Gradient, Makeup

    Beauty and the Beach Part 2!

    Last year I entered Travel Supermarket’s Beauty and the Beach competition and this year I’ll be joining the judging panel as the judge of the nail art category. Pretty cool huh?! I’m so excited to see all the nail art entries and I’m sure I’ll be finding plenty of inspiration for the coming summer months.

    Beauty and the Beach is a competition for bloggers and to enter all you have to do is show off your best holiday hair, nail and make-up looks. Nothing we bloggers don’t do every single day! You can enter all 3 categories or just one or two. There will be a winner selected in each category who will receive a £500 cash prize and there’s one overall prize which will go to a blogger who entered all three and that prize is £1500… cold hard cash! The competition opens today so I’m going to show you my own holiday looks, run through the rules and tell you how you can enter.

    The Nails
    Evenings are my favourite part of any tropical holiday and I love nothing more than sunset on the beach. I wanted to try and recreate the colours of a sunset over the sand so of course it had to be a gradient!
    The base colour is NYC Lexington Yellow and I created the gradients using Rimmel Urban Princess and Barry M Papaya following this tutorial. The glitter accent on my ring finger is Lac Attack’s Felix Felicis and I topped the whole thing off with a coat of Seche Vite.

    The Make-Up
    When I think of holiday make-up my mind wanders straight to bronze and gold so of course that’s where I started. I added the green highlight in the hopes of bringing out the green flecks in my eyes that sometimes make an appearance when the sun’s out.
    To create this look I used FrontCover’s Moondust Collection, Barry M Gel eyeliner, a slick of Avon SuperExtend mascara and a sprinkling of individual lashes just at the outer corner for a flirty flutter. I normally wear strip lashes but when I’m on holiday I like to keep my make-up as light as possible – strip lashes do not feel light!

    If you want to enter the competition yourself (why wouldn’t you?!) here’s how:
    1. Upload images of your best holiday hair, nails and make-up with an explanation of how you achieved the look. You can enter all three categories, or just one or two.
    2. Make sure you mention the competition page within your post:
    http://www.travelsupermarket.com/c/holidays/beauty-and-the-beach-two/
    3. Nominate 5 fellow bloggers that you think will be up to the challenge and let them know via Facebook or Twitter (#beautyandthebeach2).
    4. The closing day for entries is 5th June 2013 and you can let us know you have entered by one of the following:
    • Email beautyandthebeach@travelsupermarket.com with a link to your post.
    • Tweet @travelsupermkt with the hashtag #beautyandthebeach2 with a link to your post.
    • Or, tag the TravelSupermarket.com Facebook page in a post linking to your blog post that you are entering.
    5. For each category, the judges will select a winner from their respective category of hair, nails and make-up, each winner will win £500.
    6. For the overall winner, the three judges will collectively decide on who has achieved the best holiday look. The winner will win £1,500 in cash.

    I think that about covers everything but full terms and conditions and more details can be found at the Travel Supermarket site here.

    Good luck everyone!

    Share:
    Glitter, Gradient, Uncategorised

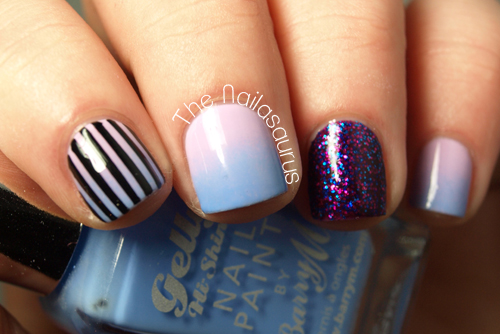
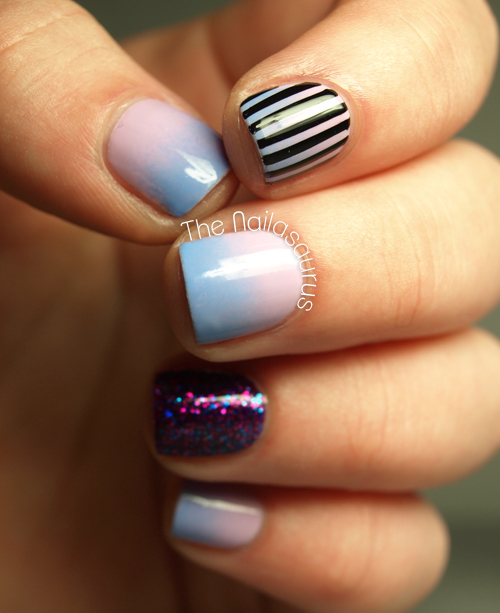
    Cotton Candy Gradient

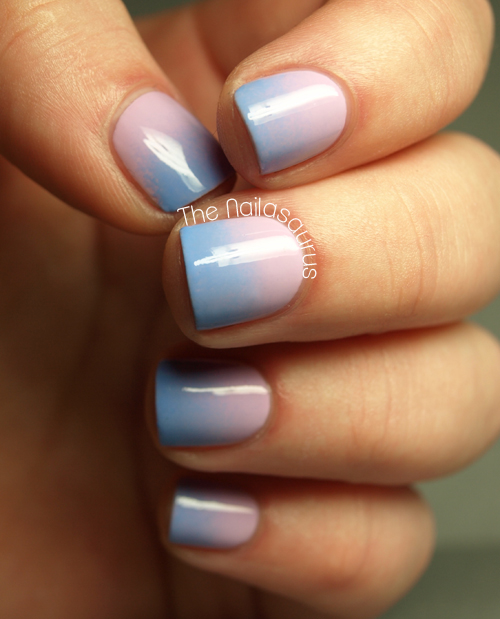
    I’m so so proud of myself today! This is the smoothest gradient I’ve ever done and possibly my favourite colour combo too. I’m going to chock it up to the perfect polishes which are both smooth but kind of watery two coaters – perfect for gradienting!

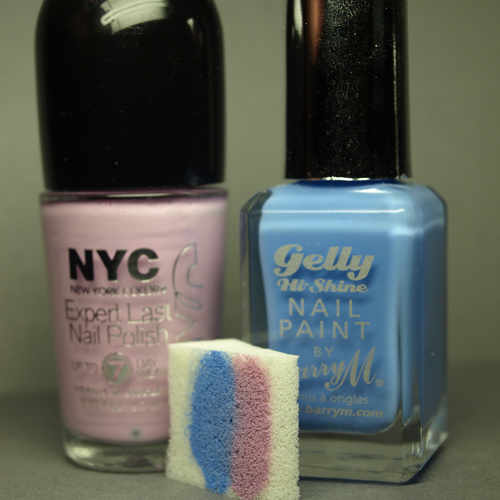
    I used NYC Lavender Cupcake as my base coat and created the gradient using Barry M Gelly Blueberry following this tutorial. Then I coated it with one coat of  Seche Vite.
    For the striped finger I applied a few strips of striping tape straight from cuticle to tip using some nail art tweezers, then painted over them with W7 Black and quickly removed the strips.
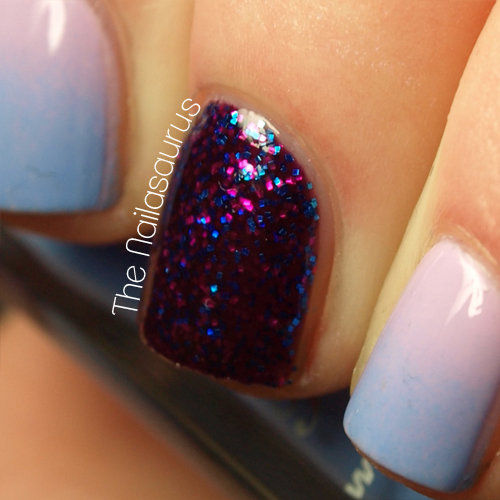
    The glitter on my accent finger is La Femme Purple Glitter. La Femme make some interesting polishes but unfortunately the names aren’t quite as creative! This one’s is a vibrant purple jelly base packed with tiny purple and blue squares and only took two coats for full coverage. I found this in my local What! store. They don’t have a website but they’re scattered all over the country and they’re one of those shops that you have to just stumble across unless Google Local has one listed near you!

    TwitterBloglovin’Tumblr

    Share: