Follow:
Browsing Tag:

NYC

    Uncategorised

    Geometric

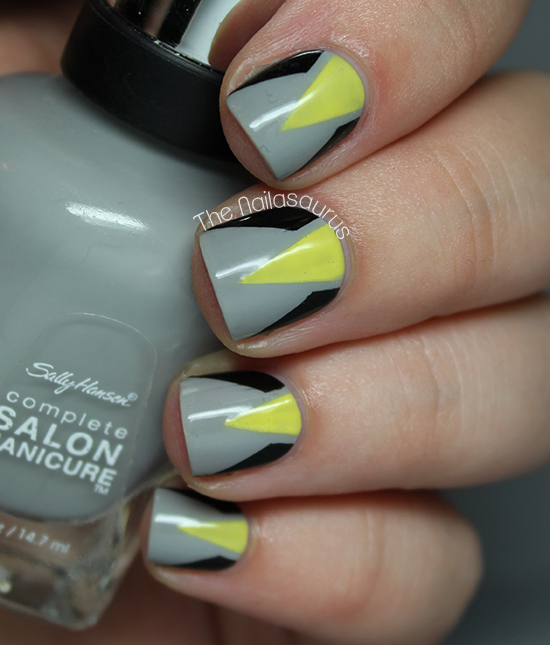
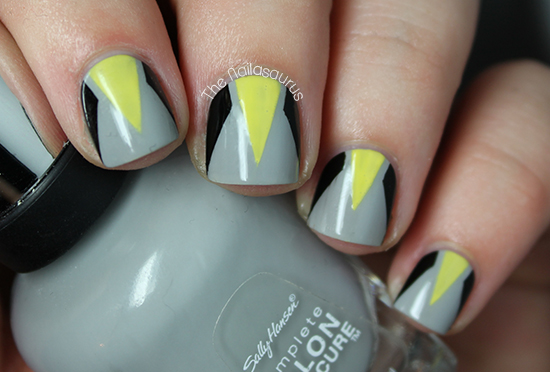
    Geometric nail art has never really been my thing but I still persevere and try to make it work. This time around my nails just remind me of Wolverine! I think I’ll stick to the gradients and waterfalls for now and leave the edgy stuff to the professionals!
    I’m still trying to get the hang of this new camera which is why my pictures are kind of all over the place at the moment. I’ve been tempted to go back to my old one while I figure things out in the name of consistency and decent pictures but I refuse to let this beat me!

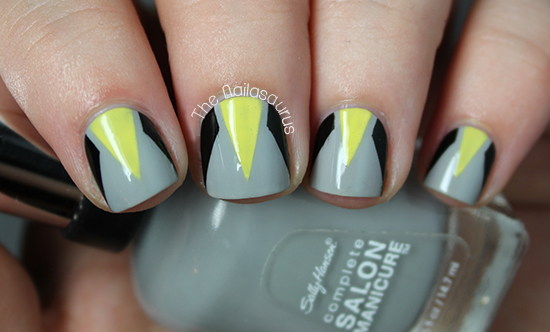
    1. I used Sally Hansen Dorian Grey as my base colour and topped it with a coat of Sally Hansen Dries Instantly.
    2. Once that was all dry, I marked off 3 triangles at the base of my nail with striping tape and filled them in with a nail art brush one nail at a time.
    3. I quickly removed the tape while the polish was still wet and when everything was dry, applied a few more coats of Dries Instantly.
    Share:
    Freehand, Gradient, Uncategorised, Waterfall

    High Contrast

    Where I mixed the two colours for this gradient in the middle, they swirled together and created a purple section in the middle. This has never happened to me before! I don’t know why I’m so excited about this snippet of basic colour science but I thought it was cool!
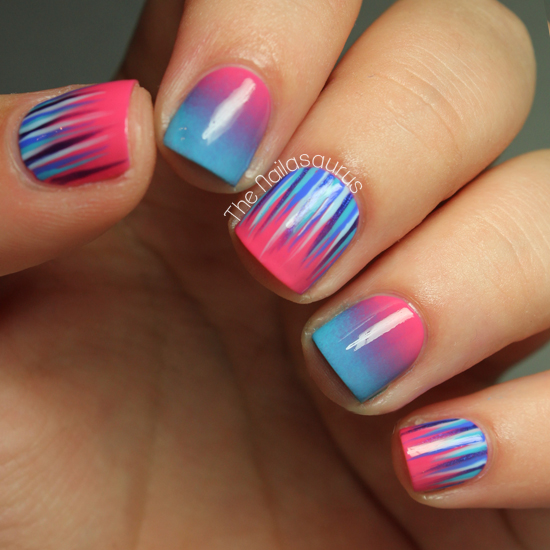
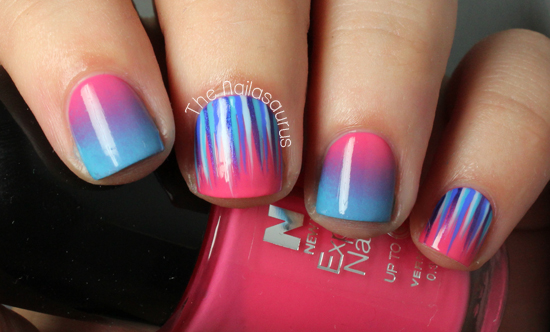
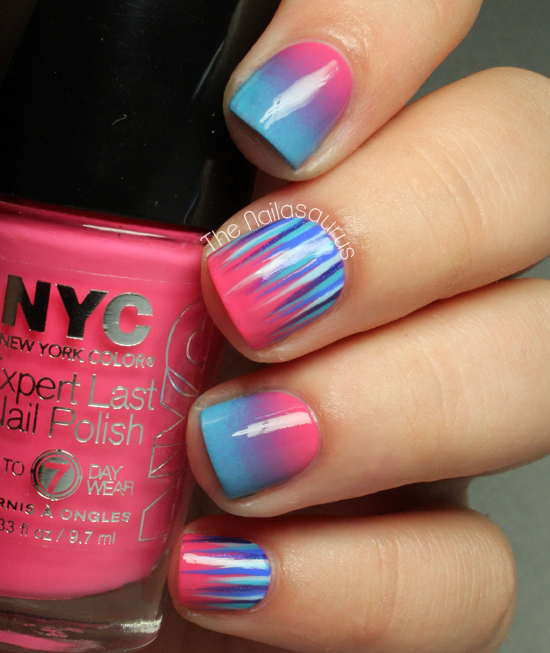
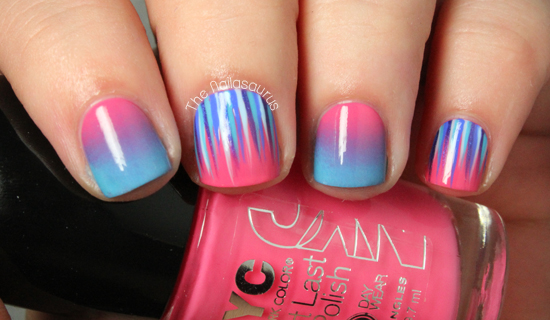
    All my waterfalls so far have been fairly subtle, at least compared to this one. I always tried to keeps the base colour and waterfall colours in the same scheme so today I wanted to try something with a bit more contrast that would really stand out. And I like it!

    My base colour is NYC Bubblegum Pink and I created the gradient using a make up sponge and Sally Hansen Himalayan Blue. There’s a tutorial for that here.

    For the waterfall nails, my colours were NYC Pier 17NYC RaindropSally Hansen Pacific Blue and Sally Hansen Himalayan Blue. You’ll find that tutorial here!
    It’s all topped off with two coats of No7 Stay Perfect Top Coat.

    Share:
    Freehand, Uncategorised

    Dainty Doilies

    After more than a year of talking about it, pondering and hesitating, I finally took the leap and a bought a new camera. I’ve had my old Olympus E-510 for close to 5 years now and I felt it was time for a little upgrade. In the end I went for the Canon 60D. It arrived yesterday and I’ve spent every waking hour since trying to figure it out! This is my first post using pictures from that camera so let me know if they look any different.
    Recently I was looking through all the piCture pOlish Blog Fest 2013 entries and two in particular caught my eye. I just loved Lucy’s Stash and XOXO Alexis Leigh‘s Blog Fest manicures and this creation is a sort of mash-up of the two. I took the idea of painting from the corner from Alexis and a lot of the patterns were inspired by Lucie! I like the subtle colours but I also think it would look amazing in a combination of brights.

    1. For the base I used one coat of Barry M Lychee (creme nude) followed by two coats of Nails Inc Elizabeth Street (shimmery nude).
    2. I freehanded on the designs with a nail art brush using NYC Mint Macaroon, Sally Hansen Himalayan Blue and Barry M Prickly Pear.
    3. When everything was dry I finished it off with two coats of No7 Stay Perfect Top Coat.

    TwitterBloglovin’Tumblr

    Share:
    Studs, Uncategorised, Waterfall

    Pastel Waterfall

    Before Google Reader closed down I imported all my subscriptions in to Bloglovin’ and yesterday I finally got round to sitting down and looking through every single blog I’ve followed over the last three years. I lost track of time but I know it took at least 2 hours! I must have unfollowed hundreds of blogs – just the ones that haven’t posted for 2 months or longer, some hadn’t even posted since 2011 – and I got a bit nostalgic whenever I came across a blog that I once loved but is now retired. I even shed a tear when I read Gilded Nails’ last post and it made me realise how lucky I am that I’ve been able to continue blogging all this time.
    Anyway, enough of the soppy stuff! The point is that I’m so glad to have an organised dash where I can now start to really keep up with my favourite blogs and hopefully plenty of new ones!
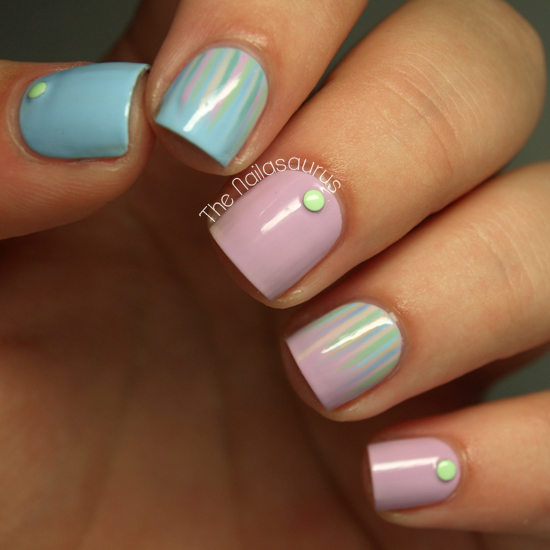
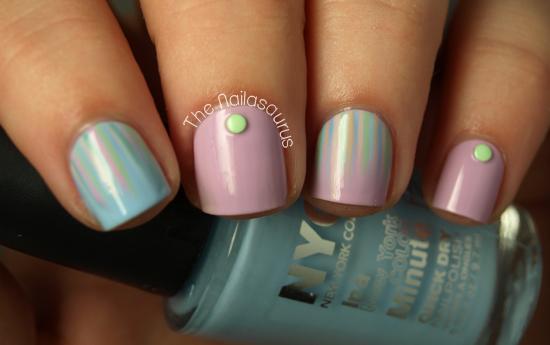
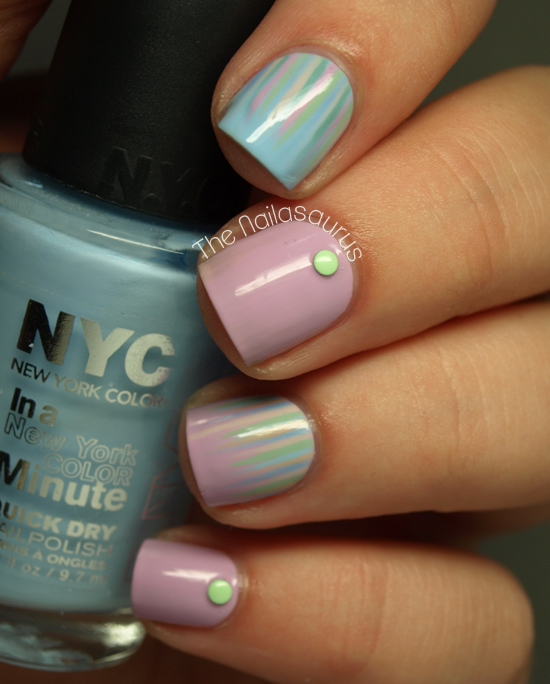
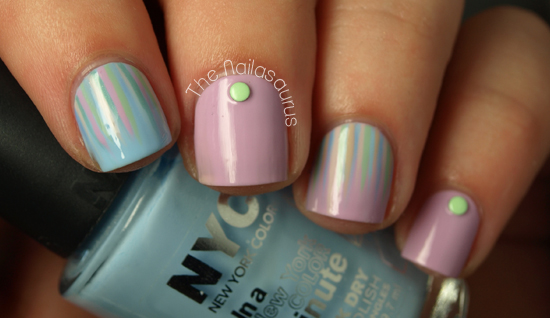
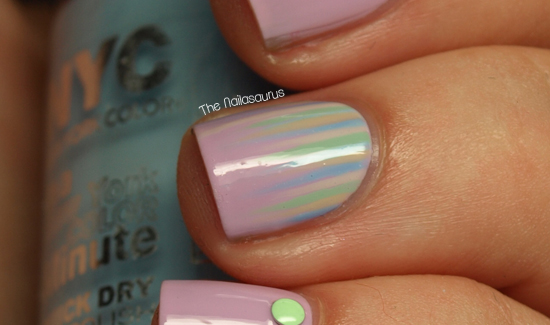
    I’m still loving pastels and I find myself reaching for them constantly. There is a waterfall in here somewhere but I used pastel colours and the look is very subtle!

    My base colours are NYC Raindrop and Lavender Cupcake. For the waterfall design, I used Sally Hansen Green Tea, Models Own Utopia, Barry M Lychee, Essie Bikini So Teeny and the two base colours (tutorial here). The green studs are from Born Pretty Store and you can now get them in a wheel with a range of colours and square ones in the mix too. It’s all finished off with No7 Stay Perfect Top Coat.

    TwitterBloglovin’Tumblr

    Share:
    Uncategorised

    Nautical But Nice

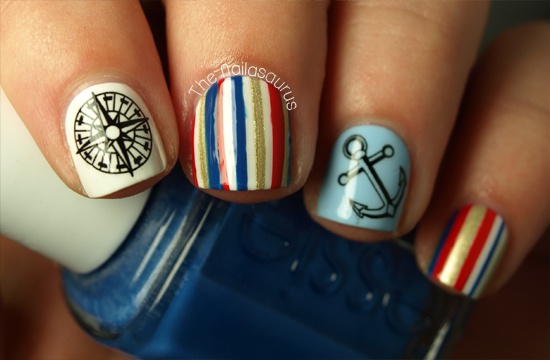
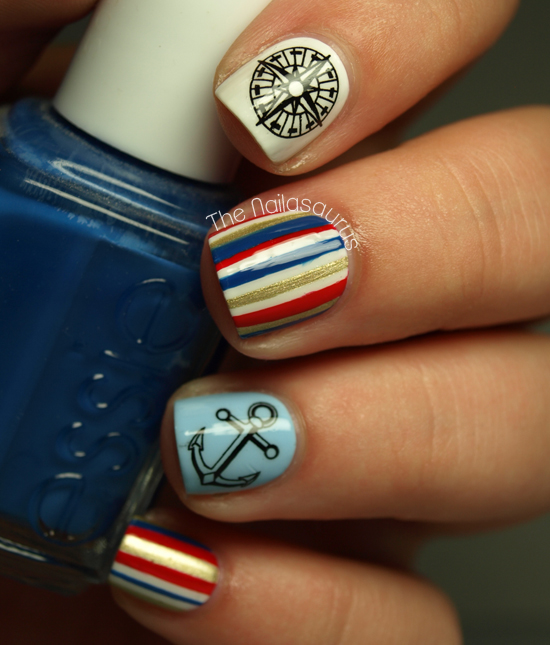
    I really love nautical nails. There’s something about wearing the scheme of red, blue, white and gold in the summer that just makes you feel very sophisticated; like you’re always ready at the drop of a (captain’s) hat to hop on to the yacht and sail around Europe!
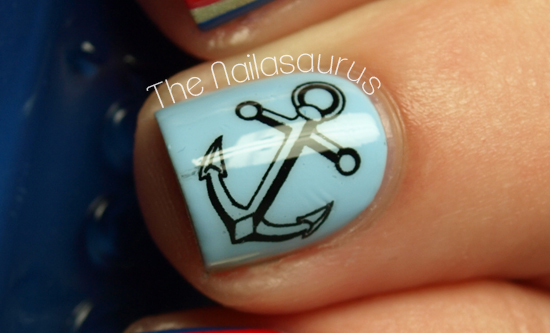
    I spotted these water decals at Born Pretty Store and fell in love immediately! The pack is $2.86 (approx £1.90) and you get a selection of 20 decals in compass and anchor designs. I’m beyond impressed with these. As you can see, they’re the kind that are really thin so as long as you apply them carefully and give them a good smooth over, you can’t even tell they’re decals. Although this does mean they’re very delicate so you have to be light handed when applying them!

    1. My base colours are Barry M White and NYC Raindrop on my index finger.
    2. I applied the nautical themed water decals using a pair of tweezers.
    3. Using striping tape, I marked off some stripes on the other fingers and used a nail art brush to fill in the gaps with Barry M Gold Foil, Essie Mezmerised and Rimmel Heart on Fire.
    4. I finished it all off with two coats of No7 Stay Perfect Top Coat.

    TwitterBloglovin’Tumblr

    Share:
    Galaxy, Glitter, Uncategorised

    White Space

    Back again with the galaxy nails! These were hugely inspired by Kaitlin at the Daily Polish’s Tumblr Nails. As we know, galaxy nails are this week’s obsession and I knew I just had to try it with the white space after seeing Kaitlin’s creation.

    I have a few little snippets of news to share today. Tomorrow marks the first day of my summer holiday but fear not, there will be plenty of new stuff for you to read on this blog whilst I’m gone. I’ve lined up a couple of guest posts from some very talented bloggers while I’m away and I can’t wait for you to see all the amazing nail art they’ve created!

    I’m also very excited to tell you that this blog has been nominated for best established beauty blog in this year’s Cosmo Blog Awards! It’s such an honour to be nominated again and your votes are very, very much appreciated. If you’d like to vote, just click here to go to the voting page and you’ll find me in the first category!


    1. I started with a base colour of Barry M White and topped it off with No7 Stay Perfect Top Coat.
    2. Once my base was dry, I used scotch tape to mark off the sections where I wanted to keep the white showing.
    3. One nail at a time I created the galaxy look by sponging on NYC MoMaNYC Lavender Cupcake and NYC Raindrop (tutorial here). I topped the galaxy off with Calvin Klein Blue Wants to be a Millionaire which is a blue tinted holographic polish which works well as a holographic top coat.
    4. As soon as I was done with the galaxy on each nail, I peeled off the tape and added the star details.
    5. Finally, I added two coats of No7 Stay Perfect Top Coat to smooth things over and keep it shiny!


    TwitterBloglovin’Tumblr

    Share:
    Uncategorised

    Rockin Claws from House of Wonderland

    I’m not sure if you’ve heard of House of Wonderland before, but it’s a funky little british company dreamt up by Tessa Shearer. They sell some really cute water decals and Tessa got in touch to see if I’d like to try some. I opted for the Sugar Skull design because come Cinco de Mayo every year, I try to paint sugar skulls on to my nails and fail miserably every time!


    These decals really apply with minimal fuss. Just cut out, soak in water for a few seconds, peel away from the paper and stick! I used a base colour of NYC Raindrop and No7 Stay Perfect Top Coat to top this mani off.

    TwitterBloglovin’Tumblr

    Share: