Follow:
Browsing Tag:

NYC

    Freehand, Uncategorised

    Me Looooove Cookies!

    A few days ago, a fellow blogger got in touch with me to introduce her blog, Brush me Blush, and in particular a 30 day series of tutorials she has created with twists on the french manicure. I immediately spotted some ideas that I want to try out and she even sent me a few sneak peeks of ones that are to come. This is one of those and you’ll be able to see the steps on her blog very soon.

    The tutorial was for Cookie Monster half moons – absolute genius! I’ve been meaning to do Cookie Monster nail art since I got this flocking powder and I even bought googly eyes but I just couldn’t get it right. Ria has nailed it with this tutorial!
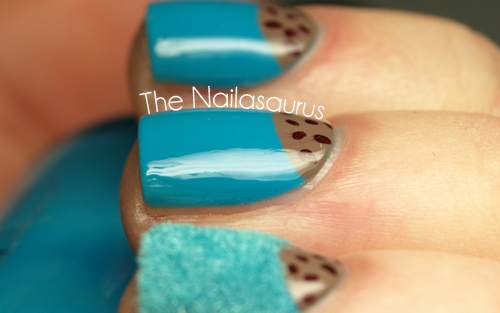
    I won’t give too many of the details away – you’ll have to wait for the tutorial at Brush me Blush – but I used NYC Water Street Blue, Essie Glamour Purse, Rimmel Desire and some flocking powder from Born Pretty to create this look.

    TwitterBloglovin’Tumblr

    Share:
    Uncategorised

    She Wears Blue Velvet All The Time

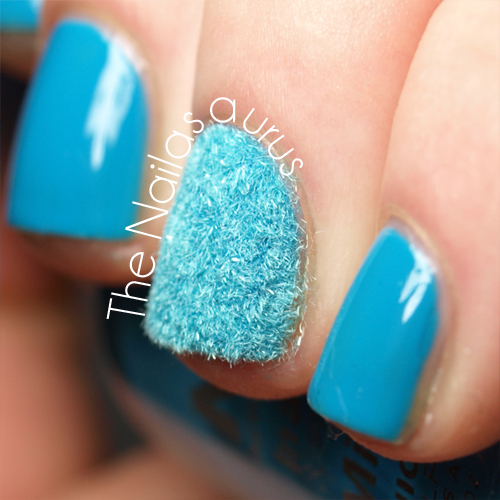
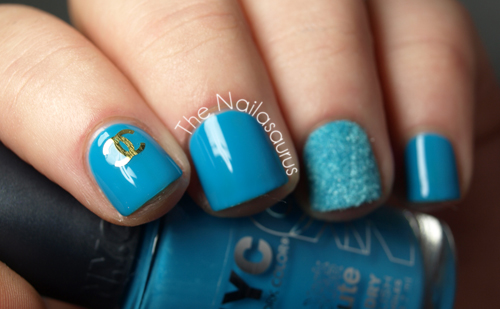
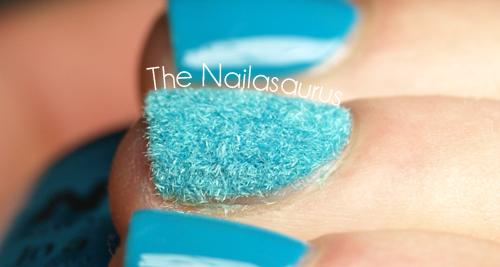
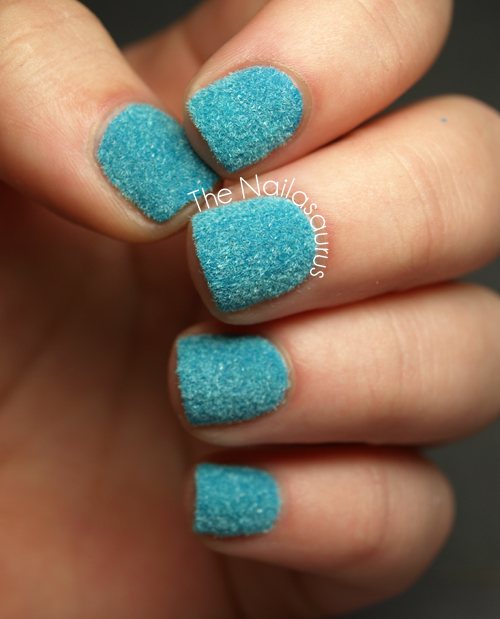
    Quite a simple mani for you today. I really love this flocking powder and I’ve been using it quite often as an accent. Last time I posted this and when I posted it on Instagram earlier today, I had loads of really good questions from you guys so I’ll just talk about the powder for a bit and hopefully answer them.
    Most people want to know what happens when you wash your hands with this stuff on. Well it absorbs a bit of moisture and looks kind of dead for a bit but then it just dries out and goes back to normal. It lasts about 24 hours during which time it gradually rubs off and starts looking grubby. If you left this on for more than 24 hours I would judge you… it really looks gross!
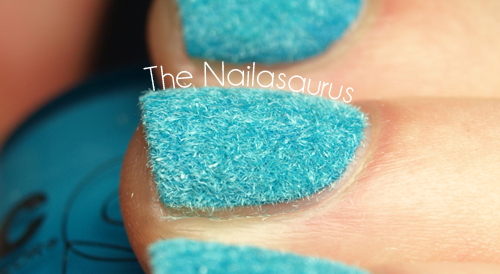
    The flocking powder is from Born Pretty Store and it comes in loads of colours. The one I have is Sky Blue and I’ll definitely be buying some more colours. It’s really easy to apply, you just paint on a coat or two of polish and press your nail in to the pot of powder while it’s still wet, then use a brush to swipe away the excess. Job done! 
    I also want to give a shout out to these Chanel decals while we’re here. Again, they’re from Born Pretty Store and I’m always using them to spice up a plain (between nail arts) mani. They’re actually metal, not stickers and they come completely flat. So before I apply one, I bend it around a pen to give it a slight curve so the edges don’t stick up and catch on everything. Then I slather it in top coat! I think it looks the bomb.

    The base colour I’ve used here is NYC Water Street Blue* which is absolutely gorgeous and probably my favourite blue right now. The only downside is it stains like a bish so do not skip your base coat if you wear this! You can get the flocking powder (velvet) here and the Chanel Decals here. My top coat is Seche Vite.

    P.S. If you order anything from the Born Pretty Website, you can use this code to get 10% off!

    TwitterBloglovin’Tumblr

    Share:
    31 Day Challenge, Uncategorised

    31DC2012: Day 22 Inspired by a Song

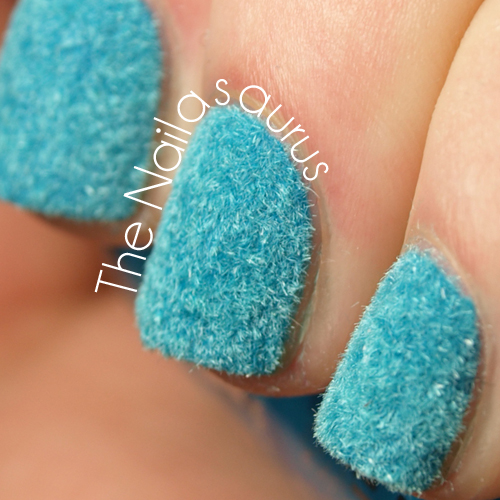
    Day 22’s nails have to be inspired by a song and I struggled for a long time to come up with an idea. In the end, I just put my MP3 player on shuffle and waited for inspiration to strike. When Lana Del Rey‘s Blue Velvet came on I remembered this flock that I have from Born Pretty Store and knew it was meant to be!
    Rie and Cris‘ nails for Day 22 of the challenge are very impressive! Go see!

    I used one coat of NYC Water Street Blue* to my nails. Then, one by one, I added a second coat, waited about 30 seconds and dipped my nail in to the flocking powder. It comes with a really good brush that I used immediately after application to brush the excess back into the pot and it made very little mess. Because it’s so fine, the bits that missed the pot just kind of blew away in to the air like dust! 
    This powder is much finer and therefore way better than the stuff I used before and has even convinced me that a velvet manicure can be lovely when done right.

    And here’s the song that inspired the nails. Did you know the original version is by The Clovers from way back in 1950? You can hear that here. It’s been covered by loads of people through the years but Ms Del Rey has managed to put her sombre, dreamy spin on it perfectly.

    TwitterBloglovin’Tumblr

    Share:
    31 Day Challenge, Freehand, Glitter, Uncategorised

    31DC2012: Day 16 Tribal Print Nails

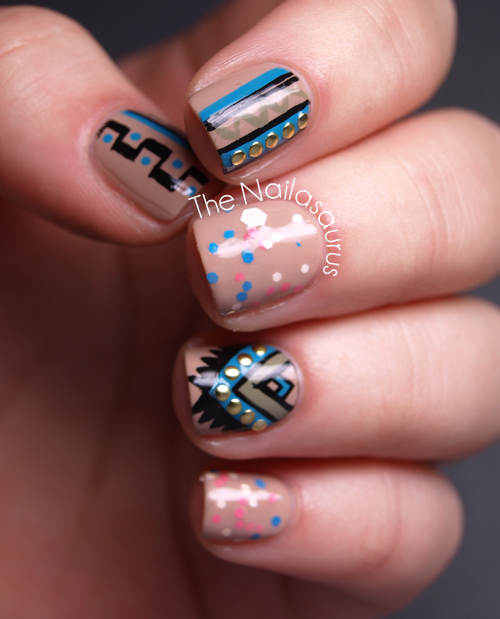
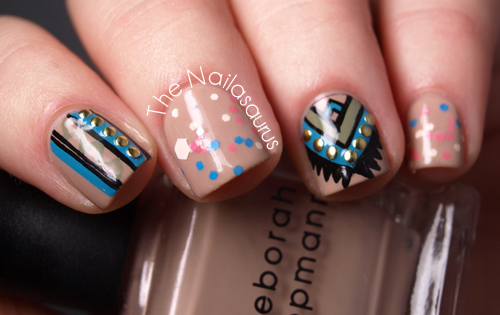
    Day 16 of the 31 Day Challenge calls for Tribal Nails. I love tribal nails but they take a hell of a long time to do! So I copped out and cooked up some glitter sandwiches on a few of my fingers when it was getting too close to bed time.
    I have a confession to make. Last week I cut my cuticles. I really couldn’t tell you why, I had the clippers in front of me so I just did it. It was one of those decisions I regretted almost instantly, like while I was still sat there cutting away at my fingers, and yet I still couldn’t stop doing it. I am never going to cut my cuticles again.
    There’s not really a bottom line to this story, I just thought it was something noteworthy to write down on my nail blog! I’ve always been an advocate of moisturise and push and since my bad decision last week, I feel stronger than ever about it. My favourite post about cuticle care is still this one from Lacquerized’s archive. Perhaps it’s time I finally wrote my own.

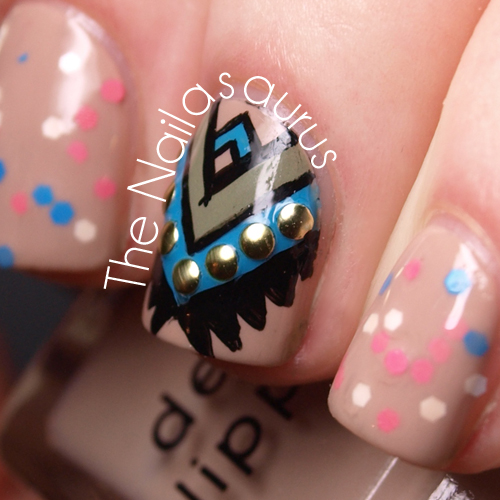
    I used three coats of Deborah Lippmann Fashion* as my base colour. The colours in the tribal patterns are NYC Water Street Blue*, MUA Shade 23 and Black Acrylic Paint. I used a small striping brush to paint the details. 
    The studs are from Born Pretty Store (SA5X31 to get 10% off).
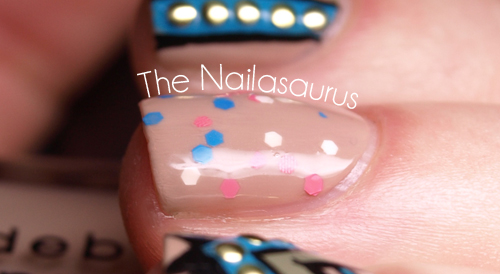
    The glitter is JENsations Bubble Gum with a coat of OPI Samoan Sand over the top to create a sandwich.
    I finished it all off with two coats of Seche Vite.

    TwitterBloglovin’Tumblr

    Share:
    31 Day Challenge, Freehand, Uncategorised

    31DC2012: Day 14 Flowers

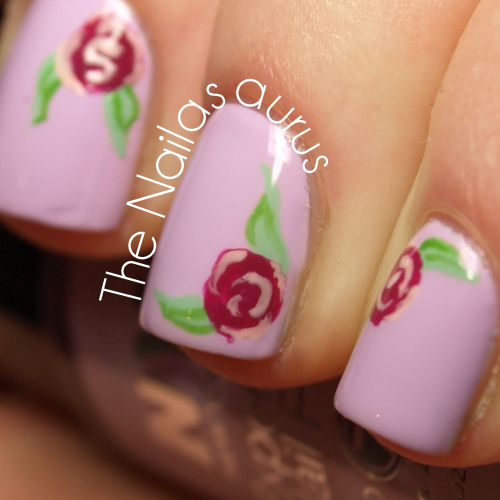
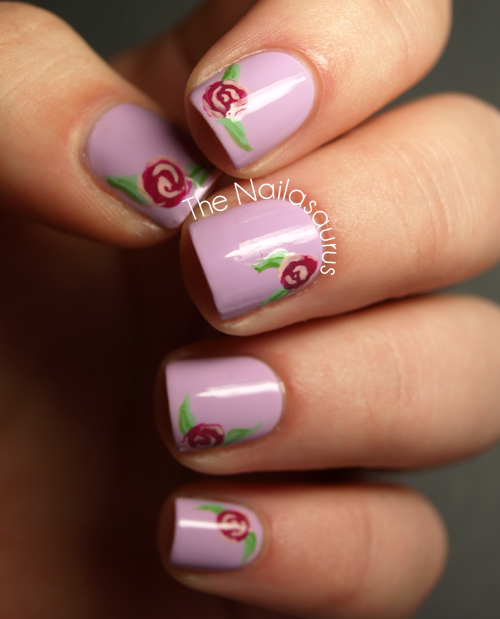
    Today I’m still catching up with my 31 Day Challenge posts. I’m only a day behind and planning to be back on track by Tuesday. Day 14 calls for flowers and I’m really not a flowery nail art kind of girl. However, I do love the Cath Kidston style nail art I’ve seen around so I thought I’d finally give that a try. It’s way easier than I always thought it would be!
    It wasn’t until I was done that I noticed it really reminds me of this water decal mani from January 2011. It’s funny that I can remember almost every manicure I’ve ever posted on this blog even though there are hundreds of them!
    Let Them Have Polish and Nails and Noms will also have some flower nail art for you!

    I used NYC Lavender Cupcake* as my base colour. Using a nail art brush, I painted on the outline of the leaves using NYC Mint Macaroon* and the circles of the flowers using BYS Purple Rain. Then I took a liner brush to draw the details with NYC High Line Green* and BYS Pretty as a Peach*.
    Finally, I topped it all with one coat of Seche Vite.

    TwitterBloglovin’Tumblr

    Share:
    31 Day Challenge, Uncategorised

    31DC2012: Day 11 Polka Dots

    Today’s gonna be a quick one, I’ll just run through the polishes I used and let you get on with your day!
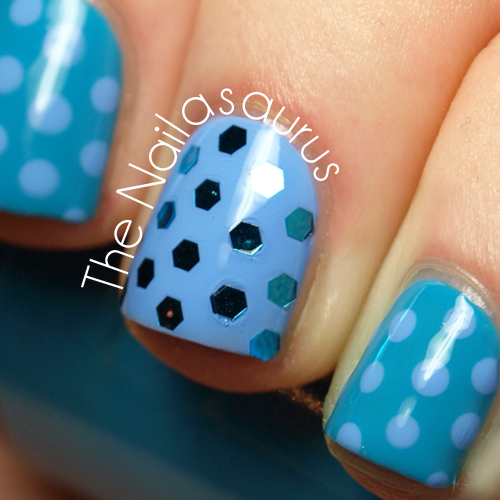
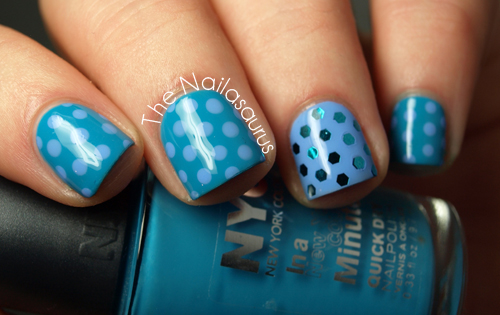
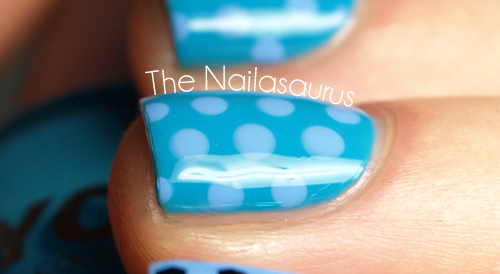
    For most of my nails, I used NYC Water Street Blue and used a dotting tool to create the polka dots with Barry M Blueberry. My accent nail uses Blueberry as a base colour and glequins from Born Pretty Store. I used two top coats of Seche Vite to finish up.
    Want to see more doticures? Go see what Cris and Rie came up with today!

    TwitterBloglovin’Tumblr

    Share:
    31 Day Challenge, Gradient, Uncategorised

    31DC2012: Day 10 Gradient Nails

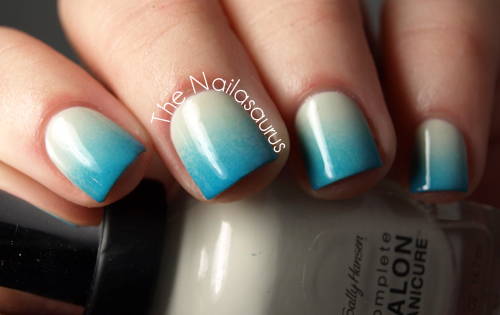
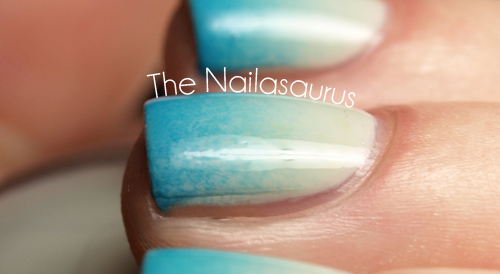
    So I don’t know if you heard, but gradients are kind of a big deal around here! Since I popped my gradient cherry, I just can’t get enough of the things. I think this might be my favourite colour combination yet. These were just the two polishes within reaching distance at the time but they work together perfectly together and this is one of my favourite combos to date.
    Don’t forget to pop over to Cris and Rie‘s blogs to see their gradients today!

    I used Sally Hansen Ion as my base colour. Before I started on the gradient I applied Liquid Pallisade* around my nails to prevent too much mess. I created the gradient using NYC Water Street Blue, following this tutorial. I finished it off with two coats of Seche Vite to smooth it over.

    TwitterBloglovin’Tumblr

    Share: