NYC
Since I’m single this Valentine’s day I’ll be spending the evening at the cinema with my girlfriends in what has kind of become an annual tradition for us. The plan this year is to watch the The Lego Movie but there are quite a few good picks showing so it could go any which way! I do like a good movie mani and I thought it would be totally awesome to do some nail inspired by The Lego Movie.
I started with a base of Barry M White on every nail.
The character details were all freehanded using a nail art brush. I used mainly black and white acrylic paint with Essie Glamour Purse, Sally Hansen Himalayan Blue and Sally Hansen Lively Lilac for the pops of colour. NYC Lexington Yellow is the perfect yellow for the Minifig faces.
To get the effect of lego blocks, I had to create some 3D pieces to attach to my nails. I did this by stacking up some small, round pieces of glitter. I sandwiched them 10 high with a dot of clear nail polish between each layer. It took ages but it was totally worth it! The glitter I used was these white glequin-like sheets from Born Pretty Store.
I painted on two coats of the colour and then stuck on the glitter stacks before it dried. Then I used a small nail art brush to paint over each stack in the same colour.
The colours I used for the bricks are No7 Poolside Blue and Rimmel Heart on Fire.
I finished it all off with a coat of KBShimmer Clearly on Top and added Rimmel’s Matte Top Coat to the character nails.
Before I go, I want to leave the ladies with this stellar bite of Leslie Knope wisdom. Happy Valentine’s Day everyone!
The purple base colour is two coats of China Glaze Cowgirl Up.
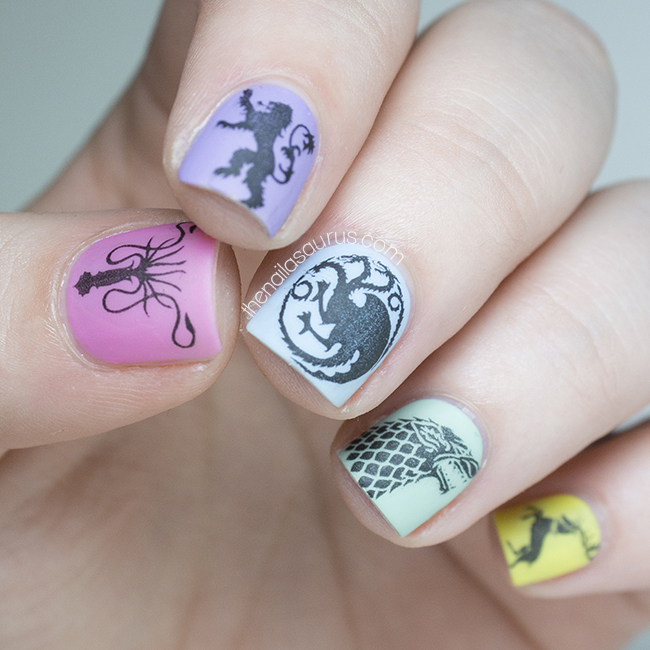
The stamped designs are from MoYou’s new Fairytale Collection on Plate 02. I used NYC Power of Elements to stamp the design.
The glitter accent is two coats of Cirque Queen Majesty over one of Cowgirl Up.
It’s all topped off with one coat of Glisten and Glow HK Girl (which, by the way, is currently on sale for $4.50!).
I’ve been wanting a personalised necklace for the longest time. I remember having a ‘Samantha’ necklace when I was in my teens which quickly turned green on the underside but I kept wearing it until I eventually lost it – which was probably for the best! I have a bit of a history of falling in love with necklaces. You may remember my T-Rex necklace from Slashpile designs which I posted about back in February and am still head over heels in love with but now there’s a new kid on the block – my ‘Sammersaurus’ necklace!
This necklace comes from a company called My Name Necklace who offer a huge range of customised jewellery including some Tatty Devine style pieces (at a fraction of the price!). This particular design is the sterling silver ‘Carrie’ style name necklace and I decided to get my online moniker, Sammersaurus, instead of something a bit more traditional like my real name! Once again, I’m in love. I also want to mention how amazing the delivery time was. I was told to expect a wait of 2-3 weeks which is more than reasonable because of course items are made to order but my order arrived in just over 7 days.
If you want your own personalised piece (or maybe you want to drop some heavy hints at someone else before Christmas comes around!), My Name Necklace have been kind enough to offer a code for 10% off any purchases. Just enter NAIL at the checkout!
For the nail art, I used No7 Just Black as my base colour. On my pointer I added two coats of NYC Smokey Top Coat and then added some 1.5mm Silver Studs from The Nailasaurus Emporium near my cuticles.
For the finishing touch, I monogrammed my ring finger using a nail art brush and Barry M Silver Foil.
It’s all topped off with a coat of Cult Nails Wicked Fast.
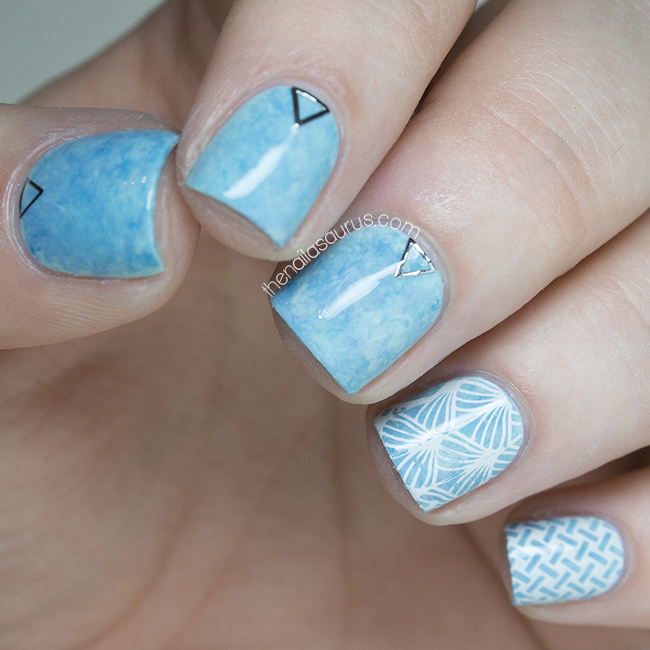
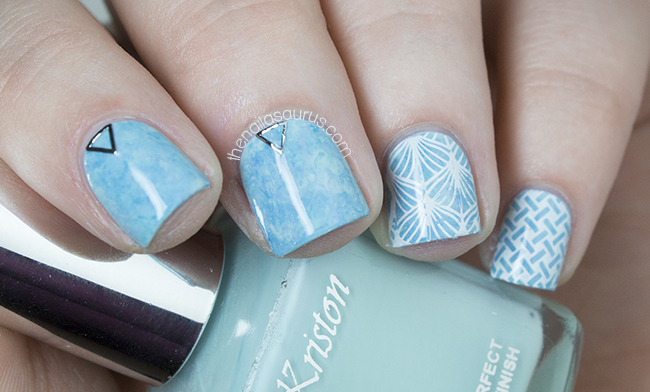
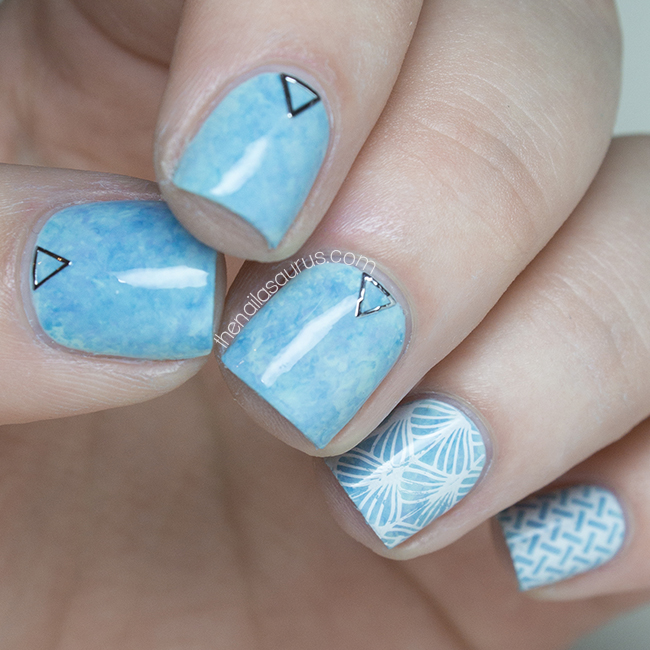
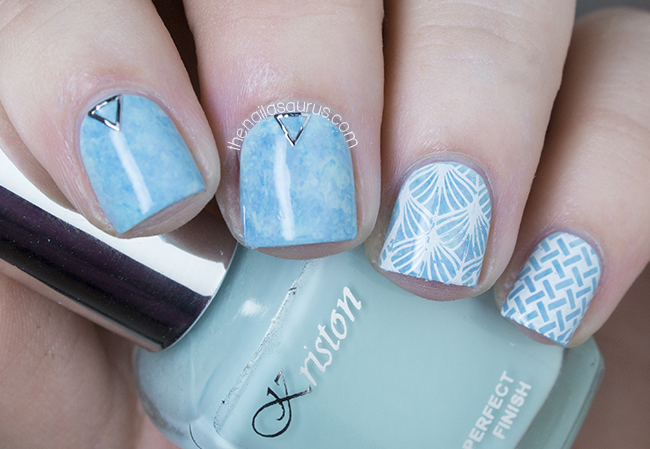
For this manicure, I used NYC Raindrop as my base colour and created the nimbus effect using NYC Water Street Blue, Barry M Blue Grape and H+M Midnight Mystery. See here for a tutorial.
It’s all topped off with two coats of Color Club Top Coat.
I sort of wish I’d used a more icky green than this but I still like it. Mint just isn’t as menacing as slime green!
I used NYC Mint Macaroon as my base colour and created the gradient (tutorial here) using Collection 2000 Minx.
For the distressed look I used A-England Dorian Gray and followed Chalkboard Nails’ instructions on the technique.
Finally, I used two coats of Color Club Top Coat to smooth things over.