Follow:
Browsing Tag:

NYC

    Nail Art, Uncategorised

    The Lacquer Legion On Holiday: Windbreakers

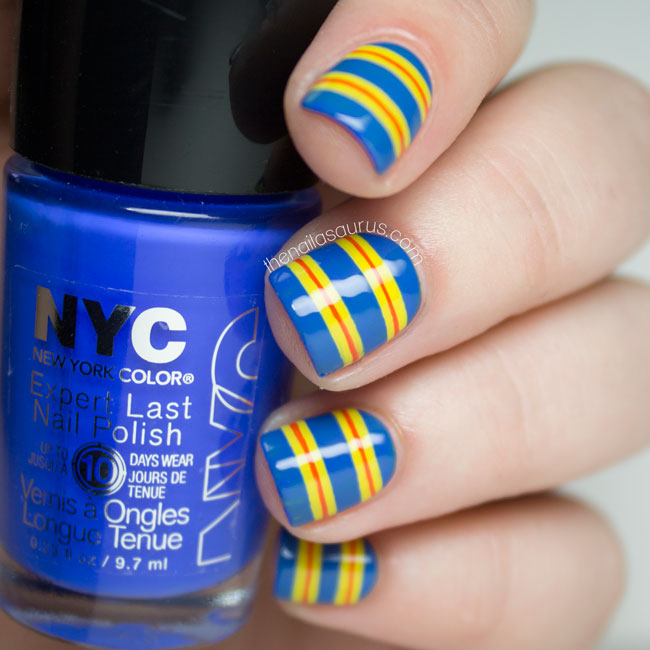
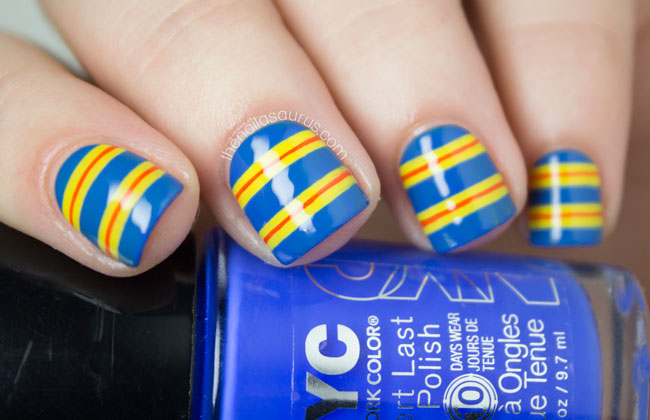
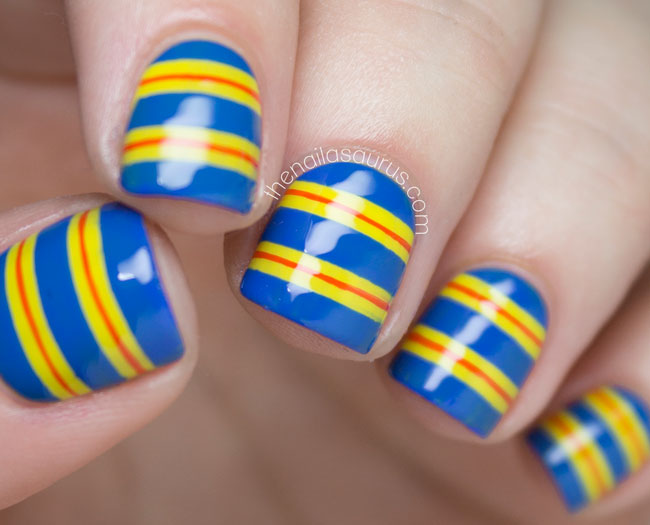
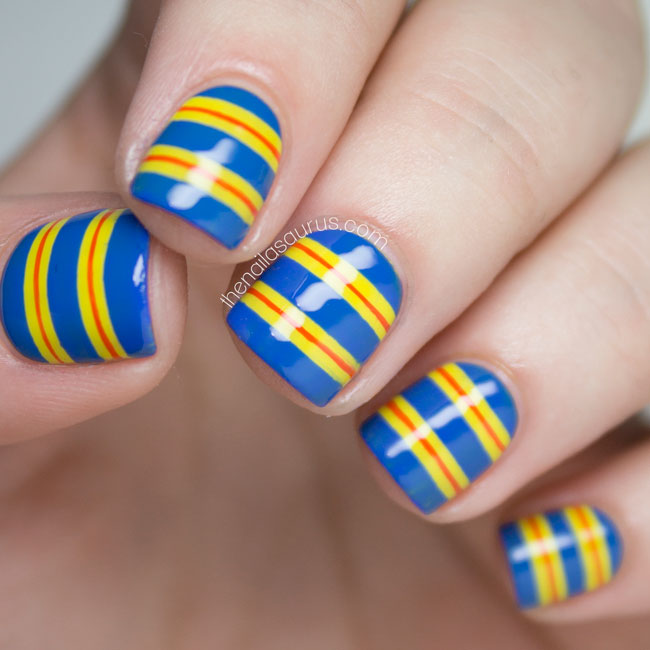
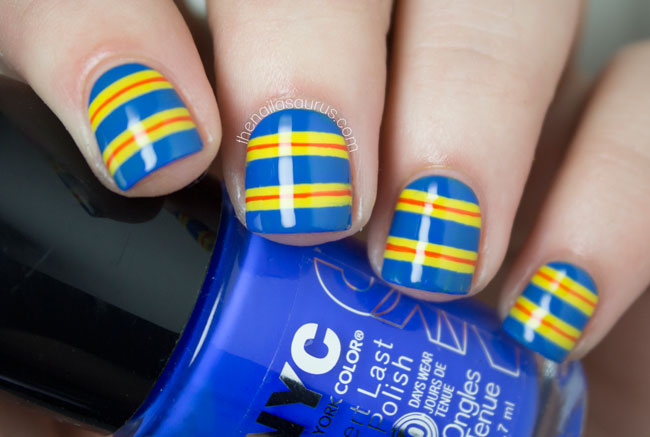
    If you’ve ever spent the day on a British Beach, you might know what I was going for with this mani! I spent many of my childhood summer holidays on beaches along the coast of Devon and Cornwall and have nothing but fond memories of those times so my #LLOnHoliday manicure is paying tribute to an essential piece of beach equipment in the UK – the windbreaker!

    Although I don’t love the nail art – it’s a bit bright and gaudy for my taste – I have so many lovely memories with those windbreakers that I don’t even care! It just makes me happy to look down and be reminded.

    Don’t forget to keep up with The Lacquer Legion on Facebook to find out what next month’s challenge will be and if you post your On Holiday nail art today, don’t forget to use the hashtag, #LLOnHoliday!

    For this nail art, I used a base of NYC Lexington Yellow and then a thin coat of Glisten & Glow HK Girl to dry it out nicely.
    I put down a few straight vinyl stencils and painted over everything in NYC Hudson Breeze before removing the stencils right away.
    Finally, I used a long striping brush to add the red details with Rimmel Raw as Night and topped it with a thick coat of HK Girl.
    Share:
    Nail Art, Uncategorised

    Peaches and Cream

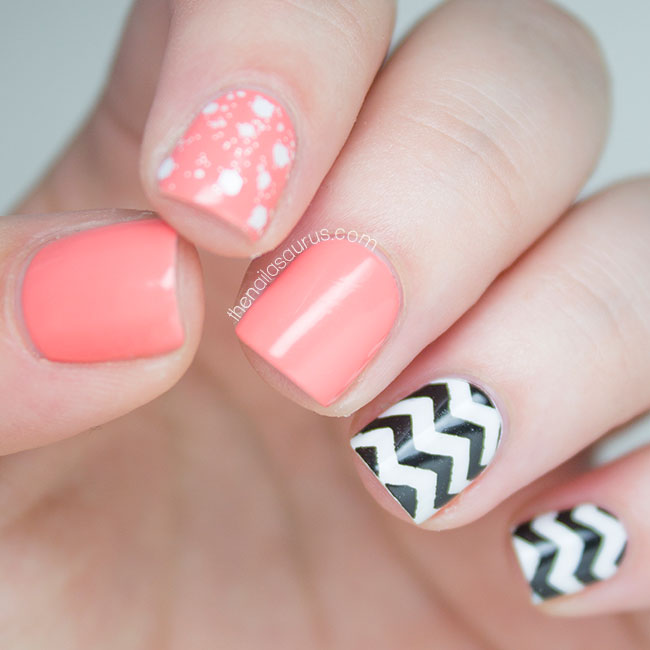
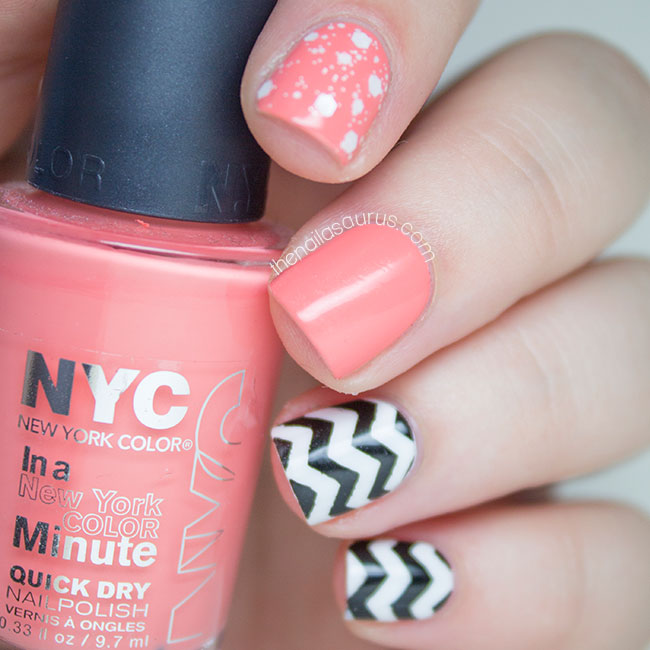
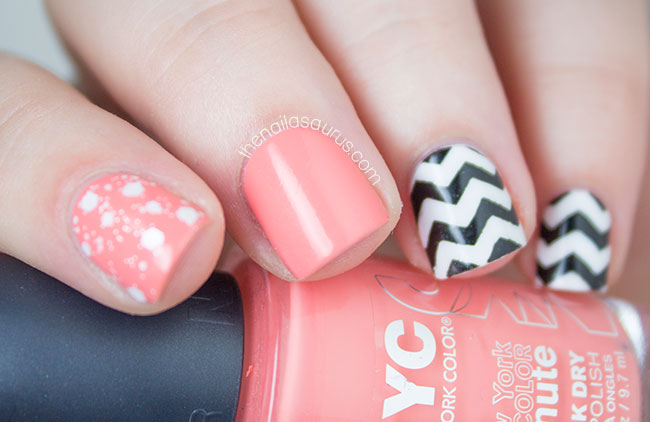
    It would seem that I’m on an Orange kick at the moment. Out of nowhere I seem to have amassed a collection of really gorgeous orange shades and in this weather it just feels so right to wear them. Although this nail art is really simple, I think the stunning peach shade sets it off just right and chevrons always add a nice pop !
    For this nail art, I used NYC Peach Popsicles and Graffiti Nails Ice White as my base colours. I used a thin coat of Glisten & Glow HK Girl on the white nails to dry them quickly.
    For the chevron effect, I used the Chevron Stencils from She Sells Seashells and No7 Just Black.
    The glitter on my first finger is Maybelline Acid Wash Top Splatter.
    It’s all topped off with a two coats of HK Girl.
    Share:
    Glitter, Gradient, Holographic, Nail Art, Uncategorised

    Well That’s Just Peachy

    Gradient Nail Art | The Nailasaurus
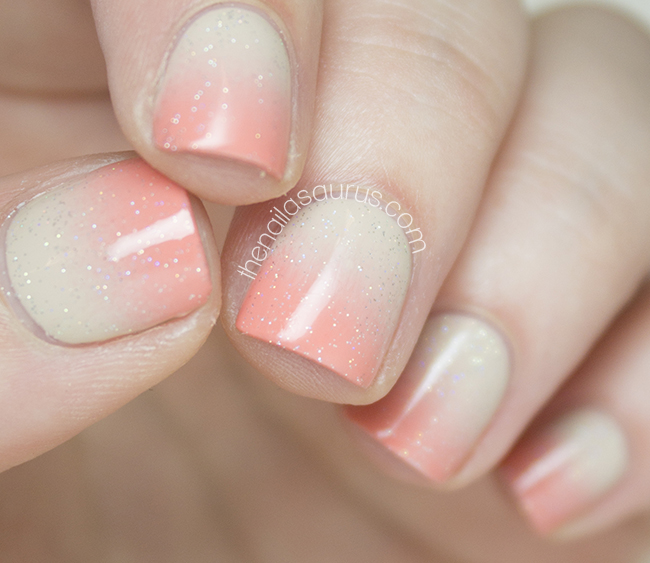
    Every nail polish addict in the UK knows Poundland is the place to be! It’s impossible for me not to get my hopes up whenever I’m in there as they nearly always have Sally Hansen or Revlon and occasionally something new will pop up. When I was browsing (or perhaps rummaging is a better word) yesterday, I spotted some fresh meat and took a closer look. It was this holographic glitter from a brand called Filthy Gorgeous which I remember seeing for £9+ retail in the past…. for £1! Of course, there was no question. I had to buy it. I love me some holographic glitter and I don’t think a girl can ever have enough.

    For this nail art, I used Barry M Lychee as my base colour and created the gradient using NYC Peach Popsicles.
    There’s a gradient tutorial here.
    I painted one thin coat of Filthy Gorgeous Prism and finished it off with Glisten & Glow HK Girl.
    Gradient Nail Art | The Nailasaurus
    Gradient Nail Art | The Nailasaurus
    Gradient Nail Art | The Nailasaurus
    Gradient Nail Art | The Nailasaurus
    Share:
    Glitter, Uncategorised

    Cobalt is the Colour

    Geometric Nail Art | The Nailasaurus | UK Nail Art Blog
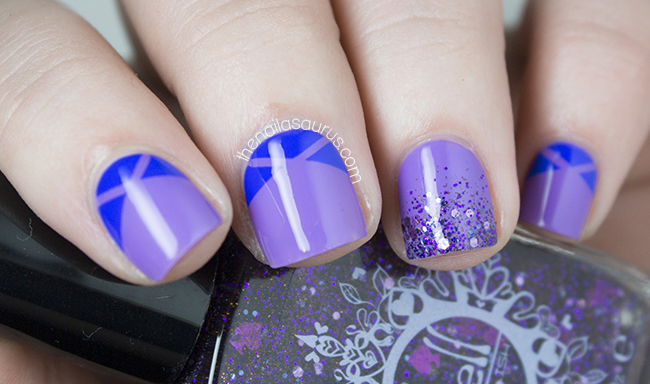
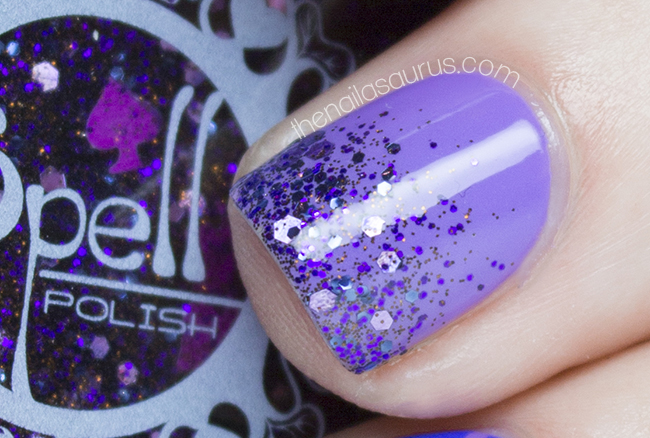
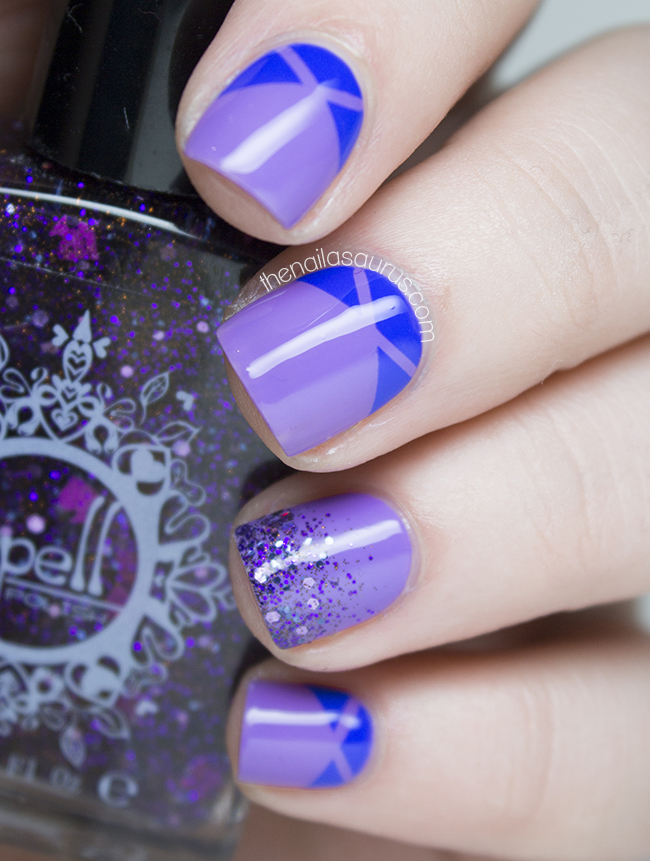
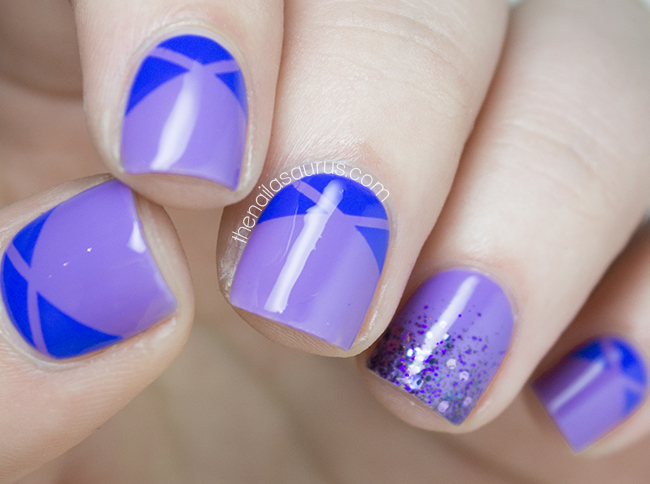
    I’ve had this colour combination stuck in my head for a while now but I just couldn’t figure out what to do with it. Finally I sat down, got the striping tape out and came up with this simple geometric design. I’m so glad the colours match as well as I thought they would. I was worried there wouldn’t be enough of a contrast to see any details as they’re both very strong colours but luckily there’s just the right amount of complimenting and contrasting going on here.
    Geometric Nail Art | The Nailasaurus | UK Nail Art Blog
    For this nail art, I use NYC Lavender Blossom as my base colour.
    I applied striping tape in a cross at the base of my nails and filled in the triangles using a nail art brush and NYC Hudson Breeze, the most perfect cobalt blue ever!
    The glitter on my ring finger is Spell Polish Mr Spade. If you haven’t heard of Spell Polish before, don’t worry, you’ll hear a lot about them soon. Their glitter polishes are amaaazing!
    It’s all topped off with a coat of HK Girl.
    Geometric Nail Art | The Nailasaurus | UK Nail Art Blog
    Geometric Nail Art | The Nailasaurus | UK Nail Art Blog
    Geometric Nail Art | The Nailasaurus | UK Nail Art Blog
    Share:
    Uncategorised, Waterfall

    Nailvengers Assemble: Untried Polishes

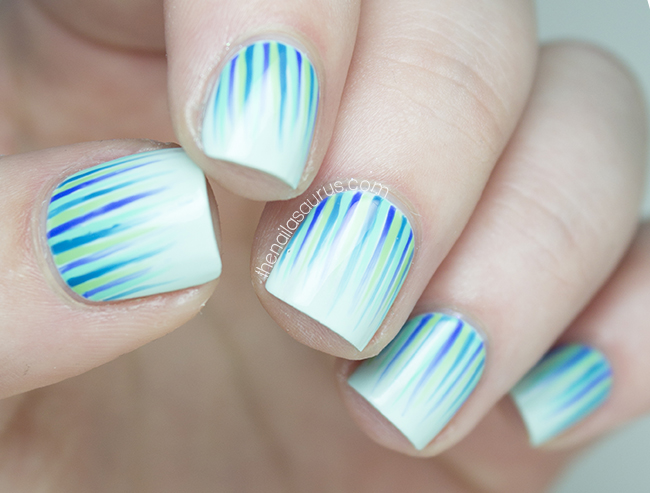
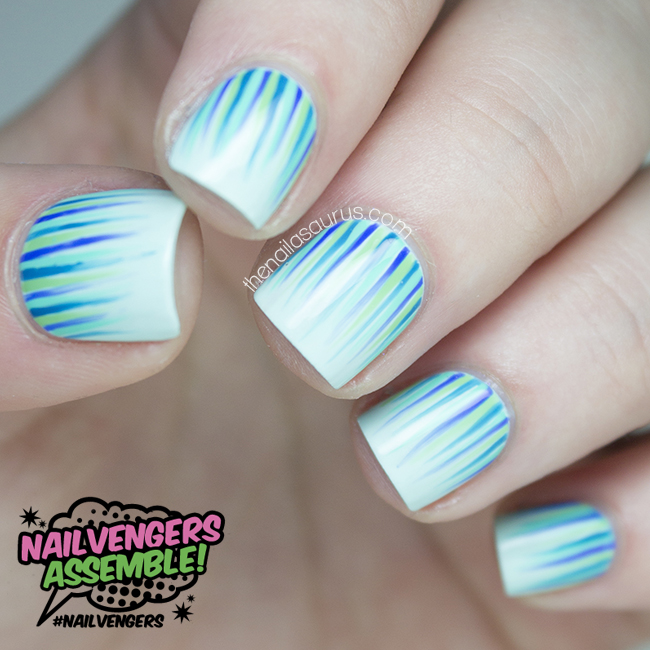
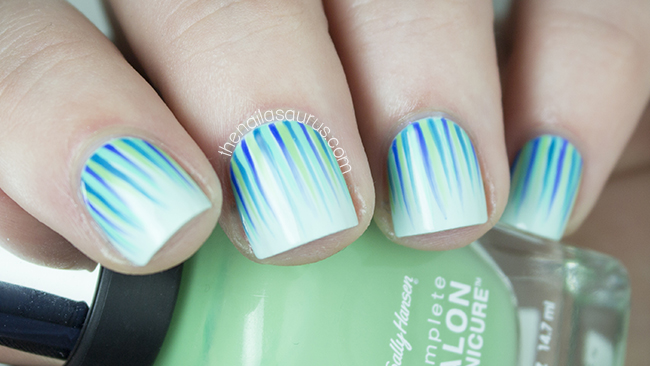
    Mint Green Waterfall Nail Art | Nailvengers | The Nailasaurus UK  Nail Art Blog

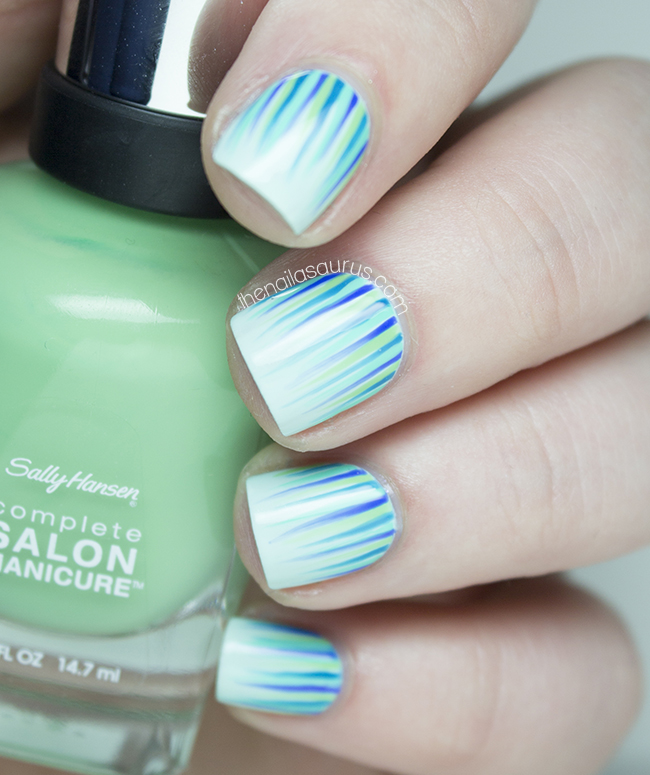
    This month’s mission is to use at least 3 untried polishes from our stash. I’m pretty good at using polishes soon after I buy them because I tend to purchase in small bundles of 3-4 polishes and get very excited to use them. I did find a few stragglers that were perfect for a mint themed waterfall manicure. It’s been a while since I dedicated a whole hand to the waterfall and I really love the colour theme in this one so I’m very happy about today’s post!

    Mint Green Waterfall Nail Art | Nailvengers | The Nailasaurus UK  Nail Art Blog
    The base colour on this one is Rimmel Breakfast in Bed
    I used Sally Hansen Mojito, Rimmel Britpop, NYC Hudson Breeze and piCture pOlish Chillax in the waterfall. There’s a waterfall tutorial here.
    It’s all topped off with one coat of HK Girl.
    Mint Green Waterfall Nail Art | Nailvengers | The Nailasaurus UK  Nail Art Blog

    Mint Green Waterfall Nail Art | Nailvengers | The Nailasaurus UK  Nail Art Blog

    Don’t forget to stop by the other ladies’ blogs to see what they dug out for the Untrieds challenge.

    Share:
    Glitter, Uncategorised

    Negative Triangles with NYC Lavender Blossom

    NYC Lavender Blossom
    For the longest time, my nails were quite seriously stained (yellow) from years of abuse at the hands of nail polish, so I made an effort steer clear of negative space nails because the stains would show through and throw the whole thing off. Whenever I did attempt some negative space, I’d use a jelly nude as a base to give the illusion of normal coloured nails!
    Recently I’ve had much less time to paint my nails so they’ve been completely naked a lot of the time except for a coat or two of my trusty OPI Nail Envy. This has given them a chance to recover and with just a little light buffing, my nails are a healthy hue again so I’m venturing in to negative space!

    1. To create the negative space accents, I attached the triangles first by sticking them in to my base coat. The triangles are from She Sells Seashells but unfortunately are no longer in stock. You could use triangle studs or any other kind of embellishment you fancy. 
    2. Once that was dry, I lined up a piece of striping tape against two sides of the triangle to make sure I’d be painting exactly parallel to the triangles!
    3. I painted from the striping tape upwards using two coats of NYC Lavender Blossom (available from May 7th) and immediately removed the tape.
    4. For the glitter nails, I used two coats of Jindie Nails Love Me over one coat of the NYC Lavender Blossom.
    5. It’s all topped off with two coats of Cult Nails Wicked Fast.
    Share: