Follow:
Browsing Category:

Tutorial

    Gradient, Tutorial

    Gradient Nails Picture Tutorial

    Exciting news today! This blog now resides at thenailasaurus.com! I’ve always wanted my own domain and after two years I finally decided today was the day to fix that.

    For some reason, I had it in my head that it would be complicated and expensive. It wasn’t! I don’t know how it works on other platforms, but it turns out Google will pretty much do it all for you for $12.30 a year. All you have to do is go to your basic settings in dashboard and follow the steps. Easy as pie and just as satisfying!

    So yesterday I hinted that I’d be elaborating on the technique I used for my gradient nails. And today, as promised, I’ve written a detailed picture tutorial for you guys. Enjoy!
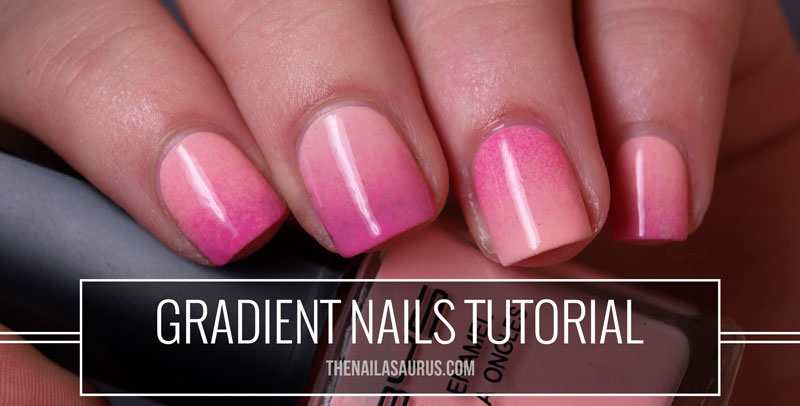
    Gradient Nails Picture Tutorial

    UPDATE: Here’s a video version!

    Before you start, make sure you have everything you need and that it’s easy to reach from wherever you’re sitting. It’s also a good idea to make a quick trip to the bathroom. There’s nothing worse than creating an awesome mani and then ruining it because you didn’t prepare ahead!

    What You’ll Need

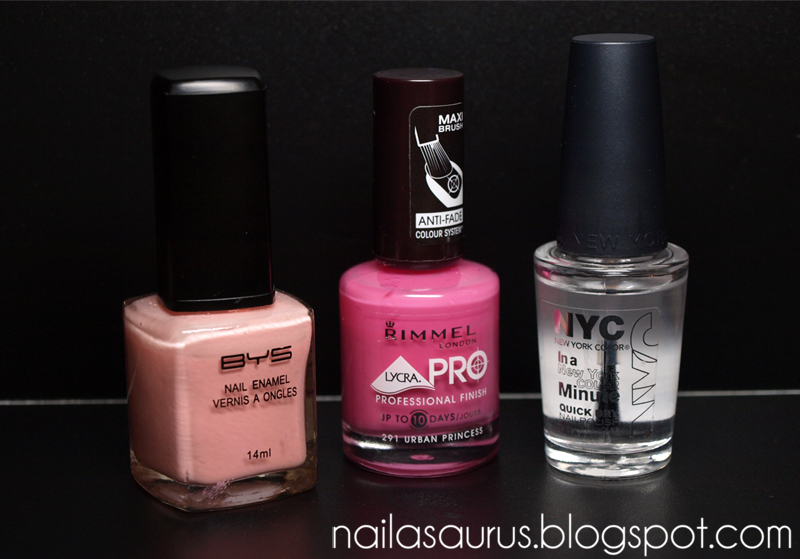
    Two colour polishes and a top coat
    You can choose colours that compliment or go bold and pick two that clash. Experiment with different combinations and see what works.
    Ombre Nails Tutorial

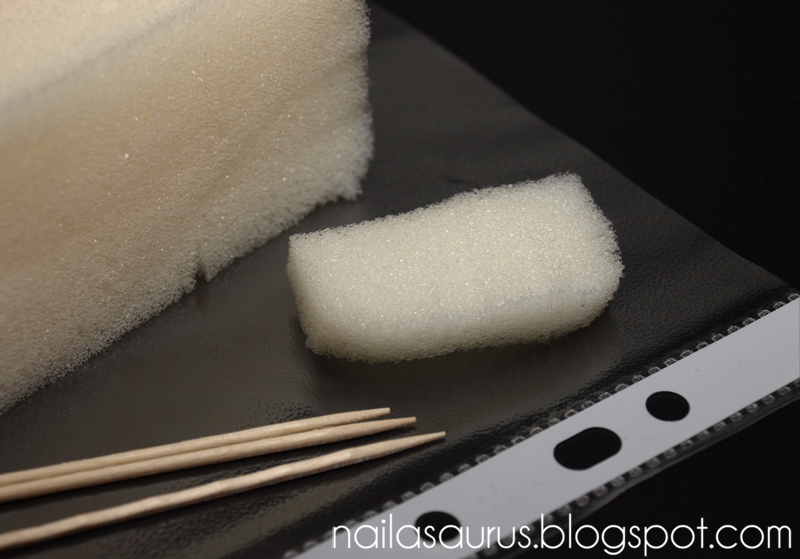
    A sponge, a plastic sheet and toothpicks

    I bought a big bathroom sponge and I just cut sections off when I need them. The sections don’t have to be perfectly cut, as long as one side is flat it will work. You can use absolutely any sponge – a make-up sponge, washing up sponge or any other kind of sponge you can find.

    If you don’t have any of these plastic wallets in the house, raid the kitchen cupboards for some foil or baking paper.
    Ombre Nails Tutorial

    How to do Gradient Nails

    Step 1
    Using the lightest of the two colours, paint your nails and wait for it to dry completely.

    Ombre Nails Nail Art Tutorial
    Step 2
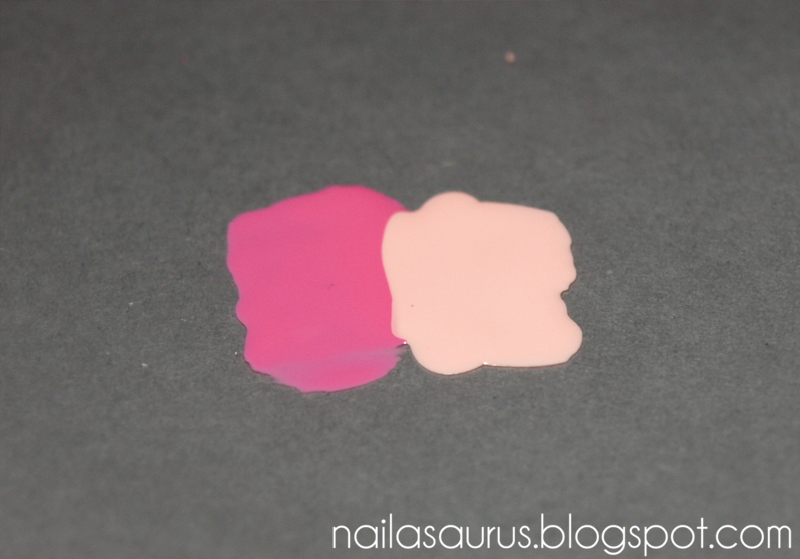
    On a flat surface, paint a generous amount of the colours right next to each other on to the plastic. Make sure they’re just about touching at the edges.
    Ombre Nails Nail Art Tutorial

    Step 3
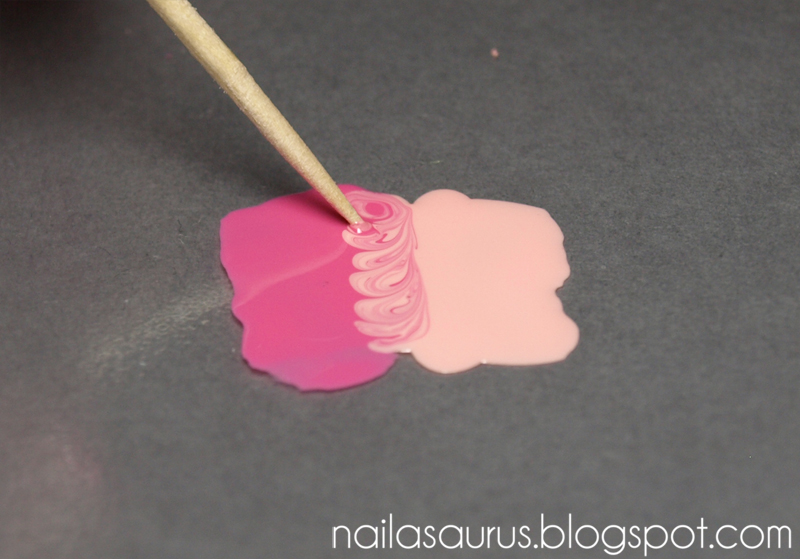
    Using a toothpick, swirl the two colours together where they meet. The area where they mix will determine the length of the graduation. So if you want a long graduation, mix a bigger section of the colours, if you want less of a fade, just mix them together a tiny bit.
    Ombre Nails Nail Art Tutorial

    Step 4
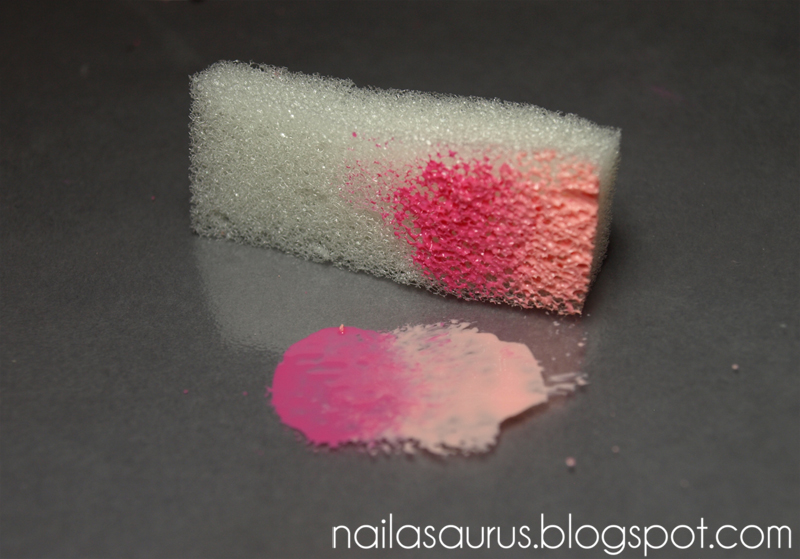
    Take your sponge and dab it directly down on to the polish a few times.
    Ombre Nails Nail Art Tutorial

    Step 5
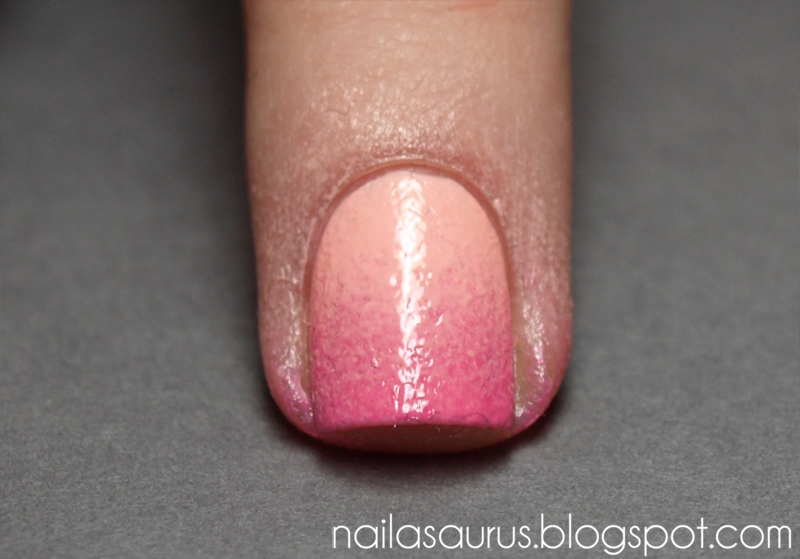
    Dab the sponge directly down on to your nail. Keep dabbing lightly and moving it very slightly up and down your nail.

    Gradient Nails with a Sponge

    You can repeat this step as many times as you need to. Just make sure each layer is completely dry before sponging again otherwise you will start smudging the underneath layers and ruin the whole thing.
    Ombre Nails Nail Art Tutorial

    Step 6
    Add a topcoat. Or two or three! The sponging makes this mani very bumpy so you may need a couple of topcoats just to even out the surface.

    Ombre Nails Nail Art Tutorial

    Step 7
    Clean up all the excess using a brush dipped in acetone or polish remover. I use a q-tip dipped in remover for the big bits I can reach on my skin, then a small brush in pure acetone as I get closer to my nail and to make a crisp line near the cuticles.
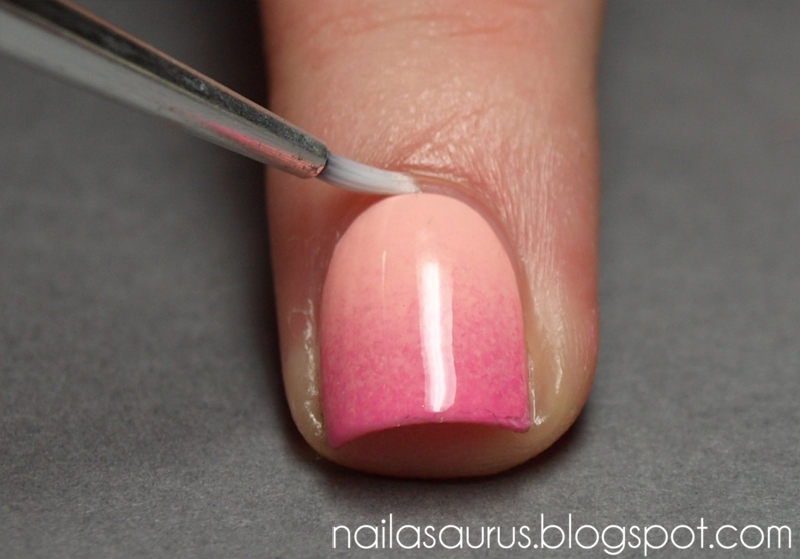
    Ombre Nails Nail Art Tutorial

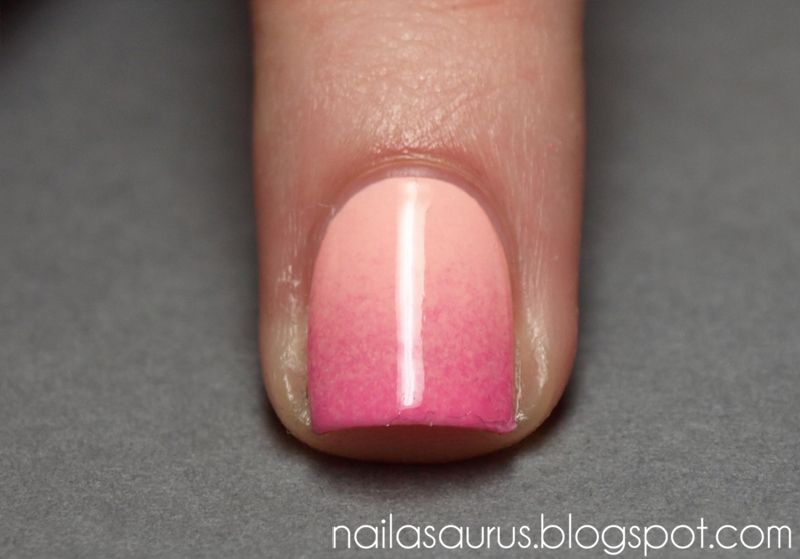
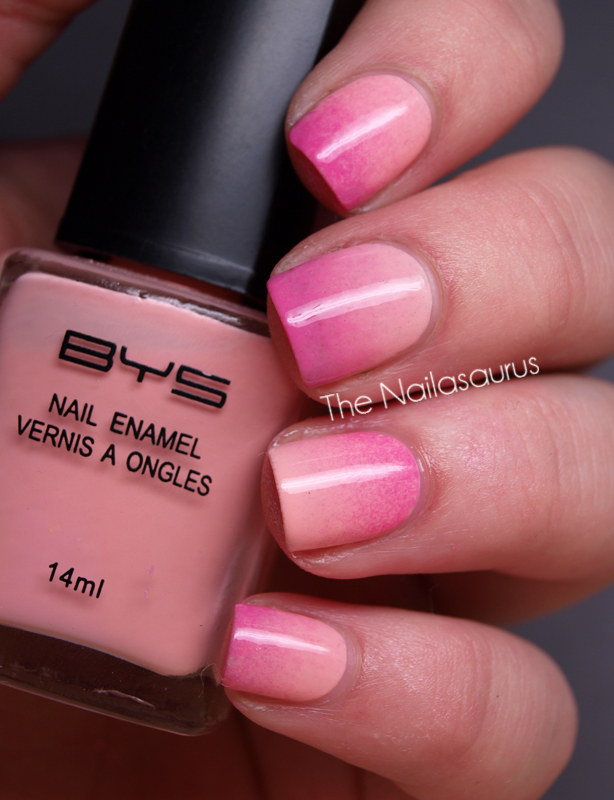
    All finished!

    Ombre Nails Nail Art Tutorial

    Gradient Nail Art Tutorial

    [pipdig_category_section category=”Gradient” number=”6″ excerpt=”4″ border=”yes” shape=”square” view_all_button=”yes” title=”More Gradients”]

    Share:
    Tutorial, Uncategorised, Video

    Video Tutorial: Applying Rhinestones

    A few months ago, I opened my Etsy shop and started selling decorated nail sets to raise money for a decent video camera. I ended up buying a Panasonic HX DC10 and I’m really impressed with the quality, considering it was quite a bargain at £139.

    So here’s the first video I’ve made with it! It’s just a super quick tutorial that will hopefully answer any questions people have been asking about how I apply rhinestones to my manicures. I apply studs, fimo and bullion in the same way but sometimes I might use pliers or a toothpick to place them instead of a brush.

    TwitterBloglovin’Tumblr

    Share:
    Freehand, Tutorial, Uncategorised

    Spider-Man Nail Art Tutorial

    Today I have a tutorial for the Amazing Spider-man nail art I created a few weeks ago. You can see the original post here.
    This is the first tutorial I’ve made for a very long time! I normally procrastinate on them and then give up hope altogether because I’ve failed quite badly at making them in the past but I actually had a really good time making this one. I hope you enjoy it!
    Step by step instructions after the jump!

    You will need Red Blue and Silver polishes but you could also use black in place of the silver.

    I’m using Cult Nails Quench, Cult Nails Time Traveler and Barry M Silver Foil (which is currently on sale at asos.com!).

    I’m also using a small liner brush from eBay. Details here.

     
    1. Paint on your red base coat. 
    2. Use a nail art brush to paint on a blue tip with a scalloped edge. Aim for 4 or 5 ‘waves’.
    3. Using a nail art brush and silver polish, define the wavy line between the red and blue sections.
    4. Draw lines from your cuticle to the tip ensuring that they cross through the points of the wavy line. In the blue section, link these lines to make it look like a web.

    5. In the red section, draw a few more lines from your cuticle to the wavy silver line from step 3.

    6. Join up all the lines with more wavy web like lines, add your top coat and you’re all done!

    The accent finger is easy to create than it looks. I drew on the eyes first, then the webs using the same principle shown above and finished by outlining the eyes using black acrylic paint.

    TwitterBloglovin’Tumblr

    Share:
    31 Day Challenge, Tutorial, Uncategorised

    Video Tutorial: Simple Flower Nail Art

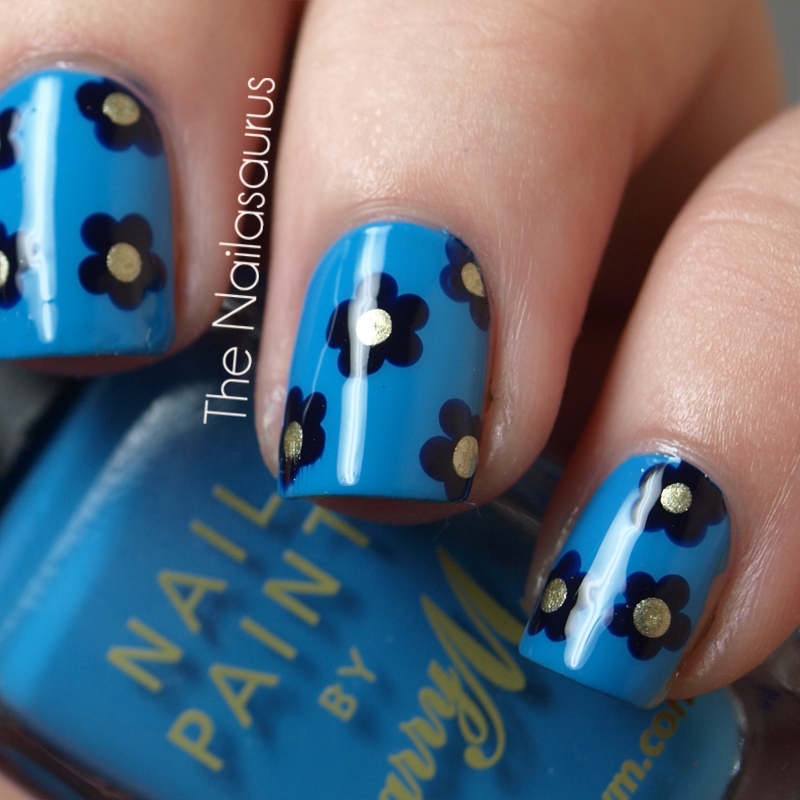
    Here is a quick tutorial for the flower nails I created on Day 14. I had so many lovely comments and the design is just so simple to create so I thought I’d show you how I went about it.

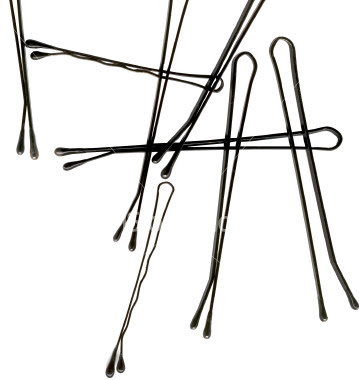
    All you need is to create this look yourself  is a few colours of your choice; a base colour and however many colours you decide to use for the flowers, and a dotting tool. And if you don’t have a dotting tool, bobby pins make a great subsitute!

    TwitterBloglovin’Tumblr

    Share:
    Tutorial, Uncategorised

    How I Trim and Shape My Nails

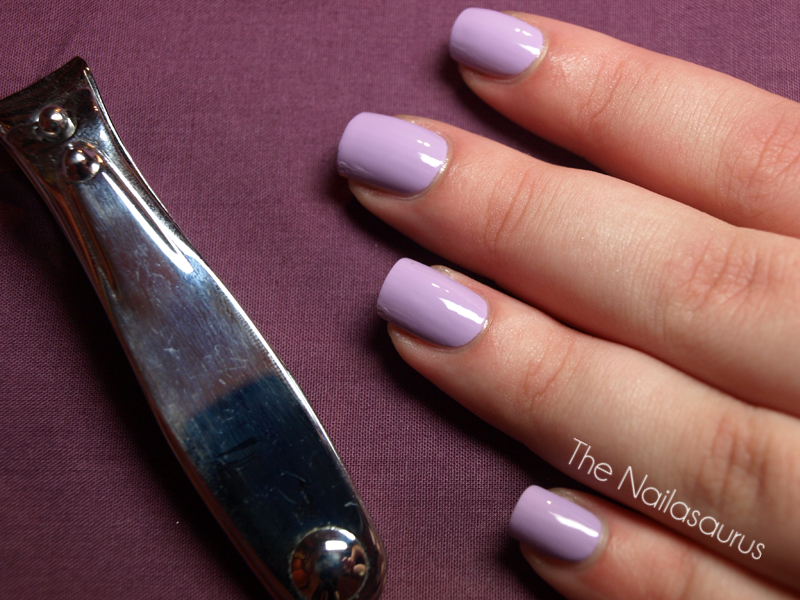
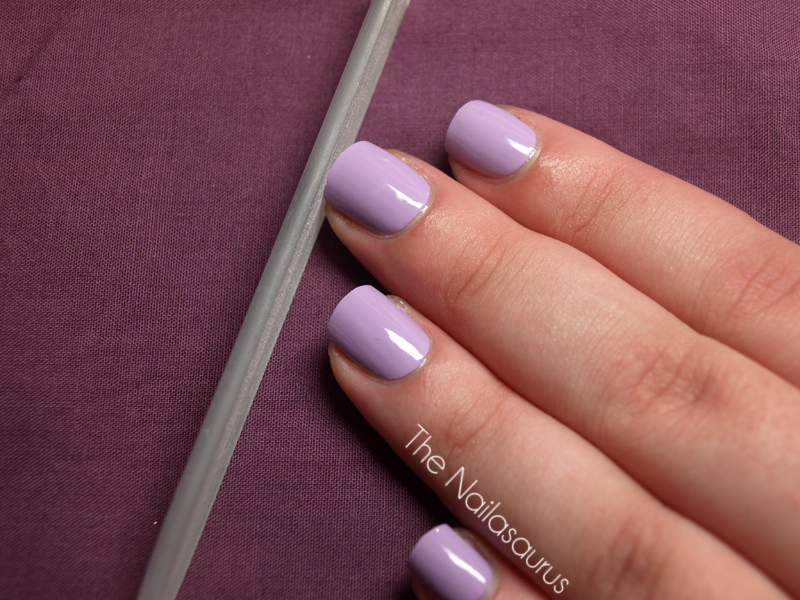
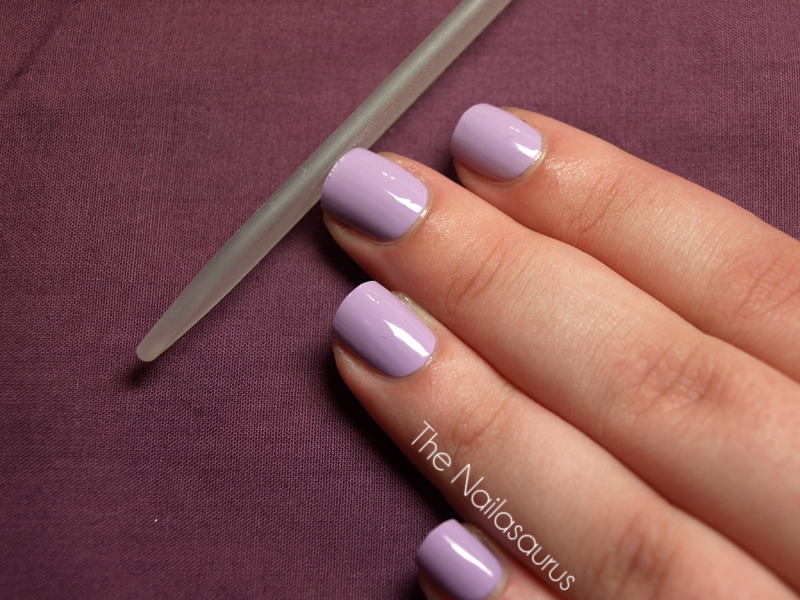
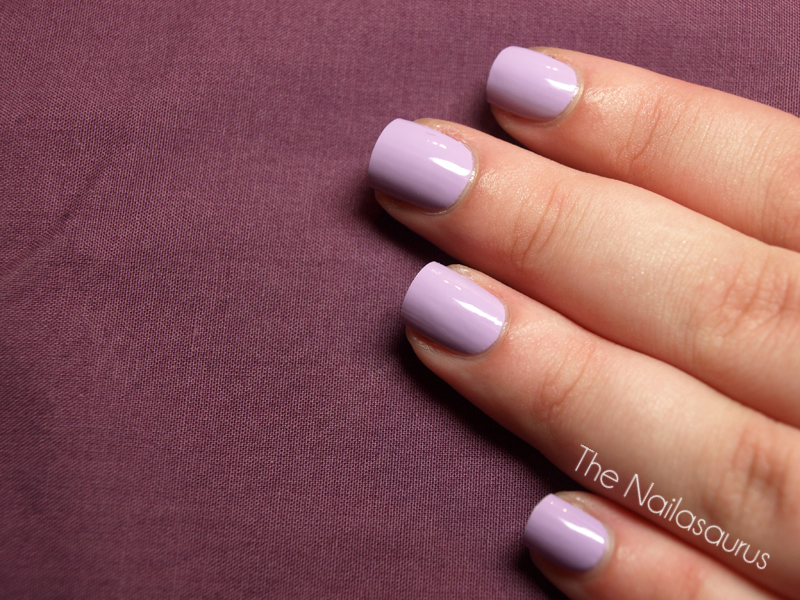
    A few people have asked me how I get my nails the shape they are so I thought I’d put together a picture tutorial to showing how I keep my nails in shape!
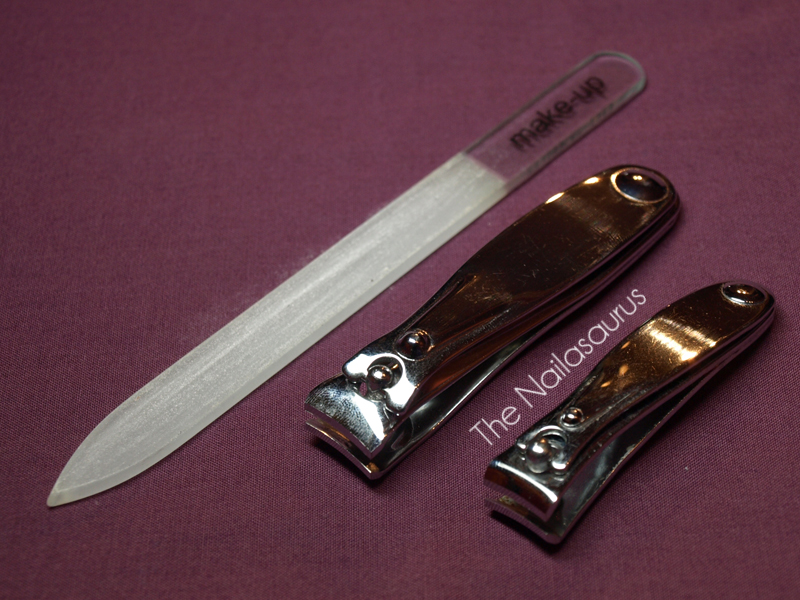
    I use nail clippers and a glass nail file.
    I’ve heard that you shouldn’t use clippers if your nails are hard and strong (like mine) because it can lead to breakages but I’ve never had this problem.
    These are my nails before I start working on them. When they get to a certain length I just have to cut them. I can feel when they get too long because they seem to get in the way constantly and I worry about catching and breaking them. My favourite length is about 2mm past my nail bed.
    I start by trimming the length with the clippers. I use this massive pair which allows me to get the whole nail in one snip. I leave them a little longer than I actually want them so there is some excess nail that will get filed off when I start shaping.
    I file the edge to the middle, then from the other edge to the middle.
    Then I quickly file straight across the whole nail, one edge to the other.
    I always aim for a slightly ‘Squoval’ shape. This means a square shape with slightly rounded edges. I normally work on the corners from underneath the nail.
    And here we have the finished product. Short, sweet and squoval, just the way I like them!

    TwitterBloglovin’Tumblr

    Share:
    Tutorial, Uncategorised, Video

    ‘I Wanna Go Surfing’ Tutorial

    Thank you for the amazing feedback on my last post! A lot of you requested a tutorial so here you go!

    I had a great time camping but had to trim my nails a bit because they kept breaking from all the manual work! I quite like them short but since I’ve been doing more freehand nail art, it helps to have a bigger canvas so I’m hoping they’ll grow back quite quickly.

    I’m starting a new job this week so I don’t know how often I’ll be able to blog. I’m hoping regularly but we’ll see how it goes.

    TwitterBloglovin’Tumblr

    Share:
    Stamping, Tutorial, Uncategorised, Video

    You Tube Take Two

    I made a new video today to demonstrate the basics of Konad. I know I already made one but I took it down because I just hated it. The lighting was terrible and it was in 4:3 so the video was squashed and OMG I CAN’T HANDLE THAT KIND OF IMPERFECTION!

    Phew! So yeah, in case you didn’t notice I am a bit of a perfectionist and this video is way more up to standard.
    So please… watch, enjoy and leave some feedback if you have the time!

    Also, if anyone’s interested I made my first make-up tutorial yesterday! It’s called ‘How To: Perfect Winged Eyeliner in Less than Two Minutes’ and it’s just a very quick video of me applying my eyeliner for anyone that was curious about my technique. If you’re interested you can watch that here or on my channel. I’m working on more detailed tutorials but I still haven’t decided whether I will be talking in any videos!

    TwitterBloglovin’Tumblr

    Share: