Follow:
Browsing Category:

Tutorial

    Tutorial, Uncategorised

    Tips and Tricks for Taking Pics

    I recently started using Google Analytics which gives me loads of useful information about The Nailasaurus’ audience. If you have a blog or website, I really recommend trying it out.
    One of the ‘keywords’, or searches that keeps popping up is ‘nailasaurus what camera do you use’ so I thought I’d share some of my tips for taking and editing pictures and run you through my… ‘process’, if you will!
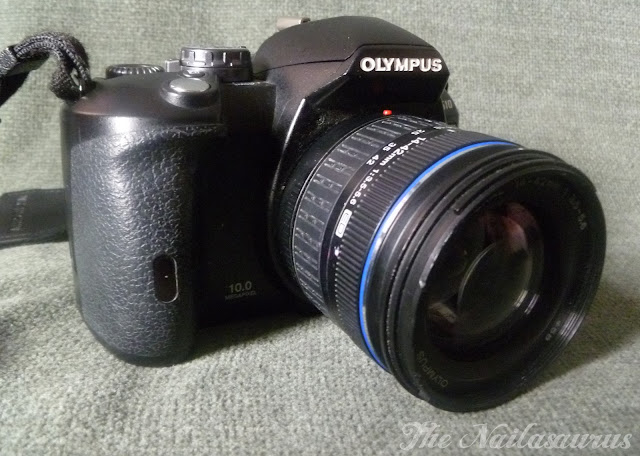
    The main camera I use to take most of the pictures you see on this blog is an Olympus E510 with a 14-42mm lens.

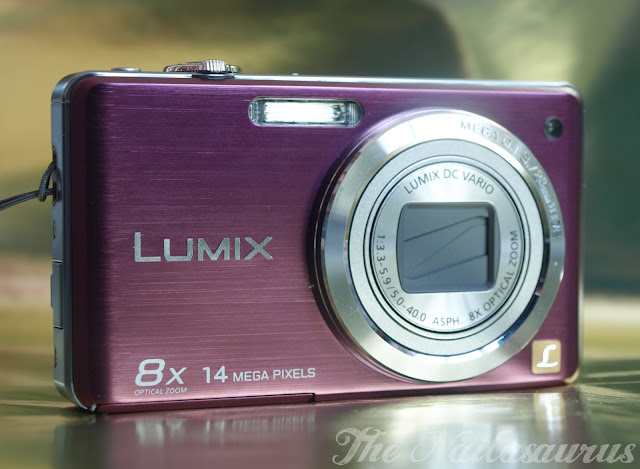
    Recently, I have also started using this Panasonic Lumix FS30 which I got for Christmas. It has superior macro capabilities, but obviously doesn’t give the same quality or range of settings customization you get from a DSLR. I use this for really close-up pictures.

    How do I take my pictures?
    Positioning
    I photograph with my hand and camera both resting on a flat surface. This minimises the chances of blur from unsteady hands.
    Focus is important
    I think focus is the most important factor in photographing nails and nail art, where every tiny detail counts.
    I’ve found the best way to get sharp close-up pictures (with the DSLR) is to zoom in as far as I can and hold my hand a little further away from the camera as opposed to shoving my hand in to my camera’s face!
    Don’t worry if you can’t get in as close as you would like with your camera. Just make sure it’s in focus, then crop it later like I do.
    Set the white balance
    This just makes sure that you get colour-accurate pictures.
    All you need to do is find out how to set the white balance on your camera (however, not all cameras have this feature). It will normally tell you how to do this in the instruction manual, or if not I’m sure you can find some instructions online. It involves holding a white piece of paper in front of the lens and taking a dummy picture, the clever camera then decides the correct exposure and colour settings for your picture.
    Editing

    This is one of my pictures before any editing. You can see that my hand is resting on a flat surface (in this case, the floor!) as I mentioned above. I’m also resting the camera on the floor. This is the closest I can get my hand to the camera, if I move any closer, it won’t focus on my nails.
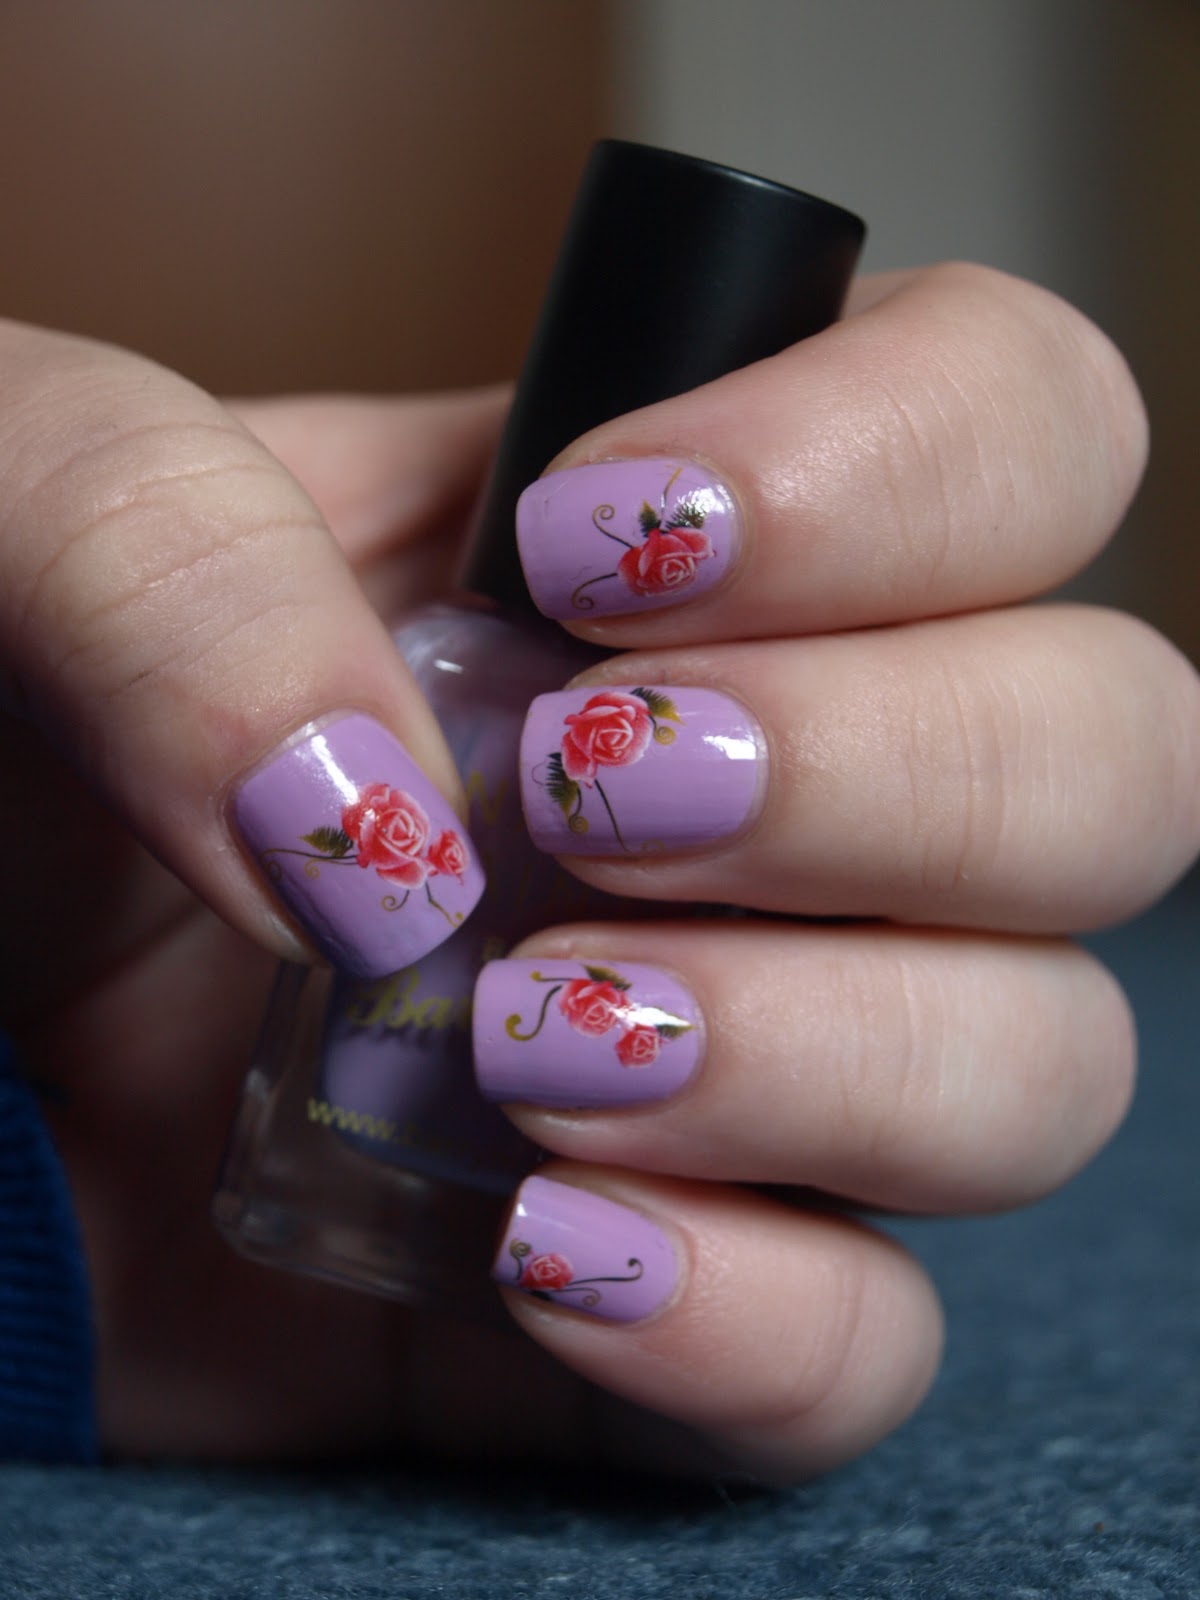
    The software I use for editing is Adobe Photoshop CS5 and this is my routine editing process. It’s quite basic really, I just rotate the image 90°, crop it down and then stamp on my watermark.
    Sometimes I also have a quick mess around with the contrast and colour settings if I don’t think the colours in the photo are true to real life in an attempt to match them up.
    Share:
    Glitter, Tutorial, Uncategorised

    ‘Foil Method’ Glitter Polish Removal Tutorial

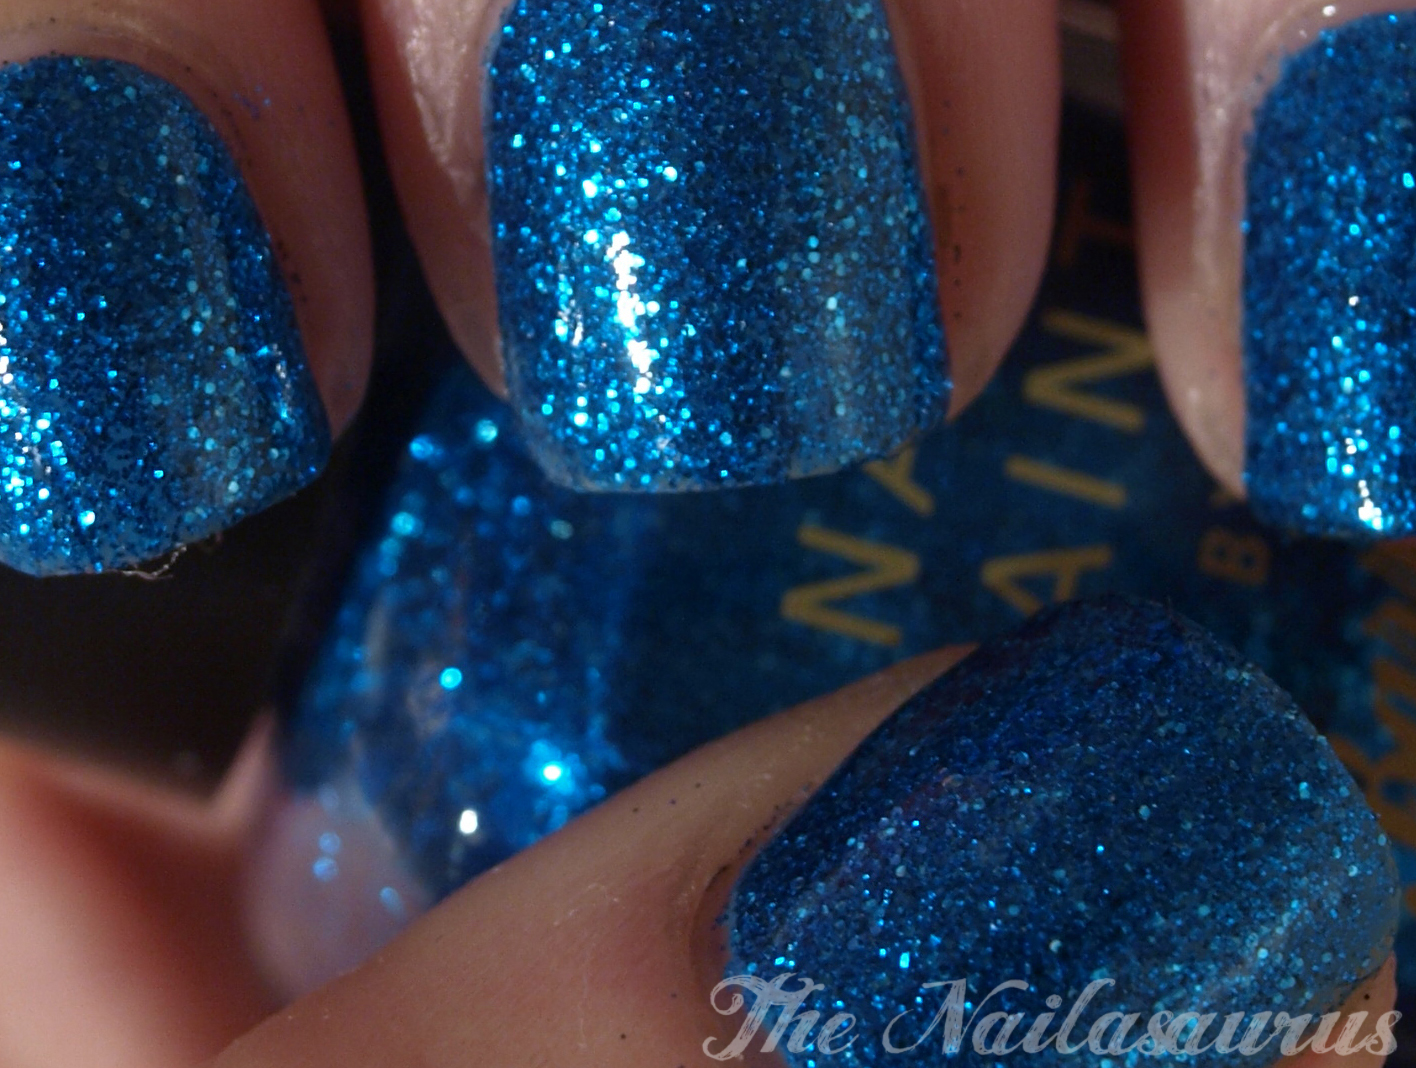
    I recently fell in love with some of Barry M’s glitter polishes but hated the trouble I ran in to when attempting to remove them. At first I tried my usual polish remover on a cotton pad, but the pad just got ripped to bits. Then I tried the same with pure acetone but the same thing happened. Aside from being a pain in the butt I could also see it was damaging my nails because any pieces of glitter that had come loose was scrubbing my nails like sandpaper. 
    I remembered reading about this foil method before but was a bit hesitant to try it because it seemed like so much hassle. I’m really glad I tried it and after doing a few nails I got the hang of it.
    From what I understand, wrapping your fingertip in foil prevents the acetone from evaporating and lets it really soak into the polish and soften it up so it easily comes off your nail. 
    So here’s how I do it…
    1. Be Prepared
    You’ll need acetone, cotton wool pads (or whatever you like to use to remove your polish) and foil cut into rectangles about 2″x4″.

    2. Cut (Costs)
    I cut up my cotton pads into quarters. You can use them whole but cutting them up makes them (and the acetone) go further and I find them easier to handle.
    If you have longer nails you could use them whole or just cut them in to halves.
    3. Soak It Up
    Whenever I’m using acetone, I pour a bit out in to the lid of the bottle so if there are any accidents the consequences aren’t too catastrophic. Dip a corner or edge of your cotton in to the acetone and wait a few seconds for it to soak up through the pad. This way you won’t end up with too much on the pad and you won’t have it dripping it all over the place.
    4. Place and Wrap
    Place the cotton on your nail and wrap your whole fingertip in foil. 
    Be firm and secure the foil in placed but don’t squeeze too hard or you will squeeze all of the acetone out of the cotton.
    5. Repeat
    Repeat this process for each finger. Only do one hand at a time so you have some fingers free in case of emergencies!
    6. Leave 
    Leave the foils on for about 5 minutes.
    After 5 minutes, just slide the foil off the end of your finger while pressing down slightly on the nail.
    The glitter should slide off easily with the cotton. If there are any bits left on your nail, just use regular nail polish remover to get rid of them.
    The End 🙂
    Has anyone else found this method to be their saviour when it comes to glitter polishes?
    Share:
    Tutorial, Uncategorised

    Tutorial: Sequin Tips

    I had a few requests for a tutorial on the Sequin Tip nails I did for PHD’s Just Tips Challenge.
    Sorry about the abysmal lighting in the photos. I was waiting for a sunny day, but it never came.
    1. 
    Prepare everything you will need. I used:
    E.L.F. Nude as a base just to get an even colour. You can go with a simple base or jazz it up with some colour.
    A top coat. I used Miss Sporty.
    A Nail Stick
    Sequins
    2. 
    Paint on your base colour and let it dry.
    3. 
    You need to ‘Blob’ a small amount of the top coat on to the tip of your nail in the corner.
    4. 
    Put some base coat on a piece of paper to dip the end of the nail stick in to get it sticky.
    Pick up a sequin.
    5.
    Try to get it in the right position first time.
    If you miss, don’t worry, you can move it around or take it off and reposition it.
    6. 
    Repeat steps 3-5 working from one side of the nail to the other.
    7. 
    Once the sequins are in place and the clear varnish holding them on is dry enough to keep them in position, apply a thick top coat, ensuring you cover all the sequins.
    If you are careful I expect they could last a few days, it just depends how long you can endure the constant catching and snagging! I only lasted a few hours!

    If you like this tutorial and do them yourself, please leave me a link. I’d love to see your take!


    Share:
    Tutorial, Uncategorised

    My First Tutorial: Water Decals

    Today I used some Water Decals from Viva La Nails. Since I have never used these before, I checked the website to see if there were instructions. Luckily, there is a video at the bottom of the page with details of how to apply the decals. I’m sure I could have guessed but I wanted to make sure I got it right. Here is how I applied my decals…
    1. 
    Paint on your base colour and allow to dry thoroughly. I used Barry M Cyan Blue.
    2. 
    Prepare everything you need:
    Cut out the decals you are going to use.
    Have a nail stick nearby, or any tool you prefer like tweezers.
    A cup or bowl of water, the website specifies warm. You can use cold but it takes much longer for the decals to come away from the paper.
    3. 
    Hold the decal between your thumb and first finger and plunge it in to the water.
    Leave it there for about 5 seconds, or longer if the water’s cold.
    You will feel the decal starting to slide around on the paper.
    4. 
    Remove the decal from the water and slide it away from the paper by gently rubbing your two fingers together.
    It should come off easily. If it doesn’t, put it back into the water for another few seconds.

    5. 
    The decals are fairly sturdy so you don’t need to be too careful when handling them, they can take a bit of rough and tumble.
    Get the decal onto your tool and prepare to transfer it to the nail.
    Fingers work just as well as any tool when using these decals.
    6. 
    Once it’s on the nail, you can move the decal around as it takes a while to dry. 
    If it dries and you don’t like the position you can dab some water on it to loosen it up and move it around again.
    7. 
    Once the decals are dry and you’re happy with them, just add a top coat.
    The Verdict
    I really like these decals. Application was easier than I expected and the finish is brilliant. Unlike with stickers, the edges of the decals are undetectable once the top coat is on so there is no temptation to pick at them as well as the fact that it looks really professional.
    The only downside is that they take a while to dry, I would say close to ten minutes, so you have to be very careful until they do because they will slide around.


    Share: