Follow:
Browsing Category:

Nail Art

    Glitter, Gradient, Uncategorised

    Cotton Candy Gradient

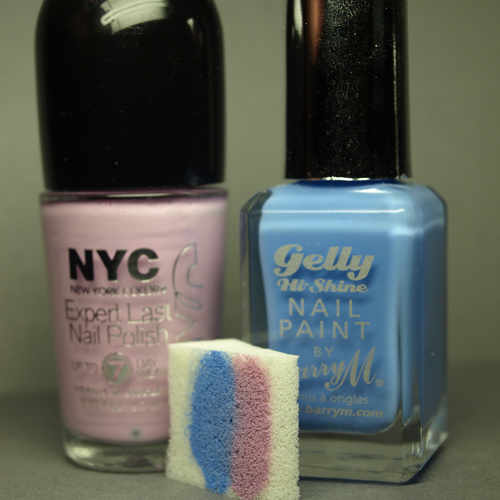
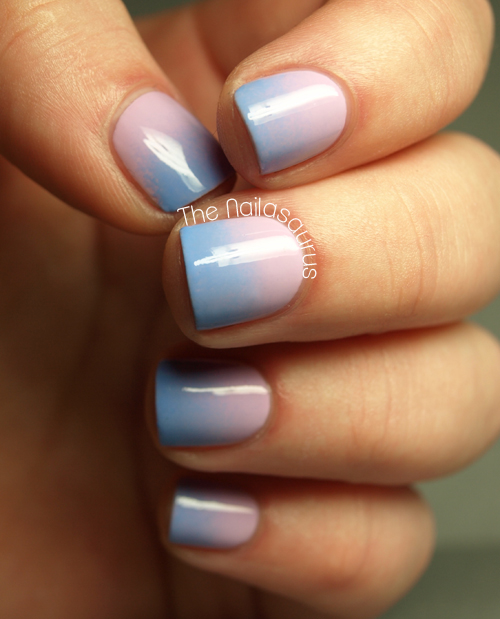
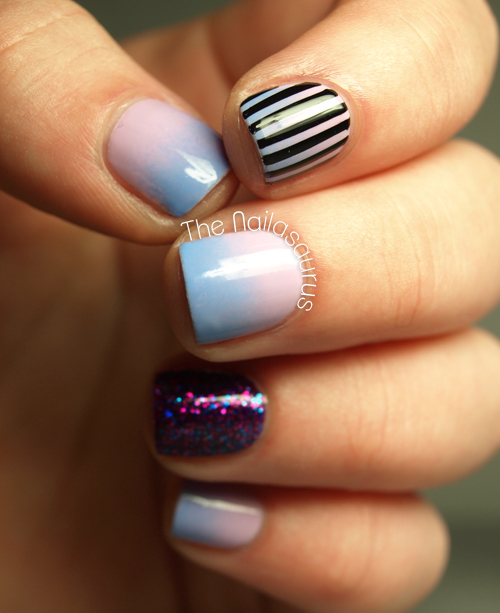
    I’m so so proud of myself today! This is the smoothest gradient I’ve ever done and possibly my favourite colour combo too. I’m going to chock it up to the perfect polishes which are both smooth but kind of watery two coaters – perfect for gradienting!

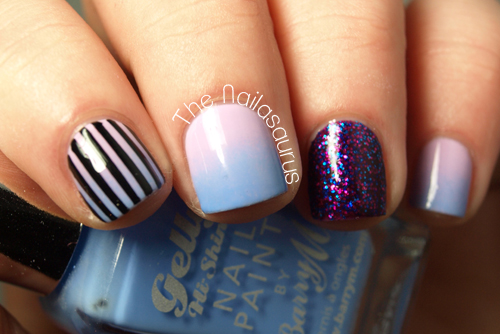
    I used NYC Lavender Cupcake as my base coat and created the gradient using Barry M Gelly Blueberry following this tutorial. Then I coated it with one coat of  Seche Vite.
    For the striped finger I applied a few strips of striping tape straight from cuticle to tip using some nail art tweezers, then painted over them with W7 Black and quickly removed the strips.
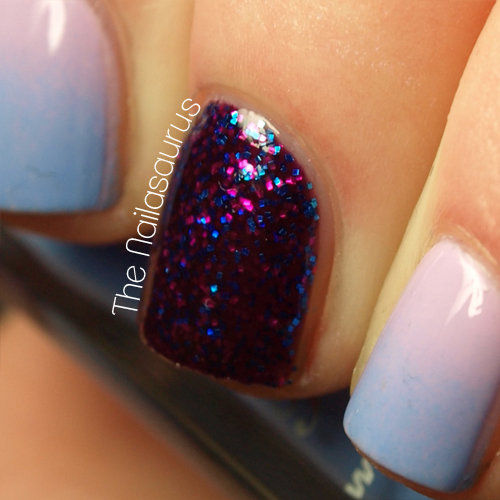
    The glitter on my accent finger is La Femme Purple Glitter. La Femme make some interesting polishes but unfortunately the names aren’t quite as creative! This one’s is a vibrant purple jelly base packed with tiny purple and blue squares and only took two coats for full coverage. I found this in my local What! store. They don’t have a website but they’re scattered all over the country and they’re one of those shops that you have to just stumble across unless Google Local has one listed near you!
    TwitterBloglovin’Tumblr

    Share:
    Freehand, Glitter, Stamping, Uncategorised

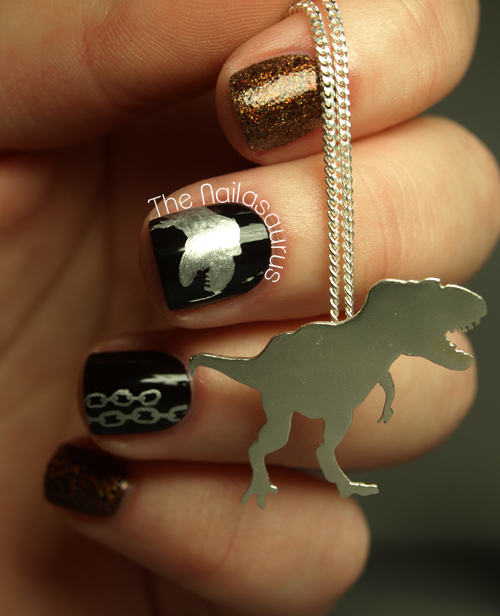
    Meet The Necklasaurus

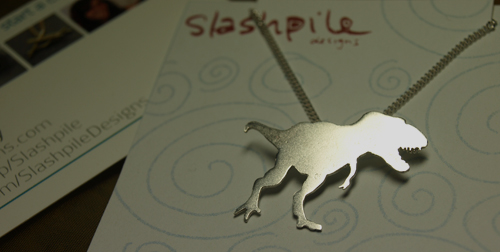
    I have never ever been this excited about a piece of jewellery before! I first found this amazing specimen in Slashpile Designs’ Etsy shop way back in September last year and couldn’t get it out of my mind since. I shopped around for other possible mascots but always came back round to this one. It’s just so ‘me’… minimalist but detailed. I finally decided to cough up some cash and just go for it and boy oh boy was it worth it!
    Slashpile Designs is the creation of sisters Tara and Courtney and if you like interesting jewellery, you should most definitely go and have a browse. I especially love their 1 ‘Carrot’ diamond ring!


    I’m not sure if I’ve ever told the story of my blog name before and I think now would be a perfect time seeing as it’s also my 750th post! I started going by ‘Sammersaurus’ online when I joined MySpace close to a decade ago, maybe 2004-05, and I honestly can’t remember how I came up with it.
    A few years later, I was watching ‘Meet The Robinsons’ with my family and one particular scene involving a Tyrannosaurus Rex with a ‘big head and little arms’ (video here) tickled me and my Dad. I’m slightly below average height and often can’t reach things that are high up so the Saurus name kind of stuck and ‘I’ve only got little arms’ has become a running joke in the family!
    When I decided to create a nail blog, I didn’t have to think about the name at all. I knew from the start it would be The Nailasaurus and to this day I still love the name, even if I do have to spell it out every time I tell someone.
    Now that I’m talking about it, I realise it’s kind of a strange name! What did you think when you first came across this blog and saw that title?!

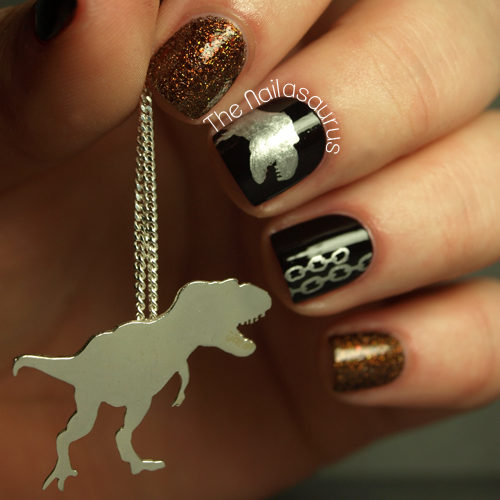
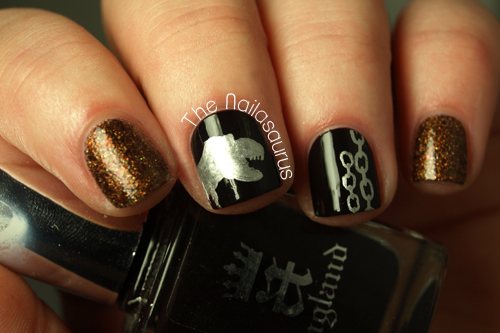
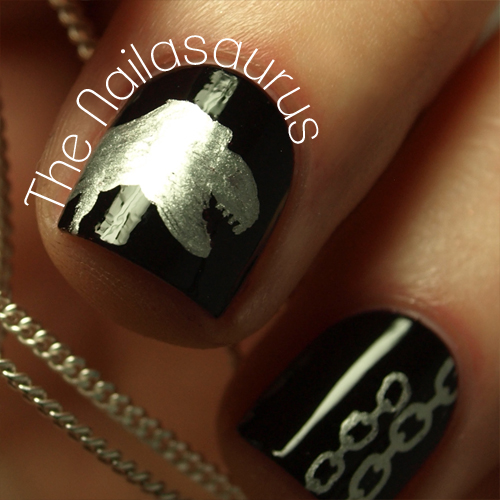
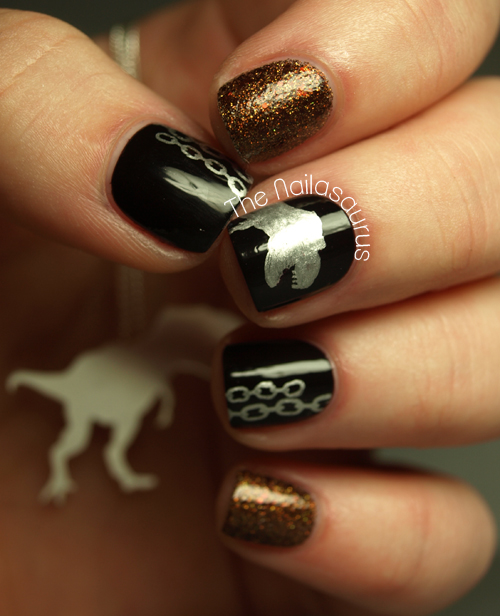
    I used A-England Lancelot as the black base colour and then freehanded on the T-Rex using a nail art brush with Barry M Silver Foil.
    The chain design is a stamp from Bundle Monster Plate BM12 but the links on the stamp all have gaps in so I filled them in with the Barry M Silver Foil.
    The glitter is Cirque French Roast and I used 3 coats of it over a base of PVA Glue for easy peel removal!
    It’s all topped off with two coats of NYC In a New York Minute top coat.

    TwitterBloglovin’Tumblr

    Share:
    Glitter, Studs, Uncategorised

    Dressed To Kill, You Look So Right

    If you don’t think Black and Gold is one of the top 5 colour combinations known to mankind, we’re gonna have a problem! This gold glitter is another one from Poundland and getting it to cover my whole nail like that was not easy. I started off using a sponge to dab it on, then resorted to a toothpick to place more glitter in the gaps. The end result was worth it and a two coats of Seche Vite glazed it nicely.

    Nails Inc Leather Effect
    Chit Chat Gold Glitter

      Studs/Bullion/Caviar from NPW
    Kiss Gold Glitter Striper

    TwitterBloglovin’Tumblr

    Share:
    Glitter, Gradient, Swatch, Uncategorised

    Cirque French Roast Swatch (Kind Of)

    This is a swatch post but I’ve spent WAY too much time swatching this week (although you haven’t yet seen the fruits of my efforts because I still haven’t finished!) so instead of yet another plain old swatch I wanted to mix some nail art in to this one.
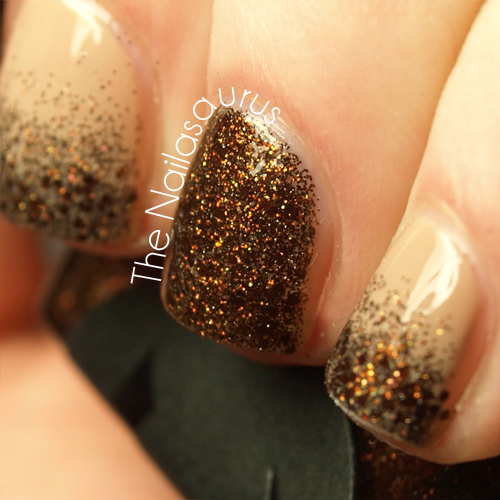
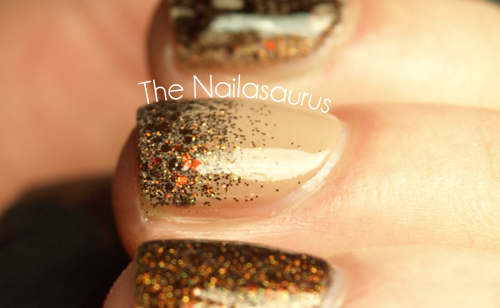
    Feast your eyes on this beauty…. Cirque‘s French Roast*. It’s a glitter polish made up of gold and bronze glitter and a few tiny bronze hexes scattered in. It’s in a clear base but I only needed 3 thin coats to get it completely opaque. Isn’t it amazing? It’s just so rich and luxe, I love it!
    If you’re in the UK, you can get your Cirque polishes from Sally Magpies. The wonderful lady behind this shop (who is Sally) has made it her mission to stock all the incredible polishes that are hard to find or otherwise completely unavailable in the UK. Go check it out, you might find something you’ve been lemming after for a while.
    US ladies can buy directly from the Cirque website and there is a list of stockists for you here if you hail from elsewhere.

    Because of all the glitter, I applied one coat of PVA glue to my nails and let that dry thoroughly before painting on any polish.
    I used 3 coats of Cirque French Roast on my thumb and ring fingers with two top coats of Seche Vite for ultimate shininess.
    To create the gradients on my middle and pinky fingers, I applied 2 coats of Deborah Lippmann Fashion then painted some of the French Roast on to the edge of a make-up sponge and dabbed it on starting from the tip and working down towards the cuticle. Again, two top coats of Seche Vite.
    My pointer finger has one coat of Fashion, one coat of French Roast and a real feather buried underneath a few top coats of Seche Vite. I made a tutorial for how do it here.

    TwitterBloglovin’Tumblr

    Share:
    Glitter, Studs, Uncategorised

    Studs, Guns, Deer

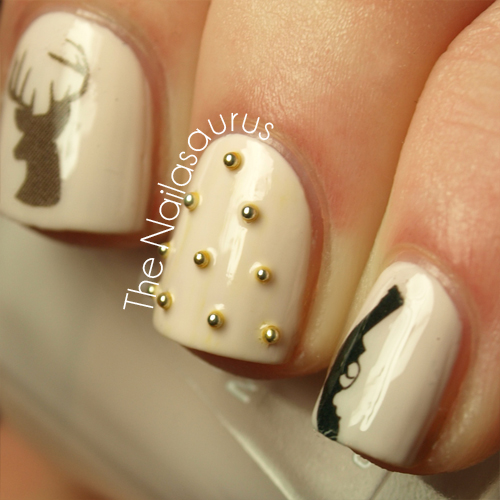
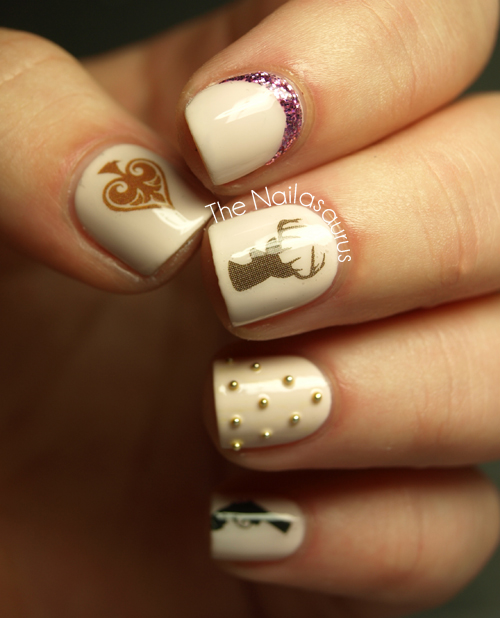
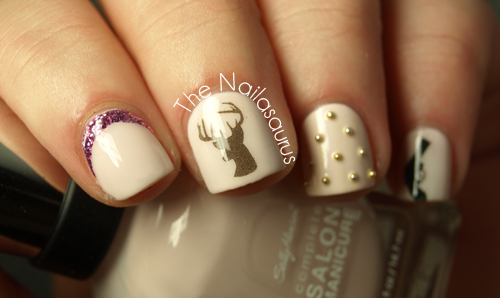
    This manicure is from way back in January and was created in the midst of my Pastel Pink obsession but for whatever reason I didn’t post it at the time. I love this stud arrangement – it’s definitely going in the brain bank for the future!
    I used Sally Hansen Crinoline as my base colour, the tattoos are from the His set at bigRuby. I used some bullion/caviar for the studs and painted on W7 Cosmic Mauve with a nail art brush for the glitter half moon.
    I don’t remember exactly what top coat I used but it was probably two coats of Sally Hansen Insta-Dri.

    TwitterBloglovin’Tumblr

    Share:
    Gradient, Uncategorised

    Pink and Hearts

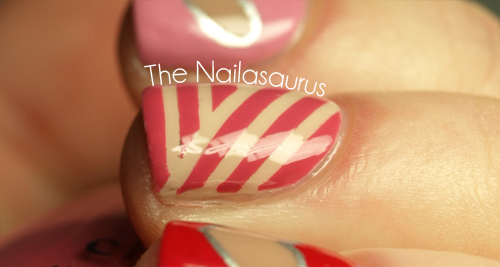
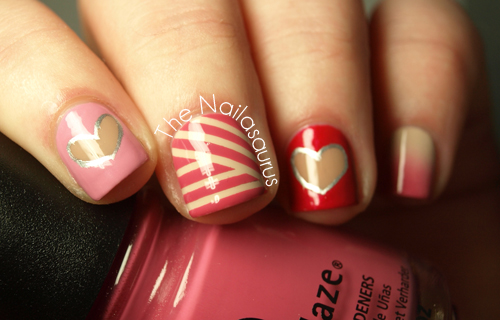
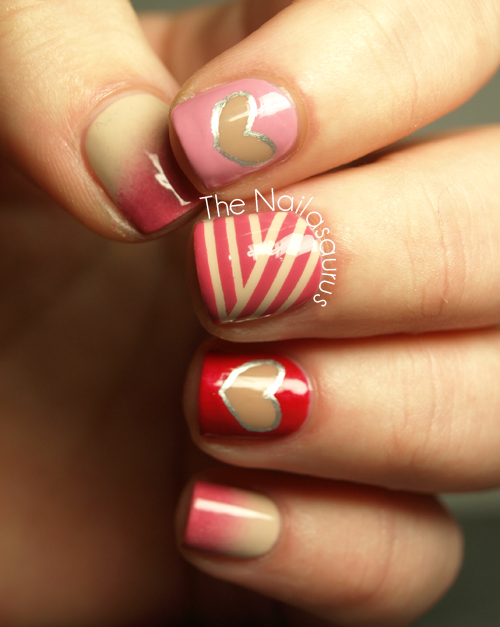
    Happy Valentines Day. Here’s some nail art and stuff.
    To start, I used two coats of Barry M Lychee on my thumb, middle finger and pinky and one coat of Deborah Lippmann Fashion on my pointer and ring fingers.
    I created the gradients following this tutorial with China Glaze Life is Rosy*. 
    I used striping tape to mark off the lines on my middle finger, applied one coat of Life is Rosy and then peeled off the tape while that was still wet.
    Using a nail art brush, I filled in the ‘outside’ of the hearts on my pointer and ring fingers using China Glaze Pink-ie Promise and Snap My Dragon respectively. Then I painted the silver lines using Barry M Silver Foil.
    It’s all topped off with two coats of Sally Hansen Insta-Dri.

    TwitterBloglovin’Tumblr

    Share:
    Studs, Uncategorised

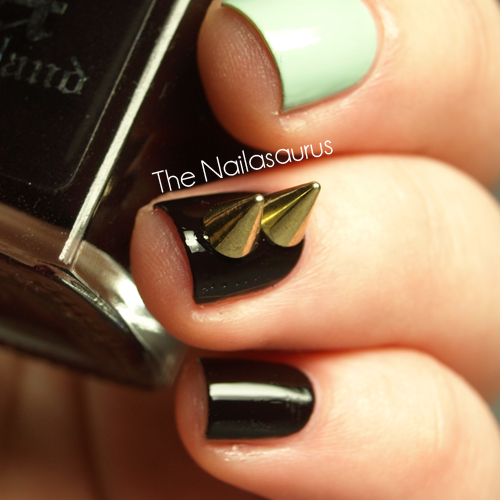
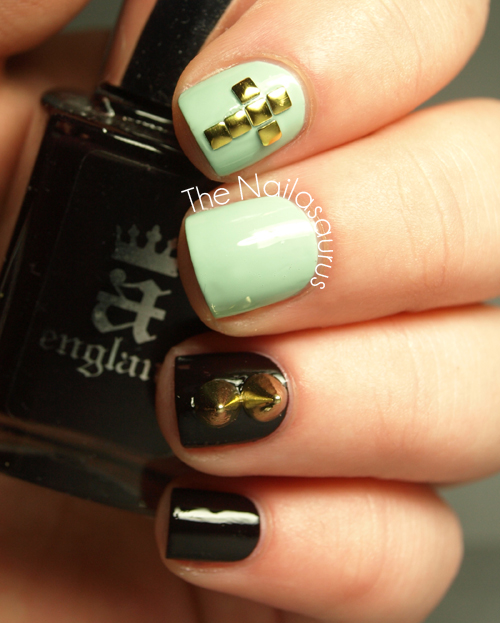
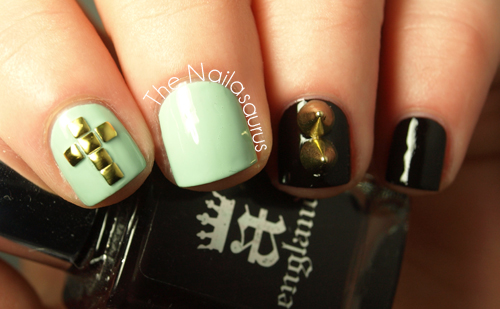
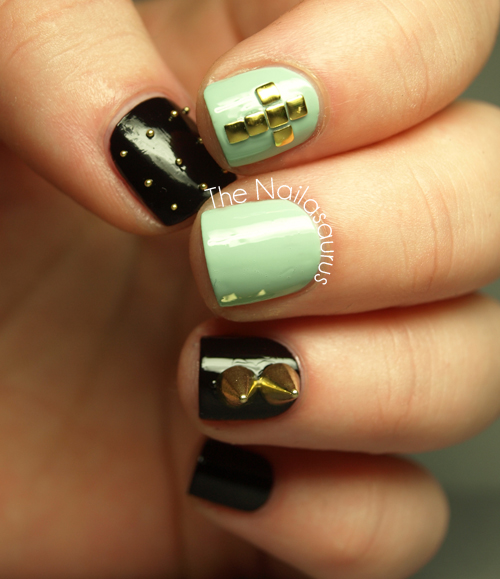
    Born Pretty Spikes

    We all know that I have a penchant for studs. Whether it’s clothes, nails or shoes – if it’s got studs on, I’ll be there drooling all over it. The next logical step is spikes and Born Pretty have started stocking nail sized ones! They’re available in gold and silver and come in packs of 10 for $0.99 or 100 for £7.99.
    I used clear nail polish to attach these to my nail. I just used a nail art brush to dab a spot on where I wanted them and stuck them on. I tried using tweezers but with all those smooth, glossy, rounded surfaces there was no hope of getting a good hold so I just used my fingers.

    My base colours are A-England Lancelot and Sally Hansen Green Tea. I top coated it all with a coat of Sally Hansen Insta Dri before quickly applying Born Pretty’s 2mm square studs to create the little cross on my index finger. The spikes* are also from Born Pretty here.

    TwitterBloglovin’Tumblr

    Share: