Follow:
Browsing Category:

Nail Art

    Freehand, Uncategorised

    Blanket Case

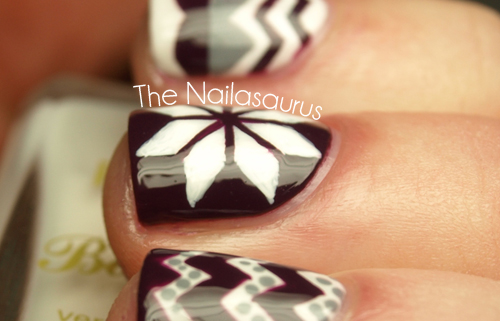
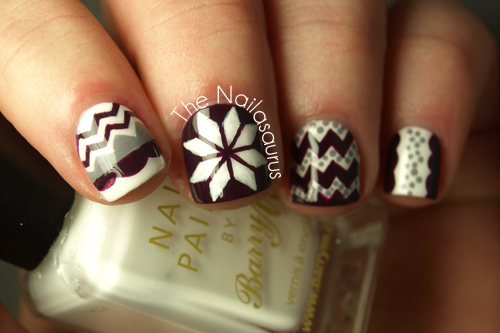
    I have a bit of a thing for blankets. I just love curling up underneath one on a Sunday night while I’m watching  whatever ITV drama is on at the time (at the moment, it’s Mr Selfridge!). A few weeks ago, I bought the BEST blanket, it’s fleecy on one side and felt on the other with a lovely fair isle pattern. I love it so much, I had to do nails inspired by it!

    I used Barry M White, Sally Hansen Plum Luck and Rimmel Grey Matter as my main colours with a nail art brush. I also used white acrylic paint for some of the small details such as drawing on the snowflake design and neatening up my lines.
    Finally, I topped it with two coats of NYC.
    Share:
    Studs, Swatch, Uncategorised

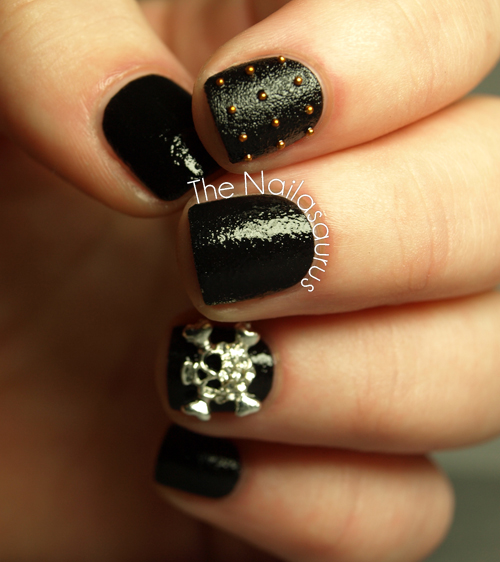
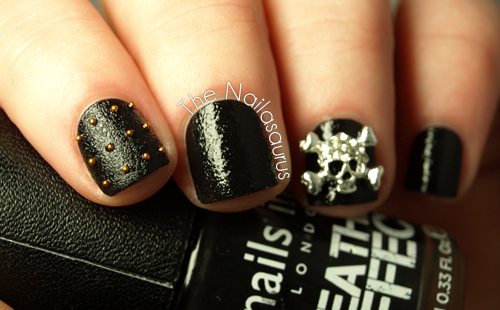
    Nails Inc Leather Effect (Noho) Swatch, Skulls and Studs

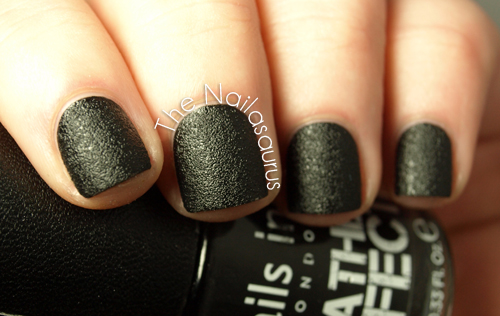
    Today I have another textured polish on my nails and it’s perhaps the first one that caused a lot of buzz among nail polish fans… Nails Inc’s Black Leather Effect*.
    As a nail crazed lover of anything black and leather, this is one that I couldn’t wait to get my hands on. Or should I say on my hands?! I was sceptical about whether it would actually look like leather on the nails since I never trust promo shots but the more I look at it, the more I believe I’m wearing leather on my fingers.

    I’m so impressed with the consistency of this polish, there was no gloopiness and it just swiped on perfectly in two coats. It dries to a matte finish and it’s recommended that you don’t use a top coat but of course I had to try… for review purposes of course, not just because I felt rebellious!
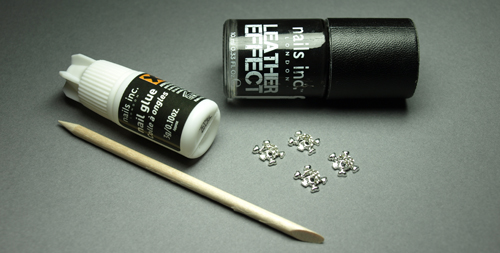
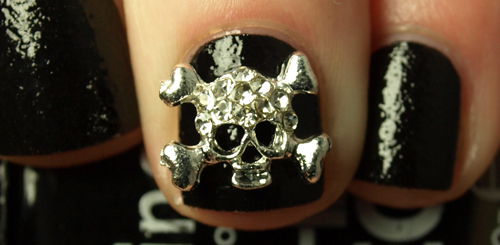
    The polish comes in a kit with nail glue, an orange stick and 4 embellished skulls (which can be reused if you clean them carefully with a little bit of acetone).
    I applied a top coat of Seche Vite to every nail except for my pointer finger which has kind of glossed them over and made them lose most of the leathery effect. I definitely prefer it without. 
    On my pointer, I used one coat of NYC In A New York Minute to attach the studs. This top coat is much thinner than the Seche Vite so it sank in to the Leather Effect pretty well.
    I attached the skull using tweezers and a little bit of nail glue on the back of his head and chin. The skulls are not something I’d wear day-to-day but next time there’s a special occasion, you can bet I’ll be rocking one of these bad boys on each hand!
    This polish is only available in the ‘Bling It On’ set and the retail price seems to float somewhere around £20/$25. 
    After a bit of searching, the cheapest price I’ve found here in the UK is £19 at Very. It’s also available from Littlewoods who I was amazed to find have a brilliant selection of nail polish including OPI and Butter London.

    Share:
    Gradient, Swatch, Uncategorised

    New Summer Barry M Gelly Swatches and Gradients!

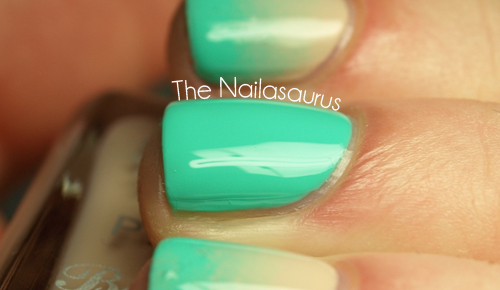
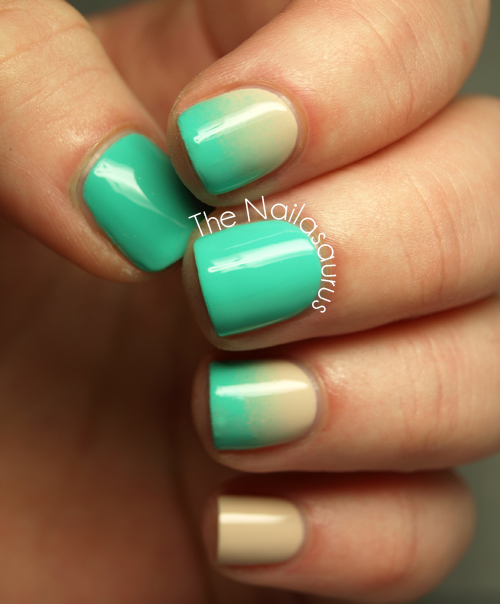
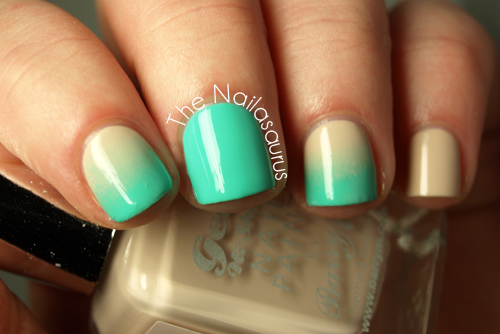
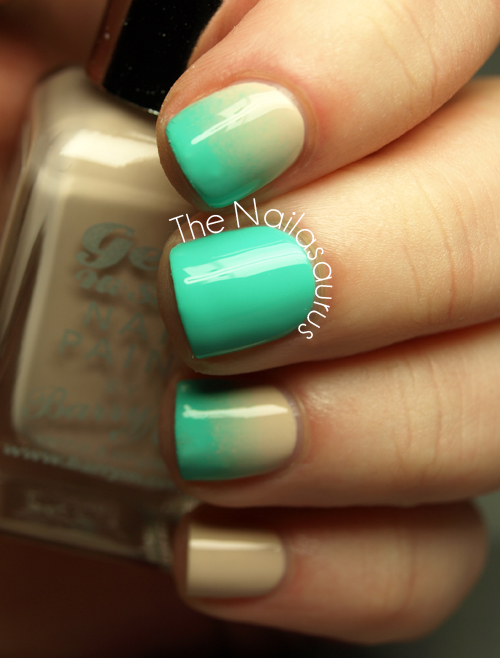
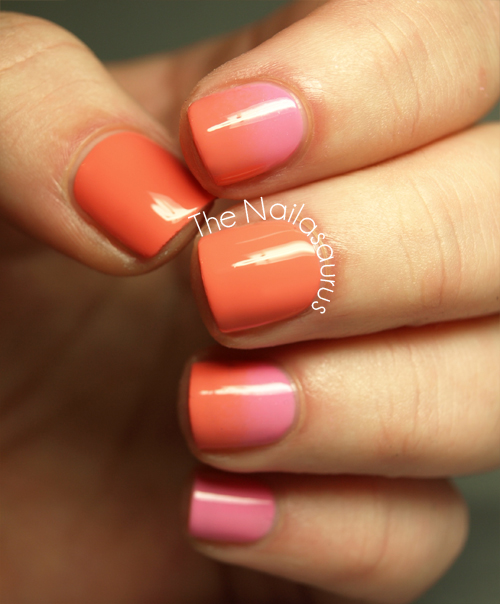
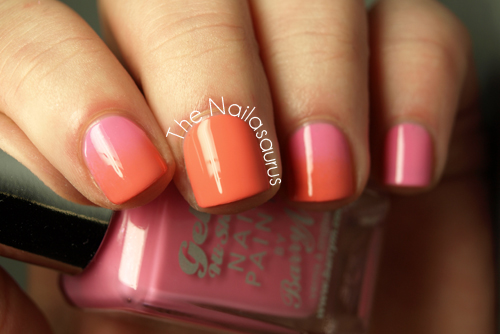
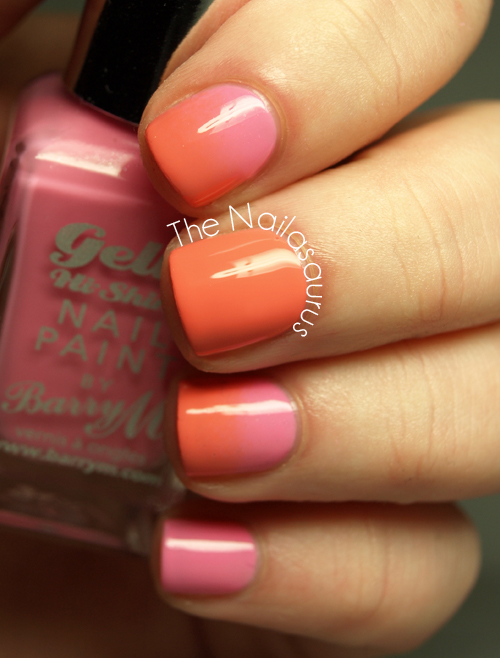
    I’ve got some more Barry M Swatches to show you today, these are the new additions to the Gelly line. There are four new shades, all nice and bright for summer. Instead of just more boring old swatches, I thought I’d show you these in some gradients. I’ve found the Gellies work really well for blending in to gradients and when I saw these, I knew they’d make for some great colour combos. There’s a tutorial for the gradient look here.

    Greenberry (Green) and Lychee (Nude)

    Both of these shades apply perfectly in two coats. Lychee is a nude shade at the cool end of the spectrum which the Barry M range has been needing for a long time. It’s a really gorgeous creamy colour which will look amazing next to a sun tan.
    I really love Greenberry too. I think my pictures are quite accurate colour-wise but it’s so hard to describe it in words! I just really like it!
    This mani is topped with a coat of Seche Vite but the polishes are really shiny on their own.

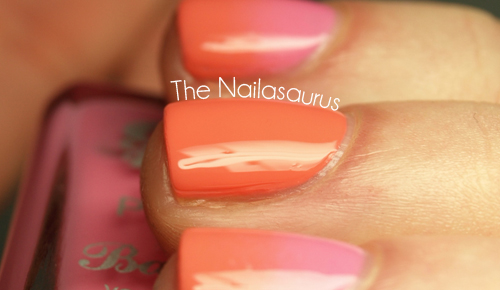
    Papaya (Orange) and Dragon (Pink)

    How amazing is this colour combination? These two were just made for each other!
    Papaya is a creamy coral which probably ties with Greenberry as my favourites of the selection. It’s a two coater. I don’t have too much else to say about this one either, I’ll let the pictures do the talking here!
    Dragon has a very subtle shimmer which is barely there but adds a touch of sparkle to what would otherwise be just another pink polish. It needs three thin coats to be opaque but you’d get away with two thick ones. I should also mention here that they all dry really quickly!
    Again, this one’s topped with a coat of Seche Vite.

    These polishes will be available in Superdrug on February 13th and Boots on February 20th.
    They’ll also be for sale at BarryM.com from February 13th.

    Are you getting excited for all the summer shades that are hitting shelves this month? I like the cheerful colours but it just makes me more sad that it’s not summer quite yet!

    TwitterBloglovin’Tumblr

    Share:
    Freehand, Uncategorised

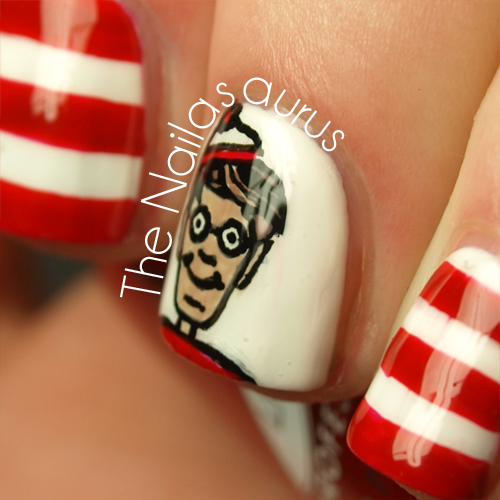
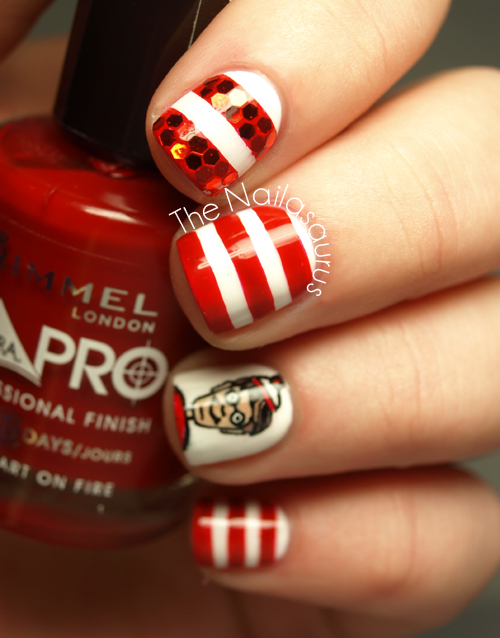
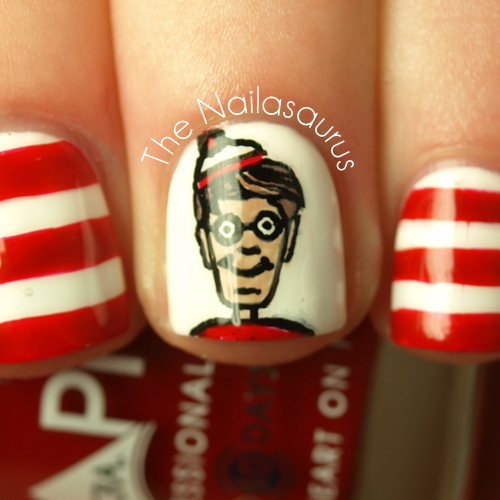
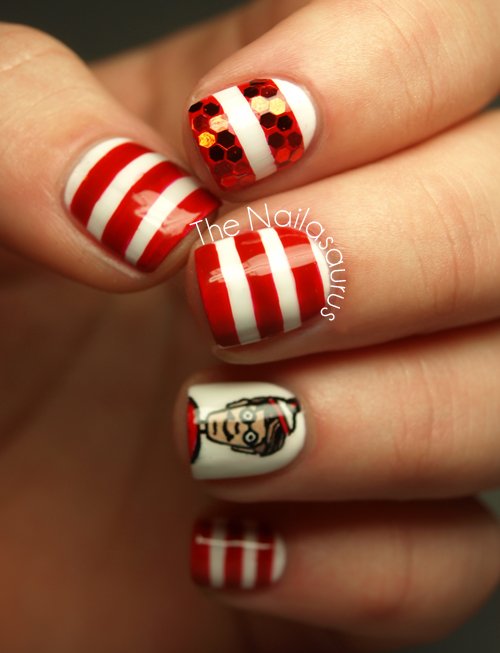
    Where’s Wally Nail Art

    Today’s nails are inspired by everyone’s favourite Hide and Seeker…Wally, of ‘Where’s Wally?’ fame! He may be known to some of you as Waldo and he’s well known for his iconic red and white stripy attire and bobbly hat. 
    After I painted these, One Nail to Rule Them All popped up in my timeline and her profile picture stuck out to me. Without even seeing her Where’s Wally design, I had created one almost identical. Great minds think alike, right? You should all go check out her blog, she’s a fellow UK blogger and perfectionist – her nail art is amazing!
    This is the first very intricate freehand design I’ve done in so long! I miss having the time (and inspiration) to create these manicures. I seem to be getting my spark back and I’m getting better at managing my free time so, painted fingers crossed, there’ll be more of them in store.

    I used Barry M Matt White as my base colour, then freehanded on the red stripes using Rimmel Heart on Fire and a nail art brush. I added the red glequins while the red polish was still wet.
    For the man himself, I used black acrylic paint with a nail brush to paint the outlines. I used Deborah Lippmann Fashion for his skin, Essie Glamour Purse for his hair and some more Rimmel Heart on Fire for the red details. Then I had to go over some of the outlines again. I had to concentrate so hard when I was doing his eyes not to make him look like a googly-eyed fish!
    Finally I topped it off with two coats of NYC In a New York Minute.

    TwitterBloglovin’Tumblr

    Share:
    Freehand, Uncategorised

    Brace Yourselves, Winter is… Oh Wait.

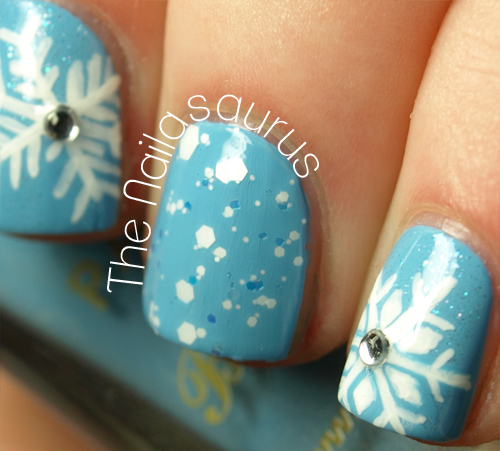
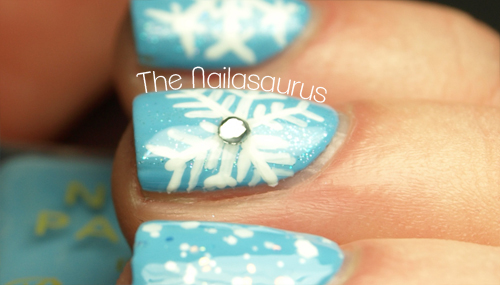
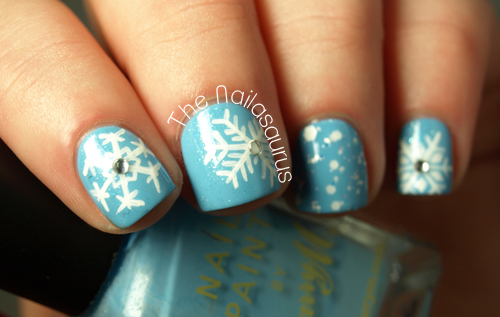
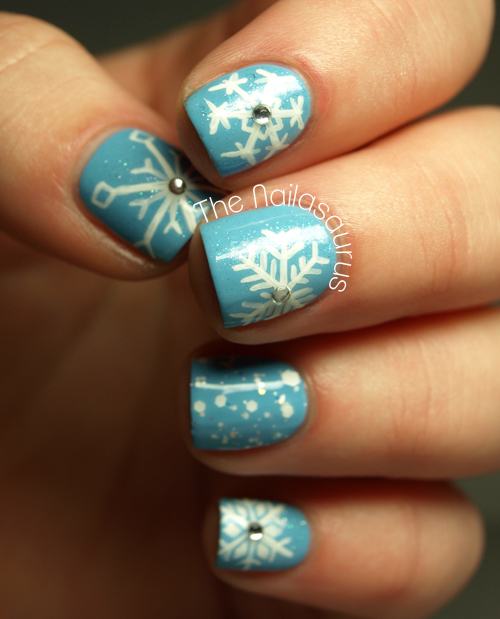
    It snowed on Friday. And when I say it snowed, I mean it SNOWED! By the afternoon, I had a six inch coating of snow on my car, I’ve never seen that much snow in my life. 
    Of course, snow is pretty and stuff but  here in the UK it shuts everything down – the schools close people can’t get to work etc. Because we never get more than 3 good days of snow a year, no one really bothers to take too many precautions other than buying up all the bread and milk in sight, and maybe throwing salt all over their driveway! We’re all quit happy to stay inside where it’s warm and only venture outside to walk the dogs. So today’s nail are inspired by… you guessed it, SNOW!

    I used Barry M Blueberry Ice Cream as my base colour. I topped my ring finger with a coat of Sonnetarium Snowfall (very fitting wouldn’t you agree?) and every other finger with Girly Bits January Morning (also very fitting!).
    I freehanded the snowflakes using a nail art brush and white acrylic paint. Finally I added the rhinestones (1mm from eBay) using a dab of clear polish and finished it off with two coats of NYC In A New York Minute.

    @thesammersaurus on Instagram

    TwitterBloglovin’Tumblr

    Share:
    Freehand, Uncategorised

    Me Looooove Cookies!

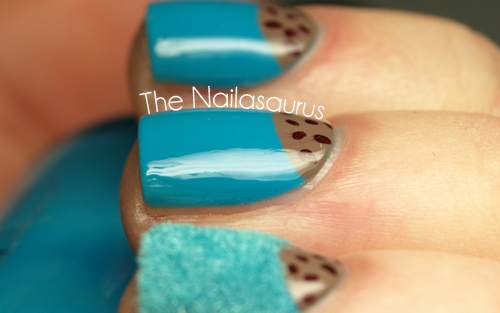
    A few days ago, a fellow blogger got in touch with me to introduce her blog, Brush me Blush, and in particular a 30 day series of tutorials she has created with twists on the french manicure. I immediately spotted some ideas that I want to try out and she even sent me a few sneak peeks of ones that are to come. This is one of those and you’ll be able to see the steps on her blog very soon.

    The tutorial was for Cookie Monster half moons – absolute genius! I’ve been meaning to do Cookie Monster nail art since I got this flocking powder and I even bought googly eyes but I just couldn’t get it right. Ria has nailed it with this tutorial!

    I won’t give too many of the details away – you’ll have to wait for the tutorial at Brush me Blush – but I used NYC Water Street Blue, Essie Glamour Purse, Rimmel Desire and some flocking powder from Born Pretty to create this look.

    TwitterBloglovin’Tumblr

    Share: