Follow:
Browsing Category:

Nail Art

    Freehand, Galaxy, Uncategorised

    Star Wars Nail Art (Obviously!)

    Star Wars Nail Art | The Nailasaurus | UK Nail Art Blog
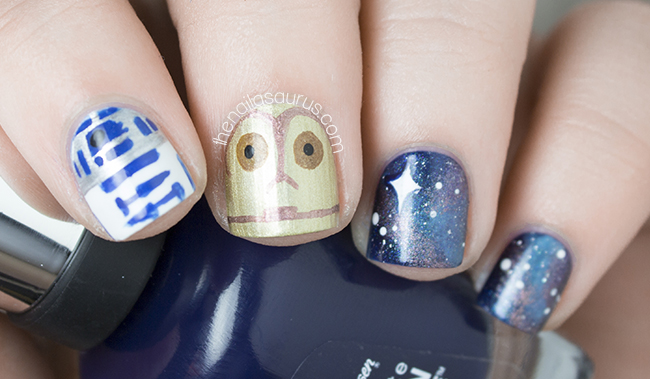
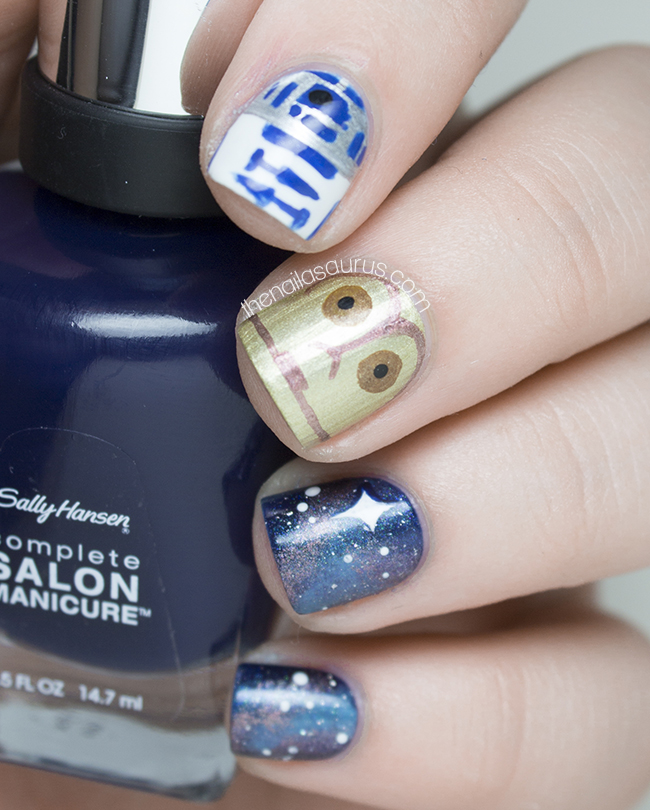
    It’s kind of late in the day but I finally got around to doing my Star Wars nail art. It’s been impossible to avoid the fact this year with all the news about the upcoming film so there was no way I was going to forget like I did last year!
    I’ve done Star Wars nail art before (see that here) so I didn’t want to repeat myself this time around. I opted for a few galaxy nails and everyone’s favourite show stealing droids, R2-D2 and C-3PO.
    Star Wars Nail Art | The Nailasaurus | UK Nail Art Blog
    Star Wars Nail Art | The Nailasaurus | UK Nail Art Blog

    Star Wars Nail Art | The Nailasaurus | UK Nail Art Blog
    Share:
    Uncategorised, Waterfall

    Nailvengers Assemble: Untried Polishes

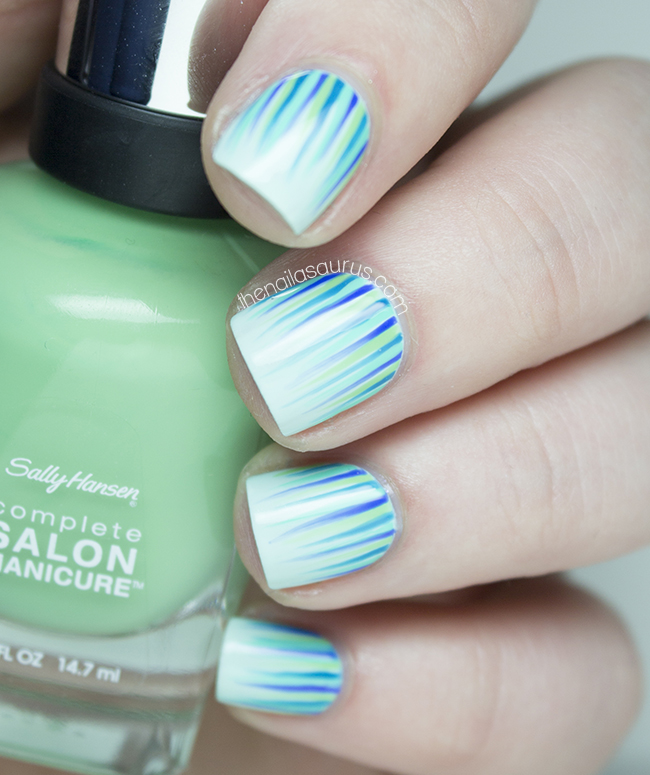
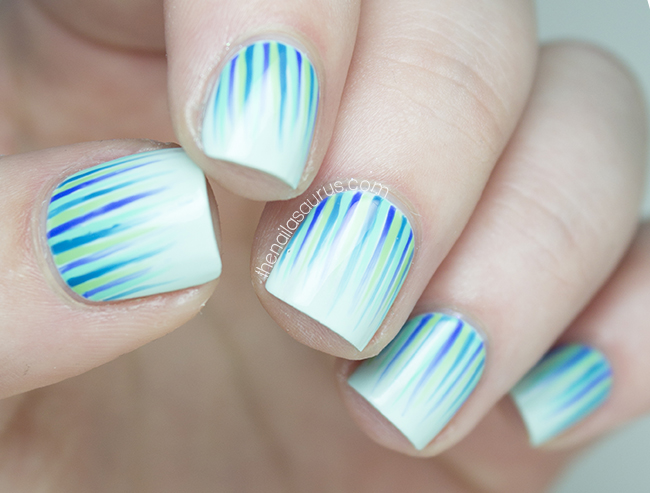
    Mint Green Waterfall Nail Art | Nailvengers | The Nailasaurus UK  Nail Art Blog

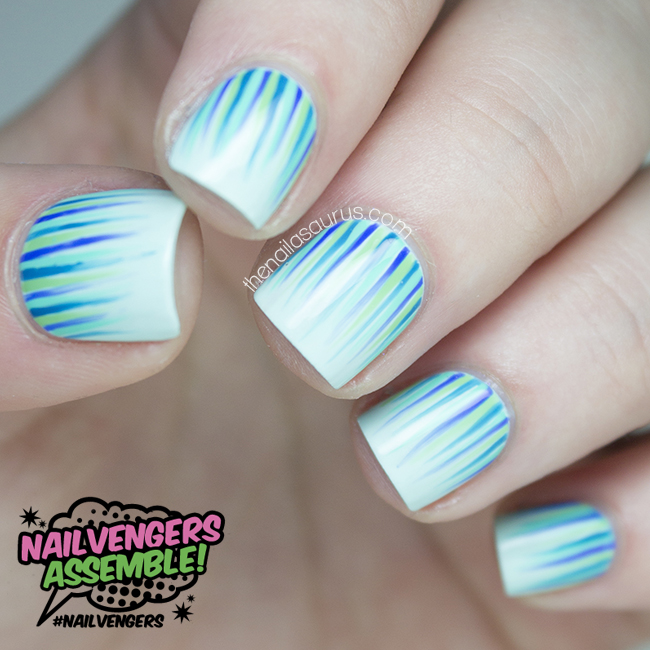
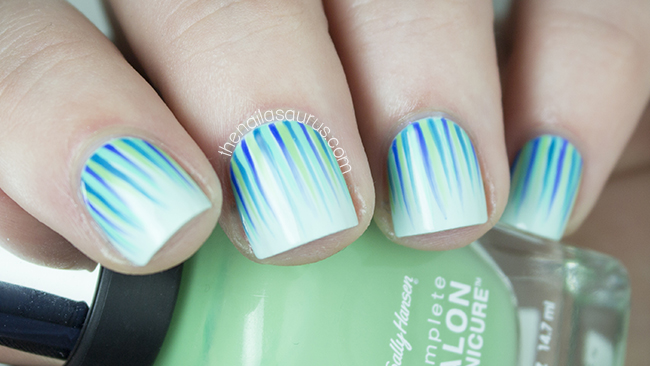
    This month’s mission is to use at least 3 untried polishes from our stash. I’m pretty good at using polishes soon after I buy them because I tend to purchase in small bundles of 3-4 polishes and get very excited to use them. I did find a few stragglers that were perfect for a mint themed waterfall manicure. It’s been a while since I dedicated a whole hand to the waterfall and I really love the colour theme in this one so I’m very happy about today’s post!

    Mint Green Waterfall Nail Art | Nailvengers | The Nailasaurus UK  Nail Art Blog
    The base colour on this one is Rimmel Breakfast in Bed
    I used Sally Hansen Mojito, Rimmel Britpop, NYC Hudson Breeze and piCture pOlish Chillax in the waterfall. There’s a waterfall tutorial here.
    It’s all topped off with one coat of HK Girl.

    Mint Green Waterfall Nail Art | Nailvengers | The Nailasaurus UK  Nail Art Blog

    Mint Green Waterfall Nail Art | Nailvengers | The Nailasaurus UK  Nail Art Blog

    Don’t forget to stop by the other ladies’ blogs to see what they dug out for the Untrieds challenge.

    Share:
    Stamping, Uncategorised

    The Lacquer Legion Glam: Lace Trim Nail Art

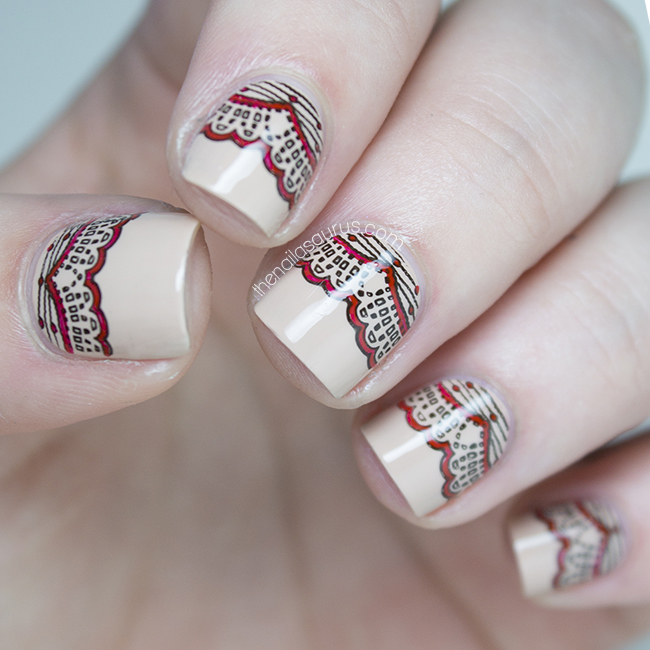
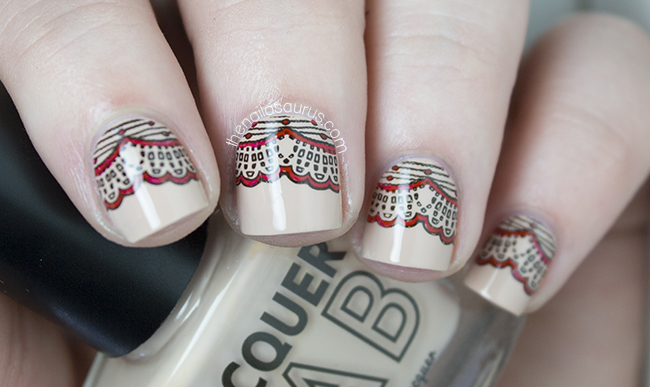
    The Nailasaurus | The Lacquer Legion Glam | Lace Stamping Nail Art
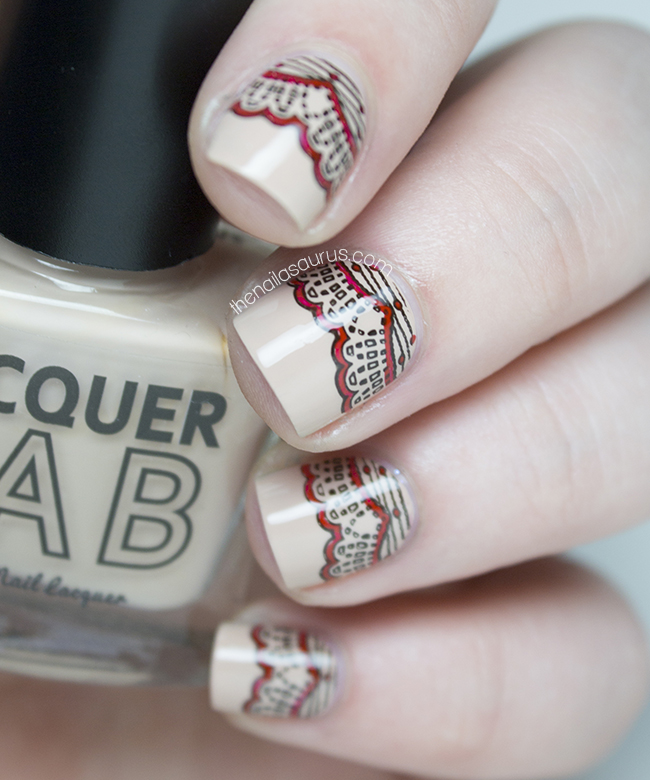
    For today’s Lacquer Legion Challenge, Glam, I knew I wanted to do something lacy. Depending how you wear it, lace can be seductive or demure but either way it’s definitely Glam! At first I thought it would be a great idea to freehand something but I quickly chickened out of that and started looking through my stamping plates to see if I had anything suitable. I decided on Konad Plate M71 to give my nails a neat lace trim.
    If you’re posting your Lacquer Legion mani today, don’t forget to use #LLGlam and share it on the Facebook page!

    The Nailasaurus | The Lacquer Legion Glam | Lace Stamping Nail Art

    For this nail art, I used Lacquer Lab Dita as my base. See what I did there? *winky face emoji*

    I stamped on the lace pattern from Konad Plate M71 using W7 Black.

    For the red details, I used Rimmel Heart on Fire with a small nail art brush to fill in the gaps.

    It’s all topped off with a coat of HK Girl top coat.

    The Nailasaurus | The Lacquer Legion Glam | Lace Stamping Nail Art
    The Nailasaurus | The Lacquer Legion Glam | Lace Stamping Nail Art
    Share:
    Galaxy, Uncategorised

    Shimmery Pink Galaxy Nail Art

    Press Sample

    Pink Galaxy Nail Art | The Nailasaurus | UK Nail Art Blog
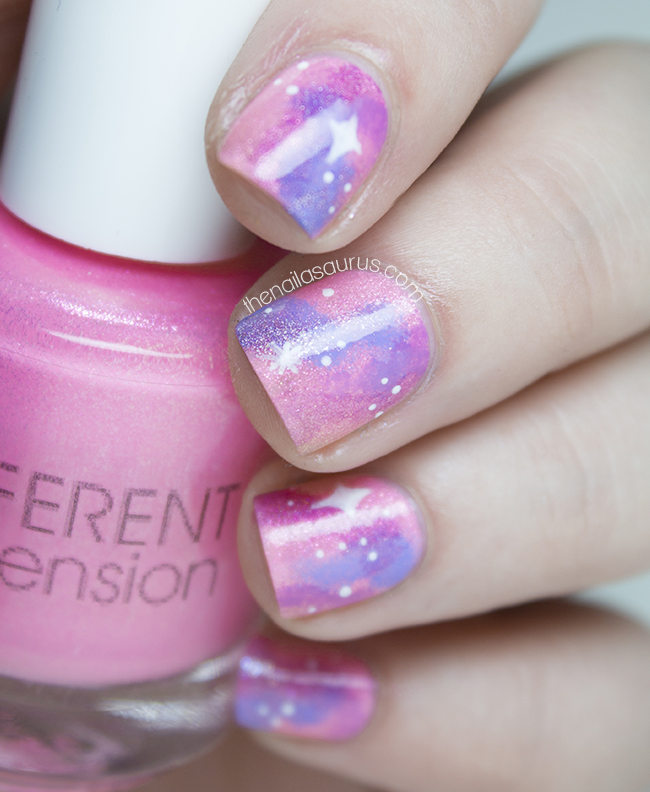
    Whenever I’m a little low on nail art inspiration, I always come back to galaxy nails. As long as I try it with a new set of colours, I always feel like I’m doing something new although I may have gone a little overboard on the shimmery polishes this time!
    I used Different Dimension Give Me Love as the base colour with piCture pOlish Swagger, Different Dimension Lucky, piCture pOlish Pirouette and Sally Hansen Lively Lilac for the sponging. There’s a galaxy nail art tutorial here.

    Pink Galaxy Nail Art | The Nailasaurus | UK Nail Art Blog

    Pink Galaxy Nail Art | The Nailasaurus | UK Nail Art Blog
    Pink Galaxy Nail Art | The Nailasaurus | UK Nail Art Blog
    Share:
    Stamping, Uncategorised

    Easter Nail Art (Sort of)

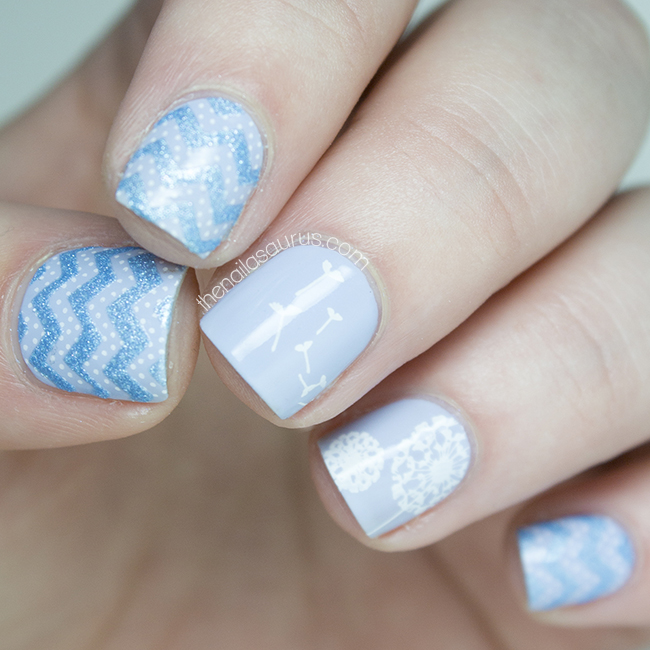
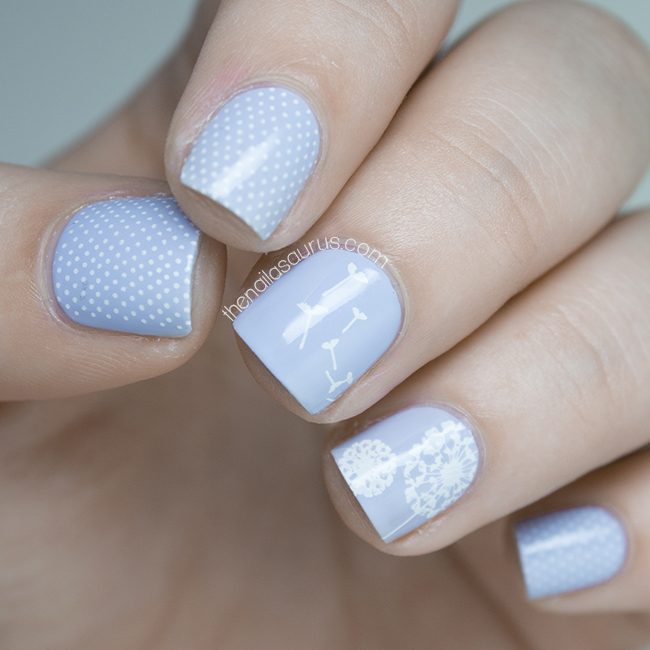
    I realised today that it’s Easter tomorrow and I haven’t done a single piece of Easter themed nail art! I haven’t really been feeling the Easter vibes this year so even when I sat down to do something Easter-y, this is what came out… absolutely nothing to do with the holiday! It’s more of a general spring mani but I think it’s the closest to Easter I’m gonna get this year!

    My base colour for this nail art is Maybelline Ceramic Blue
    I used BK Matt White to stamp on the dandelion designs from MoYou London Plate Pro 04 and the tiny polka dots from Pro 10.
    I applied a coat of Cult Nails Wicked Fast and let everything dry.
    Finally, I added the chevron details using Nail Vinyls Mini Chevrons and Rimmel Blueberry Whizz.

    Share:
    Gradient, Tutorial, Uncategorised, Video

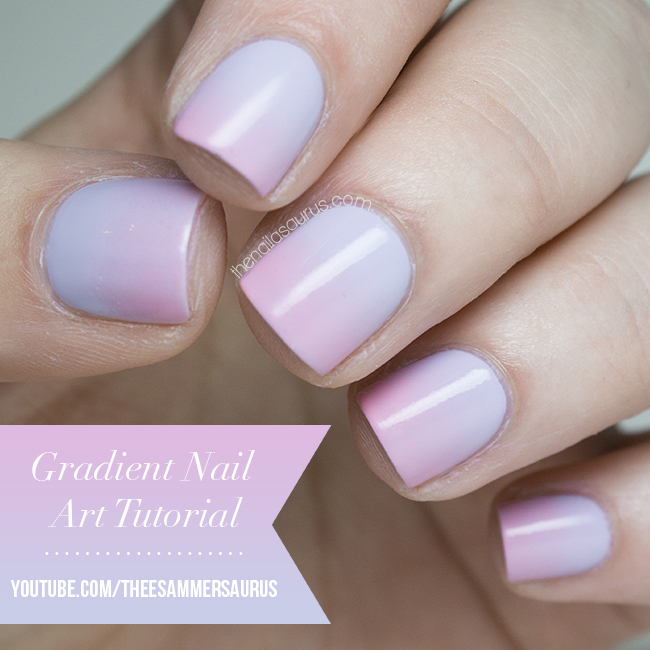
    Gradient Nail Art Tutorial Video and FAQ

    Gradient Nail Art Video Tutorial

    When I ventured back in to making videos recently, it seemed inevitable that I’d be making a gradient nail art video since my picture version was quite a success and many people have asked to see me do it in a video. This mani does take a while but most of that time is spent waiting for polish to dry. Once you get the hang of it, sponging on the gradient is easy!
    While we’re here, I also thought it would be a great opportunity to answer some of the questions I get asked most frequently about this technique. Over time I’ve learnt a lot more about the process and how to overcome a few of the difficulties that you might come across on your first couple of tries.
    What polishes work best for gradients?
    You can’t go wrong with creme polishes that are quite runny. They don’t have to be very opaque either, streaky polishes often work best for gradients.
    How do you avoid bits coming off the sponge and sticking to your nail?
    I don’t think there’s any way to avoid this. If you see little flecks of sponge breaking off and sticking to your nail, just pick up a new sponge and continue where you left off.
    You can use tweezers to pick these flecks out of your mani but if they’re only small, usually your top coat will hide them!
    Should you wet the sponge first?
    Personally I never use water but I know others that use a damp sponge with amazing results. Try both ways and see what works for you!
    How do you clean the sponge after?
    I don’t bother trying to clean the sponges. I just throw them away and use a fresh one the next time.
    Any other tips?
    It’s super important to wait for your polish to dry in between layers. If you try to sponge over wet polish, you’ll just start picking up the polish that’s already there and it’ll be a gloopy mess. Watch a movie while you’re doing it to avoid boredom!

    If you try this mani yourself, don’t forget to use #looknailasaurus on Instagram so I can see your results!


    Share: