Follow:
Browsing Category:

Nail Art

    Freehand, Nail Art, Uncategorised, Waterfall

    Double Waterfall

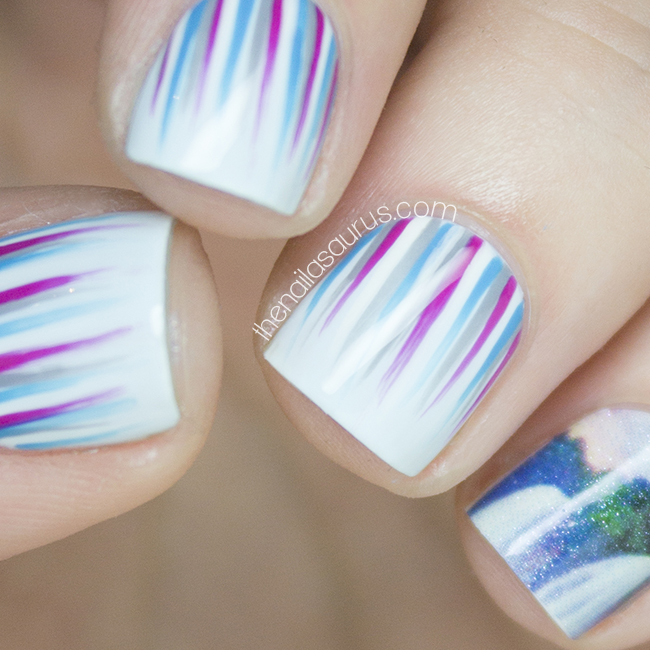
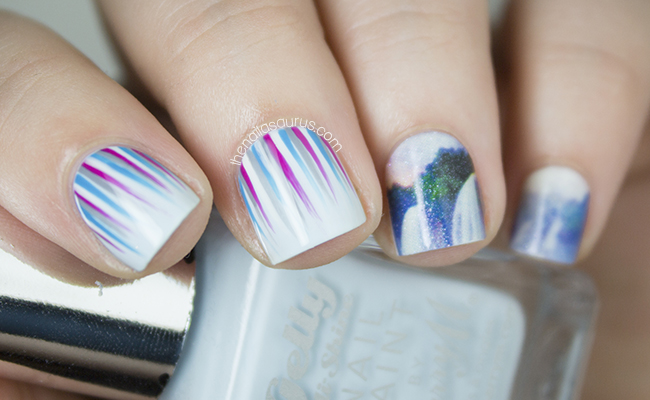
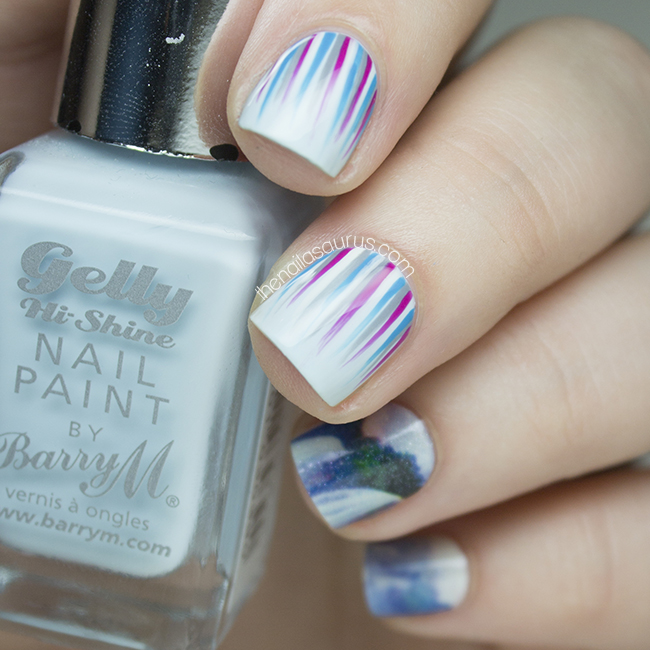
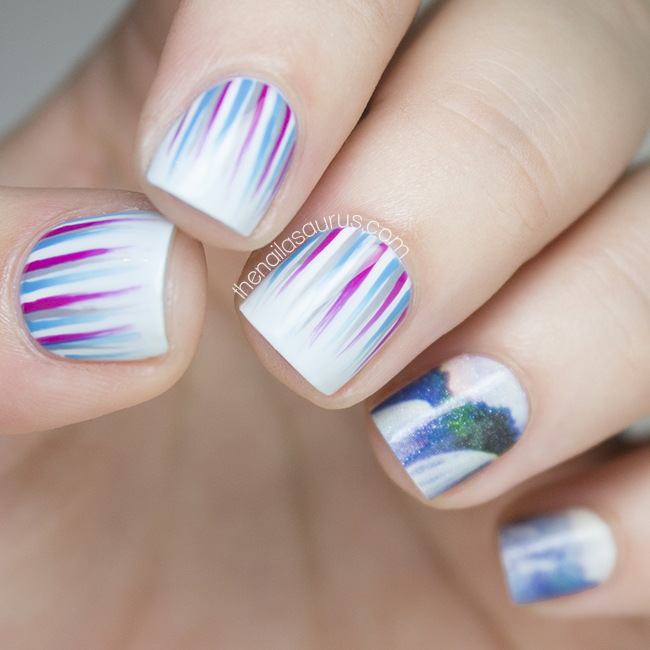
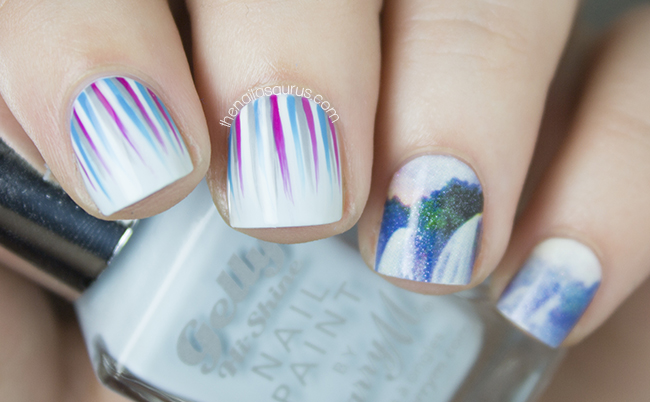
    When I saw the Kelli at The Nail Polish Challenge’s recent waterfall nail art, I was blown away by the combination of colours she picked and knew I’d have to something similar. I paired it with these more literal waterfall decals that I found while rummaging through my nail art drawer!

    What I Used

    Base colour: Barry M Huckleberry
    Waterfall Colours: CK One Beach Party, Rimmel Grey Matter, China Glaze Sunday Funday, Nicole by OPI Yoga-Then-Yogurt
    Top Coat: Glisten & Glow HK Girl
    Born Pretty Store Waterfall Decals
    There’s a tutorial for the waterfall nail art here.
    Share:
    Nail Art, Uncategorised

    Sorbet Stripes

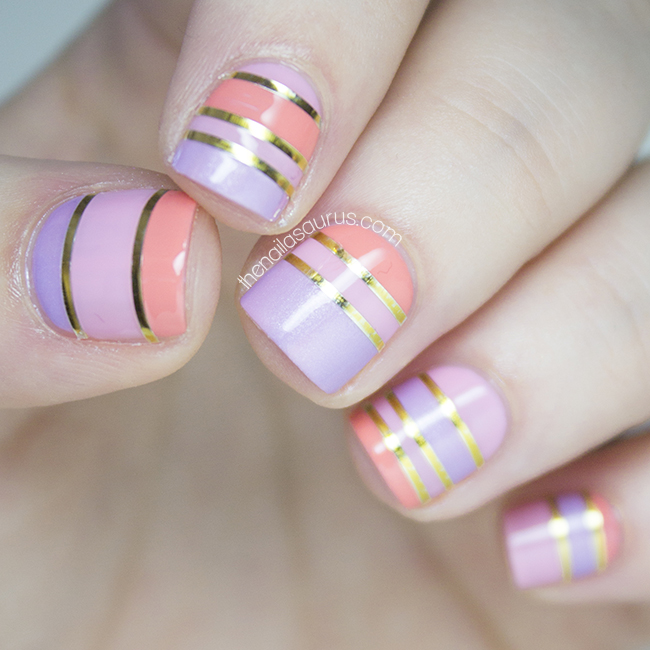
    I wanted to do something fun and flirty today so I picked out a few sorbet colours, grabbed the gold striping tape and set about creating this banded nail art. The striping tape is holding up well so far – no peeling but there has been a bit of colour leakage! The gold seems to have seeped out of a few pieces leaving me with silver but that’s not so bad.
    I recently purchased the Straight Stencils from She Sells Seashells which save me so much time that used to be spent fussing around cutting scotch tape in to thin strips whenever I did a manicure like this with lots of straight lines!

    1. For this nail art, I used a base coat of Nicole by OPI At Least I Pink So on all nails followed by a thin coat of Glisten & Glow HK Girl.
    2. I waited 10 minutes for it to dry completely.
    3. Next, I placed some straight vinyl stencils randomly over my nails and filled in some of the gaps with NYC Peach Popsicles and Sally Hansen Lady Lavender. I removed the vinyls as soon as I was done painting on each nail.
    4. Once everything was mostly dry, I applied the striping tape using nail art tweezers. Instead of trying to guess how long my strips should be, I made sure each strip was too long and then trimmed each edge with cuticle nippers once it was already placed on my nail.
    5. Finally, I used two coats of Glisten & Glow HK Girl to smooth it all over.
    Share:
    Nail Art, Uncategorised

    Something Kinda Creepy

    DIY Nails Creepy Water Decals | The Nailasaurus
    I’ve been binging on Orange is the New Black this weekend (thank you, Netflix!) so today’s nail art had to be Orange! I did the marble effect using cling film and it’s my most successful attempt yet. In the past, my attempts have been a little too marbled but the detail is nice and clear this time around.
    The colours I used are Sally Hansen Tahitian Sunset, piCture pOlish Totes, NYC Rooftop Party Berry and Nicole by OPI Yoga-Then-Yogurt.
    The details are all DIY Nails water decals. The Drippy Letters are from Creepy and the Parental Advisory stamp is from Love/Hate.

    DIY Nails Creepy Water Decals | The Nailasaurus
    DIY Nails Creepy Water Decals | The Nailasaurus
    DIY Nails Creepy Water Decals | The Nailasaurus
    DIY Nails Creepy Water Decals | The Nailasaurus
    DIY Nails Creepy Water Decals | The Nailasaurus
    Share:
    Freehand, Nail Art, Uncategorised

    piCture pOlish Urban Shades Nail Art

    piCture pOlish Urban Shades Swatches and Nail Art | The Nailasaurus
    For piCture pOlish’s Urban Shades collection, I wanted to create some nail art that was suitably urban and edgy and I came up with this geometric design. Get it? Because it has lots of edges. Sorry.
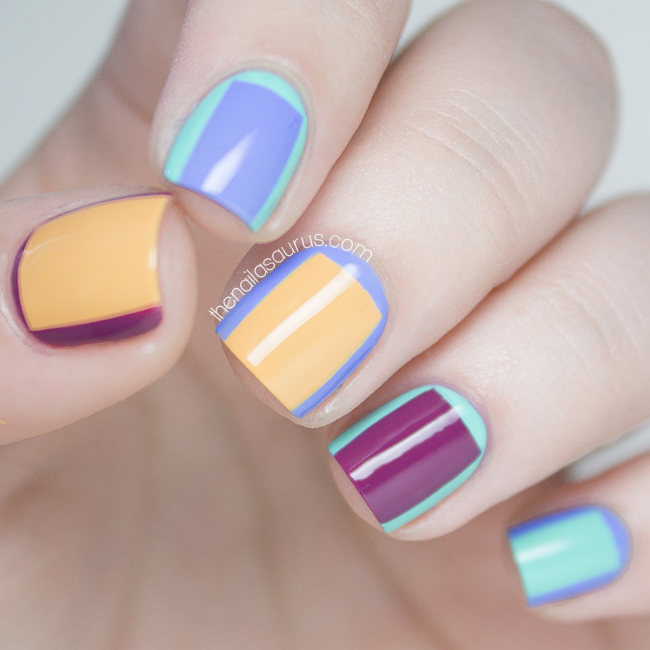
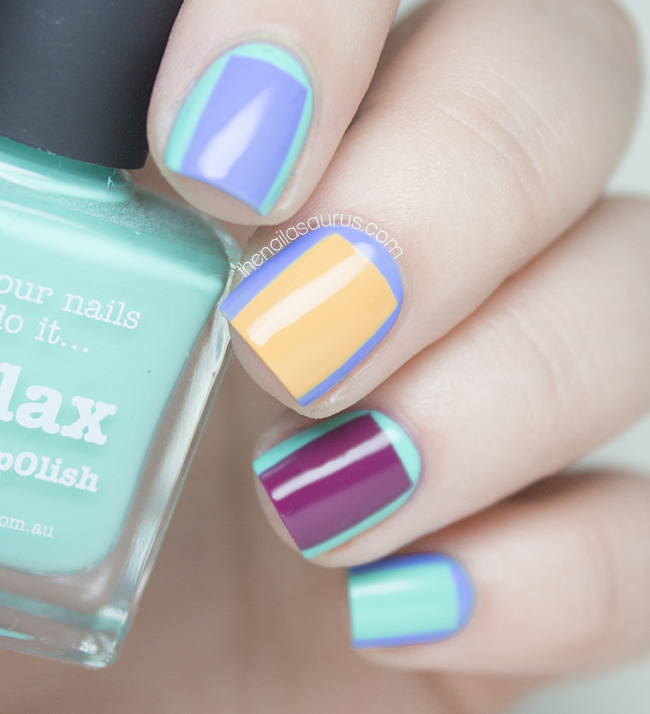
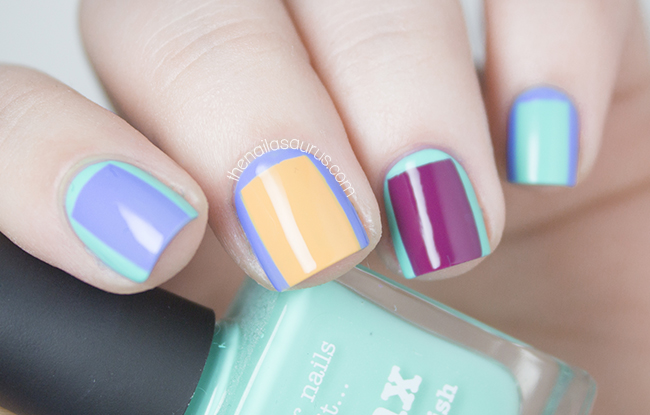
    It took me a while to warm to these shades but now that we’ve transitioned right in to summer, I really love them. I used 3 thin coats of Totes (sunny orange) to smooth it out because I thought it looked a little streaky with just two. Chillax (bright minty green), Swagger (blue) and Bonkers (pink) were all perfect with just two thin coats. They’re all pigmented enough to use in freehand nail art, but I haven’t had a chance to try them with stamping yet. I think Chillax will actually be the best for stamping as it is so pigmented which is rare in a minty shade like that.
    The base colours for this mani are the ones in the middle of the nail and I freehanded on the borders afterwards using nail art brush. See how each shade works over the other shades with just a thin coat and no clumpiness? I love it!

    Where to buy piCture pOlish Urban Shades…

    The Urban Shades collection is available from the Picture Polish website and their worldwide stockists
    piCture pOlish Urban Shades Swatches and Nail Art | The Nailasaurus
    piCture pOlish Urban Shades Swatches and Nail Art | The Nailasaurus
    piCture pOlish Urban Shades Swatches and Nail Art | The Nailasaurus
    piCture pOlish Urban Shades Swatches and Nail Art | The Nailasaurus
    Share:
    Freehand, Glitter, Uncategorised

    Our Paper Hearts Are Folding

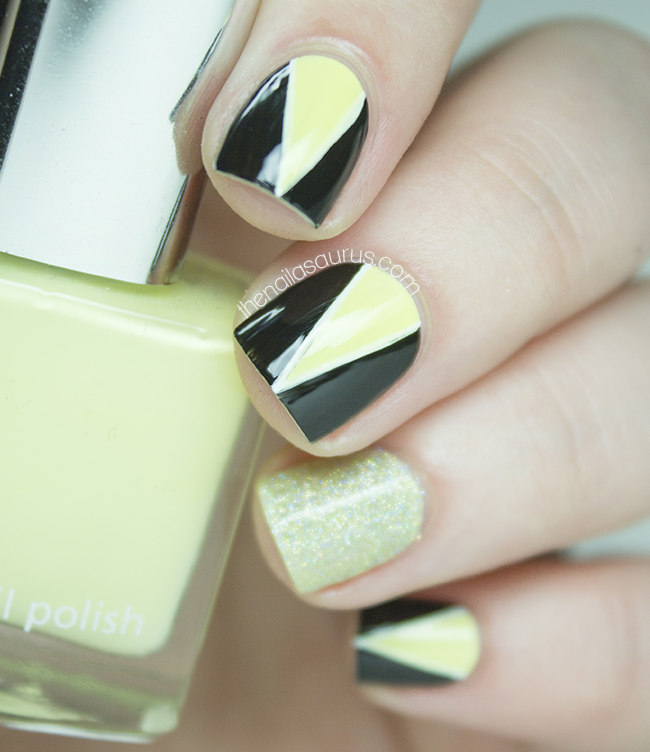
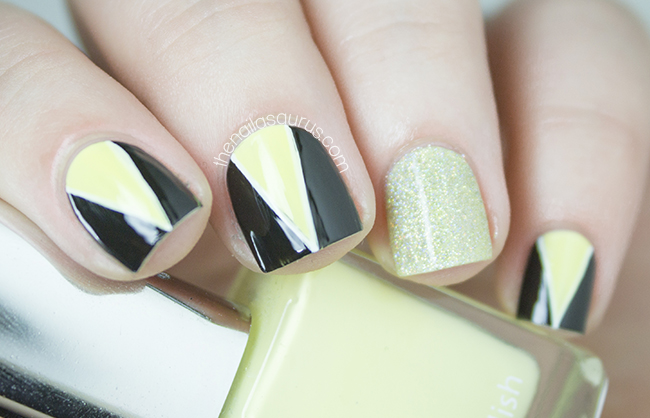
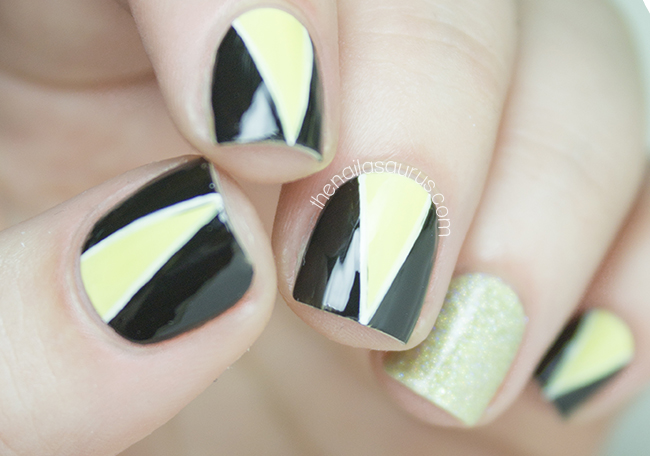
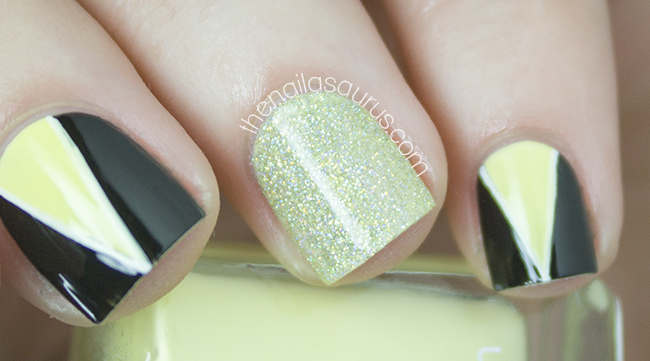
    V-Shape Manicure | The Nailasaurus
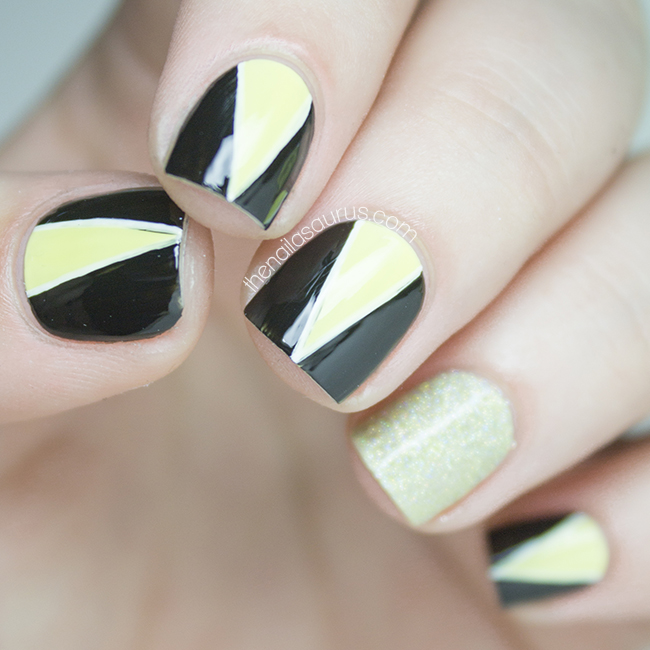
    Yellow, Black and White is such a stunning mix of colours but I don’t remember ever having worn it on my nails before. I got this mani in mind to use the colours and in my head it looked awesome but I noticed they kind of remind me of Wolverine and now that’s all I can see when I look at them! I’m talking about the yellow spandex clad version from the comics, not Hugh Jackman’s rugged, leather jacket wearing stud from the movies. I suppose there are worse things for nail art to remind you of!
    I started off with three coats of Tiger 56 for my base colour and once that was dry, I painted on the V shapes with a black liner polish.
    I filled in the empty space at the sides using W7 Black and then outlined using Sweet Color White Liner.
    The glitter on my accent is Claire’s Holographic Polish.
    It’s all topped off with two coats of Glisten & Glow HK Girl.
    V-Shape Manicure | The Nailasaurus
    V-Shape Manicure | The Nailasaurus
    V-Shape Manicure | The Nailasaurus
    V-Shape Manicure | The Nailasaurus
    V-Shape Manicure | The Nailasaurus
    Share:
    Freehand, Uncategorised

    Social Media Apps Nail Art

    Social Media has come so far in the last few years that it’s sometimes hard to keep up. The last time I did some social media nails was almost two years ago and I thought it was time for a little update so today I’ve gone all mobile with some social app nail art!
    These are my favourite social apps at the moment – the ones that I use the most and kind of rely on to stay in touch with friends! We’ve got Facebook Messenger, Instagram, WhatsApp, Snapchat and Vine. Admittedly I’m not very active on Vine myself but I just can’t get enough of those 6 second clips! I am however on Snapchat as thenailasaurus if anyone wants to see what happens behind the scenes here!

    Are there any apps I’m missing? Which apps do you use most to keep in touch with friends and relatives?

    Here are the polishes I used for the base colours…
    FB Messenger: Barry M Malibu
    Instagram: Barry M Caramel and Essie Glamour Purse
    WhatsApp: Sally Hansen Grass Slipper
    Snapchat: Gradient Using Tiger 56 (a very light pastel yellow) and NYC Lexington Yellow. There’s a gradient tutorial here.
    Vine: Barry M Kiwi
    All of the white detailing was done using the polish from the Sweet Color White Liner but I used a separate nail art brush, not the one in the bottle.
    Share: