Follow:
Browsing Category:

Nail Art

    Freehand, Uncategorised

    The Lacquer Legion: Garden. Dainty Daisies.

    Daisy Nail Art | The Lacquer Legion: Garden | The Nailasaurus
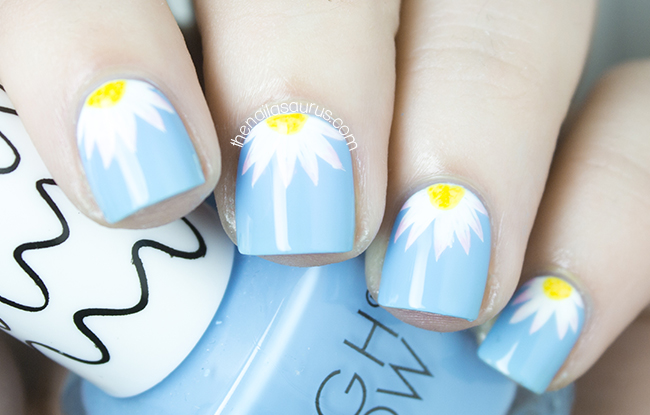
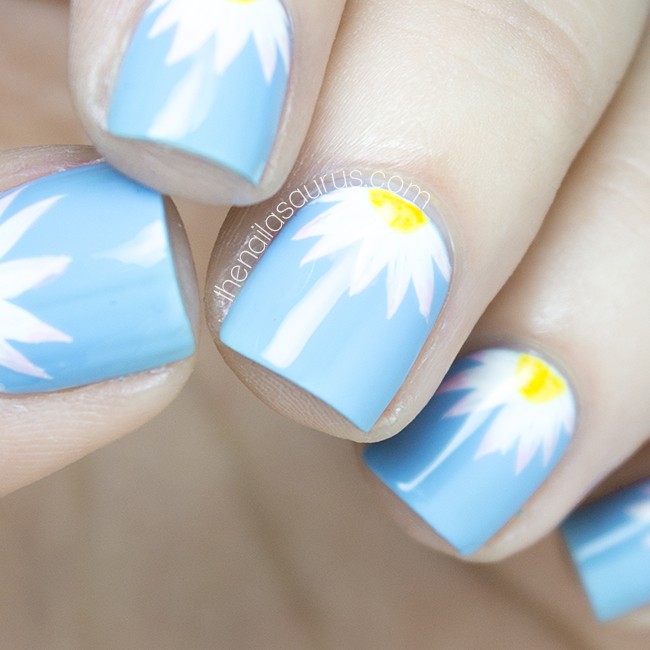
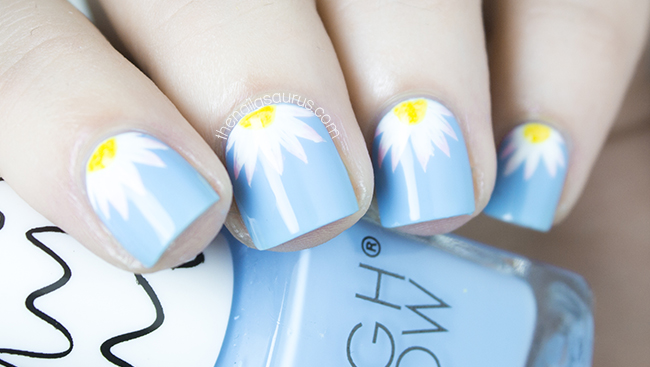
    When I found out that this month’s Lacquer Legion prompt was Garden, I did just what anyone would do – run out in to the garden and rummage for nail art supplies! I picked a few daisies and the plan was to use the petals in my manicure. After a few failed attempts, I had to abandon that little adventure but I still wanted to go with the daisy idea. I did a similar design to this as part of last year’s 31 Day Challenge so I reworked it with daisies this time around. 
    I used High Brow NP03 as my base colour and started the nail art by freehanding on the white details using Sweet Color White Liner Polish
    Using a nail art brush with NYC Lexington Yellow, I painted on the center then added in some little dots of OPI The ‘It’ Color to give it some texture.
    Finally I mixed up Barry M Rose Hip and Barry M Miami to lightly tint the edges of the petals.
    It’s all topped of with two coats of Glisten & Glow HK Girl.
    Daisy Nail Art | The Lacquer Legion: Garden | The Nailasaurus
    Daisy Nail Art | The Lacquer Legion: Garden | The Nailasaurus
    Daisy Nail Art | The Lacquer Legion: Garden | The Nailasaurus
    Daisy Nail Art | The Lacquer Legion: Garden | The Nailasaurus
    Share:
    Stamping, Uncategorised

    Something New: MoYou London Bridal Collection

    Stamping Nail Art with MoYou Bridal Collection 06 | The Nailasaurus | UK Nail Art Blog
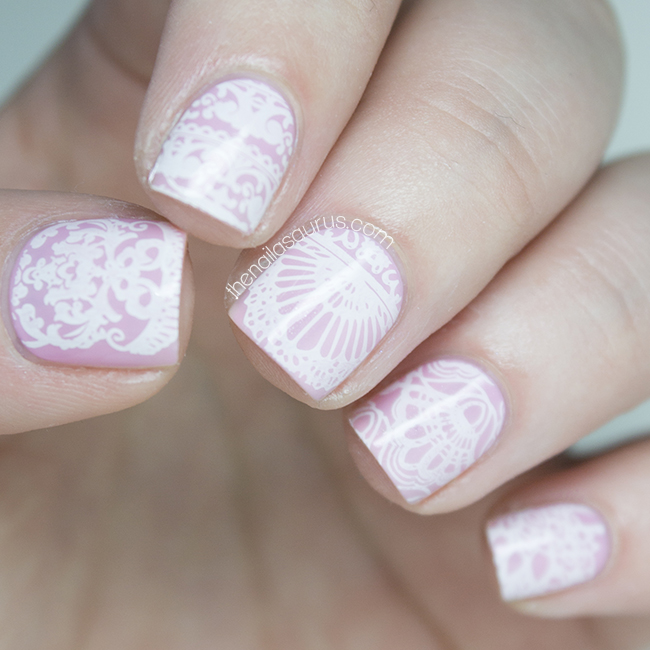
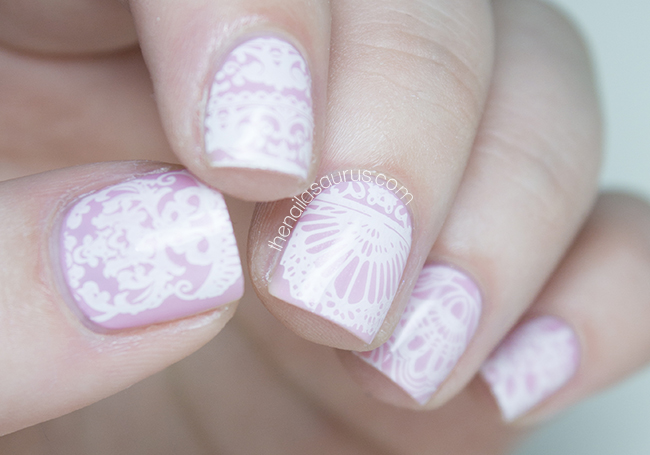
    The latest collection from MoYou London – The Bridal Collection – had me pretty excited because I can never get enough of lacy stamping designs. At the moment, there are 7 plates in the collection and two of them are completely made up of lace designs! Bridal 07 has XL images and 06 has the regular sized ones which, luckily for me, are just the right size for my nails so I went for that one to get a few more designs.
    For my first nail art using this plate, I decided to stick with the theme and go for something innocent, feminine and wedding appropriate! I’m looking forward to trying it with new combinations in the future. Maybe Something Blue?
    I used two coats of Nicole by OPI At Least I Pink So as my base and then one thin coat of Rimmel New Romantic to add a little bit of pink shimmer. I stamped using BK Matte White and MoYou London Plate Bridal Collection 06.

    Where to buy MoYou London Stamping Plates…

    MoYou London plates are available from moyou.co.uk. Worldwide shipping is available and you get free standard delivery if you’re in the UK.
    Use the discount code SAMMY20 to get 20% off your first order. You must be logged in for the code to work.
    Stamping Nail Art with MoYou Bridal Collection 06 | The Nailasaurus | British Nail Art Blog
    Stamping Nail Art with MoYou Bridal Collection 06 | The Nailasaurus | UK Nail Art Blog
    Stamping Nail Art with MoYou Bridal Collection 06 | The Nailasaurus | UK Nail Art Blog
    Stamping Nail Art with MoYou Bridal Collection 06 | The Nailasaurus | UK Nail Art Blog
    Share:
    Freehand, Uncategorised

    Assassin’s Creed Nail Art

    Assassin's Creed Nail Art | The Nailasaurus | UK Nail Art Blog
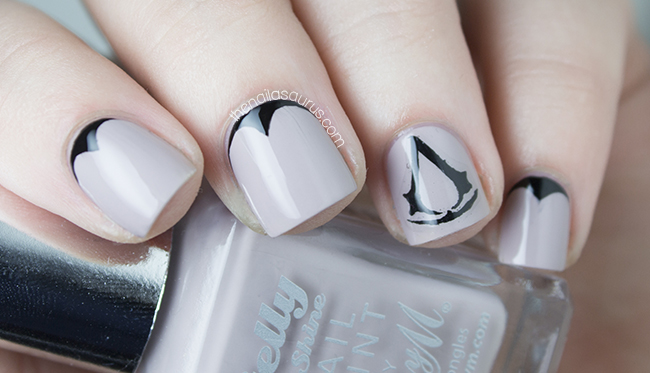
    I’ve been playing my way through the Assassin’s Creed series since some time last year although I skipped over the first two and started at Brotherhood. Recently, I’ve been spending nearly every Friday night under a blanket playing Black Flag in the dark. Oh what a glamorous life I lead! I’m enjoying playing as Edward but I think that’s only because he’s from Swansea (which is about an hour down the road from me) but Ezio is my favourite of the Assassin’s I’ve played as.
    For the nails, I used Barry M Almond as my base colour. I painted on the ‘hood’s using the Sweet Colour Black Liner from Born Pretty Store
    To create the logo, I painted it straight on to a sheet of plastic using acrylic paint. This gave me the chance to correct any mistakes by scraping away small details that I got wrong. When I was happy with it, I painted two thin layers of top coat over it. Once it was thoroughly dry, I peeled it away from the plastic and trimmed as close to the paint as I could to make a kind of DIY decal. The results aren’t ideal – you can kind of see the outline and there are a few air bubbles – but I think it saved me a lot of time and trouble in the long run!
    It’s all topped off with two coats of Glisten & Glow HK Girl.
    Assassin's Creed Nail Art | The Nailasaurus | UK Nail Art Blog
    Assassin's Creed Nail Art | The Nailasaurus | UK Nail Art Blog
    Assassin's Creed Nail Art | The Nailasaurus | UK Nail Art Blog
    Assassin's Creed Nail Art | The Nailasaurus | UK Nail Art Blog
    Share:
    Gradient, Tutorial, Uncategorised, Video

    Watercolour Gradient Video Tutorial

    As promised, here is a video tutorial for the Life’s a Beach / Watercolour Gradient nail art I posted a while back. See that post here! If you’re wondering why I’ve suddenly gone crazy for video tutorials, it’s because I have enough time to create them these days and I’m really enjoying building on my video skills. I’ve always wanted to make great video tutorials but often doubted my abilities to create them the way I envisioned them. This year, I finally got a good video kit sorted out and the only thing holding me back was self-doubt about my filming and editing skills. You may remember that, in March, I finally decided that ‘Done Is Better Than Perfect’ (I even have it hanging on my wall to remember) and the first thing on my ‘get done’ list was videos. It also seems that video is becoming an almost essential component of blogging as audiences move towards YouTube for answers and I thought it would be best to jump on that train before it disappears over the horizon!

    I really like this new way of doing gradients to make them to look a bit more streaky and raw! It looks perfect in blue as it has a really watery look about it but I’m looking forward to trying it in other colour schemes too. 

    Share:
    Freehand, Uncategorised

    For Shelley

    The Nailasaurus | British Nail Blog

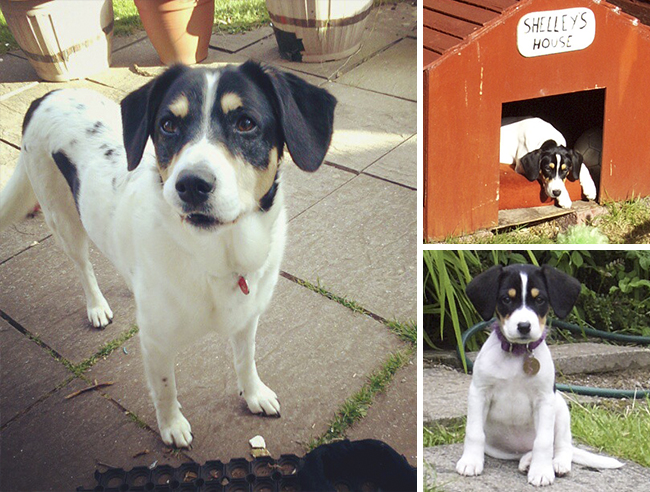
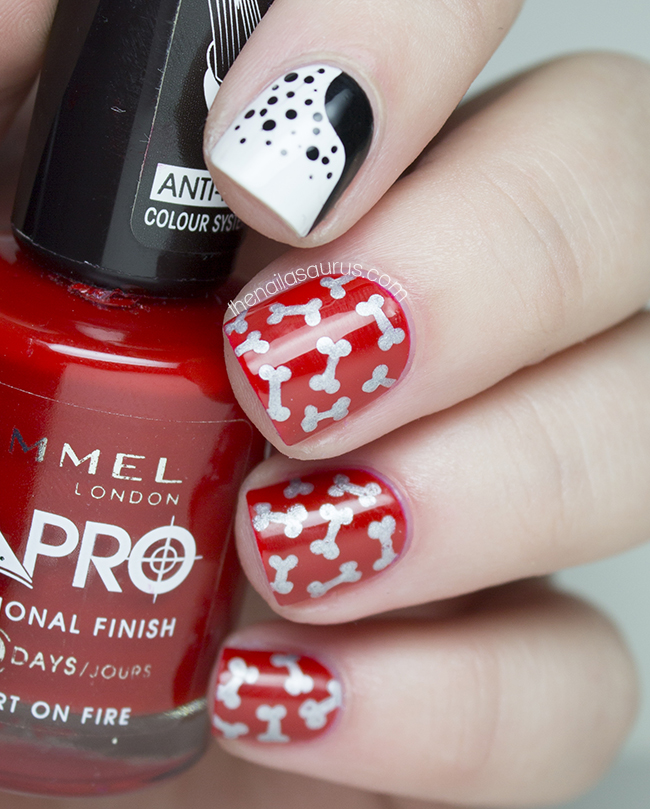
    I want to dedicate today’s post to Shelley, the eldest of our two dogs who unfortunately passed away last night. She fell ill in the morning and her condition worsened throughout the day until she just slipped away so it was quite sudden and unexpected. She lived to the ripe old age of 12 which isn’t bad at all for a dog that was always falling down rabbit holes and gobbling up any old junk she found on the floor! Maybe I’m biased but she’s definitely the prettiest dog I’ve ever seen and she was just the softest dog in the world. Just don’t ask what breed(s) she was because we never knew… we’re still guessing!
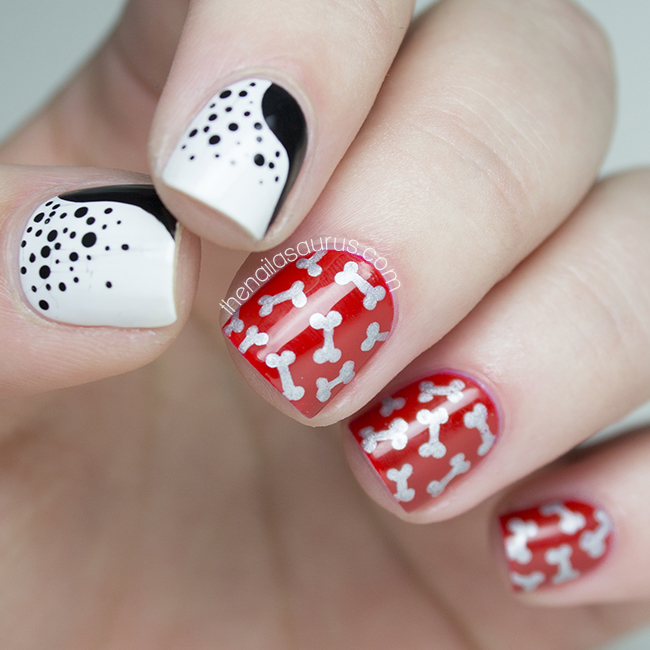
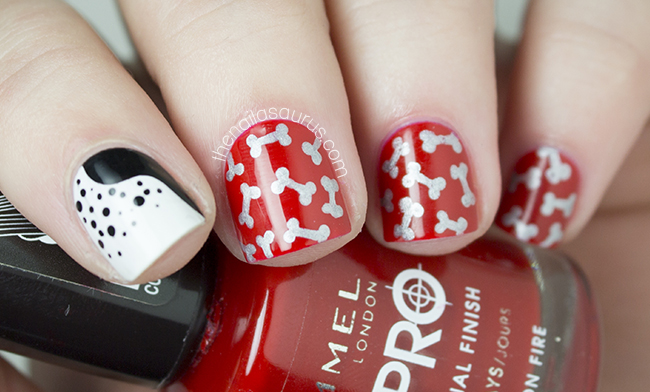
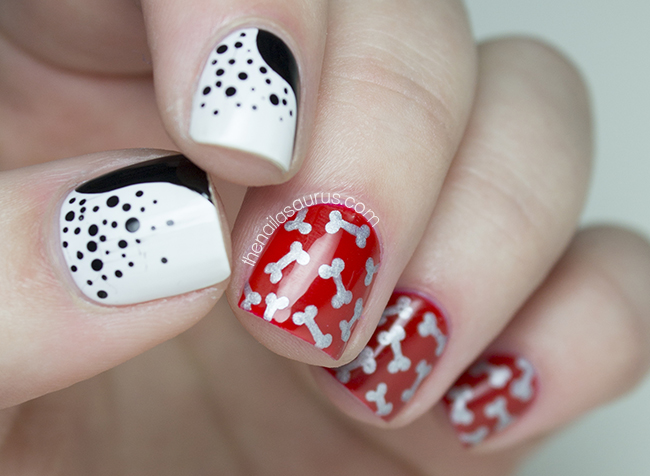
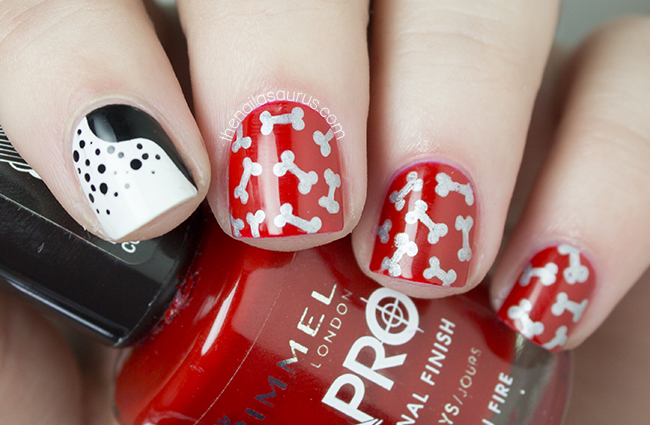
    Shelley always wore a red collar with little bone shaped studs and I remembered One Nail to Rule Them All’s bone design which I thought would be a perfect match after I switched up the colours. The other fingers match her markings – black patches and speckly spots.
    I used Rimmel Heart on Fire and Barry M White for my base colours. The bones were drawn on with Barry M’s Nail Art Pen in Silver and I freehanded on the ‘markings’ using the Sweet Color Liner in Black. It’s topped with KBShimmer Clearly on Top.
    The Nailasaurus | British Nail Blog
    The Nailasaurus | British Nail Blog
    The Nailasaurus | British Nail Blog
    The Nailasaurus | British Nail Blog
    Share:
    Freehand, Gradient, Uncategorised

    Life’s a Beach

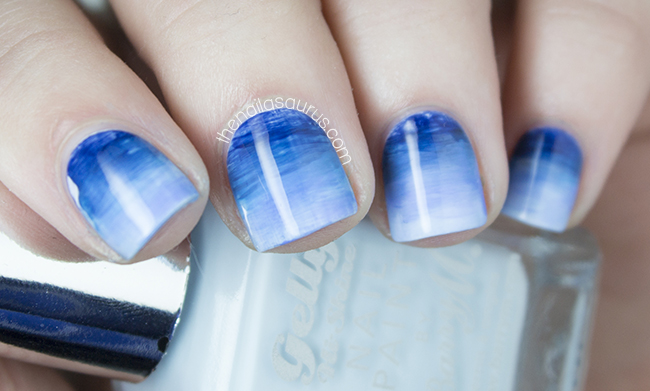
    Blue Watercolor Gradient Nail Art | The Nailasaurus | UK Nail Art Blog
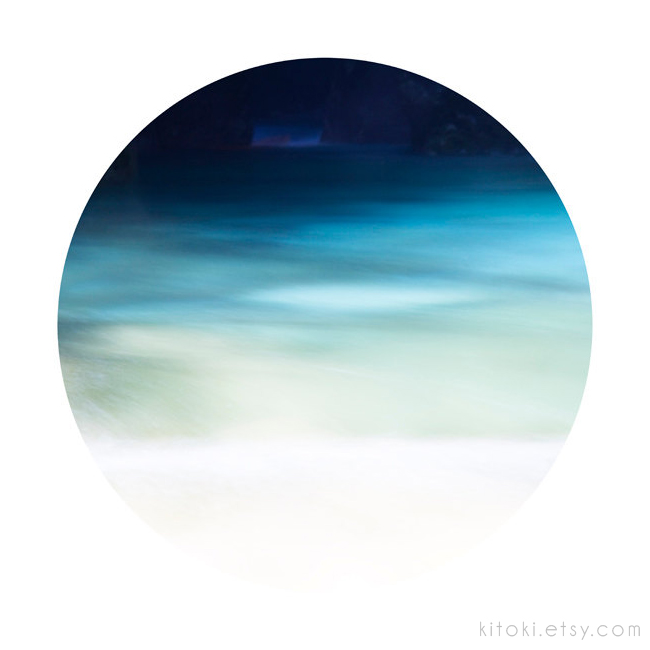
    Today’s nail art is inspired by a print by Kitoki that I came across on Etsy. Their shop is full of beautiful photography which they describe as ‘dreamy’ and I can’t think of a better word for it. A lot of the pieces are kind of abstract which always makes for some great nail art. This particular photo is called Joy is water II.
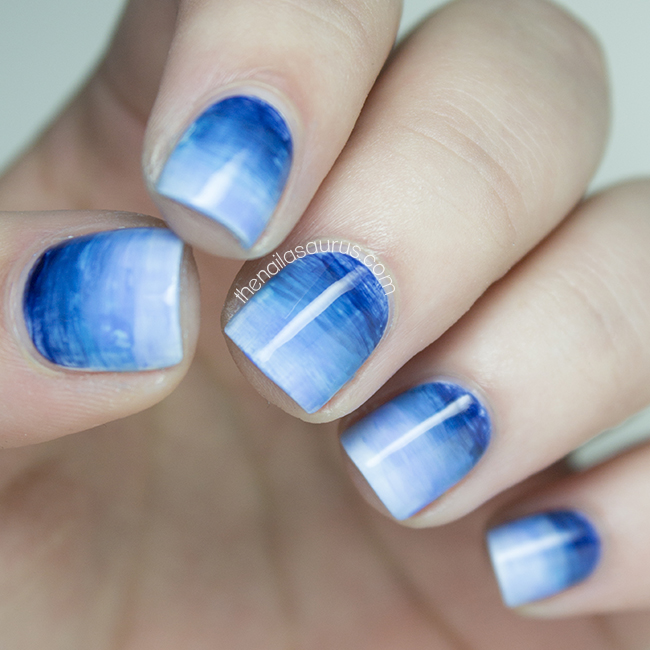
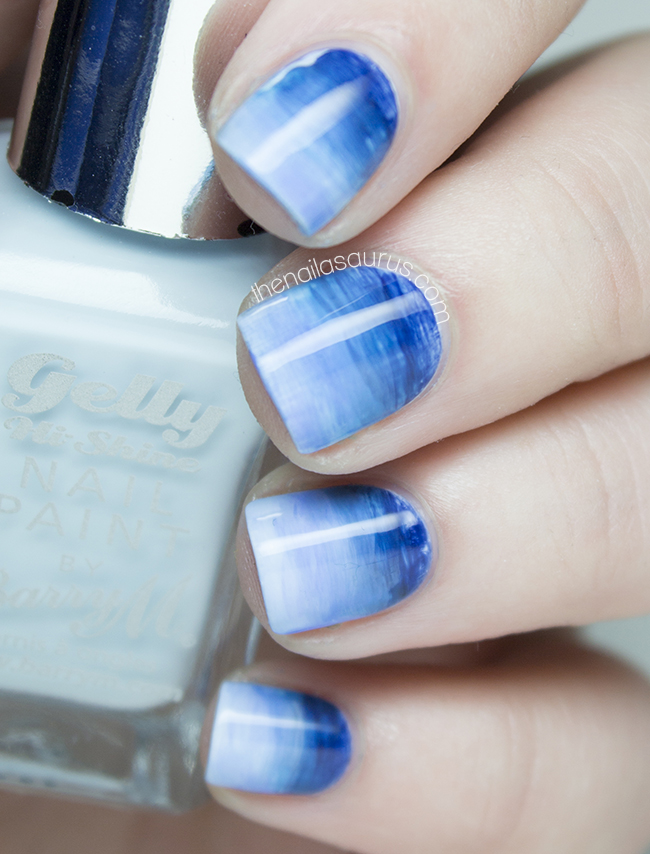
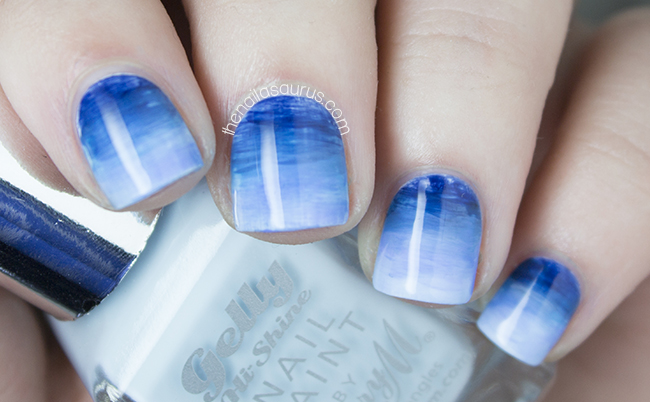
    I think the nail art looks like a watercolour gradient. I used a flat nail art brush to sweep on the colours over a base of white, starting at the cuticle with the darkest shade and working my way to the tip blending the colours as I went. I think the result does look like sweeping water
    The shades I used are Barry M White as my base, Sally Hansen So-Nata Problem, Rimmel Britpop, piCture pOlish Swagger and Barry M Huckleberry. It’s all topped off with a coat of KBShimmer Clearly on Top.
    Joy is water II. by Kitoki on Etsy
    Joy is water II. by Kitoki on Etsy
    Blue Watercolor Gradient Nail Art | The Nailasaurus | UK Nail Art Blog
    Blue Watercolor Gradient Nail Art | The Nailasaurus | UK Nail Art Blog
    Blue Watercolor Gradient Nail Art | The Nailasaurus | UK Nail Art Blog
    Blue Watercolor Gradient Nail Art | The Nailasaurus | UK Nail Art Blog
    Share:
    Stamping, Uncategorised

    The Black Keys: Turn Blue Nail Art

    The Black Keys Turn Blue Nail Art | The Nailasaurus | UK Nail Art Blog
    The Black Keys’ new album is out next week and I couldn’t be more excited! I’m a long time fan and have always loved their changing style. The artwork for the new album, Turn Blue, is eye-catching to say the least and absolutely perfect nail art inspiration. 
    The Black Keys Turn Blue
    The Black Keys Turn Blue Nail Art | The Nailasaurus | UK Nail Art Blog
    For the nail art I used Revlon Sweet Tart as my base colour.
    For the lines I used Bundle Monster Stamping Plate BM301 stamped with Sally Hansen Brisk Blue. The lines aren’t as curvy as on the real thing but I think it works!
    Finally, I freehanded on the half moons using Rimmel Grey Matter and topped it all off with two coats of HK Girl.

    The Black Keys Turn Blue Nail Art | The Nailasaurus | UK Nail Art Blog
    The Black Keys Turn Blue Nail Art | The Nailasaurus | UK Nail Art Blog
    The Black Keys Turn Blue Nail Art | The Nailasaurus | UK Nail Art Blog
    Share: