Follow:
Browsing Category:

Nail Art

    Glitter, Stamping, Studs

    Stampasaurus

    It really happened! Finally someone put a T-Rex on a stamping plate and I am now the proud owner of that stamping plate! Winstonia are back with their 2nd generation stamping set and I couldn’t be happier with it. The set includes a great selection of designs and each plate has it’s own theme which has come in very handy when I want to find a specific design. Of course, the highlight for me is the prehistoric plate which features the T-Rex and a few other Jurassic beasts.

    For this nail art, I used Sally Hansen Pinch of Punch as my base colour. 
    I stamped on a few designs from Winstonia’s 2nd Generation Set using BK Matte White.
    The blue glitter is Claire’s Neon Blue and I added a few holographic 3mm studs from She Sells Seashells.
    It’s all topped off with one coat of Glisten and Glow HK Girl.

    Share:
    Freehand, Glitter, Uncategorised

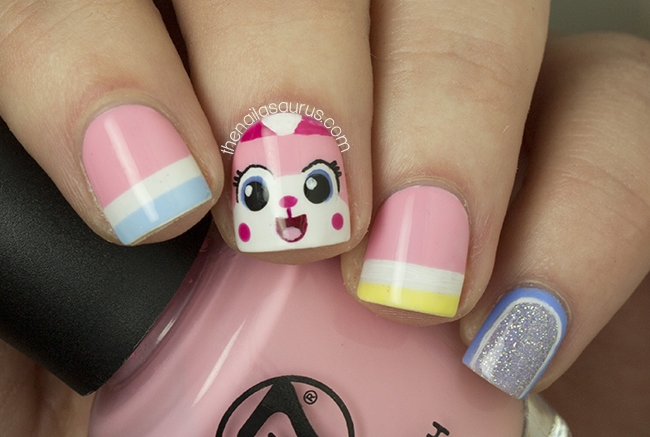
    Unikitty Lego Nail Art!

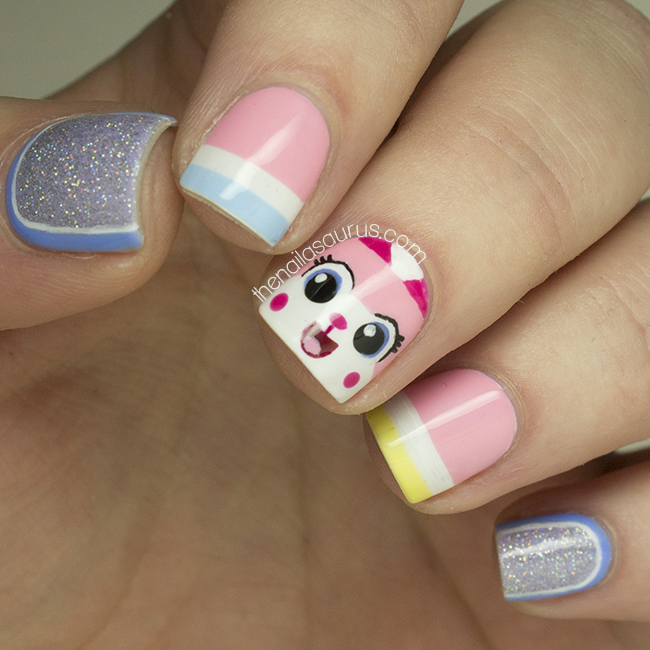
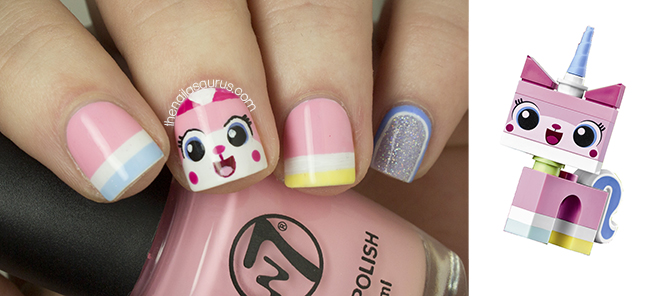
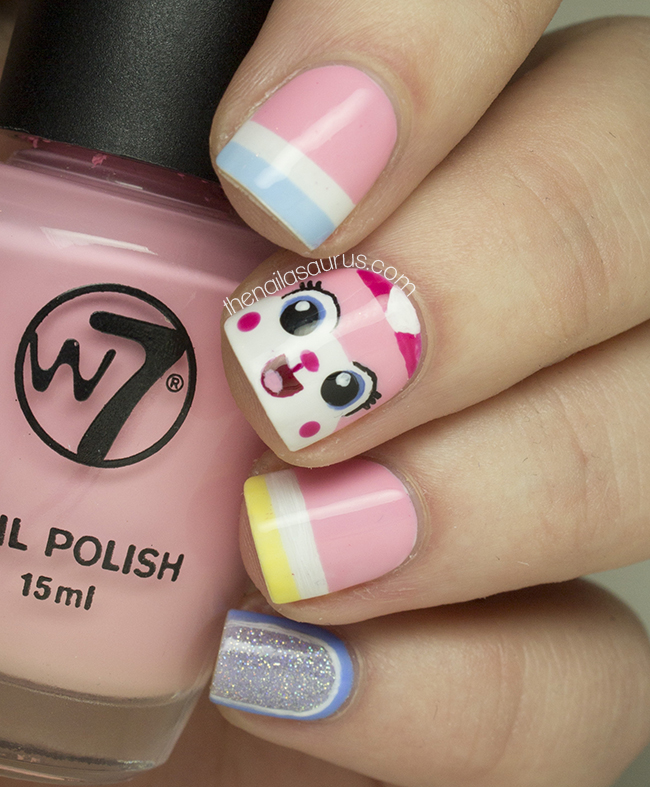
    My Lego Movie nail art was such a huge hit with you guys and I’m so glad you liked it! I’m back today on the same vein with some Unikitty nail art. She was one of my favourite characters in the movie thanks to her (mostly!) positive outlook and amazing Alison Brie voice.

    I used Barry M White as my base colour for the three middle fingers. Using a nail art brush, I painted on the details using black and white acrylic paint, W7 Baby Pink and NYC MoMa. I also used a dotting tool for the black parts of the eyes.
    Using scotch tape, a marked off the tip of each nail and painted the bottom half pink. Then I used a smaller strip of tape to mark off the white stripe and painted the tipes using NYC Raindrop and Lexington Yellow (which I mixed with some white to make it pastel).
    My pinkie and thumb are two coats of Claire’s Silver Holographic over Barry M Prickly Pear. I outlined them using Barry M Blueberry and added a thin line of white acrylic paint.
    It’s all topped off with two coats of KBShimmer Clearly on Top.

    Share:
    Freehand, Uncategorised

    Happy Saint David’s Day!

    I have never been able to decide whether I’m English or Welsh as my family is English and I was born in England but I’ve lived my whole life in Wales, albeit very close to the border. I tend to float between the two and with my generic British accent, I can pull them both off pretty convincingly! Since it’s Saint David’s Day today, the mood is decidedly Welsh and I’ve created some nail art for the occasion.

    My first finger is the Welsh flag, or at least my simplified interpretation of it. I set down a base of Barry M White and freehanded on the Welsh Dragon using Rimmel Heart on Fire. I added the green in last using Sally Hansen Grass Slipper.
    On my ring finger, I’ve painted a Daffodil – the national flower of Wales. I used Barry M Mist as my base colour and freehanded on the flower using a nail art brush with NYC Lexington Yellow and Sally Hansen Sun Kissed.
    For the remaining fingers, I used Rimmel Heart on Fire, Barry M White and Sally Hansen Grass Slipper.
    It’s all topped off with a coat of Glisten and Glow HK Girl.
    Share:
    Glitter, Gradient, Stamping, Uncategorised

    The Lacquer Legion: Adoration

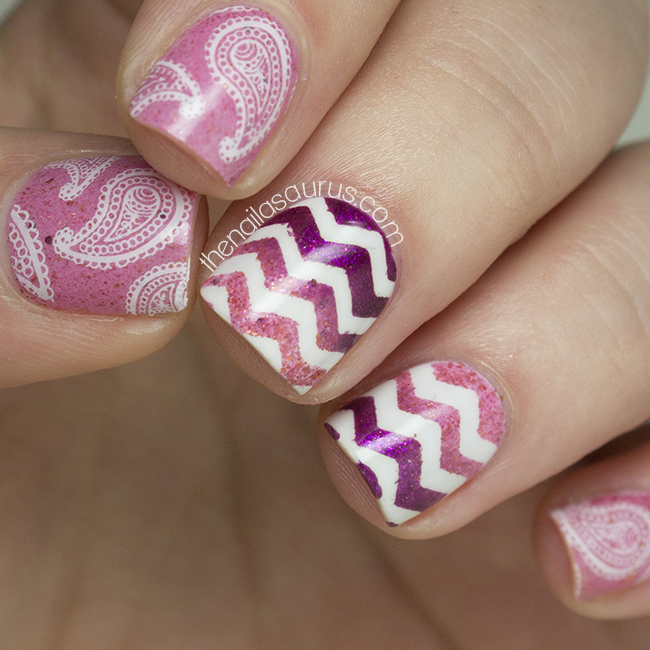
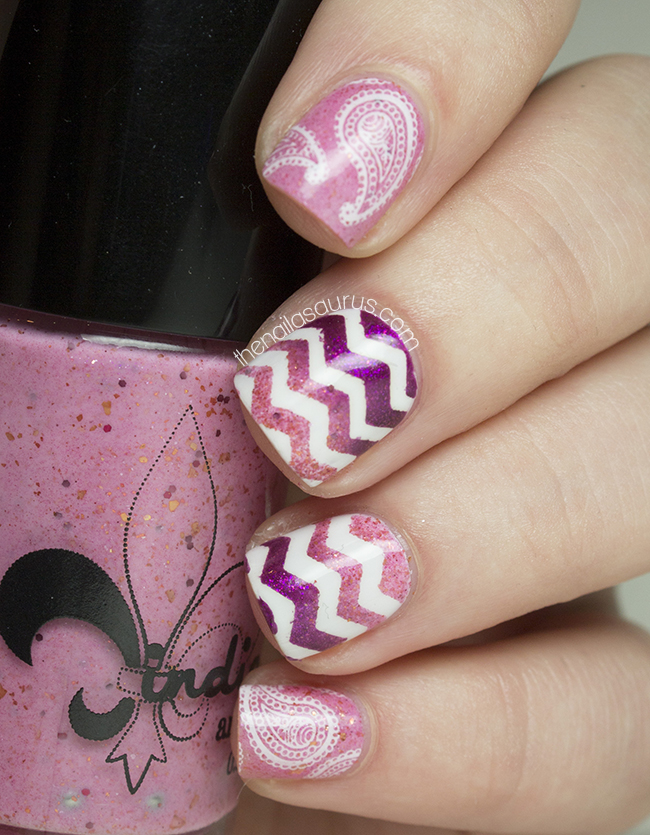
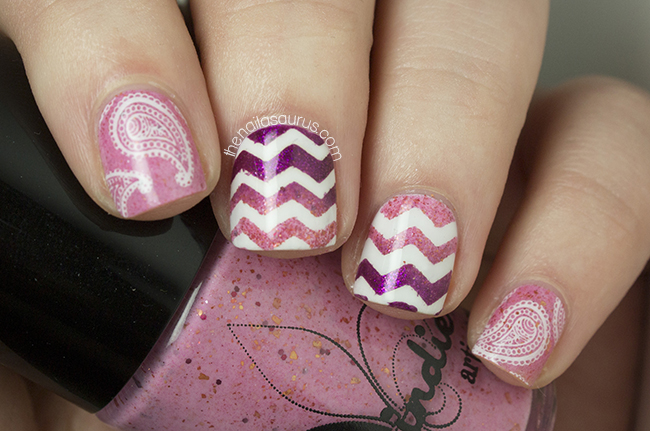
    For today’s Lacquer Legion nail art, I kept coming back to this idea of gradient with chevrons peeking through. I’ve only done this kind of nail art once before but every time I come across it on Instagram or Pinterest, I’m reminded how much I truly adore it.
    As far as I’m aware, this nail art was created by Storm and Stars and she has a great tutorial here.
    Wherever you share your Lacquer Legion mani today, don’t forget to use the hashtag #LLAdoration and get your links up on The Lacquer Legion’s Facebook page where we’ll be sharing our personal favourites throughout the day.

    For these nails, I used Jindie Nails K.I.S.S. (Keep It Simple Stupid) from the upcoming Recover-Me Collection as my base colour.
    I used Barry M White as the base for the nails where I was creating the gradient. I followed Storm and Stars’ tutorial using Jindie Nails K.I.S.S and Collection 2000 Minx to create the gradient.
    For the stamping, I used Bundle Monster Plate BM315 and BK Matte White
    It’s all topped off with a coat of Glisten and Glow HK Girl.
    Share:
    Stamping, Uncategorised

    Nailvengers Assemble: Mardi Gras Madness

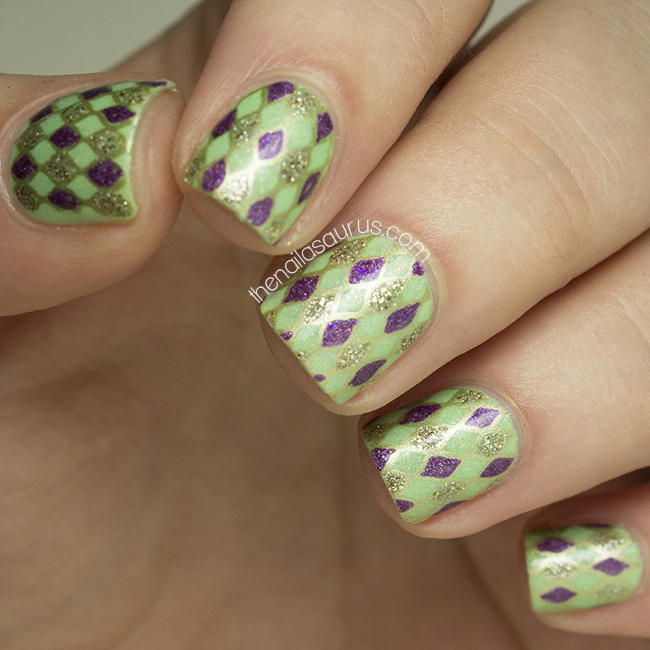
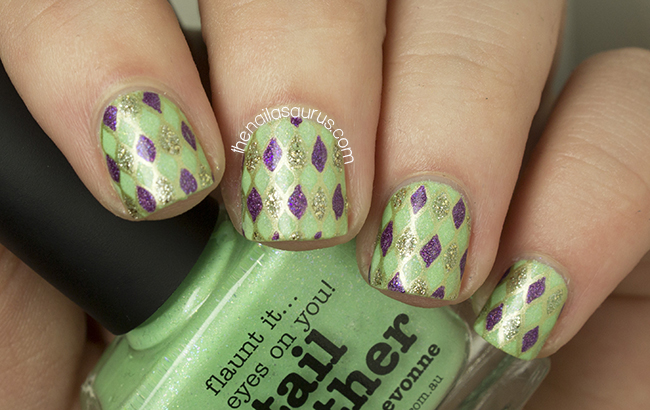
    With Mardi Gras coming up on March 4th, this month we decided to use the holiday as the inpiration for our Nailvengers Assemble challenge. After a failed attempt to create something with caviar (seriously, don’t even ask!), I decided to go for something simple using a few of the colours most often associated with Mardi Gras – purple, green and gold. 
    Don’t forget to check out my fellow Nailvengers’ Mardi Gras nail art- One Nail to Rule Them All, xAmeliax, Brit Nails and Lucy’s Stash!


    For this nail art, I used piCture pOlish Tail Feather as my base colour.

    I stamped on the fishnet design from Bundle Monster plate BM209 using Barry M Gold Foil.
    Using a nail art brush, I filled in some of the diamonds to create a harlequin look using piCture pOlish Hussy and Barry M Majesty.
    It’s all topped off with a coat of Glisten and Glow HK Girl.

    Share:
    Glitter, Gradient, Uncategorised

    Kitty Cat

    This last week or so I’ve been completely obsessing over these cutie-pie cat nail decals from Born Pretty Store. I bought a bunch of designs with my fingers crossed that they would be the super bendable and sticky decals that I like and that actually work on my nails so I’m very happy that they are! When they first showed up I was a bit disappointed that they were covered with a holographic sheen as this wasn’t very clear in the photos. Once I saw past the sheen and realised how easy they are to apply, I grew to love them and I’m about to go back and order pretty much every design on the website. Oh, and they glow in the dark!
    I’m going through a bit of a dry spell with nail art at the moment which is a shame because I had a good blogging streak going. I need to snap out of the drought soon because I have The Lacquer Legion and Nailvengers both coming up this Friday. Better go now, I have some panicking to do!

    For the gradient nails I used Revlon Cloudy as my base colour and created the gradient using Rimmel Aqua Cool. There’s a gradient tutorial here.
    I topped the gradients with a coat of China Glaze Fairy Dust and finished with a coat of Glisten and Glow HK Girl.
    For the kitty cat nail, I used a base coat of Barry M White first as the decals are not completely opaque. I had to trim down the decal so that the whole cat face would fit on my tiny nails and then just placed it on and smoothed it down with a finger, tucking the edges under my cuticles with a toothpick. You can buy the decals from bornprettystore.com.

    Share:
    Freehand, Glitter, Uncategorised, Waterfall

    Misty Waterfall

    Barry M Mist Swatch

    So far, my effort to read more this year is going really well. I’m a pretty slow reader but I’m making good progress! Since I got my Kobo in January, I’ve already read the first two Divergent books and I’m currently reading The Fault In Our Stars. I’ll pick up on the third in the Divergent series after this one which I’m pretty sure I’ll finish before the end of the week because I only started reading it on the weekend and it’s been keeping me up until the early hours of the morning every day since. I think I’ll turn in early tonight so I can squeeze in an extra hour of reading time!

    Barry M Mist Swatch
    For this nail art, I started with a base of Barry M Mist.
    I created the Waterfall using Barry M White, Sally Hansen Thinking of Blue, Sally Hansen Himalayan Blue and Sally Hansen Lively Lilac.
    There’s a waterfall tutorial here.
    The glitter is Angelica Bobby Dazzler (also available in Primark stores!).
    It’s all finished of with a top coat of Glisten and Glow HK Girl.

    Barry M Mist Swatch
    Barry M Mist Swatch
    Share: