Follow:
Browsing Category:

Nail Art

    Nail Art, Uncategorised

    The Lacquer Legion On Holiday: Windbreakers

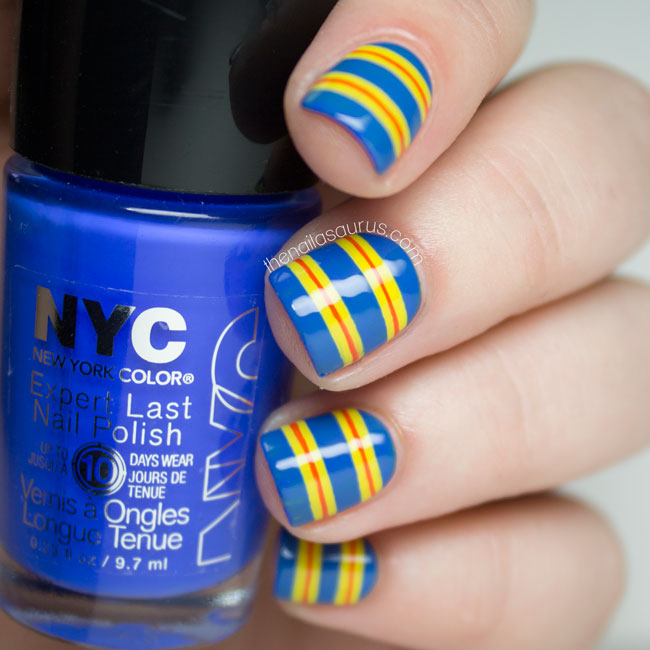
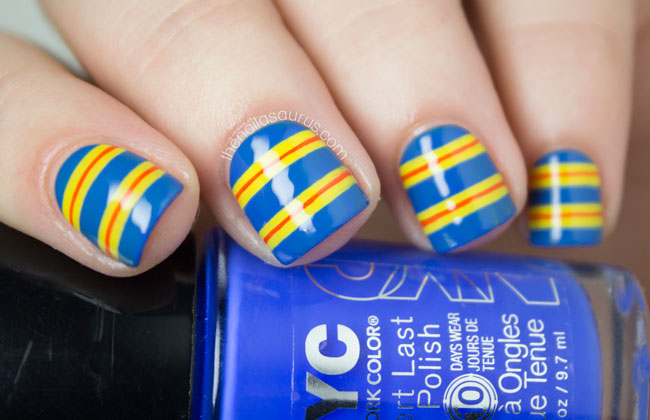
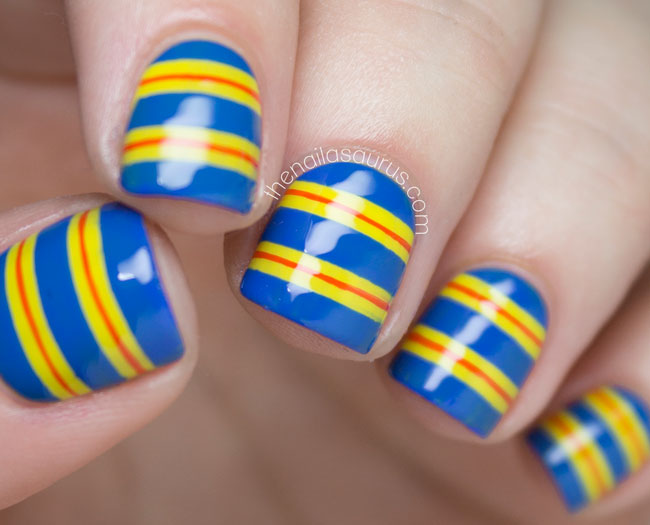
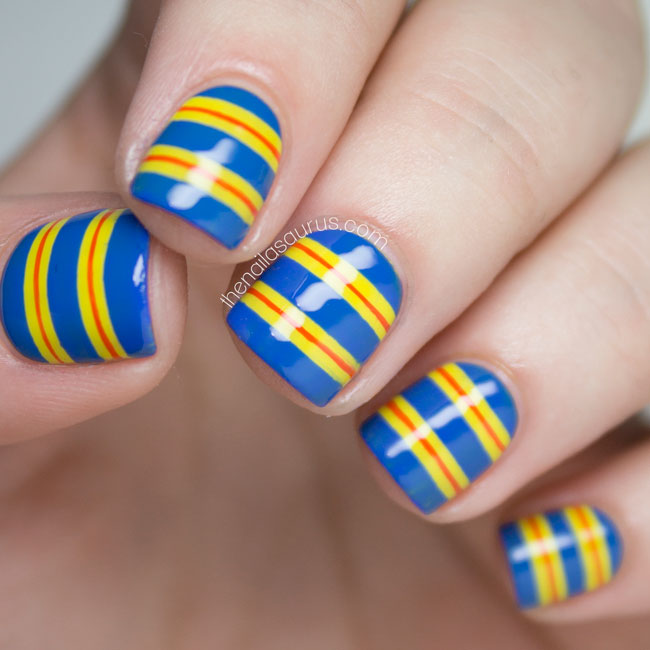
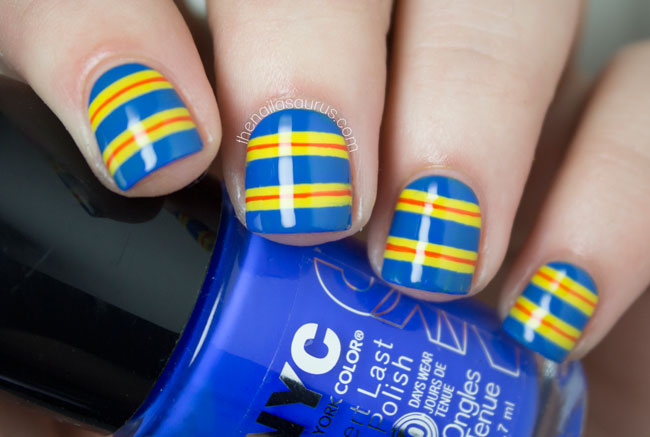
    If you’ve ever spent the day on a British Beach, you might know what I was going for with this mani! I spent many of my childhood summer holidays on beaches along the coast of Devon and Cornwall and have nothing but fond memories of those times so my #LLOnHoliday manicure is paying tribute to an essential piece of beach equipment in the UK – the windbreaker!

    Although I don’t love the nail art – it’s a bit bright and gaudy for my taste – I have so many lovely memories with those windbreakers that I don’t even care! It just makes me happy to look down and be reminded.

    Don’t forget to keep up with The Lacquer Legion on Facebook to find out what next month’s challenge will be and if you post your On Holiday nail art today, don’t forget to use the hashtag, #LLOnHoliday!

    For this nail art, I used a base of NYC Lexington Yellow and then a thin coat of Glisten & Glow HK Girl to dry it out nicely.
    I put down a few straight vinyl stencils and painted over everything in NYC Hudson Breeze before removing the stencils right away.
    Finally, I used a long striping brush to add the red details with Rimmel Raw as Night and topped it with a thick coat of HK Girl.
    Share:
    Freehand, Nail Art, Uncategorised

    Nailvengers Assemble: Summer Treats

    Strawberries and Cream Nail Art | The Nailasaurus
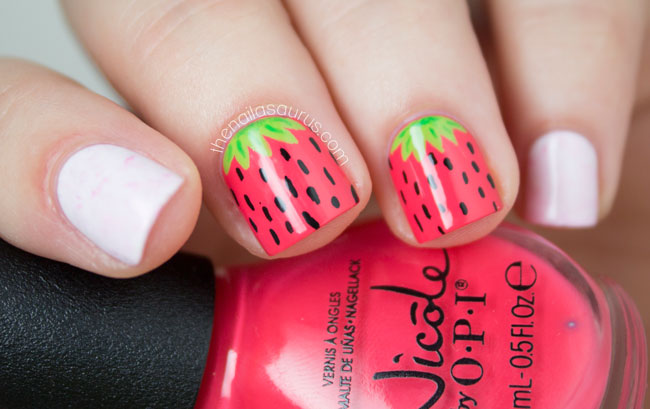
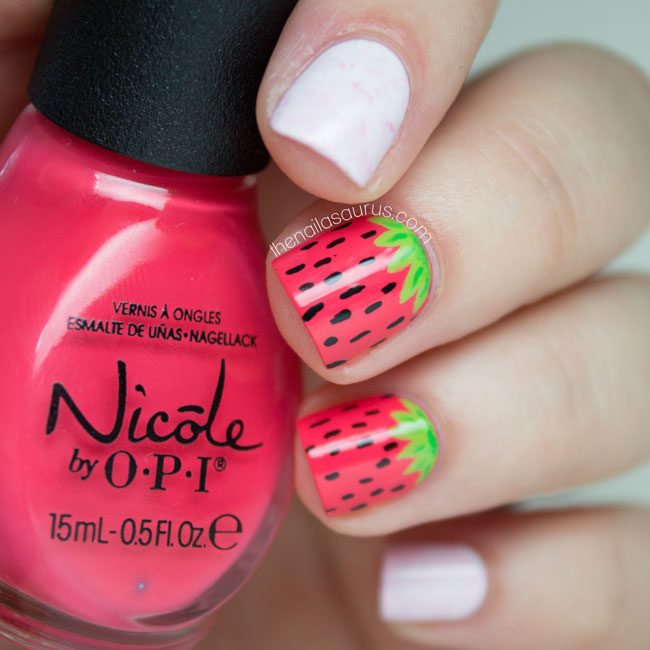
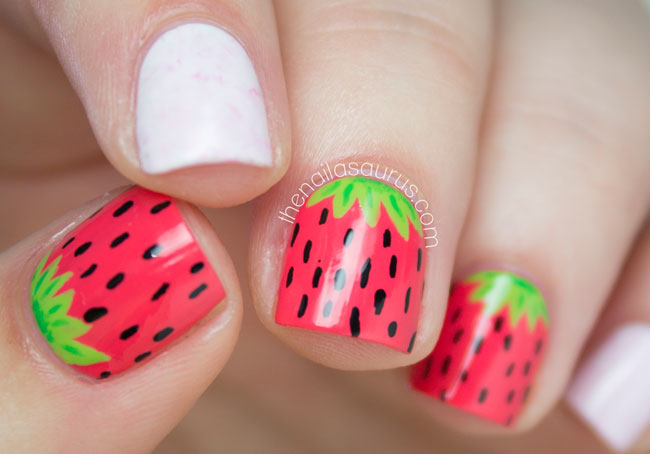
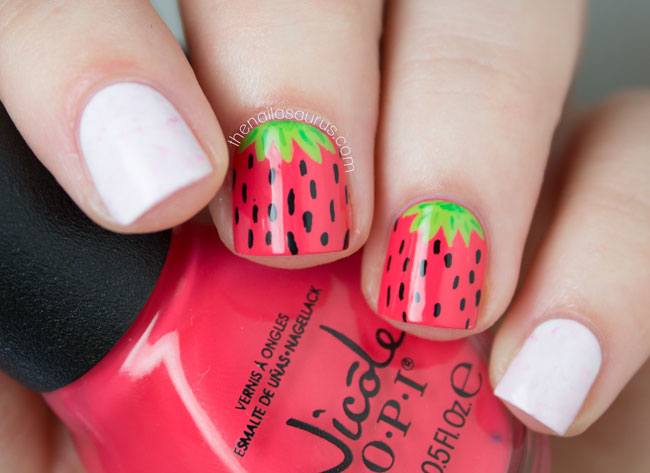
    June’s Nailvengers theme is ‘Summer Treats’ so with Wimbledon coming up, I decided to so some Strawberries and Cream nail art. 
    For the strawberries, I used Nicole by OPI The Coral of the Story as my base colour with Barry M Key Lime for the green. I added the details using black acrylic paint and Barry M Spring Green.
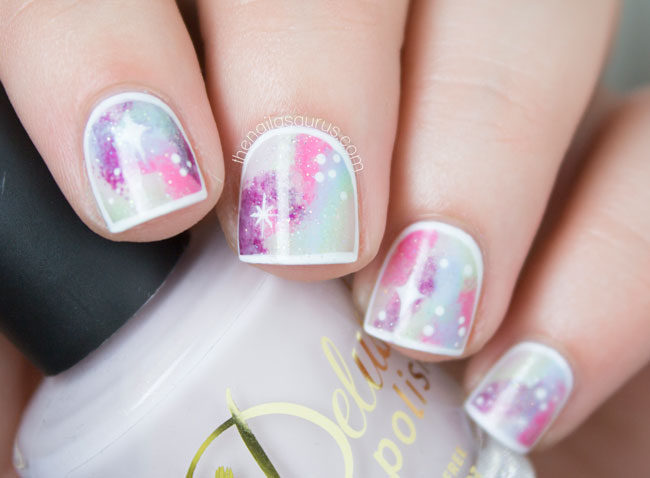
    For the creamy nails, I used Graffiti Nails Ice White as my base, then the Saran Wrap technique with a tiny bit of Barry M Rose Hip and Nicole by OPI The Coral of the Story.
    Strawberries and Cream Nail Art | The Nailasaurus
    Strawberries and Cream Nail Art | The Nailasaurus
    Strawberries and Cream Nail Art | The Nailasaurus
    Strawberries and Cream Nail Art | The Nailasaurus

    Share:
    Freehand, Nail Art, Stamping, Uncategorised

    Beepbopboop

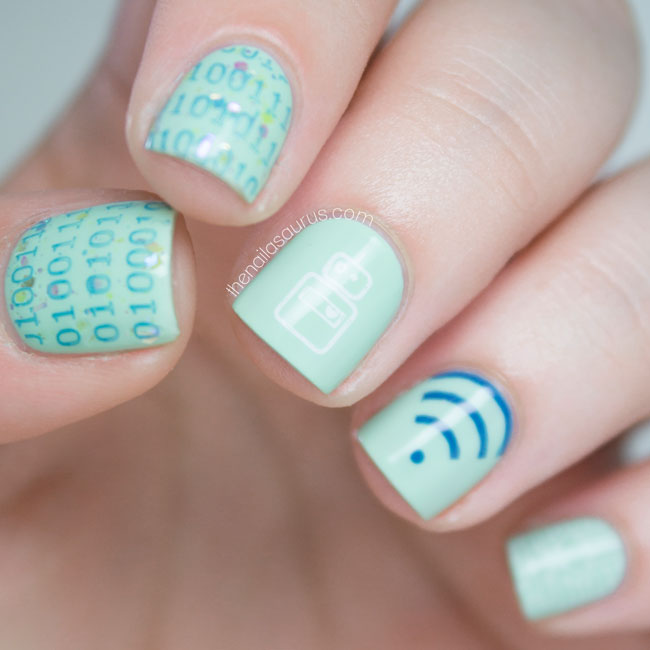
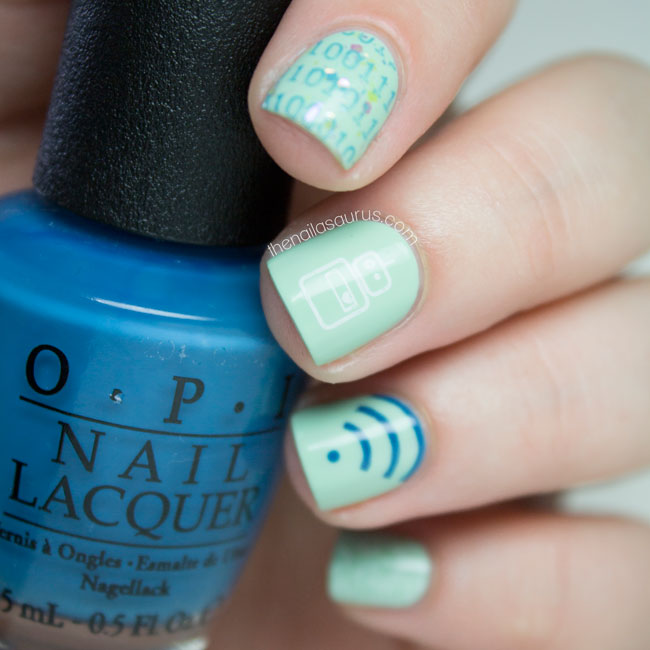
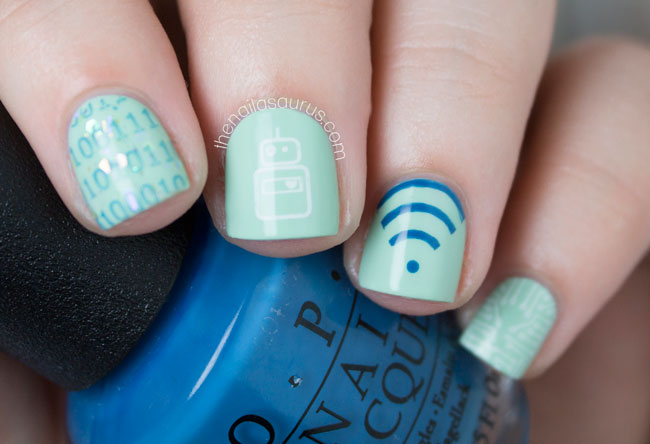
    When I was at a nail event a little while ago, this wi-fi design by Jessica Hoffman was on the nail art menu and I knew that I would have to try it for myself. I started this mani intending just to do the wi-fi all over but it swiftly turned in to a technologic mani!
    My base colour is Revlon Minted and I topped a few nails with Cirque Magic Hour.
    All the stamping is from Bundle Monster plate BM415 and I used OPI Suzi Says Feng Shui and BK Matte White for all the details.
    To draw on the wi-fi signal, I used two straight vinyl stencils to mark off a triangle at the base of my nail, then drew 3 curved lines stretching edge-to-edge with a nail art brush. I tried to follow the curve of my cuticle to get them all matching! I quickly removed the vinyls and used a dotting tool to add one dot at the base.
    It’s all topped off with a coat of Glisten & Glow HK Girl.
    Share:
    Freehand, Nail Art, Uncategorised

    And Make it Fast | Fast Food Nail Art

    Last night, I got the urge to have a little de-stash which resulted in a two hour sort through of all of my nail polish and nail art supplies. My collection has been knocked down 473 bottles which now occupy 5 Helmer drawers and I feel very cleansed and refreshed! I was at a point where bottles were spilling over on to my desk and filling boxes under the bed which was really frustrating me as I really like for everything to have its place. Also, I really don’t want to end up as the lady on Hoarders who only eats takeaway because her kitchen cupboards are stuffed with 10,000 bottles of nail polish!
    It got me wondering how many polishes is ‘normal’ for a hobbyist to have. I asked on Facebook yesterday and answers ranged from 10-1000+ so it seems I’m in the median range. I know I have a modest collection compared to some other nail bloggers but I’d really like to know how many you have and/or how many you think is reasonable! Let me know in the comments.
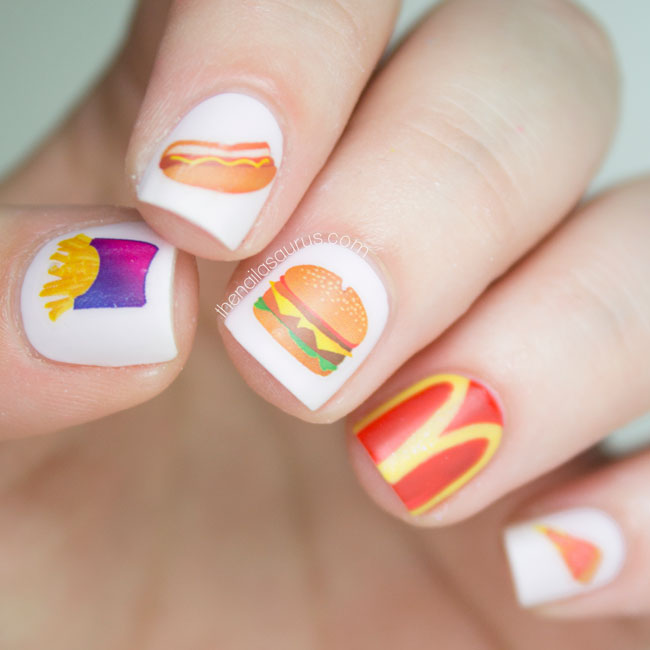
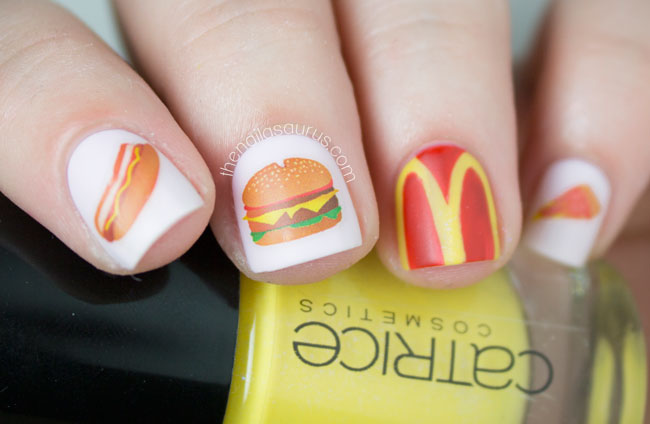
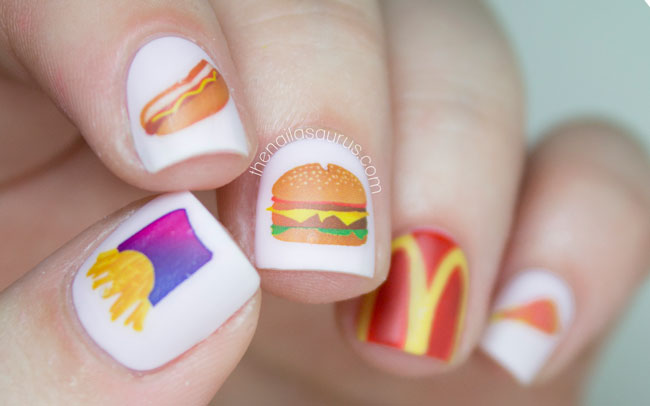
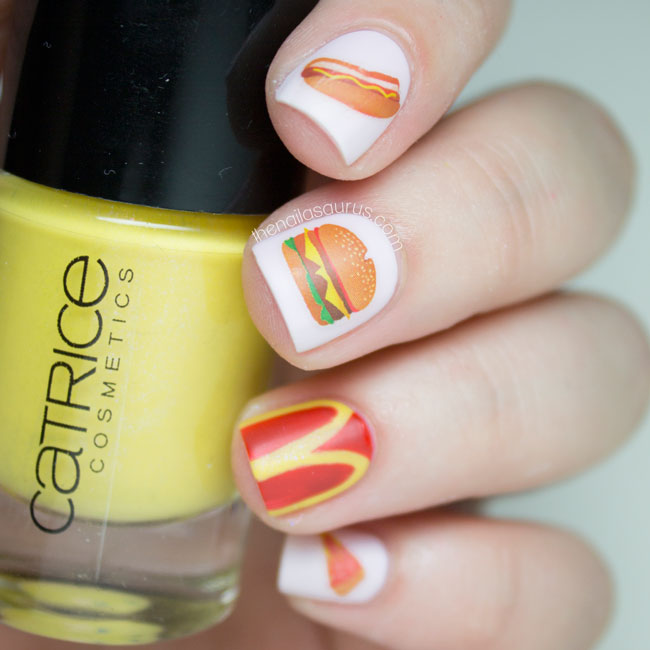
    On to the nail art! These mouth watering water decals are part of Nailed Kit’s June subscription package along with the tribal decals I posted a while back. You have until June 30th to sign up if you want to get your hands on these designs. Of course, I just had to add the golden arches and now I just want to eat McDonalds!
    I used Barry M Rose Hip as the base colour for the water decals.
    To create the ‘M’, I painted on a base of Catrice Earnie & Birdy (yellow), then freehanded on the red details using Rimmel Heart on Fire with a nail art brush.
    It’s all topped with one coat of Glisten & Glow HK Girl and one coat of Rimmel Matte Top Coat.
    Share:
    Nail Art, Uncategorised

    Peaches and Cream

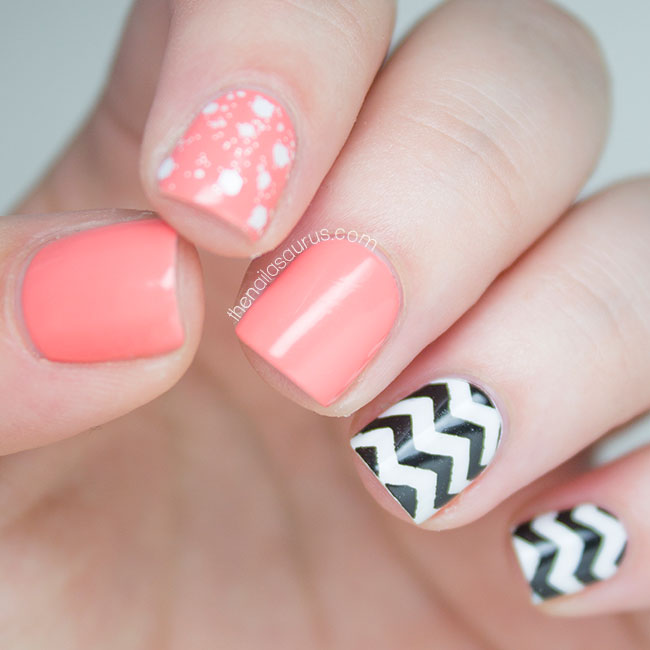
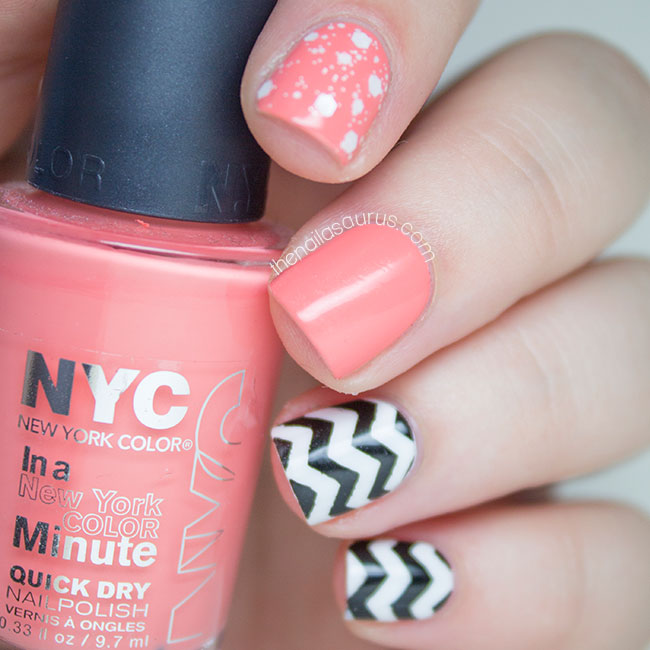
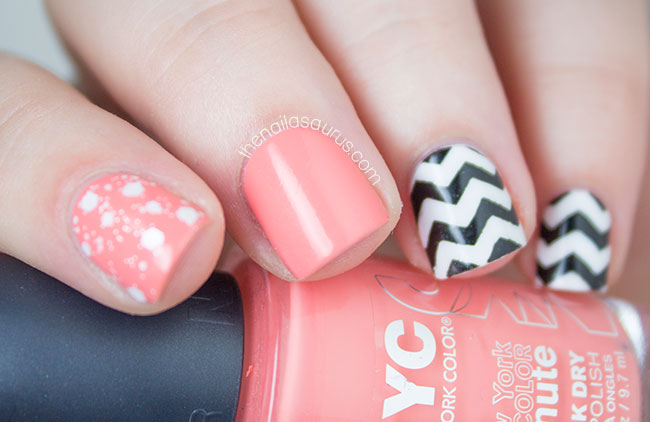
    It would seem that I’m on an Orange kick at the moment. Out of nowhere I seem to have amassed a collection of really gorgeous orange shades and in this weather it just feels so right to wear them. Although this nail art is really simple, I think the stunning peach shade sets it off just right and chevrons always add a nice pop !
    For this nail art, I used NYC Peach Popsicles and Graffiti Nails Ice White as my base colours. I used a thin coat of Glisten & Glow HK Girl on the white nails to dry them quickly.
    For the chevron effect, I used the Chevron Stencils from She Sells Seashells and No7 Just Black.
    The glitter on my first finger is Maybelline Acid Wash Top Splatter.
    It’s all topped off with a two coats of HK Girl.
    Share:
    Nail Art, Tutorial, Uncategorised, Video

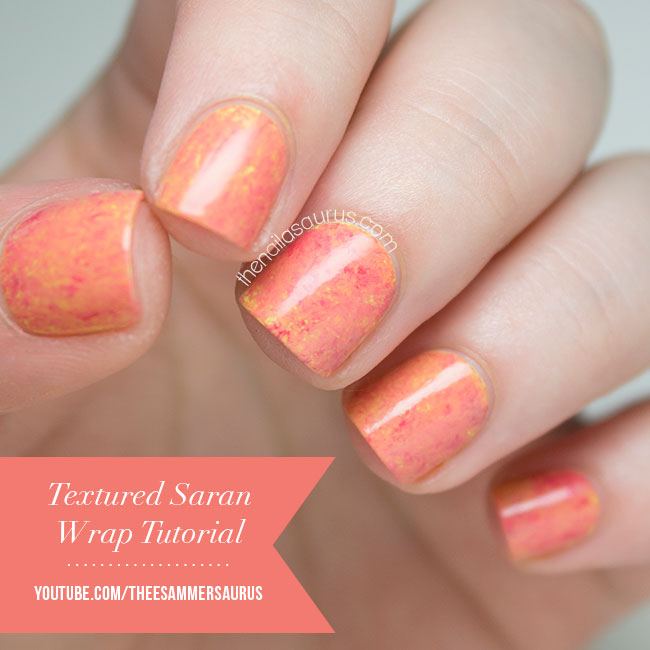
    Textured Saran Wrap Nail Art Video Tutorial

    Textured Saran Wrap Nail Art Video Tutorial // The Nailasaurus

    I know it took a while but here’s the video tutorial for the saran wrap technique I’ve been using a lot recently. It’s my quickest tutorial yet as it’s really quick and simple once you see how it’s done, it’s just tricky to explain in text so I completely appreciate why so many of you have been asking for the tutorial!

    You can see all the manicures I’ve done with this technique here to get an idea of what it looks like in other colour combinations. My favourite so far has to be the acid wash in blue and pink. It’s a really versatile effect that, depending on the colours you use, can look like anything from marble to denim!

    I noticed that in all my tutorials I make a real mess on my cuticles that I have to clean up at the end which you don’t have to do! You can protect your skin using tape, PVA glue or anything else you’ve found that does the job. I just don’t because I’m really lazy and figure since I’ll have to at least clean up a little bit at the end, I may as well just clean up a lot!

    Share: