Follow:
Browsing Tag:

W7

    Nail Art, Stamping, Tutorial, Video

    Real Marble Nail Art Tutorial (With a Stamper)

    White Marble Nail Art Tutorial

    Did you hear? Minimalism and marble are totally in right now and, let me tell you… I’ve been comfortably seated on that bandwagon for a while!

    I spent a while last year trying to figure out a way to create the marble effect on nails that was simple, didn’t require too many tools and wasn’t freehanding. Of course, marble is one of mother nature’s creations so I had in mind something that didn’t look too thought out; a little messy and unpredictable but with that certain understated elegance. Eventually I found this solution using nothing but a nail stamper, a smooth surface, and a toothpick. Read more

    Share:
    Freehand, Glitter, Halloween, Nail Art, Uncategorised

    Nailvengers Assemble: Halloween Nail Art

    Halloween Nail Art // The Nailasaurus

    Happy Halloween all! I’ve teamed up with the Nailvengers (Amelia, Allie, Alice and Lucie) today for my first and final Halloween look. I’m sorry if you might have been expecting something a bit more adventurous considering I had 18 designs to choose from, but I was in a bit of a rush and blood drips are always going to be my go-to Halloween design! This time around, I tried to 3D-ify the drips with some highlighting and contouring with moderate success!

    This glitter polish caught my eye half way through the paint job. It’s an untried that’s been sat on my desk just waiting to be used. My eyes skimmed over it and just thought ‘the is PERFECT for Halloween!’, so I removed the polish that was already there and applied the glitter instead!

    For the blood drips, I painted a base colour of Barry M Lychee, then freehanded on the drips using Rimmel Heart on Fire with a nail art brush.

    I mixed a little bit of black polish in with the red to paint the shadows, then mixed a little bit of red with white for the highlights/reflections.

    The glitter is W7 Lava Flow. I used about four (really thin) coats to get full opacity but you could just apply two over white for a similar effect.

    It’s all topped off with two coats of Glisten & Glow HK Girl.

    Halloween Nail Art // The Nailasaurus

    W7 Lava Flow Halloween Nails // The Nailasaurus

    Halloween Nail Art // The Nailasaurus

    Halloween Nail Art // The Nailasaurus

    Share:
    Freehand, Glitter, Uncategorised

    Our Paper Hearts Are Folding

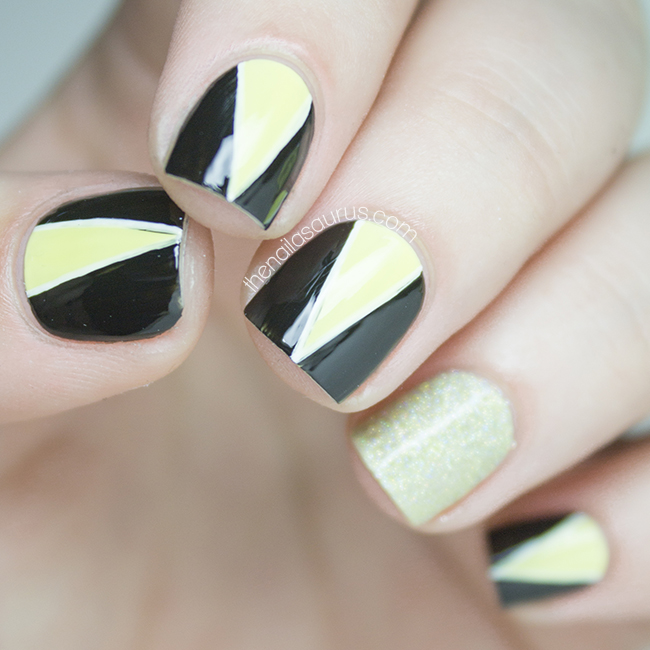
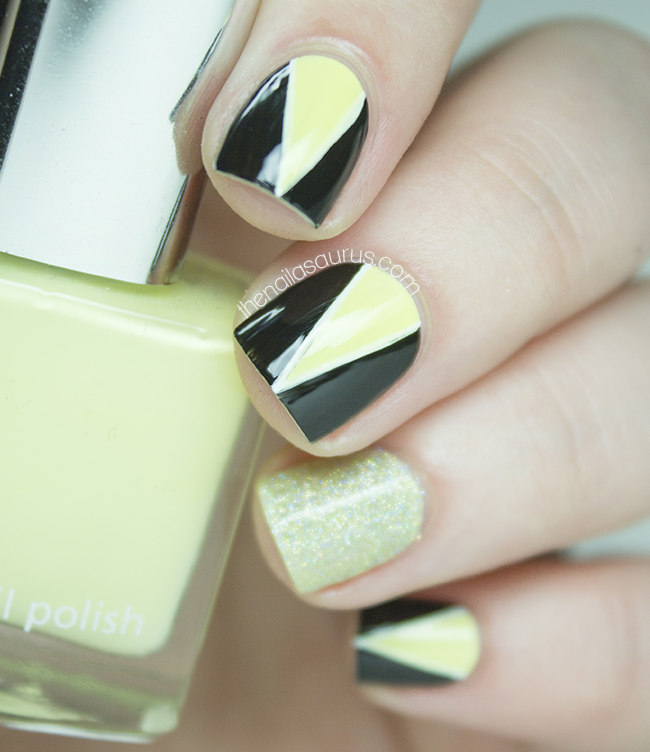
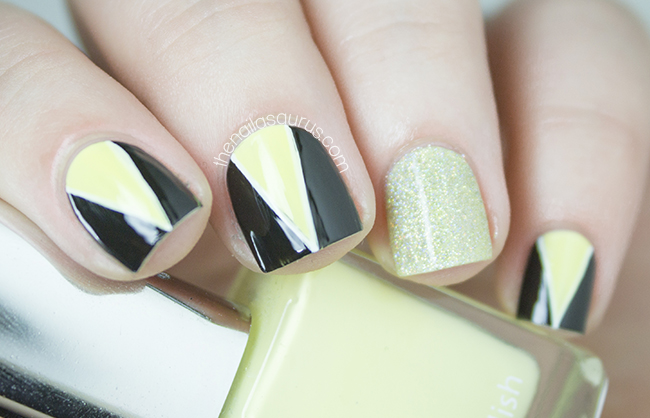
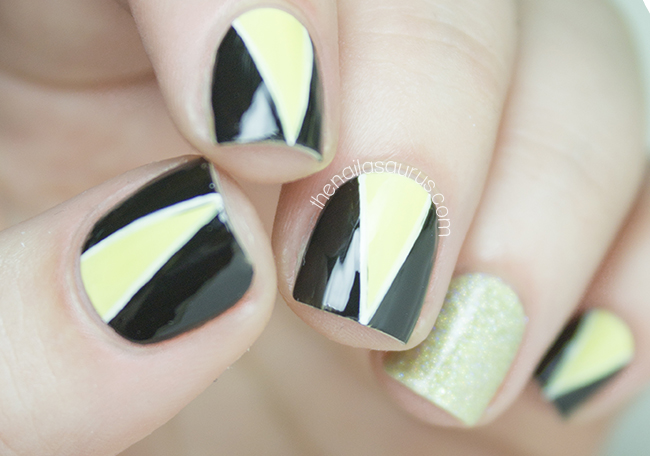
    V-Shape Manicure | The Nailasaurus
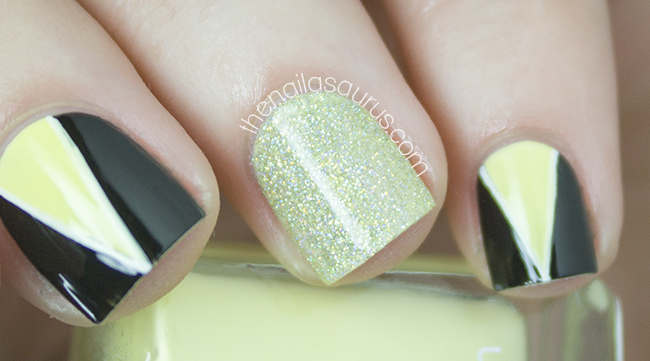
    Yellow, Black and White is such a stunning mix of colours but I don’t remember ever having worn it on my nails before. I got this mani in mind to use the colours and in my head it looked awesome but I noticed they kind of remind me of Wolverine and now that’s all I can see when I look at them! I’m talking about the yellow spandex clad version from the comics, not Hugh Jackman’s rugged, leather jacket wearing stud from the movies. I suppose there are worse things for nail art to remind you of!
    I started off with three coats of Tiger 56 for my base colour and once that was dry, I painted on the V shapes with a black liner polish.
    I filled in the empty space at the sides using W7 Black and then outlined using Sweet Color White Liner.
    The glitter on my accent is Claire’s Holographic Polish.
    It’s all topped off with two coats of Glisten & Glow HK Girl.
    V-Shape Manicure | The Nailasaurus
    V-Shape Manicure | The Nailasaurus
    V-Shape Manicure | The Nailasaurus
    V-Shape Manicure | The Nailasaurus
    V-Shape Manicure | The Nailasaurus
    Share:
    Uncategorised

    Pink Acid Wash Nail Art Inspired by Asos

    ASOS Denim Jacket in Pink Mottled Wash – asos.com
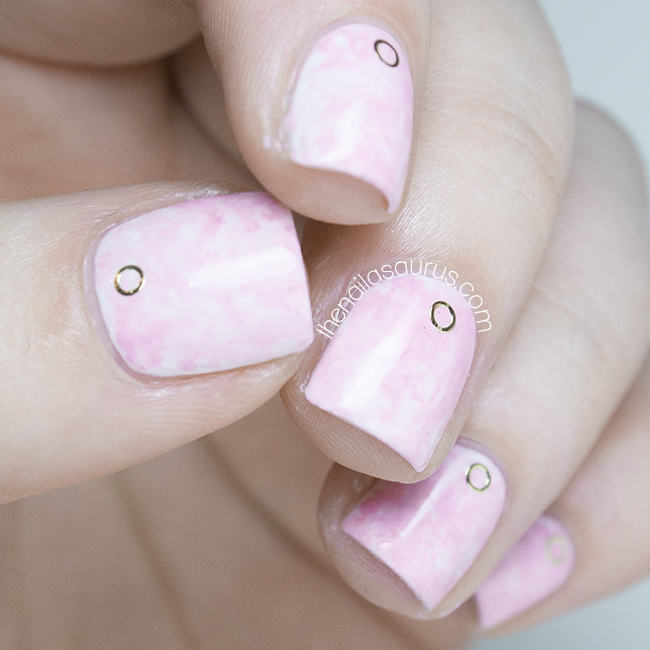
    A little while ago, I was flicking through this month’s Asos magazine and I cam across this pink mottled jacket that was the perfect inspiration for some nail art. In all my excitement I got started on the nail art right away, not realising that the jacket wasn’t even online yet! I wanted to wait for the jacket to appear on the website before posting the nail art so you could see my inspiration.
    I achieved this look using saran wrap / cling film but I do it in a weird way! I splodged out my three colours on to a sheet of plastic, dabbed on a piece of crinkled cling film and transferred it to my nails.

    For this look, I used Barry M White as my base colour.
    I used scrunched up cling film to transfer the mottled pattern which I made using Barry M White, W7 Baby Pink and Collection Think Pink.
    The circle stud details are from Born Pretty Store (style #123).
    It’s all finished with a top coat of Cult Nails Wicked Fast.
    Share:
    Gradient, Tutorial, Uncategorised, Video

    Gradient Nail Art Tutorial Video and FAQ

    Gradient Nail Art Video Tutorial

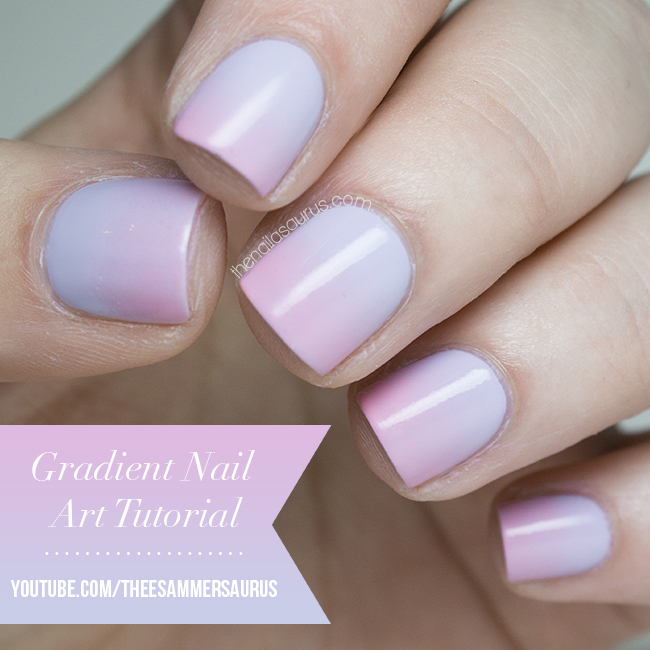
    When I ventured back in to making videos recently, it seemed inevitable that I’d be making a gradient nail art video since my picture version was quite a success and many people have asked to see me do it in a video. This mani does take a while but most of that time is spent waiting for polish to dry. Once you get the hang of it, sponging on the gradient is easy!
    While we’re here, I also thought it would be a great opportunity to answer some of the questions I get asked most frequently about this technique. Over time I’ve learnt a lot more about the process and how to overcome a few of the difficulties that you might come across on your first couple of tries.
    What polishes work best for gradients?
    You can’t go wrong with creme polishes that are quite runny. They don’t have to be very opaque either, streaky polishes often work best for gradients.
    How do you avoid bits coming off the sponge and sticking to your nail?
    I don’t think there’s any way to avoid this. If you see little flecks of sponge breaking off and sticking to your nail, just pick up a new sponge and continue where you left off.
    You can use tweezers to pick these flecks out of your mani but if they’re only small, usually your top coat will hide them!
    Should you wet the sponge first?
    Personally I never use water but I know others that use a damp sponge with amazing results. Try both ways and see what works for you!
    How do you clean the sponge after?
    I don’t bother trying to clean the sponges. I just throw them away and use a fresh one the next time.
    Any other tips?
    It’s super important to wait for your polish to dry in between layers. If you try to sponge over wet polish, you’ll just start picking up the polish that’s already there and it’ll be a gloopy mess. Watch a movie while you’re doing it to avoid boredom!

    If you try this mani yourself, don’t forget to use #looknailasaurus on Instagram so I can see your results!

    Share:
    Freehand, Gradient, Uncategorised

    Miley Cyrus Bangerz Inspired Nail Art

    Say what you will about Miley Cyrus but the girl knows how to sell a few albums! I’ve always been a kind of fan of her music but I really like the new album, Bangerz. As soon as I saw the album cover with that gradient background, the thought occurred that it would make some great nail art. So when I was looking through my MoYou plates this week and found none other than Miley Cyrus’ face on one from the Rockstar collection, I knew it was meant to be!

    The Nailasaurus: Miley Cyrus Bangerz Inspired Nail Art

    For the gradient base I used W7 Baby Pink as the first colour, then created the gradient using China Glaze Fancy Pants. There’s a gradient nail tutorial here.
    I stamped on Miley’s face from MoYou London Rockstar 07 Plate using W7 Black.
    For the palm trees, I just used some black acrylic paint and freehanded them on with a nail art brush.
    It’s all topped with two coats of KBShimmer Clearly on Top.

    Miley Cyrus Bangerz Album Art

    The Nailasaurus: Miley Cyrus Bangerz Inspired Nail Art

    The Nailasaurus: Miley Cyrus Bangerz Inspired Nail Art

    The Nailasaurus: Miley Cyrus Bangerz Inspired Nail Art
    Share:
    Freehand, Glitter, Uncategorised

    Tooty Fruity

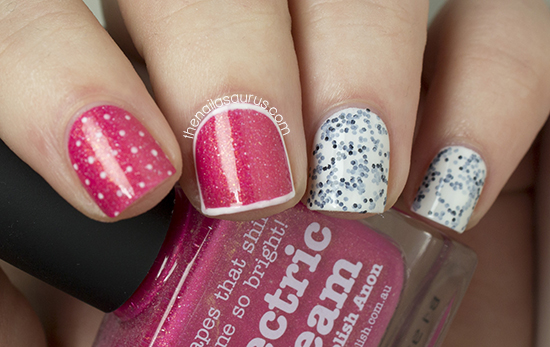
    Today’s nail art features an amazing fruity coral shade from piCture pOlish called Electric Dream. In the bottle, the colour looks like a shimmery coral but on the nails it really pops a lot more pink with loooads of shimmer!

    piCture pOlish Electric Dream

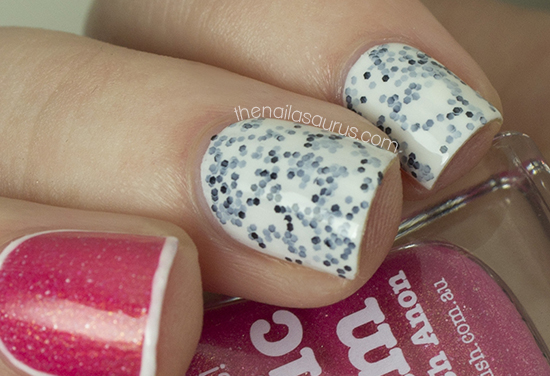
    The main colour here is piCture pOlish Electric Dream and I added some simple nail art using a Pink Tease White Nail Art Striper.

    For the accent nails, I started with one coat of Barry M White then added two coats of W7 Salt n Pepper.

    It’s all topped off with two coats of Glisten and Glow HK Girl.
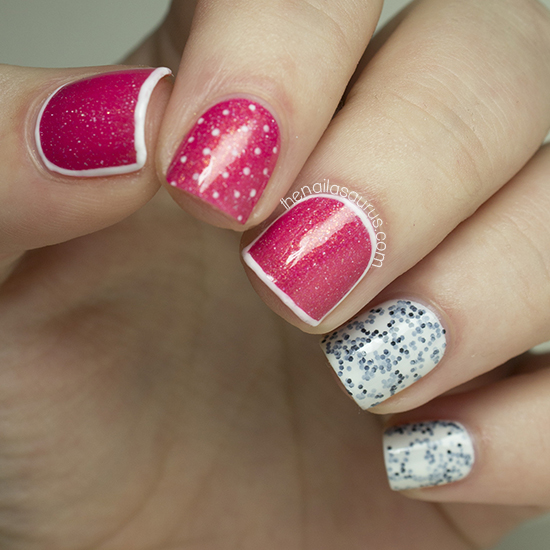
    W7 Salt n Pepper

    piCture pOlish Electric Dream

    piCture pOlish Electric Dream

    piCture pOlish Electric Dream
    Share: