Follow:
Browsing Tag:

Stick Ons

    Glitter, Uncategorised

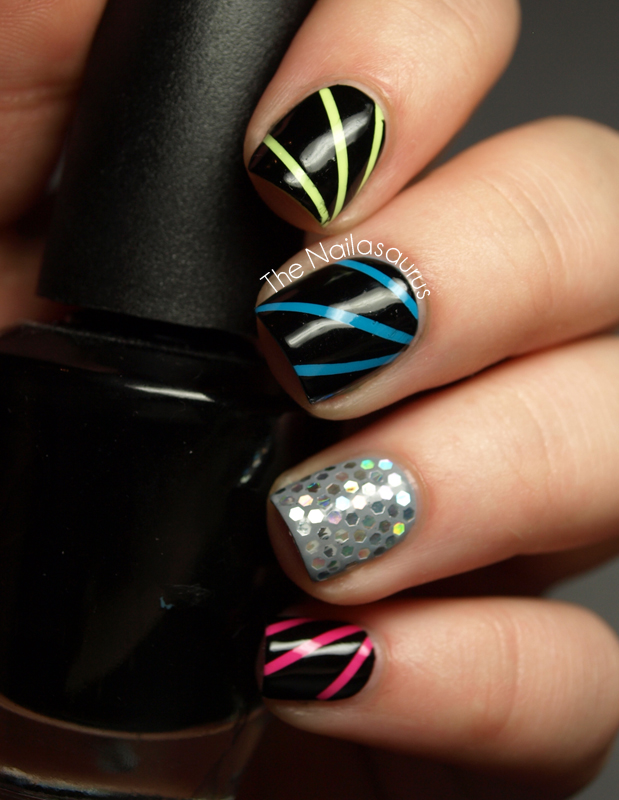
    Disco Nails with ‘Glequins’

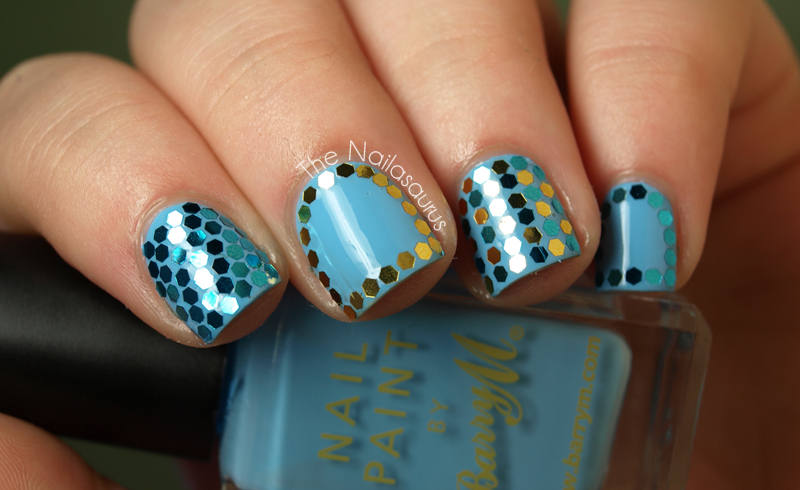
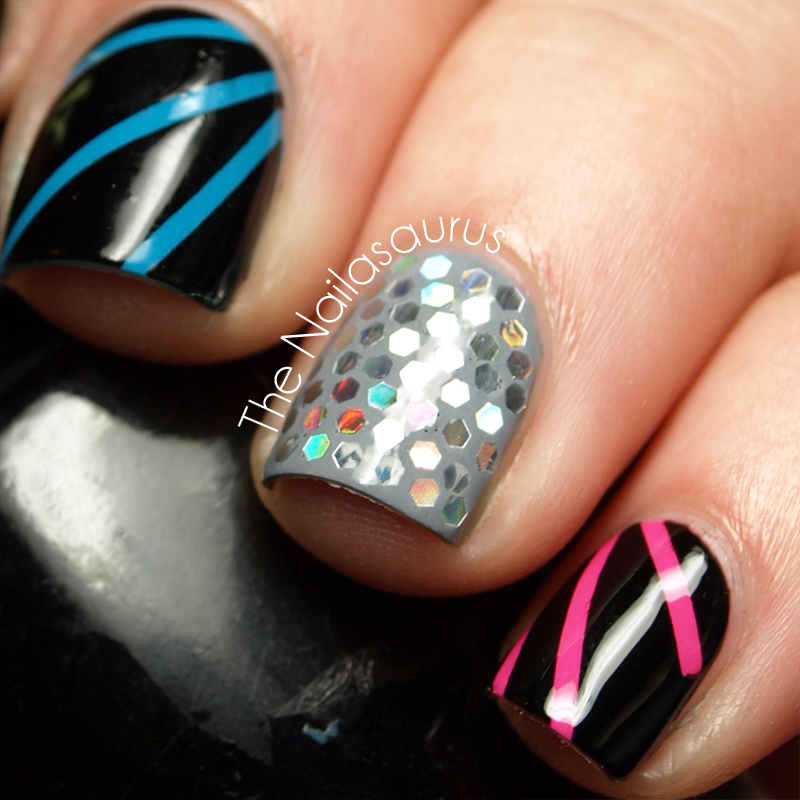
    When I showed a friend [this] manicure from a few days ago and mentioned that I placed each piece of ‘glitter’ individually, he said it’s a bit big to be glitter. I never thought about it too much before but I think he’s completely right, but then again; they’re too small to be sequins! So I ended up mashing the two words together and I will now call these little hexagonal pieces of shiny plastic GLEQUINS (glee-kwins)!
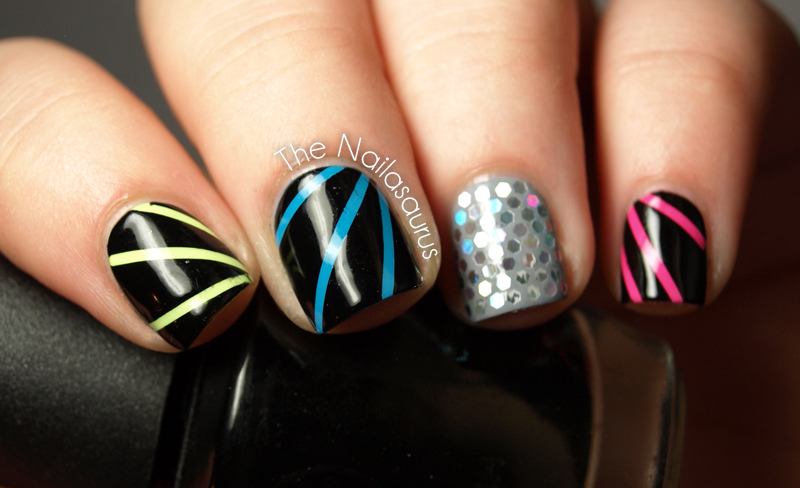
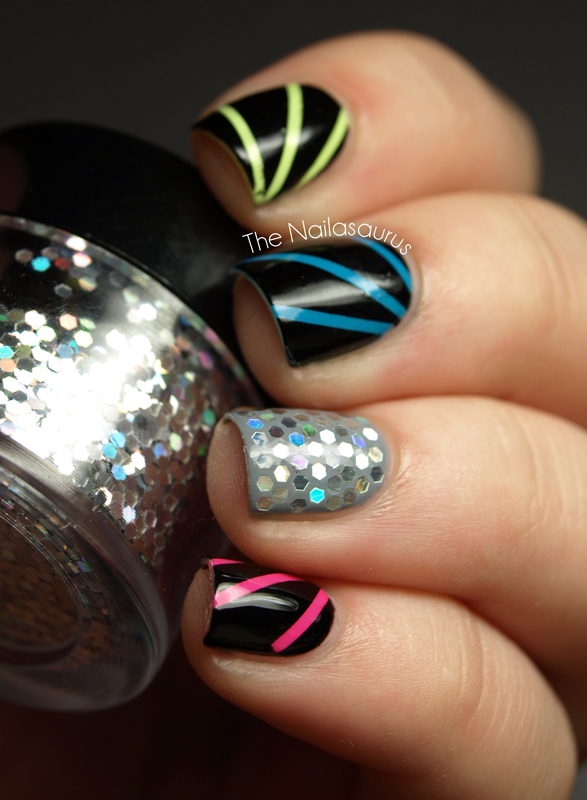
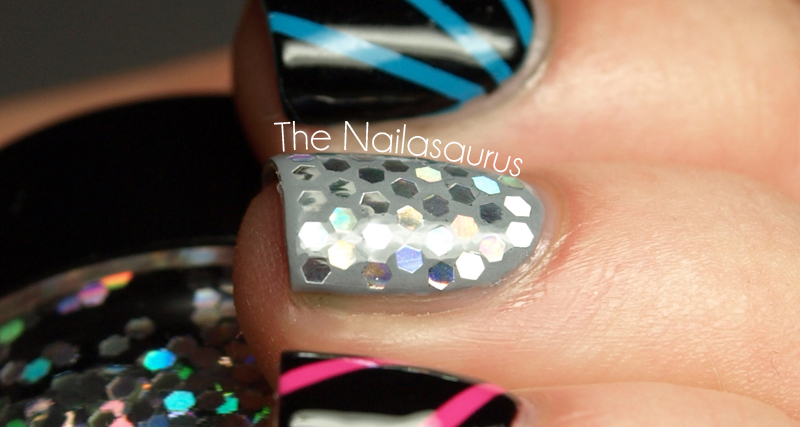
    Today’s nail art idea comes from Lucy on Facebook. She had the idea of a mirror ball accent nail and I happen to have the perfect glequins for a mirror ball look. I really can’t stop staring at that accent nail and wiggling it around in the light. I think the pictures do quite a good job of showing the holographic effect but it’s even more mesmerizing in person.
    Disco Nail Art

    Disco Nail Art

    I added some ‘strobe lights’ on the other nails by painting on the bright base colours first. Next, I marked off some lines using striping tape, painted W7 Black over the top and peeled off the tape before the black had a chance to dry.
    The base colours (top to bottom in the above picture) are Born Pretty Fluorescent #15, Sally Hansen Brisk Blue, Rimmel Grey Matter and BYS Pink Panic.
    For the accent nail, I used two coats of Rimmel Grey Matter and started attaching the glequins while the second coat was still tacky. As you can imagine, this took quite a while so when I got about half way down the nails, I had to add a coat of clear polish to make it sticky again. The holographic hexagonal glequins are from Born Pretty Store here.

    Each nail is topped with two coats of Cult Nails Wicked Fast.
    Disco Nail Art

    Disco Nail Art

    Disco Nail Art

    TwitterBloglovin’Tumblr

    Share:
    Glitter, Uncategorised

    Born Pretty Glitters!

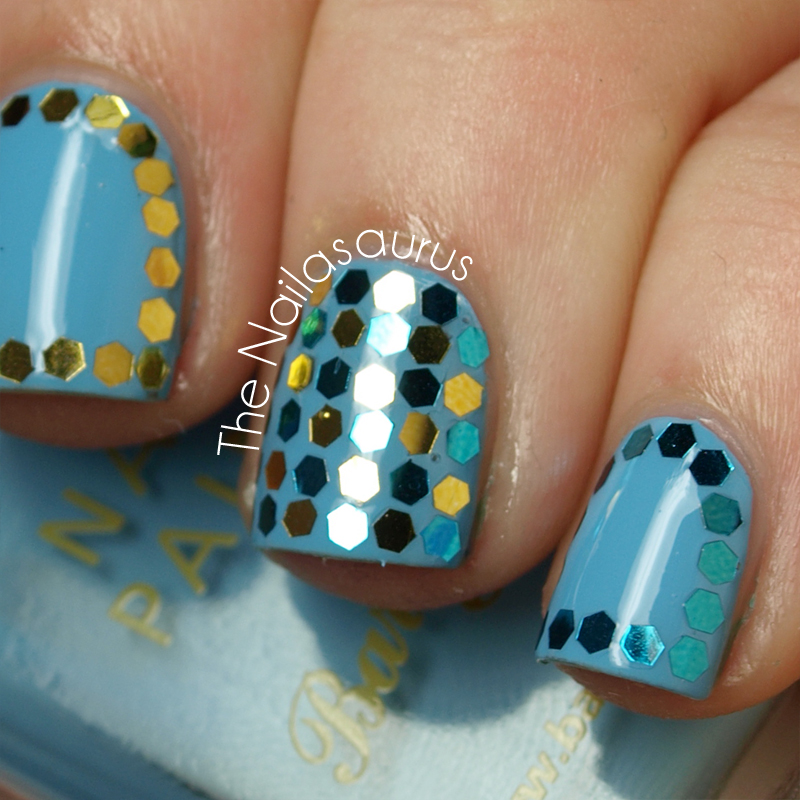
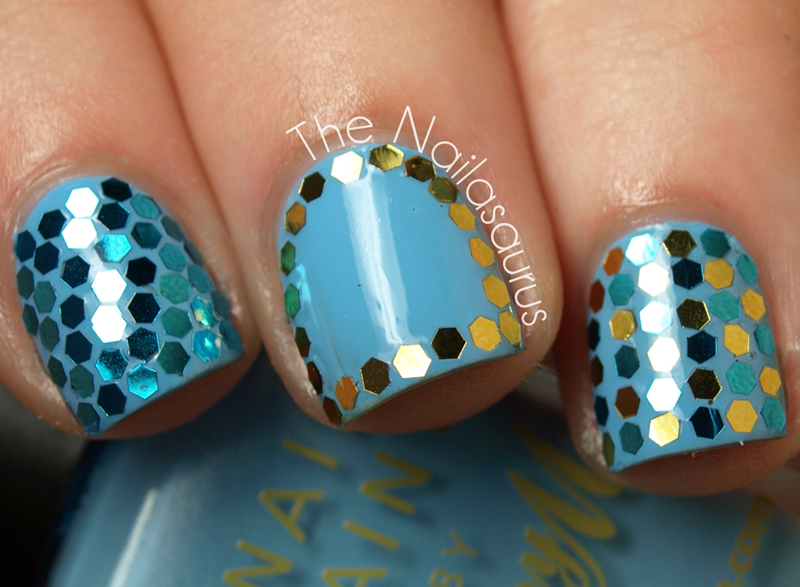
    When I spotted these glitters in the Born Pretty Store, I knew I had to try them out right here, right now, oh my god, as soon as possible! I already have some hexagonal glitter in royal blue but I really wanted to add some more colours to my collection and Born Pretty are stocking a great range.
    These pieces are just over 1mm in diameter and as close to flat as you can get so once there’s a top coat over them, they don’t snag on anything or tempt you to pick away until they’ve all somehow disappeared!
    Hex Glitter Nail Art

    Hex Glitter Nail Art

    Hex Glitter Nail Art
    I used Barry M Blueberry Ice Cream as a base colour. Then I took a toothpick with the end dipped in clear polish (to make it sticky) to pick up and place on the Gold* and Blue* glitter.

    Hex Glitter Nail Art

    Hex Glitter Nail Art
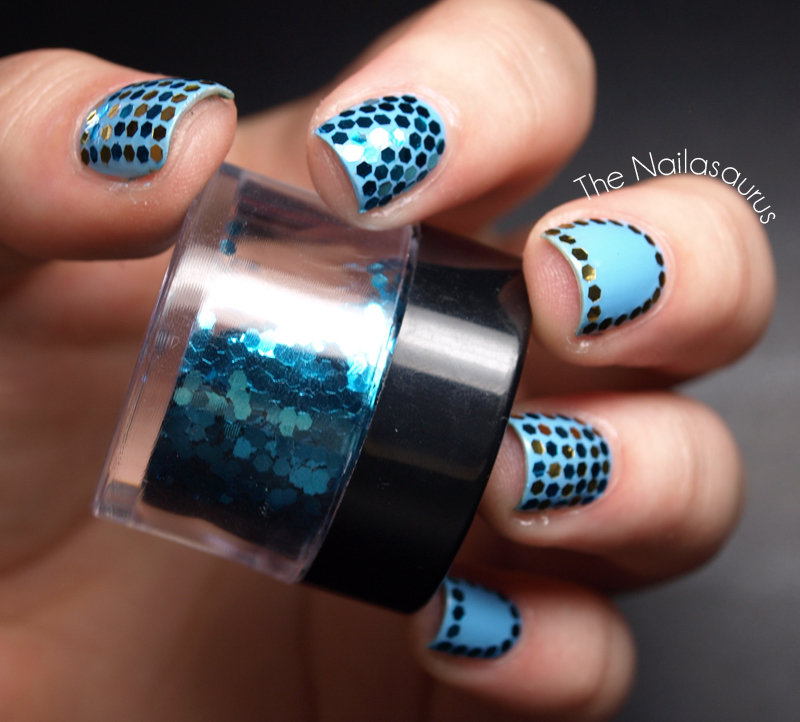
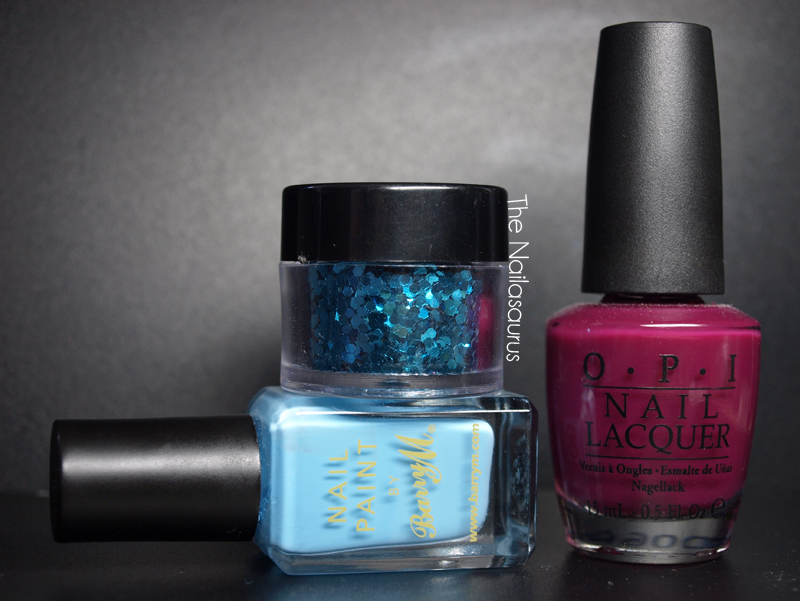
    I was completely amazed at the size of the pots these glitters come in. They are so huge, and packed right up to the top so I don’t think I’ll ever run out. Just to give you an idea, here are a few pictures to of the pot with some familiar objects to give some proportion.
    Born Pretty Glitter Pot

    Born Pretty Glitter Pot
    You can browse the selection of colours and shapes BornPrettyStore.com. They cost around $2.38 per pot but the price varies slightly with shape and colour. Don’t forget you can use my code, SA5X31, to get 10% off your order.
    *These items were sent for consideration. See my disclaimer for more information.

    TwitterBloglovin’Tumblr

    Share:
    Tutorial, Uncategorised, Video

    Video Tutorial: Applying Rhinestones

    A few months ago, I opened my Etsy shop and started selling decorated nail sets to raise money for a decent video camera. I ended up buying a Panasonic HX DC10 and I’m really impressed with the quality, considering it was quite a bargain at £139.

    So here’s the first video I’ve made with it! It’s just a super quick tutorial that will hopefully answer any questions people have been asking about how I apply rhinestones to my manicures. I apply studs, fimo and bullion in the same way but sometimes I might use pliers or a toothpick to place them instead of a brush.

    TwitterBloglovin’Tumblr

    Share:
    Studs, Uncategorised

    Fish Egg Friday!

    Today’s nails are inspired by some nail art that Dashing Diva created for the Cushnie et Ochs show at Fall 2011 Fashion Week which you can see here
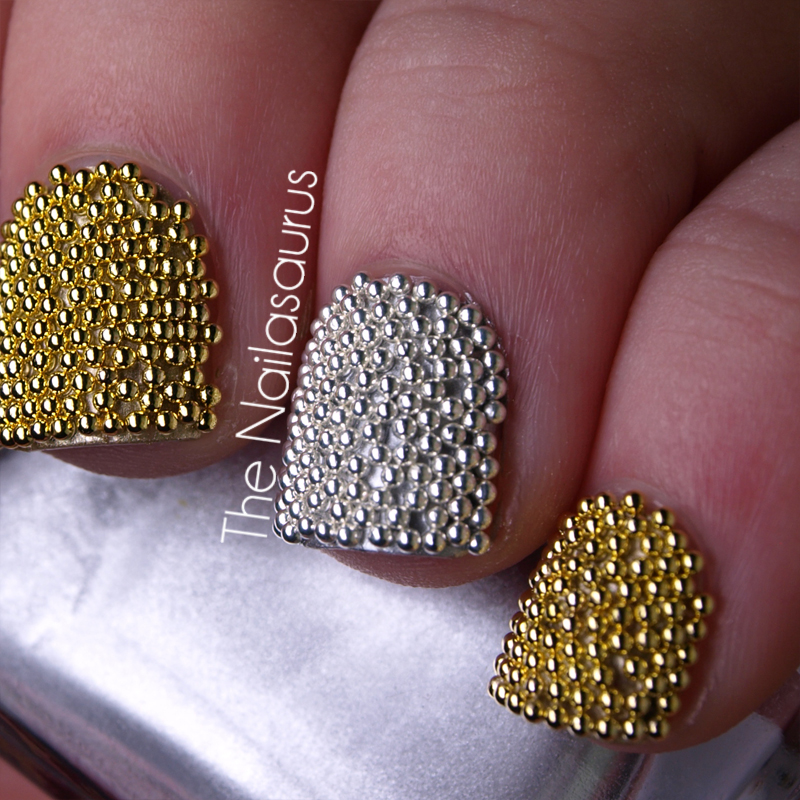
    I’m sure you’ve all been seeing a lot of this style manicure recently and I’ll be honest, I wasn’t completely sold on the look. And I also thought it would be a nightmare to apply. Now that I’ve finally tried it, I’ve surprised myself at how much I actually like it and it was way easier than I expected. It literally is a case of pouring the beads over your nail and letting them stick!
    It doesn’t show in the pictures, but these beads are so sparkly in real life. My nails are like mini mirror balls!
    It’s a long post today! More after the crack ↓

    I used Barry M Gold Foil and Silver Foil as base colours. One nail at a time, just after painting the second coat of colour, I held my nail over a plastic container and sprinkled the bullion over it. There were a few gaps so I placed a few of the beads using a sticky toothpick to fill them in. Finally, I used a toothpick to shape around the edges and flick off any beads that didn’t quite fit nicely!
    I didn’t add a topcoat because I just knew it would all go wrong at the final moment like these fiddly things have a habit of doing! If you’re planning on wearing this style for more than a few hours though, it will definitely need a top coat to seal everything in and make it last.

    There are countless places online where you can buy the Bullion or ‘steel balls’ to create this Fish Egg manicure and you might even be able to find them in a craft store near you.

    I got these from eBay here for 99 pence with free P+P. However, these are kind of big for nail bullion. They are very tiny but still big in relation to other bullion I’ve used in the past.
    (eBay Listing)

    My absolute favourite bullion EVER is from Viva La Nails here. They have a great selection of colours at £1.95 per 5g pot and Viva La Nails is a great place for nail art supplies so have a look around!
    (Viva La Nails Product Page)

    If you want a great selection of colour, Born Pretty have a set of 12 colours for $5.41 and each colour comes in a little pot so you won’t have any mix ups! However, if you’re so inclined, you can have fun mix and matching your own colour combinations.
    (Born Pretty Product Page 7% off with the code SA5X31)

    If you want to see more Fish Egg manis today, loads of lovely ladies have also posted theirs!
    Ivana at Ivana Thinks Pink
    Stephanie at Sincerely Stephanie

    Jeanette at The Swatchaholic

    Christina at Starlett Approved
    Salla at OMG! Polish ‘Em
    Esther at Fab Fingertips
    Emily at The Lacquerologist
    Tiffany at 2 The Last Drop
    Cristina at Let Them Have Polish
    Susan at Subtle Shimmer
    Melissa at Melissa White Nails
    Jen at The Polishaholic
    Goose at Gooses Glitter
    Danielle at Rock n Polish
    Katie and Allie at The Daily Varnish
    Deez at Deez Nails
    Phedre at Colour is Magic
    Lacquer and Lattes
    Danielle at Mid Western Girlie Girl
    Zelinda at Unhas caseiras da Z
    Stephanie at Aquaheart’s Obsessions
    Julie at Esmaltes de Julie
    Ria at Ria Loves Pawlish
    Shooting Star 0218
    Rhonni at Polish Ninja
    Poliship at Oje Gemisi Kalkiyor
    Jamie at Plisherrific
    Jessica at Jessica’s Nail Tales

    You an also follow the #FishEggFriday action on Twitter!

    TwitterBloglovin’Tumblr

    Share:
    Studs, Uncategorised

    Just In Case…

    Just in case you aren’t sick to the back teeth of my studded manis here’s another one for you to sink your… um… teeth in to! I know it’s very similar to this nail art that I created for Stud Up! week but I just love this style. Simple, sleek but still edgy. 
    The base colour Primark Yes Cyan! and the studs are the 1.5mm metal rhinestones from Born Pretty Store. Don’t forget to use my discount code, SA5X31 for 7% off your order.


    TwitterBloglovin’Tumblr

    Share:
    Freehand, Uncategorised

    Birthday Nails!

    Tomorrow is my 21st birthday! I’m going out tonight with some friends to celebrate with drinks (read: lots of drinks) and revelry and these are the nails I’m sporting.
    I got the idea from Trincess at Emerald Sparkled who took inspiration from The Illustrated Nail. The title of Trincess’ post, ‘Look Rich Be Cheap’ has stuck in my head since the first time I read it because it pretty much sums up my life!

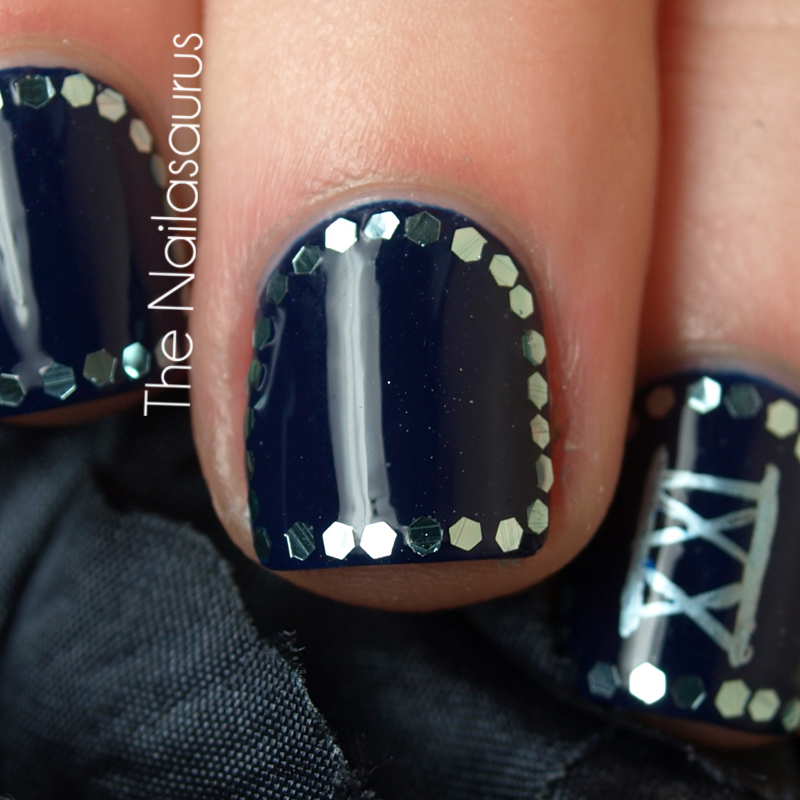
    I used two coats of Cult Nails Time Traveler as a base, then used a slow drying top coat and placed on these sequins from Viva La Nails using a cocktail stick dipped in the clear polish to make the end sticky.
    I used GOSH Metallic Blue to paint on the XXI and finished it off with a couple of coats of NYC In A New York Minute just to smooth things over.

    TwitterBloglovin’Tumblr

    Share:
    Uncategorised

    Pink Wednesday: Biker Barbie

    It may be quite obvious to you by now that I’m going through a phase of decorating my nails with metal! Using chains is an idea I’ve had for a while but I didn’t know where to get my hands on a chain small and light enough that I could stick to my nails. I looked on a few nail art supply sites but the only ‘chains’ I could find were not really very chainy – more like wire with small intermittent balls.
    So I’d almost given up on that idea when a package from BuyInCoins.com (such an amazing site you should really check it out) fell through my front door.
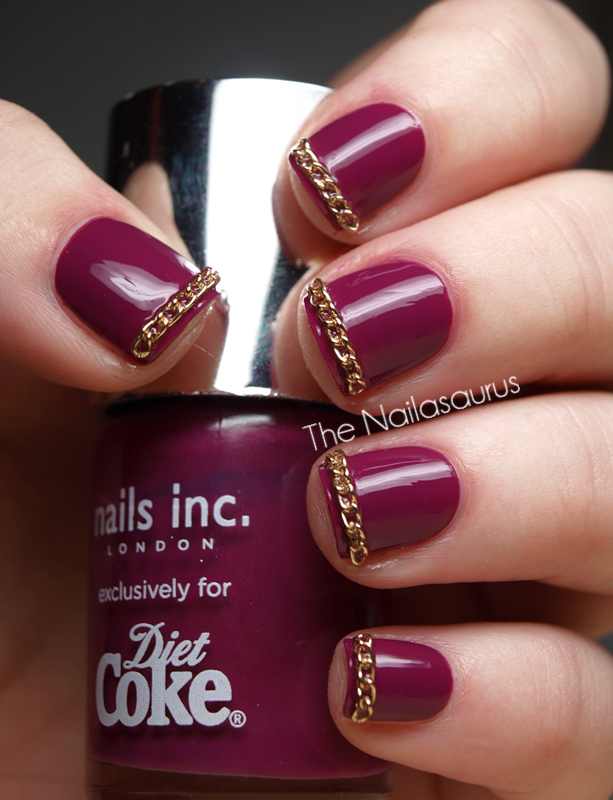
    I’d ordered this necklace but the pendant was a bit malformed though I wasn’t too worried because it was an absolute bargain at less than $1. Then I had a brainwave, the chain was the perfect size for adorning my nails. So here we are!
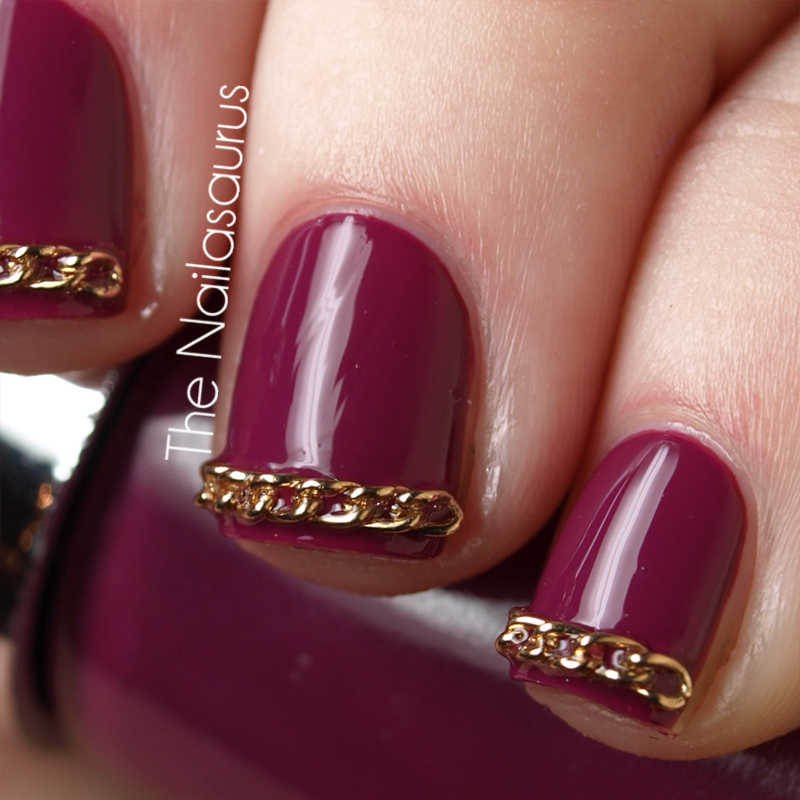
    Before I even started with any polish, I measured out the chains by holding the necklace up to my nail and counting how many links each nail needed. I cut off what I needed using wire cutters/pliers and laid them out  on the desk in order.
    My base colour is two coats of Nails Inc Paris (for Diet Coke). I waited for this to dry then slicked on a coat of NYC In A New York Minute. I waited a few seconds for this to get tacky and used the Mash Tweezers to carefully place the chain along the tip of my nail.
    When everything was dry and securely in place, I added another top coat of NYC In A New York Minute.

    TwitterBloglovin’Tumblr

    Share: