Follow:
Browsing Tag:

Sally Hansen

    Freehand, Uncategorised

    Fancy Pants

    I thought that once the 31 Day Challenge was over, I’d have a huge list of ideas waiting to spill out of me on to my nails. But alas, I feel a bit creatively drained! Hopefully I’ll get my spark back soon. 
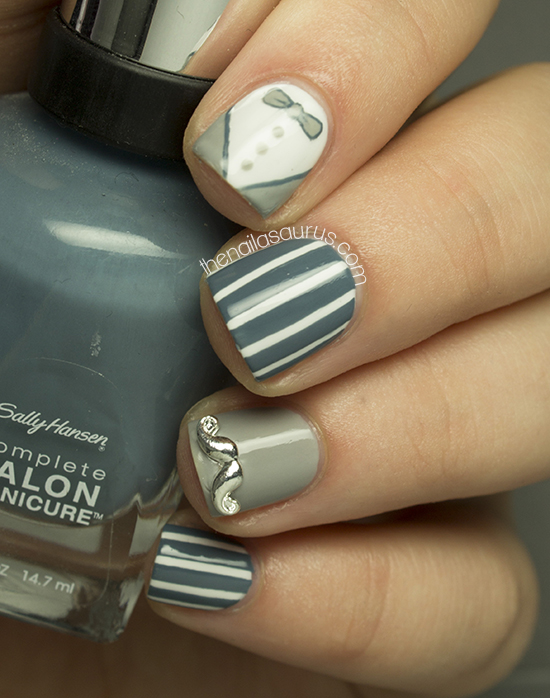
    Today I was looking for inspiration in the little things. I decided to work something around these cute moustache charms and the first thing that came to mind was a fancy suit. I kept it simple with some pinstripes and a tuxedo nail!

    I used Barry M White as a base except on my ring finger which is Sally Hansen Dorien Grey. Then I topped them all with a coat of Essence Better Than Gel Nails Fast Dry Top Sealer.

     For the pinstripes, I used striping tape to mark off the thin white lines and painted over it all in Sally Hansen Gray by Gray. I quickly peeled the tape off while Gray by Gray was still wet on my nails.

    The tuxedo nail is freehanded using a nail art brush with a dotting tool for the buttons and centre of the bow-tie. Again, I used Sally Hansen Dorien Grey, then Gray by Gray to outline the details.

    I attached the moustache charm using a dot of nail glue right in the middle.

    It’s all topped with a coat of No7 Stay Perfect Top Coat.

    TwitterBloglovin’Tumblr

    Share:
    31 Day Challenge, Freehand, Uncategorised

    31DC2013 Day 27: Inspired by Artwork

    I’ve made a huge mistake! Only as I was writing this post did I notice that today’s challenge is ‘Inspired by a Pattern’ but I got my days muddled up so I’m posting Day 27’s Artwork Inspired nails today. Look out for my patterned nails tomorrow!

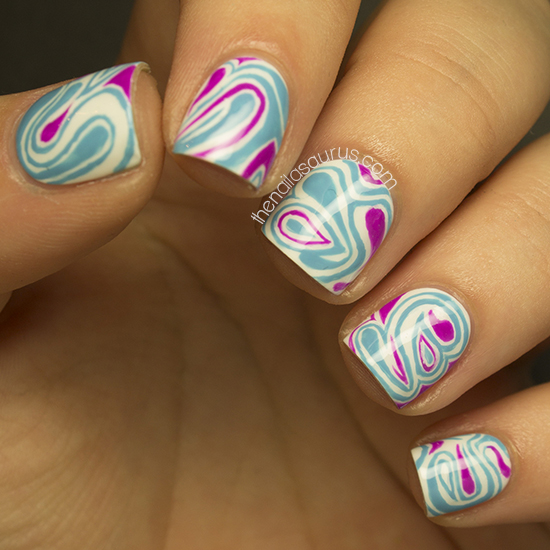
    Day 27’s prompt is the one I normally struggle with. In previous years I’ve spent hours searching for inspiration but luckily for me, I came across some inspiration a few weeks ago and decided to save it for this challenge. The piece of art that inspired today’s nail art is by Alex Box, a very creative make-up artist and Illamasqua’s Creative Director. I kept seeing her name on blogs and other beauty sites so I thought I’d better see what all the fuss was about and I was blown away by her work. One of the looks that she created for her collaboration with Rankin particularly caught my eye and I knew I’d have to do some nail art inspired by it.


    Image credit: Rankin.co.uk

    I started with a base of Barry M White. Once that was dry, I freehanded on the details using a nail art brush with piCture pOlish Mad Magenta and Sally Hansen Water Color.
    It’s all topped off with two coats of No7 Stay Perfect Top Coat.

    Here’s an image that’s good for pinning if you’re in to that kind of thing!

    Day 27: Inspired by Artwork 2012
    Day 27: Inspired by Artwork 2011
    See what’s coming next in the 31 Day Challenge 2013!

    TwitterBloglovin’Tumblr

    Share:
    31 Day Challenge, Uncategorised

    31DC2013 Day 25: Inspired by Fashion

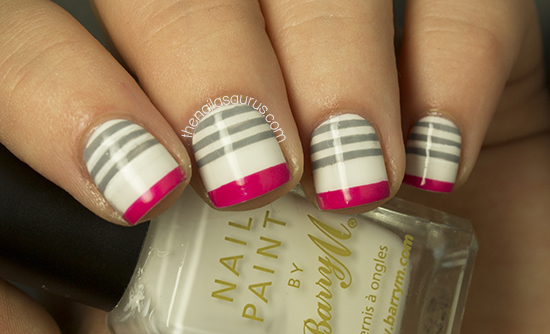
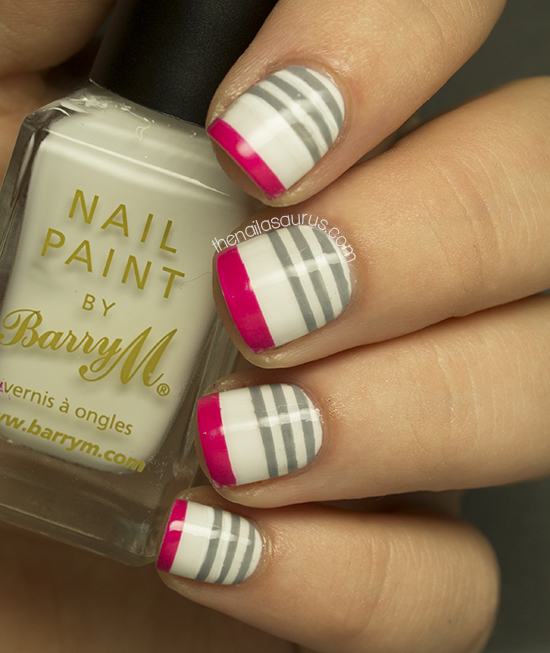
    For today’s inspiration I picked a Paul Smith Scarf. The minimalist design and great use of contrasting colours immediately drew me to this scarf when I saw it on the Asos website and of course, anything with stripes always jumps out at me!

    Photo courtesy of paulsmith.co.uk
    I used a base of 2 coats of Barry M White with a coat of Sally Hansen Dries Instantly.
    Once that was dry, I used striping tape to mark off all the lines, then used a nail art brush to paint on Sally Hansen Back to the Fuschia and Rimmel Grey Matter, creating the stripes.
    Finally I topped it all off with two coats of No7 Dries Instantly.

    Day 25: Inspired by Fashion 2012
    Day 25: Inspired by Fashion 2011
    See what’s coming next in the 31 Day Challenge 2013!

    TwitterBloglovin’Tumblr

    Share:
    31 Day Challenge, Freehand, Uncategorised, Waterfall

    31DC2013 Day 9: Rainbow Nails

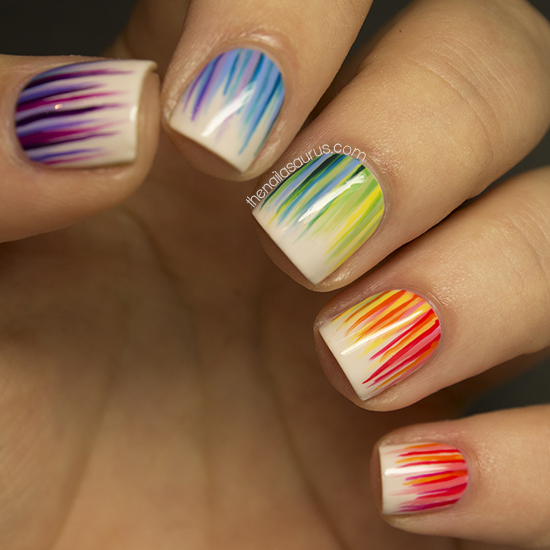
    For Day 8’s nails I created a rainbow waterfall mani! It seems crazy that I got this far in to the challenge without doing a waterfall so while today is potentially the last day I will have the freedom to do one, it’s also an idea I’ve been holding on to for a while so it feels good to get it out and on to my nails! I used 20 different shades of nail polish in this nail art. Most of the time spent on this mani was just screwing and unscrewing the bottles!

    My base colour is Sally Hansen Crinolin and I used a selection of colours for the rainbow effect, too many to list here! There’s a tutorial for the waterfall technique right here if you fancy it yourself!
    And as always, it’s topped off with a coat of Sally Hansen Dries Instantly.

    TwitterBloglovin’Tumblr

    Share:
    Freehand, Glitter, Uncategorised

    Baby Blue Ruffian

    As most of the UK ladies will already know, Boots has recently started stocking Sinful Colors polishes in the UK. I’m a bit late to the party on this one really! I’ve walked past the (always well stocked) stands a couple of times now and always refrained from purchasing but a few of the colours caught my eye and have been on my mind. So I went back on the understanding with myself that I would just buy 3 bottles!
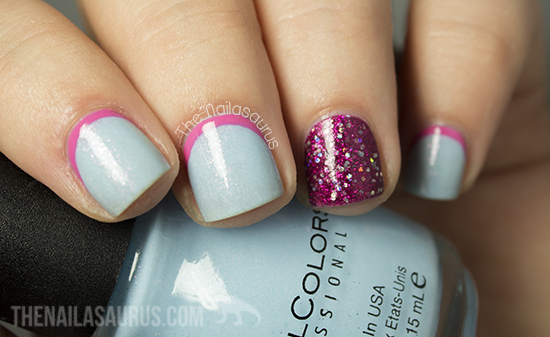
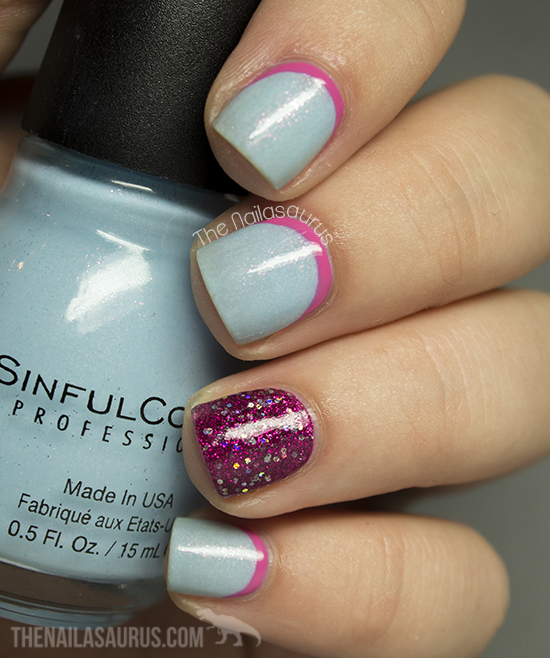
    I went for Island Coral which is exactly the shade of Coral I’ve been hunting for weeks; Nail Junkie, a blue/green multi glitter; and Cinderella, the shimmery blue featured below. Originally I wanted a duck egg blue creme that I can’t recall the name of but they were all out of that so I opted for the next best thing which was this light blue polish with a pinky gold shimmer. Although it’s not something I’d normally choose for myself, I really like this polish. The shimmer is very subtle and complimentary of the shade. It’s a shimmer done very right!

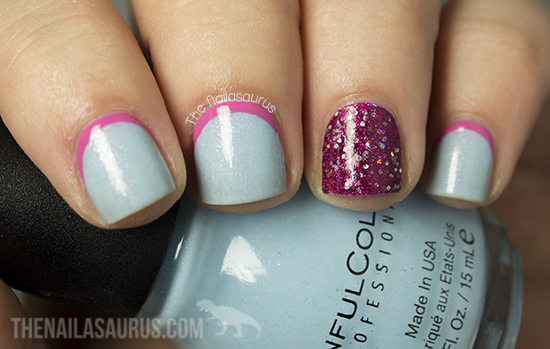
     I started with 3 coats of Sinful Colors Cinderella, then freehanded on the ruffian design using Collection Think Pink and a nail art brush.
    The glitter accent is Sally Hansen Lady Luck and I applied that over a base coat of PVA Glue for easy removal.
    It’s all topped off with one coat of Sally Hansen Dries Instantly then one coat of Essence Better Than Gel Nail Top Sealer to smooth things over.

    TwitterBloglovin’Tumblr

    Share:
    Uncategorised

    Geometric

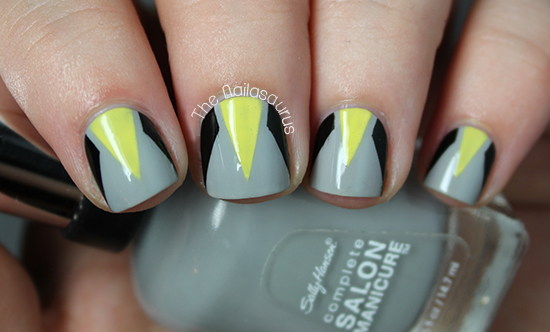
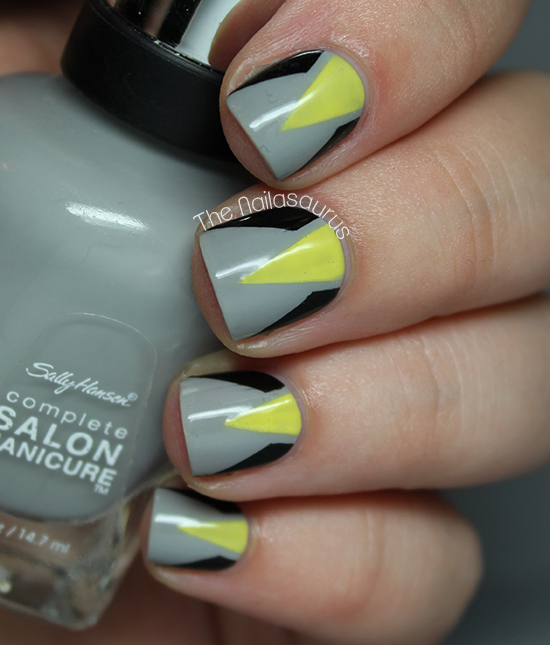
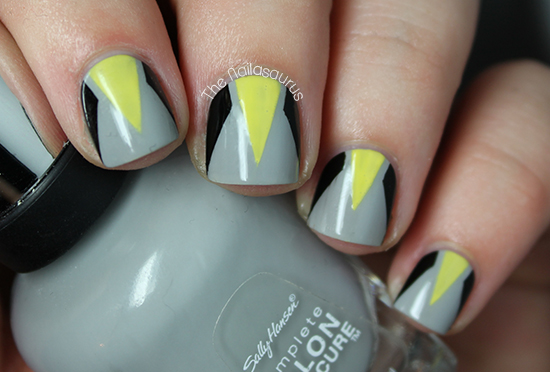
    Geometric nail art has never really been my thing but I still persevere and try to make it work. This time around my nails just remind me of Wolverine! I think I’ll stick to the gradients and waterfalls for now and leave the edgy stuff to the professionals!
    I’m still trying to get the hang of this new camera which is why my pictures are kind of all over the place at the moment. I’ve been tempted to go back to my old one while I figure things out in the name of consistency and decent pictures but I refuse to let this beat me!

    1. I used Sally Hansen Dorian Grey as my base colour and topped it with a coat of Sally Hansen Dries Instantly.
    2. Once that was all dry, I marked off 3 triangles at the base of my nail with striping tape and filled them in with a nail art brush one nail at a time.
    3. I quickly removed the tape while the polish was still wet and when everything was dry, applied a few more coats of Dries Instantly.

    Share:
    Glitter, Studs, Uncategorised

    Cirque Helios with Pastels

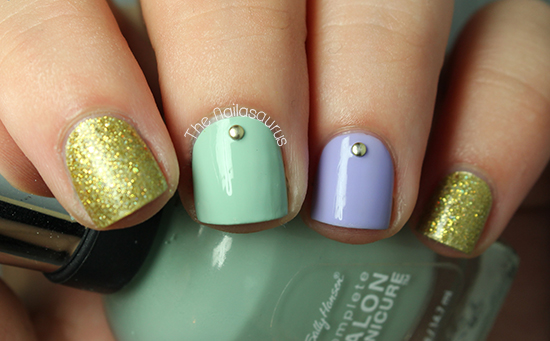
    I have another Cirque polish to show you today! Here we have Helios… a very fine gold glitter with holographic glitter sprinkled in. I decided to dress it up with some pastel colours. When pairing up gold with another colour, I normally go straight to black but I’m wayyy happier with the pastels this time.

    For the glitter fingers, I used one coat of Barry M Gold Foil with 3 thin coats of Cirque Helios. You could wear Helios on its own with 3 coats but you’d have nail poking through the glitter so I chose to put a similar shade base colour underneath.
    The pastels I used are Sally Hansen Green Tea and Barry M Prickly Pear.

    It’s all topped off with a coat of Sally Hansen Dries Instantly and one of Essence Top Sealer. I added some 1.5mm gold studs on top while the Essence polish was still wet.

    Visit cirquecolors.com for stockists or to buy directly.

    TwitterBloglovin’Tumblr

    Share: