Follow:
Browsing Tag:

Purple

    Gradient, Tutorial, Uncategorised, Video

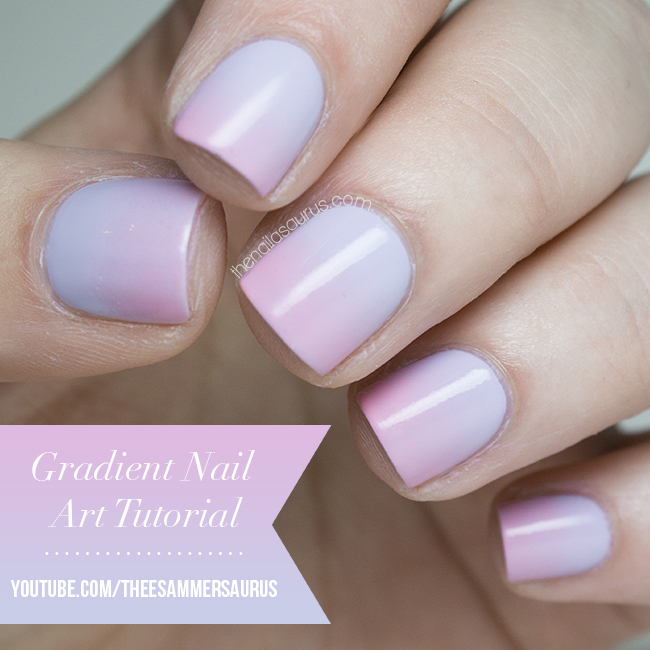
    Gradient Nail Art Tutorial Video and FAQ

    Gradient Nail Art Video Tutorial

    When I ventured back in to making videos recently, it seemed inevitable that I’d be making a gradient nail art video since my picture version was quite a success and many people have asked to see me do it in a video. This mani does take a while but most of that time is spent waiting for polish to dry. Once you get the hang of it, sponging on the gradient is easy!
    While we’re here, I also thought it would be a great opportunity to answer some of the questions I get asked most frequently about this technique. Over time I’ve learnt a lot more about the process and how to overcome a few of the difficulties that you might come across on your first couple of tries.
    What polishes work best for gradients?
    You can’t go wrong with creme polishes that are quite runny. They don’t have to be very opaque either, streaky polishes often work best for gradients.
    How do you avoid bits coming off the sponge and sticking to your nail?
    I don’t think there’s any way to avoid this. If you see little flecks of sponge breaking off and sticking to your nail, just pick up a new sponge and continue where you left off.
    You can use tweezers to pick these flecks out of your mani but if they’re only small, usually your top coat will hide them!
    Should you wet the sponge first?
    Personally I never use water but I know others that use a damp sponge with amazing results. Try both ways and see what works for you!
    How do you clean the sponge after?
    I don’t bother trying to clean the sponges. I just throw them away and use a fresh one the next time.
    Any other tips?
    It’s super important to wait for your polish to dry in between layers. If you try to sponge over wet polish, you’ll just start picking up the polish that’s already there and it’ll be a gloopy mess. Watch a movie while you’re doing it to avoid boredom!

    If you try this mani yourself, don’t forget to use #looknailasaurus on Instagram so I can see your results!

    Share:
    Glitter, Uncategorised

    Negative Triangles with NYC Lavender Blossom

    NYC Lavender Blossom
    For the longest time, my nails were quite seriously stained (yellow) from years of abuse at the hands of nail polish, so I made an effort steer clear of negative space nails because the stains would show through and throw the whole thing off. Whenever I did attempt some negative space, I’d use a jelly nude as a base to give the illusion of normal coloured nails!
    Recently I’ve had much less time to paint my nails so they’ve been completely naked a lot of the time except for a coat or two of my trusty OPI Nail Envy. This has given them a chance to recover and with just a little light buffing, my nails are a healthy hue again so I’m venturing in to negative space!

    1. To create the negative space accents, I attached the triangles first by sticking them in to my base coat. The triangles are from She Sells Seashells but unfortunately are no longer in stock. You could use triangle studs or any other kind of embellishment you fancy. 
    2. Once that was dry, I lined up a piece of striping tape against two sides of the triangle to make sure I’d be painting exactly parallel to the triangles!
    3. I painted from the striping tape upwards using two coats of NYC Lavender Blossom (available from May 7th) and immediately removed the tape.
    4. For the glitter nails, I used two coats of Jindie Nails Love Me over one coat of the NYC Lavender Blossom.
    5. It’s all topped off with two coats of Cult Nails Wicked Fast.
    Share:
    Glitter, Gradient, Stamping, Uncategorised

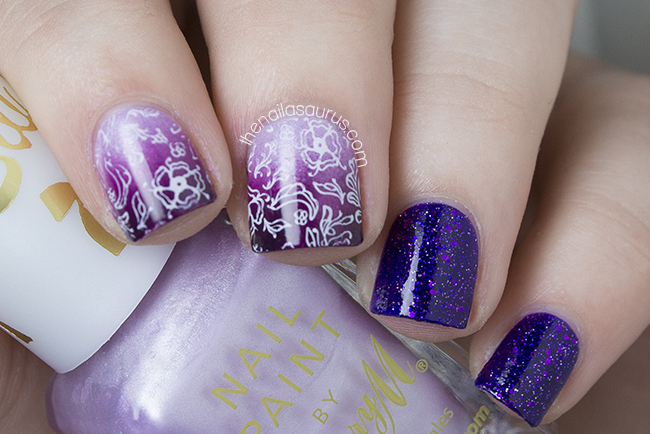
    23 Shades of Birthday Purple

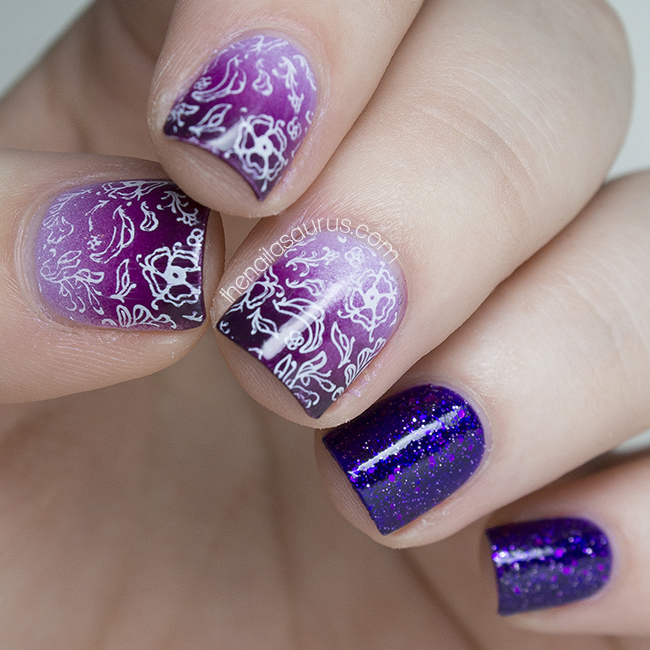
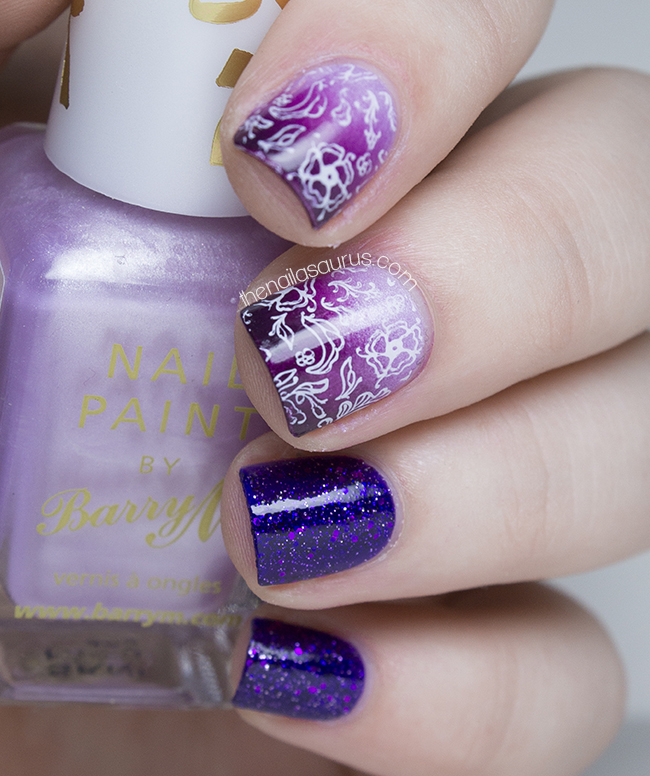
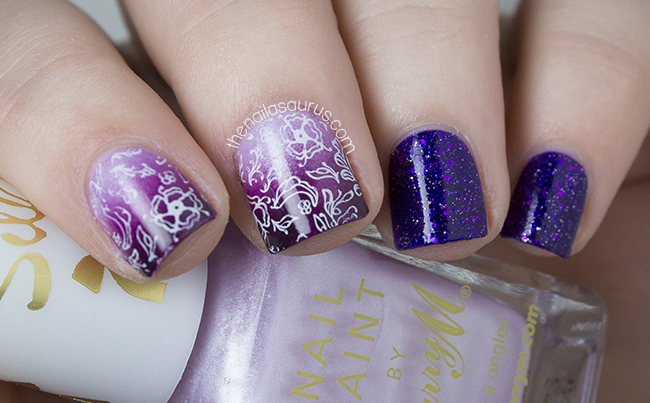
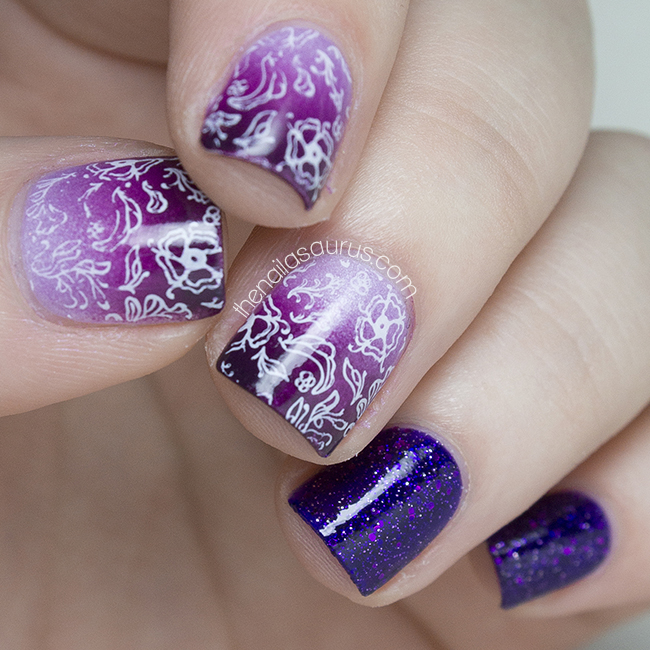
    Today is my 23rd birthday! These aren’t actually the nails I’m wearing right now, they’re from a couple of days ago, but the ones I do have on are not as interesting. I’m wearing the classic old creme with glitter combo – Barry M Blue Grape with Models Own Valerian as an accent.

    I had an unofficial birthday celebration last night with my family and this evening I’m heading straight out after work to grab some nibbles with my friends so I’d say it’s shaping up to be a pretty great week. I’m one of those (kind of annoying) people that likes to really milk their birthday for all it’s worth and I use ‘It’s my birthday week though’ as an excuse to get away with everything! Fess up… you know you do it too!

    For the gradient, I used Barry M Heather as my base colour fading to Barry M Bright Purple to Sally Hansen Plum Luck. There’s a gradient tutorial here.

    The stamped pattern is from Bundle Monster Plate BM419 and I used BK Matte White.

    For the accent fingers, I used two coats of Models Own Amethyst. Can you tell I’m loving the Velvet Goth Collection.

    It’s all finished off with Color Club Top Coat .

    Share:
    Glitter, Uncategorised

    We’ve Got a Headfirst Kind of Love

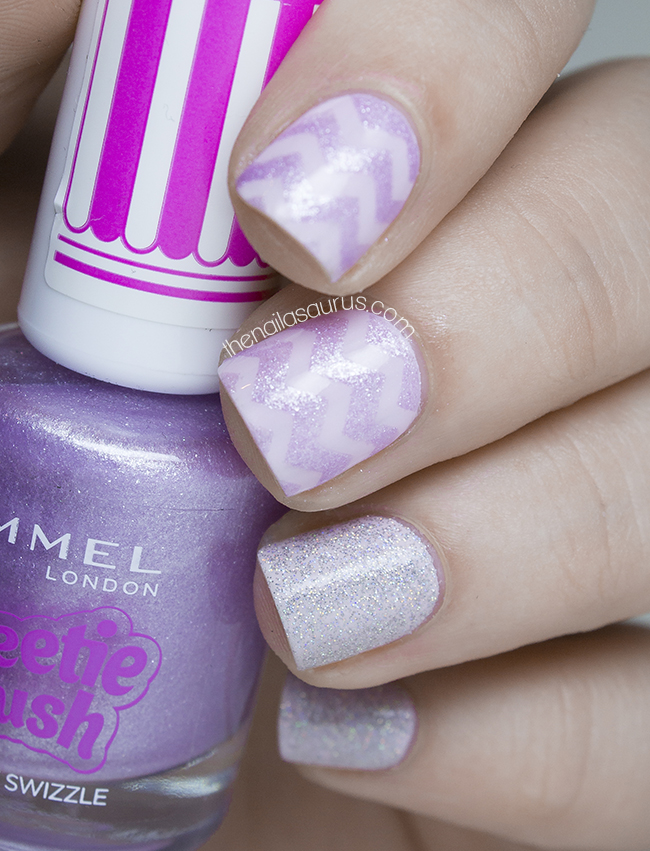
    My Instagram feed seems to have been taken over by Chevron nails recently and I’m pretty happy about that. I just love the way they look but haven’t always loved the tedious process of creating them using scotch tape and craft scissors. Here comes Nail Vinyls to save the day. There are quite a lot of places to get pre-cut vinyl chevrons but I went with Nail Vinyls as they’re the ones that always crop up on IG, plus they make mini versions which are definitely needed for my teeny-weeny nails.

    1. I used NYC Lavender Cupcake as my base colour on every nail and applied HK Girl to the fingers where I was going to add the chevrons. 
    2. While I was waiting for that to dry, I used two coats of Claire’s Silver Holographic on my pinky and ring finger.
    3. For the chevron effect, I stuck on some of the mini chevrons from Nail Vinyls and painted over them with a thick layer of Rimmel Violet Swizzle. I did this one nail at a time and made sure to remove the vinyls while the Rimmel polish was still wet.
    4. Finally, I topped it all off with two more coats of HK Girl.
    Share:
    Galaxy, Uncategorised

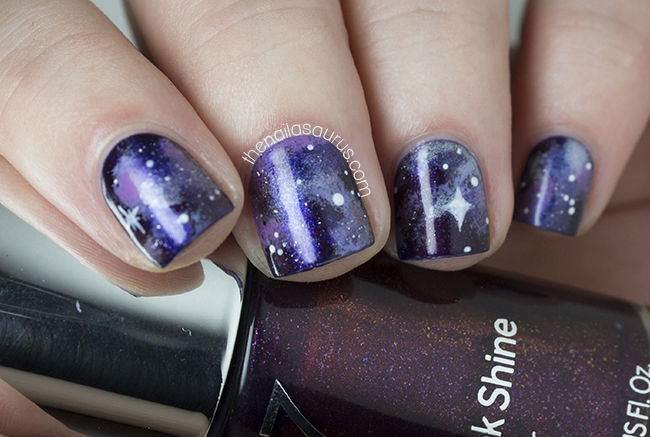
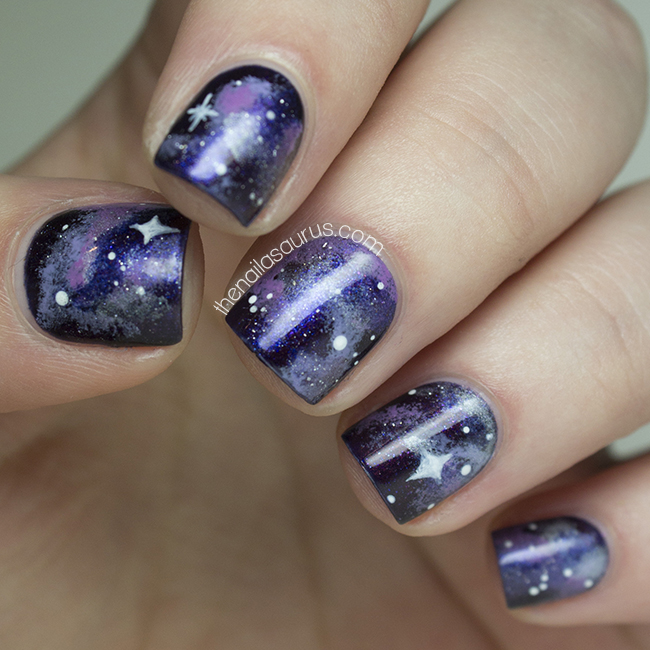
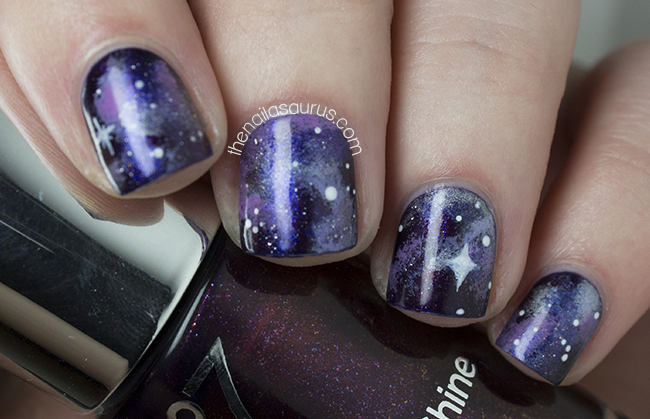
    No7 Galaxy with Galaxy Nail Art

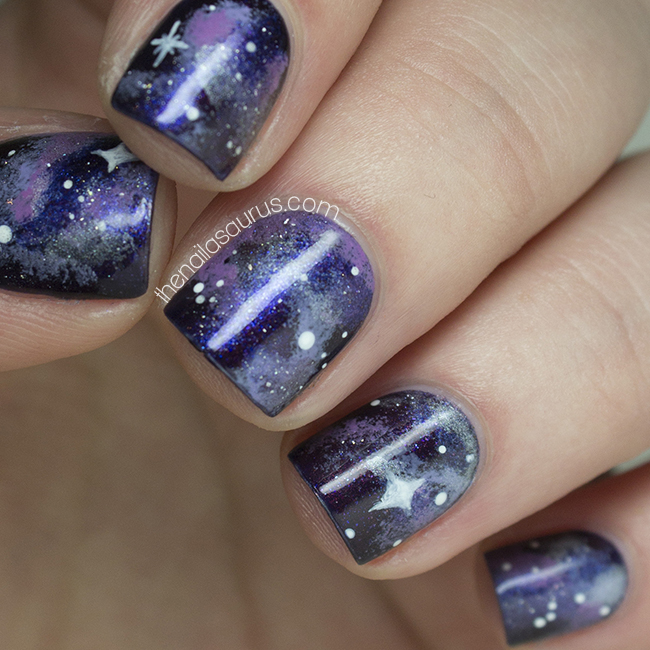
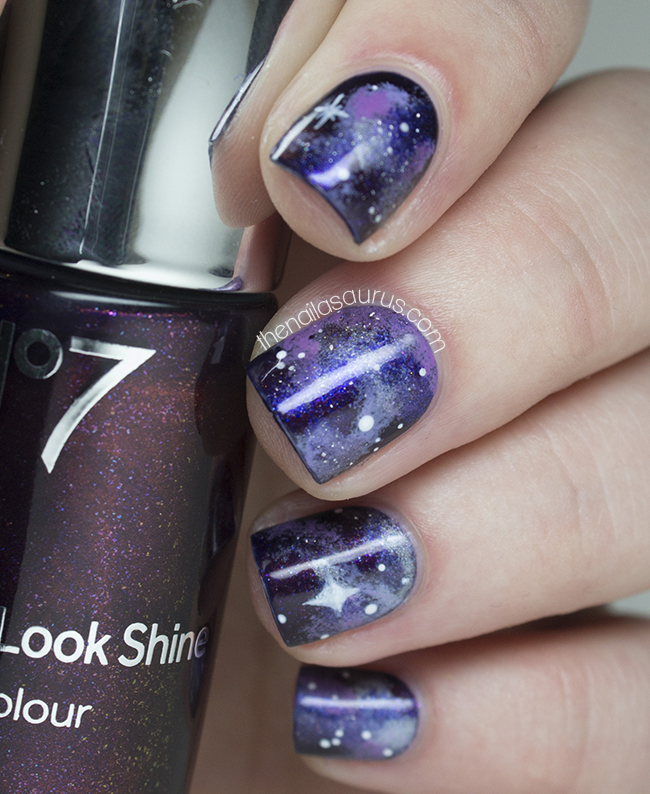
    After seeing No7 Galaxy on Brit Nails, I knew I had to have it. It took a few weeks of casual searching, but I finally found one in stock although I’m two months behind all the cool kids who knew about this beautiful shade way back in January! I felt it only fitting today to use it as a base for some galaxy nail art.

    For this nail art, I used No7 Galaxy as my base colour.
    For the galaxy, I used a make-up sponge with China Glaze Tarty for the Part-y, Sally Hansen Lively Lilac, Barry M Pearl and a sprinkling of piCture pOlish Altered State.
    I used white acrylic paint with a nail art brush for the star details. 
    There’s Galaxy Nail Art Tutorial here.
    It’s all finished off with a coat of Glisten and Glow HK Girl.

    Share:
    Glitter, Stamping, Studs

    Stampasaurus

    It really happened! Finally someone put a T-Rex on a stamping plate and I am now the proud owner of that stamping plate! Winstonia are back with their 2nd generation stamping set and I couldn’t be happier with it. The set includes a great selection of designs and each plate has it’s own theme which has come in very handy when I want to find a specific design. Of course, the highlight for me is the prehistoric plate which features the T-Rex and a few other Jurassic beasts.

    For this nail art, I used Sally Hansen Pinch of Punch as my base colour. 
    I stamped on a few designs from Winstonia’s 2nd Generation Set using BK Matte White.
    The blue glitter is Claire’s Neon Blue and I added a few holographic 3mm studs from She Sells Seashells.
    It’s all topped off with one coat of Glisten and Glow HK Girl.

    Share:
    Stamping, Uncategorised

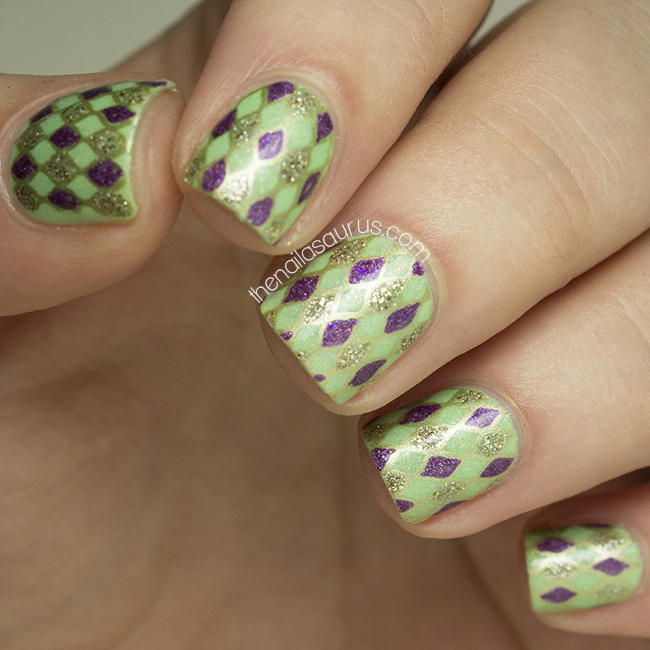
    Nailvengers Assemble: Mardi Gras Madness

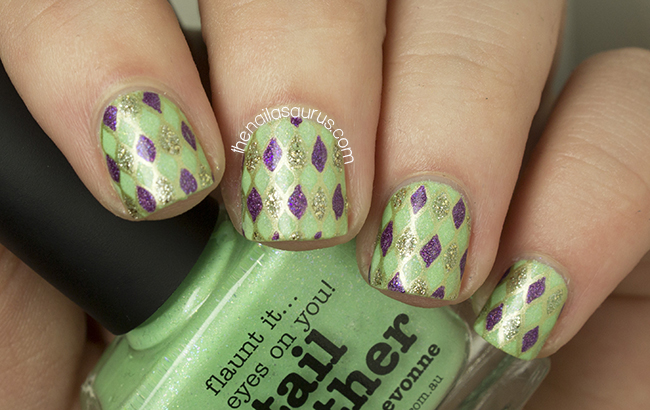
    With Mardi Gras coming up on March 4th, this month we decided to use the holiday as the inpiration for our Nailvengers Assemble challenge. After a failed attempt to create something with caviar (seriously, don’t even ask!), I decided to go for something simple using a few of the colours most often associated with Mardi Gras – purple, green and gold. 
    Don’t forget to check out my fellow Nailvengers’ Mardi Gras nail art- One Nail to Rule Them All, xAmeliax, Brit Nails and Lucy’s Stash!


    For this nail art, I used piCture pOlish Tail Feather as my base colour.

    I stamped on the fishnet design from Bundle Monster plate BM209 using Barry M Gold Foil.
    Using a nail art brush, I filled in some of the diamonds to create a harlequin look using piCture pOlish Hussy and Barry M Majesty.
    It’s all topped off with a coat of Glisten and Glow HK Girl.

    Share: