
Browsing Tag:
Geometric

I feel like I’m ready for the roller disco with these nails! I started with the pastel yellow base and just knew I’d have to use some brights for the nail art. After a bit of experimenting with some straight and sticky stencils, this is the geometric creation I came up with. I also ended up adding some holographic glitter which I think works perfectly with this design. So glitzy!
Polishes Used:
Base coat: Revlon Buttercup
Triangles: Barry M Pink Punch and Barry M Sugar Plum
Glitter: Ciate Looking Glass


Here’s a swatch of Buttercup before I added the nail art. Just 3 thin coats with a top coat and it’s the perfect pastel yellow!

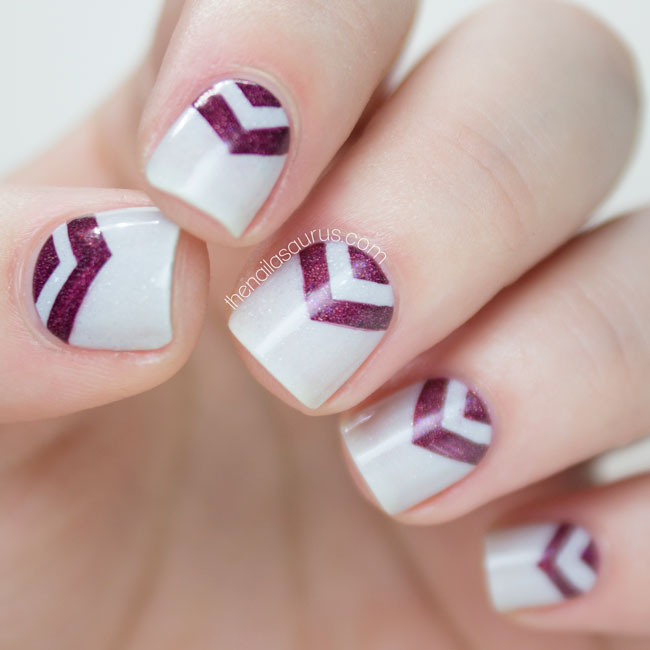
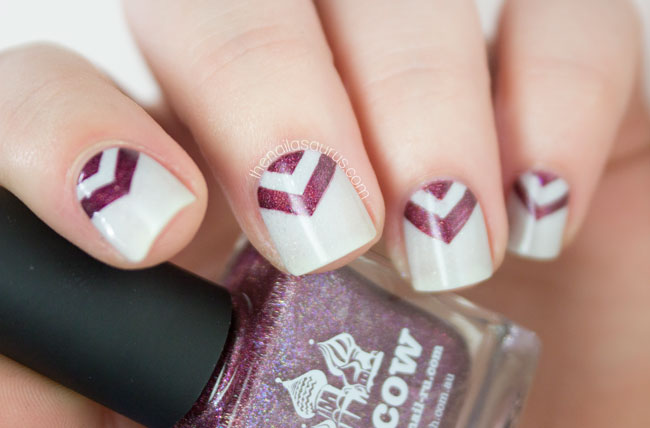
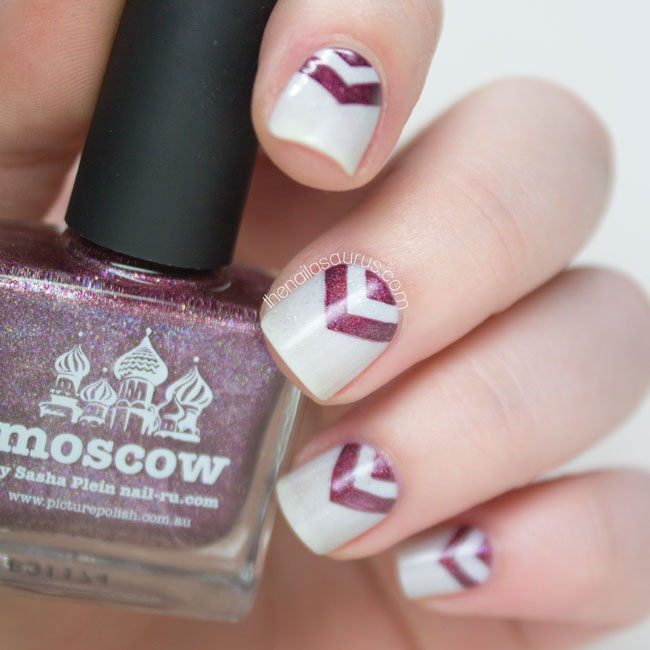
I got a few of the new piCture pOlish collaboration shades over the weekend and you’ve already seen LakoDom in my latest tutorial post. Today it features again, joined by Moscow which is a beautiful berry holo shade. LakoDom is just the perfect shade for Winter so I’m sure you’ll be seeing it here a few more times before the season is over. It’s a slightly grey tinted white with subtle holo shimmer – just as beautiful on its own as topped with nail art.
For these nails, I used piCture pOlish LakoDom as my base colour. Next, I applied some chevron nail stencils from Nail Mail and applied piCture pOlish Moscow over the top. It’s finished off with a coat of Glisten & Glow HK Girl.

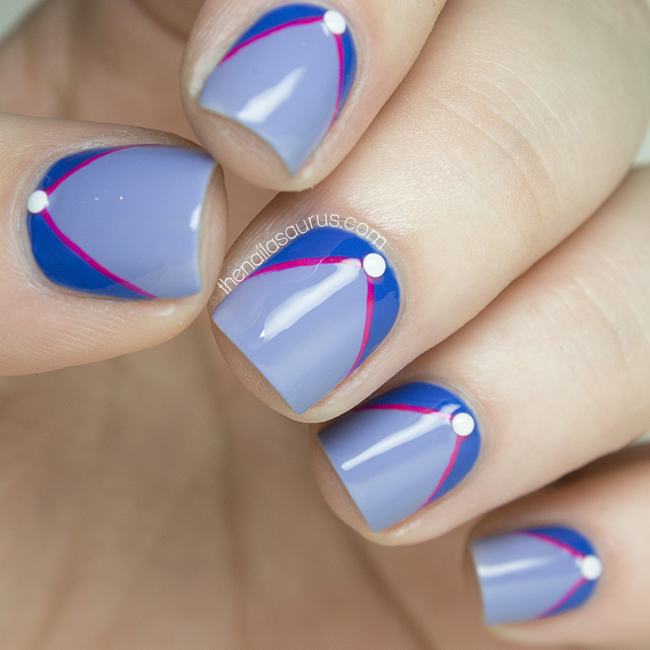
I started this manicure with absolutely no idea where it was going. It’s one of those that just developed as I went along, all the while facing the very real risk of going completely overboard with colours, details and stick-ons but this one stayed on course and I really like the simple result. I just started with a general idea that I wanted to do something geometric and went from there. I’ve confessed before that my geometric nail art is not really A-game standard but it’s a style that I’m determined to practice and perfect this year!
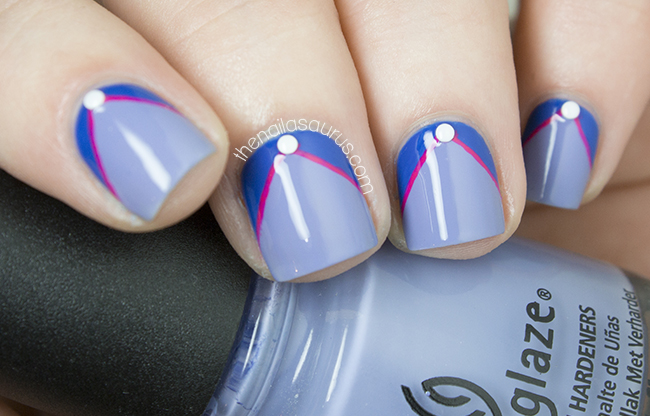
1. I started with a base of China Glaze Fade Into Hue.
2. Next, I used a striping brush to paint on the cobalt blue sections in Nails Inc All Saints Row.
3. Using the same brush, I carefully went over the line with Models Own Bubblegum.
4. I felt like it was missing something so I dug through all of my studs before deciding on some 1.5mm white studs which I attached using a drop of clear nail polish.
5. Finally, I topped it all off with Color Club Top Coat.
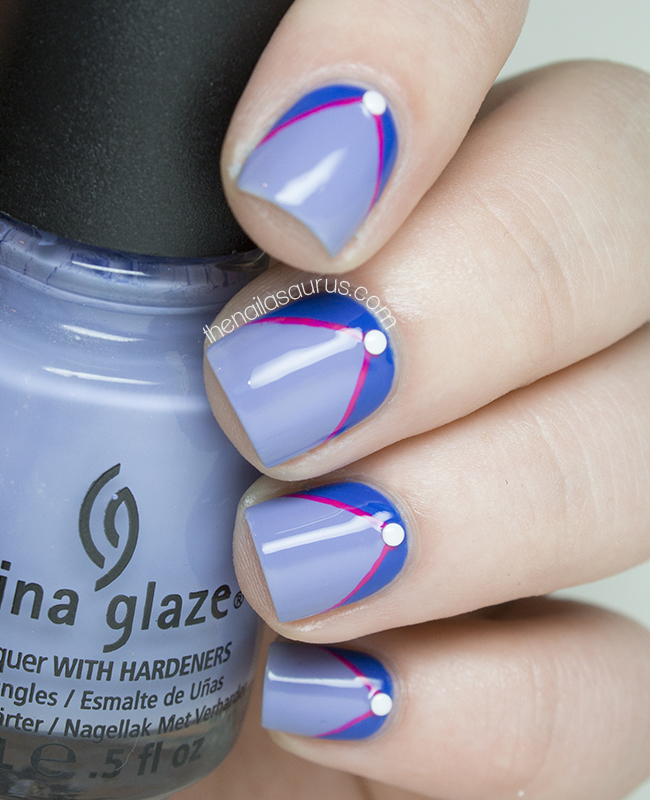
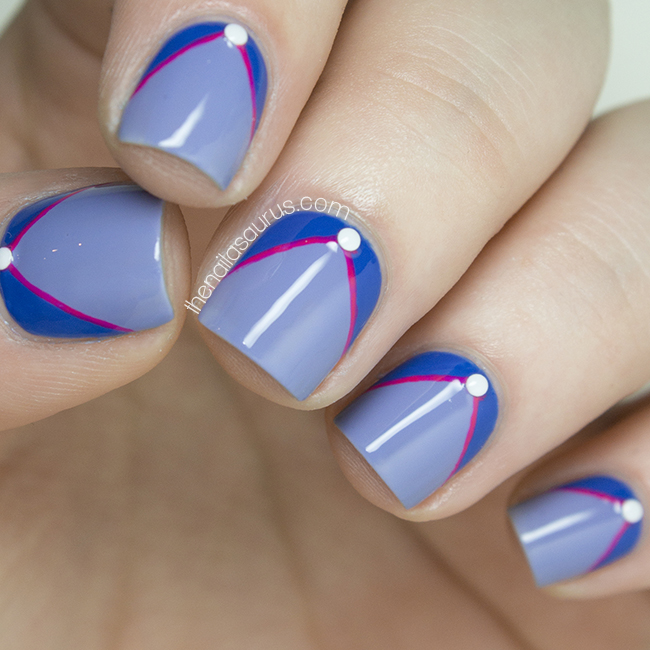
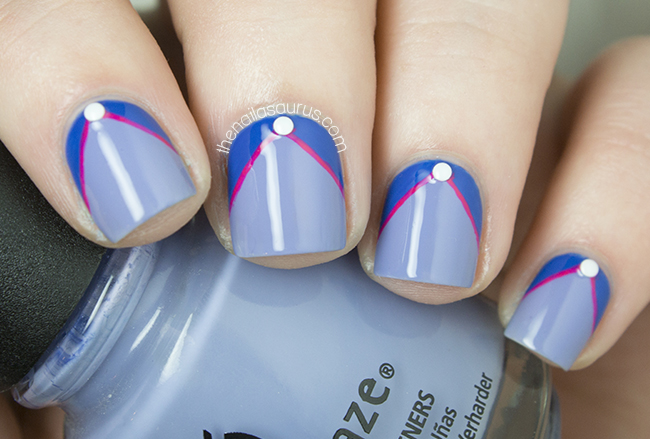
I really love simple geometric freehanded nail art although it’s something that I don’t count myself as particularly good at. When you’re working with such a simple design, you really have to put a lot of thought in to the colours to make it work. It’s something that I want to practice as I absolutely adore these kind of looks whenever I see them on other nail artists. So I’m getting the ball rolling today with some geometric nail art.


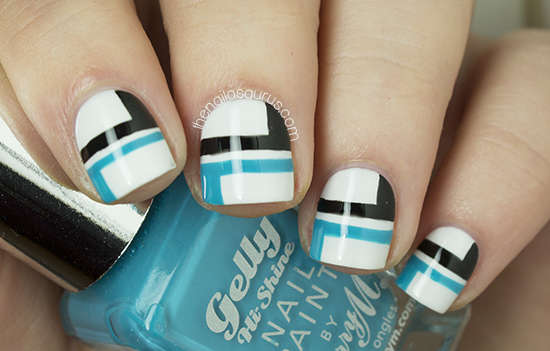
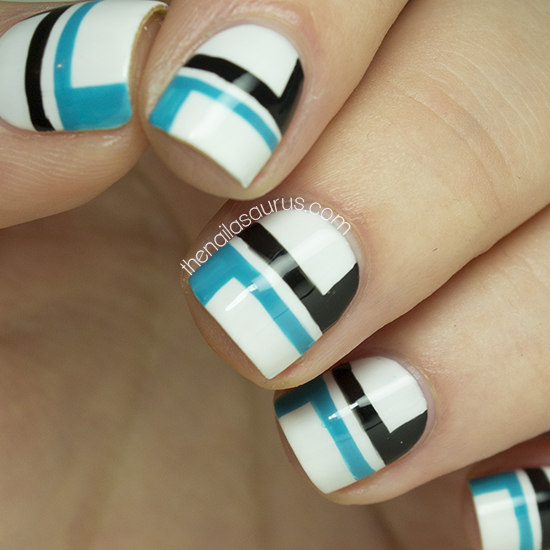
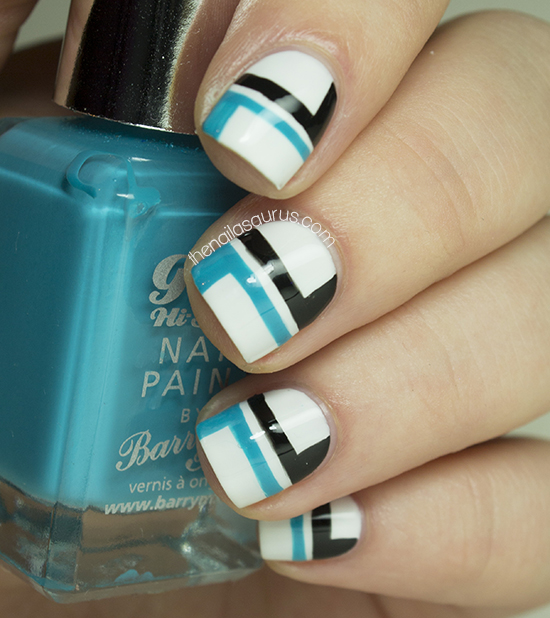

I started off with a base colour of Barry M White.
Once that was dry, I used a black striper from Born Pretty Store and Barry M Guava with a striping brush to freehand on the details.
I topped it all off with two coats of Glisten and Glow HK Girl top coat.