Follow:
    Uncategorised

    Game of Girly Thrones

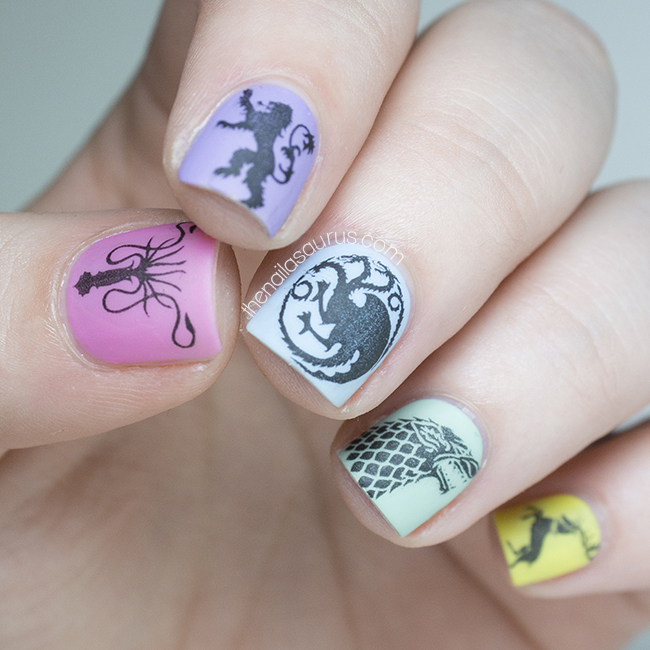
    It feels like we’ve been waiting an age for Game of Thrones to come back and now it’s so close I can almost taste it! A thoughtful friend got me these House Sigil water decals from Tentacle Studios on Etsy for my birthday last week and I don’t think there will ever be a more perfect time to wear them. I did try to match the colours up to the real thing but because the decals are all black, it was kind of tricky so instead, I turned the whole thing topsy-turvy and went for a girly skittle colour scheme.

    My base colours are Barry M Dragon Fruit (which, in hindsight, would have been the perfect colour for the Targaryen Sigil!), China Glaze Tart-y For The Party, NYC Raindrop, Sally Hansen Green Tea and NYC Lexington Yellow.
    The decals are from Tentacle Studios on Etsy.
    I finished it with a top coat of Glisten and Glow HK Girl and then a coat of Rimmel Matte Finish.

    Share:
    Uncategorised

    Happy Birthday to The Nailasaurus

    The Nailasaurus Infographic


    Who could have known the blog that I started 4 years ago to post pictures of my scruffy little nails would one day end up here. The Nailasaurus has shaped my life ever since that fateful day in 2010 and I wouldn’t have it any other way. It’s introduced me to great people, unearthed talents I didn’t know I had and guided me on to a career path I had no idea existed.
    With this blogaversary coming up, it got me thinking back through the years to some of my defining moments and I thought that instead of telling you the story, it would be better to show you in an infographic. I picked out some of my most memorable moments and the ones that acted as catalysts that helped grow my blog to what it is today. 
    Blogging has turned out to be the single most productive form of procrastination I ever did partake in. Every day, I’m thankful that I had the opportunity to start this blog and proud of the hard work I did to make it what it is today. Above all, I’m thankful for every one of you that likes what I do enough to stop by every now and then. Here’s to many more years of productive procrastination.
    Share:
    Review, Uncategorised

    Incoco Nail Strips Review

    Doesn’t it seem like there are way too many names for nail wraps these days?! Decals, appliqués, stickers… the list goes on. Well Incoco‘s offering to the table is their Nail Strips. They have a new collection out just in time for Spring and Summer and I’ve really been blown away by the amazing designs.

    The Company

    I’ve used Incoco’s Nail Wraps in the past and ever since I first tried them, they’ve been my absolute favourite nail wraps. They apply so easily, the designs are really wearable and on trend, and the website is top notch – it’s so easy to find exactly what you’re looking for or you can just browse around until something catched your eye.

    Incoco Nail Strips are ‘made of 100% real nail polish’ with base coat and top coat included so you don’t need anything else for a full manicure. I don’t know how they do it, but I believe it. The strips are very thin and once they’re on the nail, nobody would be able to tell you didn’t paint them on yourself.

    The Nail Strips

    This particular design is Tea Party from the Garden Daydreams collection. The set comes with 16 strips in 8 sizes so there are plenty of spares if you mess up and leftovers if you don’t!
    As I mentioned, they’re crazy easy to apply. They’re thin and flexible so, provided you get the technique right, they stick to every curve of your nail without leaving any unstuck edges or unwanted ridges. However, this also means they’re very fragile so you just have to be careful when you’re handling them. If you get the sticky side stuck to itself, don’t even try to save that strip, just move on to the next one!

    After one failed attempt at applying these, I had the technique down. I started by just touching the strip in place at the base of my nail in the middle, then used my index finger to smooth it on in a strip right down the centre of my nail. From there I used my finger again with plenty of pressure to smooth it out towards the edges.
    I folded the strip right over my nail edge and left it there for about 2 minutes to really adhere to the nail, then took a file to my nail tip to get rid of the excess. A few quick sweeps and all the excess was gone!

    Unfortunately I haven’t had the chance to test these out for 14 day wear but I have worn them for 2+ days without a single chip.

    TL;DR

    I’d recommend Incoco Nail Strips to anybody, whether you’re a nail wrap aficionado or an absolute newbie. These are the best nail wraps I’ve had the honour of testing and the Spring collection is a must see!

    Incoco Nail Strips ship worldwide from incoco.com and are available from various bricks and mortar locations. RRP $8.99.

    Share:
    Glitter, Gradient, Stamping, Uncategorised

    23 Shades of Birthday Purple

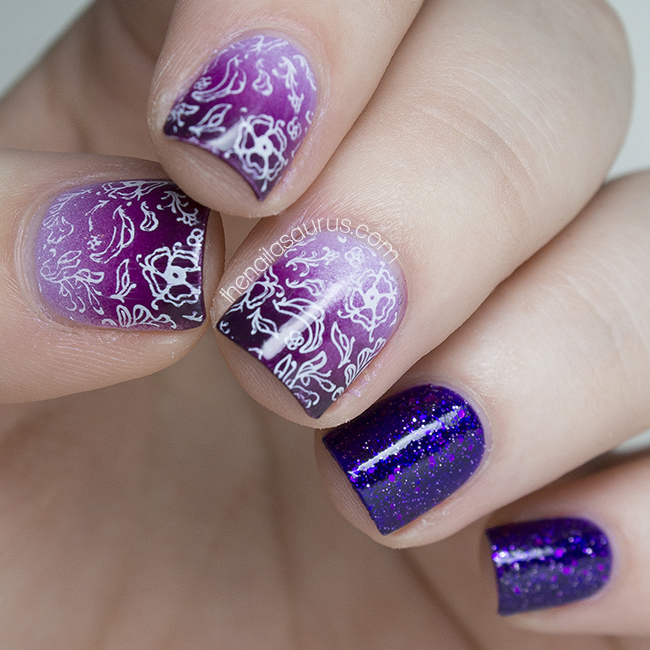
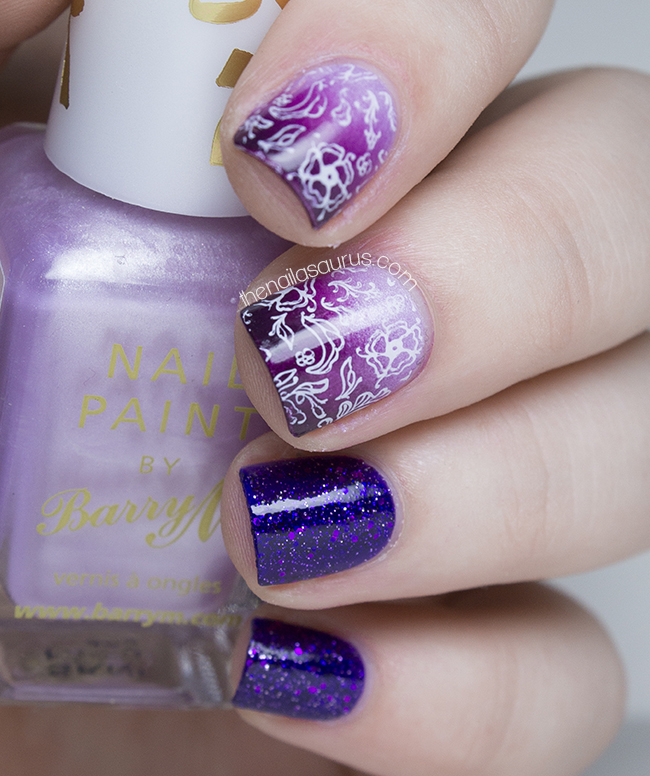
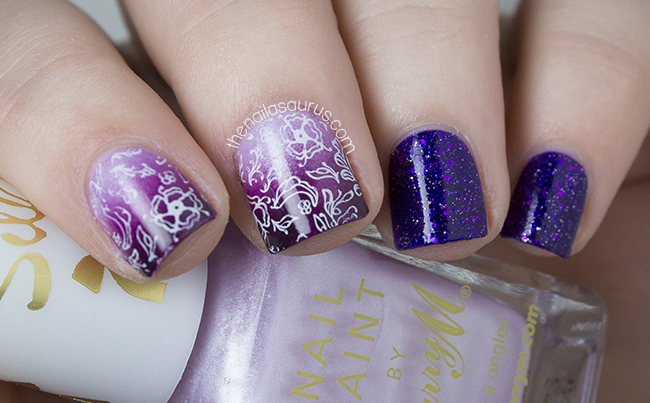
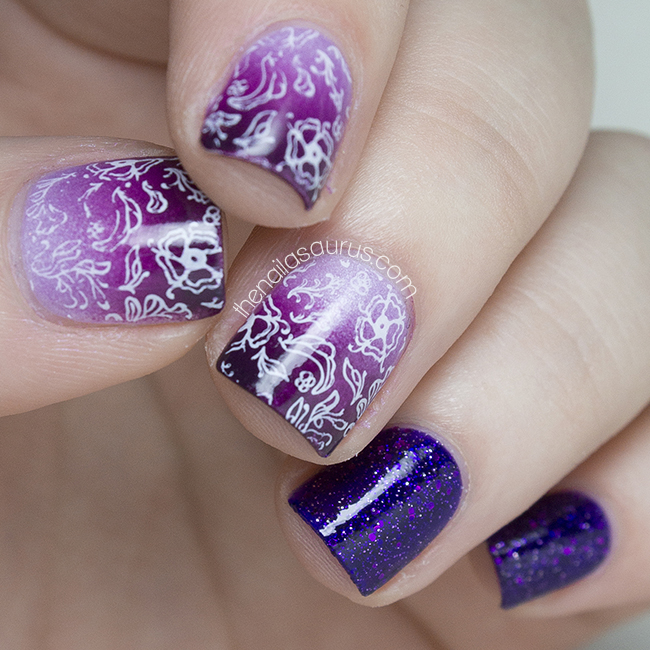
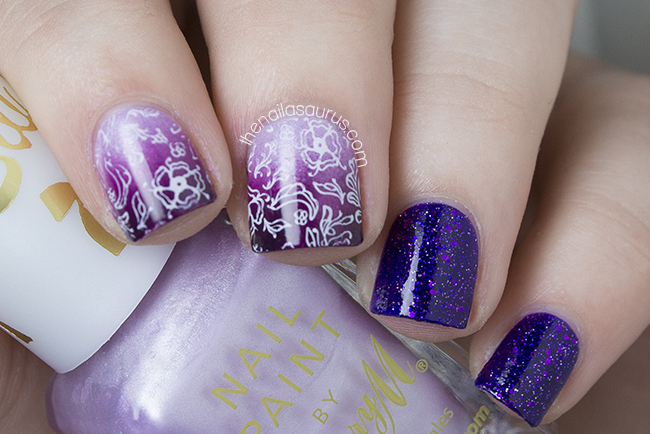
    Today is my 23rd birthday! These aren’t actually the nails I’m wearing right now, they’re from a couple of days ago, but the ones I do have on are not as interesting. I’m wearing the classic old creme with glitter combo – Barry M Blue Grape with Models Own Valerian as an accent.

    I had an unofficial birthday celebration last night with my family and this evening I’m heading straight out after work to grab some nibbles with my friends so I’d say it’s shaping up to be a pretty great week. I’m one of those (kind of annoying) people that likes to really milk their birthday for all it’s worth and I use ‘It’s my birthday week though’ as an excuse to get away with everything! Fess up… you know you do it too!

    For the gradient, I used Barry M Heather as my base colour fading to Barry M Bright Purple to Sally Hansen Plum Luck. There’s a gradient tutorial here.

    The stamped pattern is from Bundle Monster Plate BM419 and I used BK Matte White.

    For the accent fingers, I used two coats of Models Own Amethyst. Can you tell I’m loving the Velvet Goth Collection.

    It’s all finished off with Color Club Top Coat .

    Share:
    Tutorial, Uncategorised, Video, Waterfall

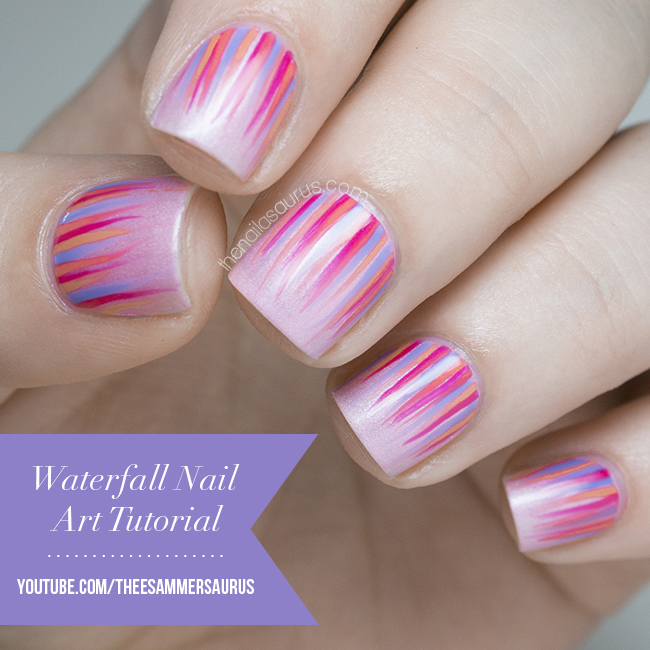
    Waterfall Nail Art Tutorial Video

    Here’s step one on my ‘Done is Better Than Perfect‘ mission… tutorial videos! This is something I’ve been intending to do for more than a year and tried more than a few times but there was always something I was unhappy with. The main issue was lighting but once I decided to stop fussing and just get on with it, I did my research and found a really cool lighting setup that lets me get nice and close without blocking out any light.

    For my first video, I started simple with a Waterfall Nail Art Tutorial to accompany the picture tutorial I posted last July. I must say, I’m really happy with the way it’s turned out which has definitely encouraged me to keep going with videos!

    Share:
    Glitter, Uncategorised

    We’ve Got a Headfirst Kind of Love

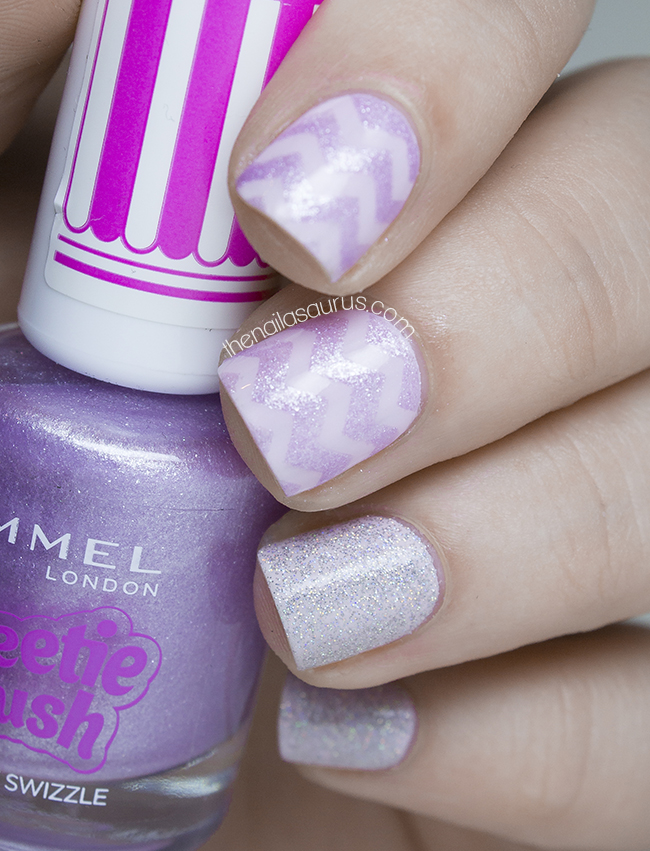
    My Instagram feed seems to have been taken over by Chevron nails recently and I’m pretty happy about that. I just love the way they look but haven’t always loved the tedious process of creating them using scotch tape and craft scissors. Here comes Nail Vinyls to save the day. There are quite a lot of places to get pre-cut vinyl chevrons but I went with Nail Vinyls as they’re the ones that always crop up on IG, plus they make mini versions which are definitely needed for my teeny-weeny nails.

    1. I used NYC Lavender Cupcake as my base colour on every nail and applied HK Girl to the fingers where I was going to add the chevrons. 
    2. While I was waiting for that to dry, I used two coats of Claire’s Silver Holographic on my pinky and ring finger.
    3. For the chevron effect, I stuck on some of the mini chevrons from Nail Vinyls and painted over them with a thick layer of Rimmel Violet Swizzle. I did this one nail at a time and made sure to remove the vinyls while the Rimmel polish was still wet.
    4. Finally, I topped it all off with two more coats of HK Girl.
    Share:
    Freehand, Studs, Uncategorised

    Curtain Call

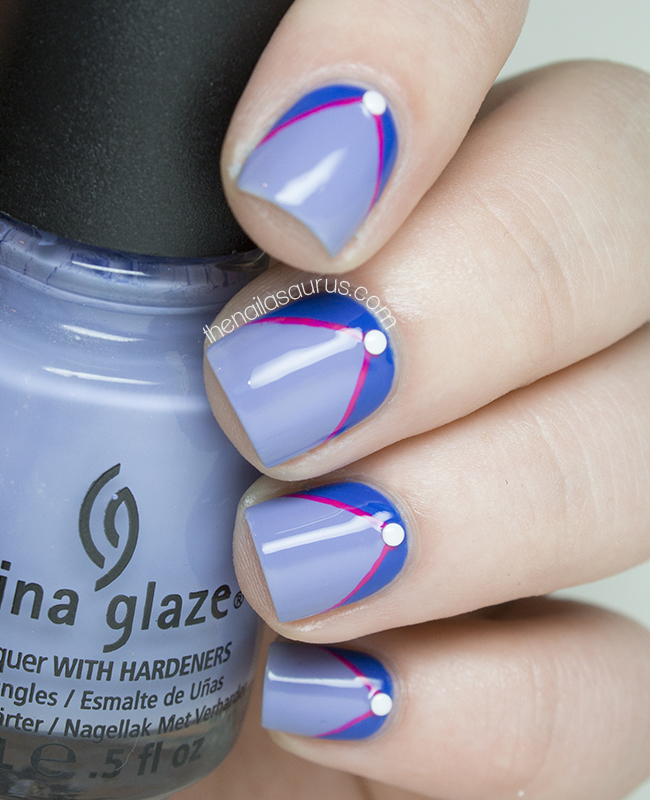
    China Glaze Fade Into Hue with Nail Art
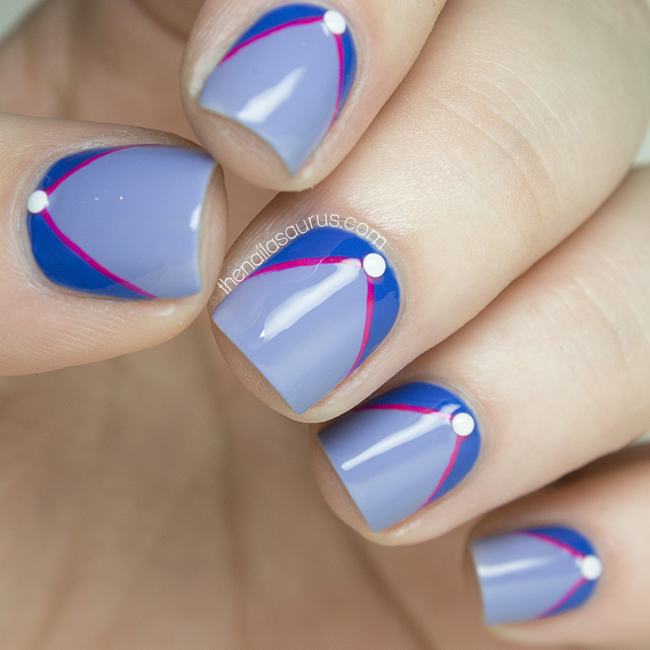
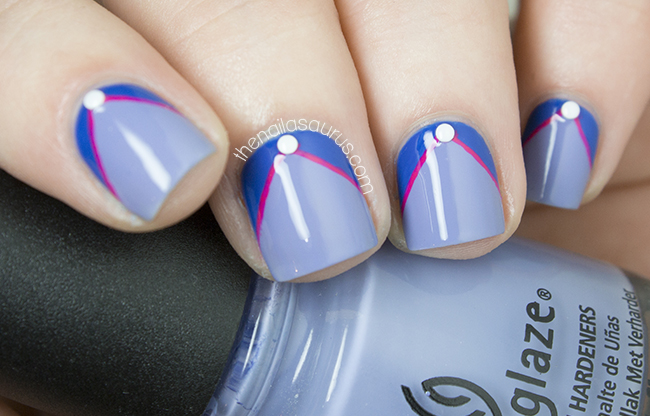
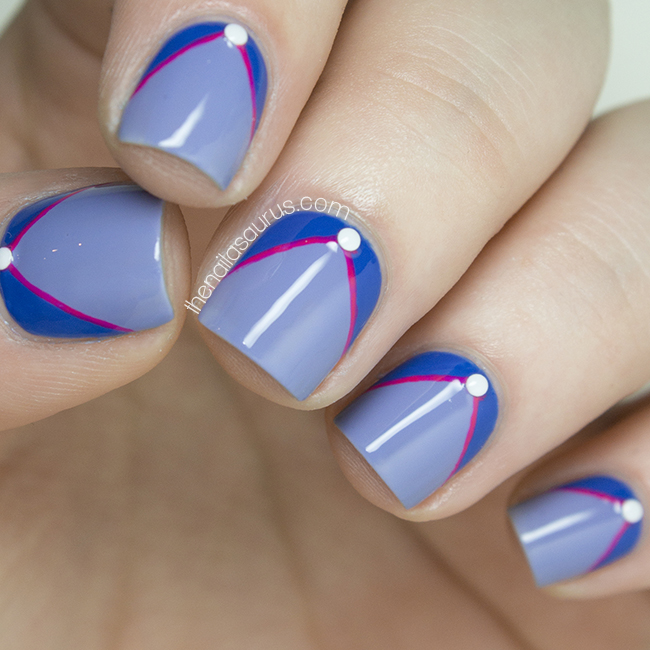
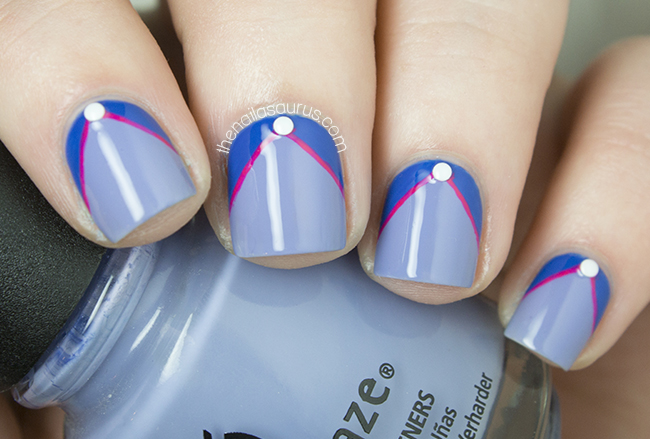
    I started this manicure with absolutely no idea where it was going. It’s one of those that just developed as I went along, all the while facing the very real risk of going completely overboard with colours, details and stick-ons but this one stayed on course and I really like the simple result. I just started with a general idea that I wanted to do something geometric and went from there. I’ve confessed before that my geometric nail art is not really A-game standard but it’s a style that I’m determined to practice and perfect this year!

    China Glaze Fade Into Hue with Nail Art
    1. I started with a base of China Glaze Fade Into Hue.
    2. Next, I used a striping brush to paint on the cobalt blue sections in Nails Inc All Saints Row.
    3. Using the same brush, I carefully went over the line with Models Own Bubblegum.
    4. I felt like it was missing something so I dug through all of my studs before deciding on some 1.5mm white studs which I attached using a drop of clear nail polish.
    5. Finally, I topped it all off with Color Club Top Coat.
    China Glaze Fade Into Hue with Nail Art
    China Glaze Fade Into Hue with Nail Art
    China Glaze Fade Into Hue with Nail Art
    Share: