I just had a look through the pages of The Nailasaurus and it’s been nearly a whole month since I posted any stamping nail art. Crazy when you consider that’s the only thing I ever posted for at least the first year of its existence.
I love having my nubbins back. Whenever I have long(er) nails, or rather when I haven’t trimmed them for a while, there will come a day when I look at them and just think ‘You have got to go!’ and I just cut them down. When I was a kid, I always thought it would be really awesome to have long nails one day but now that I’ve been there and done that, I can safely say I prefer them short and square. After a trim, I always paint them black or some other very dark colour and find myself staring at them like they’re a new pair of shoes!
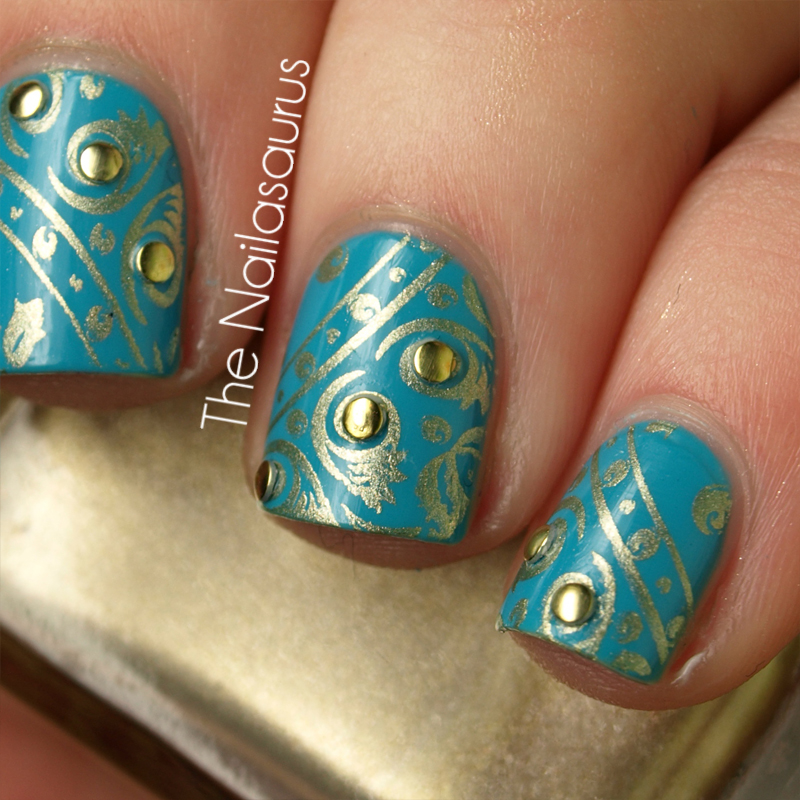
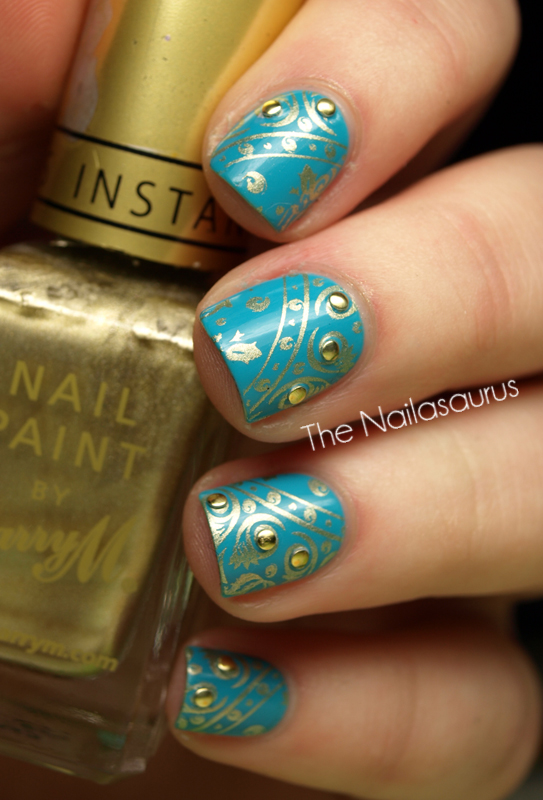
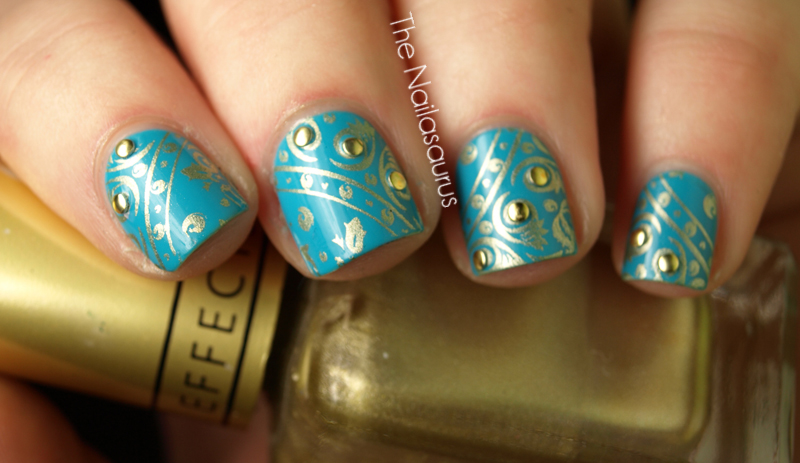
Stamping Plate: Red Angel RA102 Base Colour: Glo Baby Glo (from Primark) in Yes Cyan! Stamping Colour: Barry M Gold Foil
Studs from Born Pretty Store
Top Coat of NYC
P.S. Voting is still open for the Bundle Monster Nail Art Contest. My entry can be found here and your votes are very very much appreciated. Thanks!
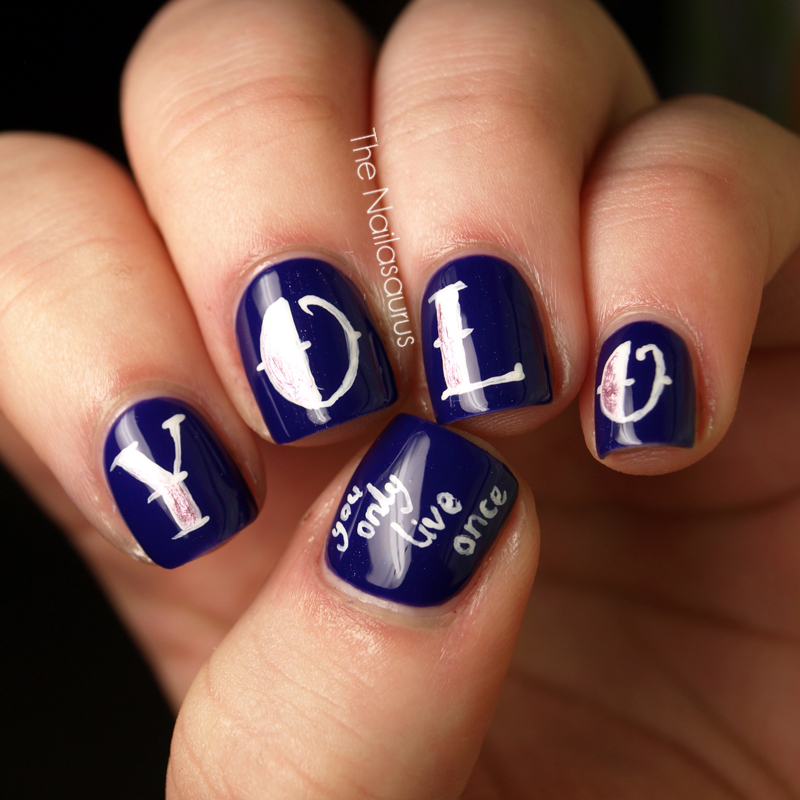
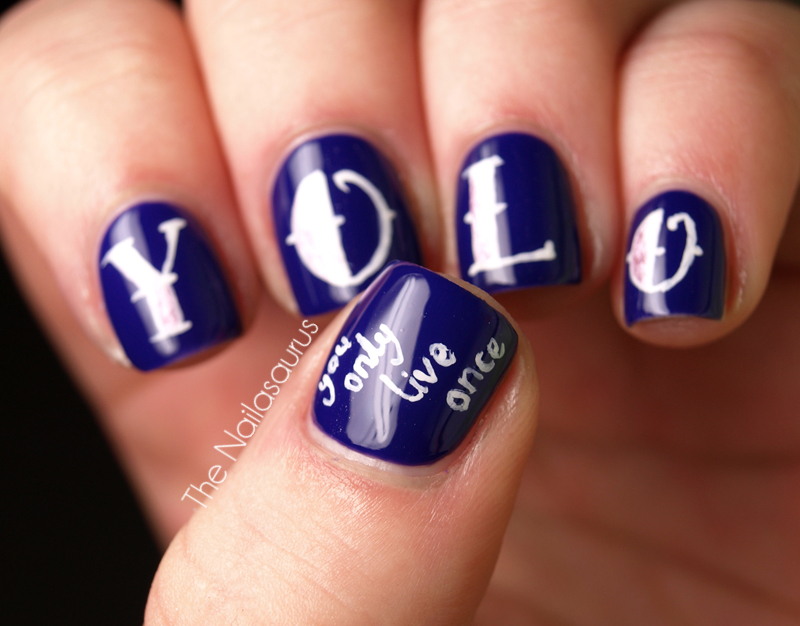
A little while ago I kept seeing YOLO everywhere on the internet, mostly on Tumblr though! So I looked it up and found out it’s an acronym for ‘You Only Live Once’ and the phrase’s recent notoriety has spawned from Drake’s song, The Motto (YouTube).
I’m not a huge Drake fan but I think it’s a pretty good motto to live by and something I often tell myself when I need to be convinced to take chances and opportunities I might otherwise shy away from. So I revisited the Nail Tatz idea and put it on my fingertips!
The base colour is Rimmel Blue My Mind and I used white acrylic paint for the lettering. It’s hard to see in the pictures because of the lighting but I also added some accents to the letters in Gosh Metallic Purple.
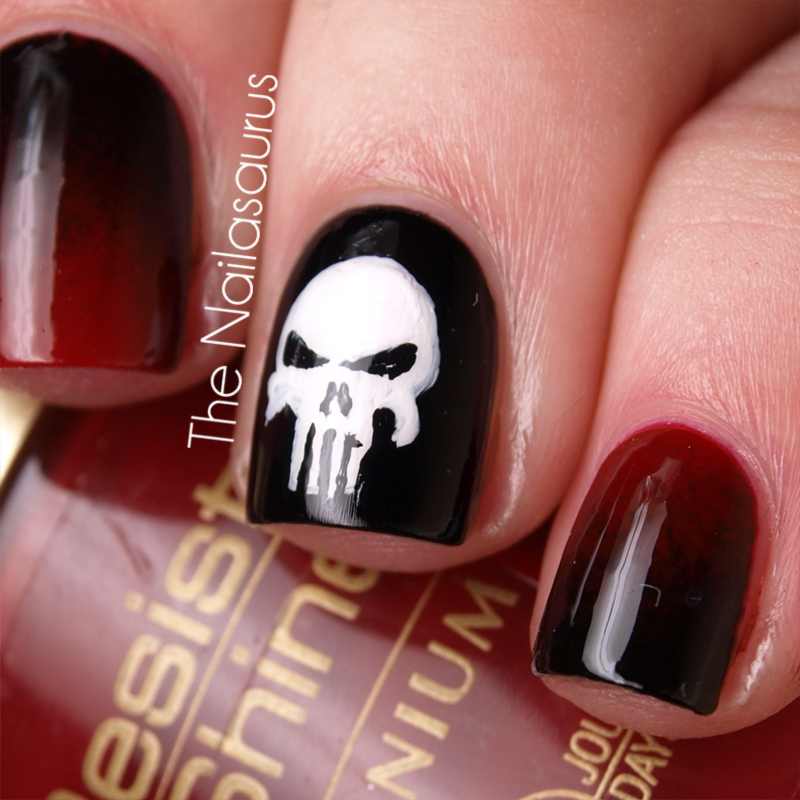
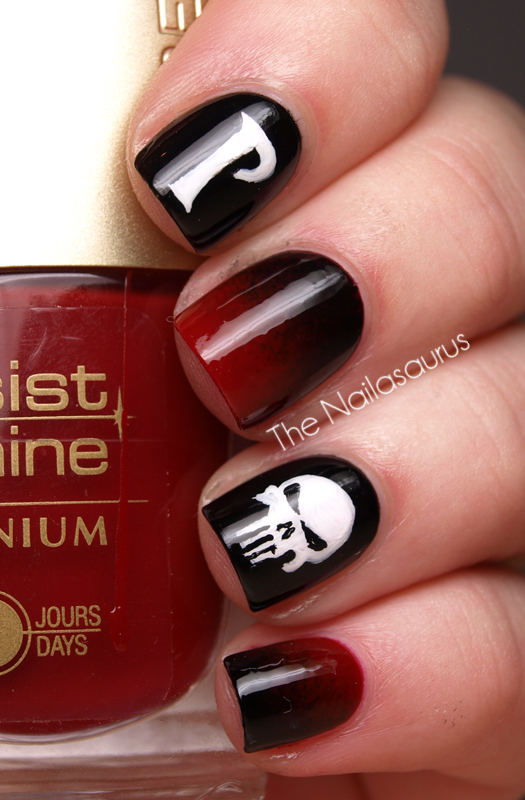
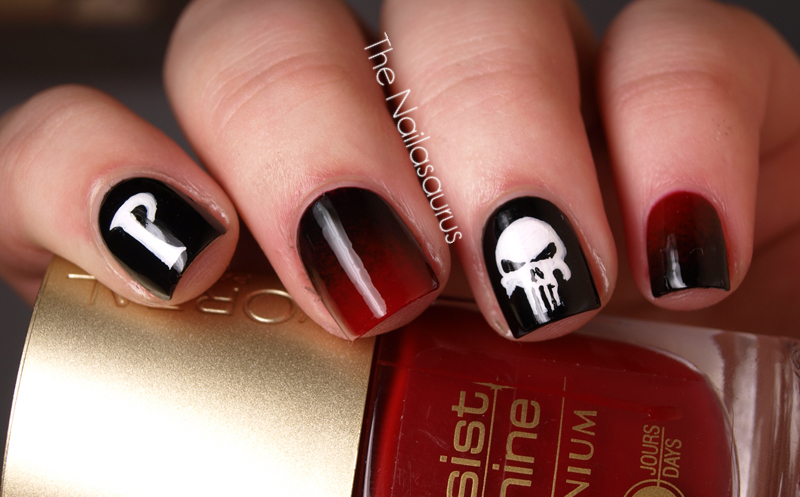
So today’s nail art is based on Marvel’s Punisher. I’ve never read a Punisher comic or seen a Punisher film, but I’ll take any excuse to draw a skull on my nails!
I’m starting a new challenge in June which Jo from Northern Nails came up with and I was gonna save this idea for then but it doesn’t quite fit the criteria. I don’t want to give too much away but given my history with this theme and the fact that I’m super excited, you might be able to guess at what it is!
The colours here are W7 Black and a red from L’Oreal which has no shade name on the bottle (gradient tutorial here). The details are done with white acrylic paint.
I finally went to see The Avengers (or is it Avengers Assemble now?!) today! It was released last week here in the UK but today was the first chance I got to go and see it!
Of course, I loved it but I was distraught to find that there was no stinger at the end of the credits. Even though I’d already read that there was no final surprise on the UK release, I waited right until the very end out of habit and defiance anyway! I almost feel cheated that I went to see a Marvel movie and there was no credit cookie!
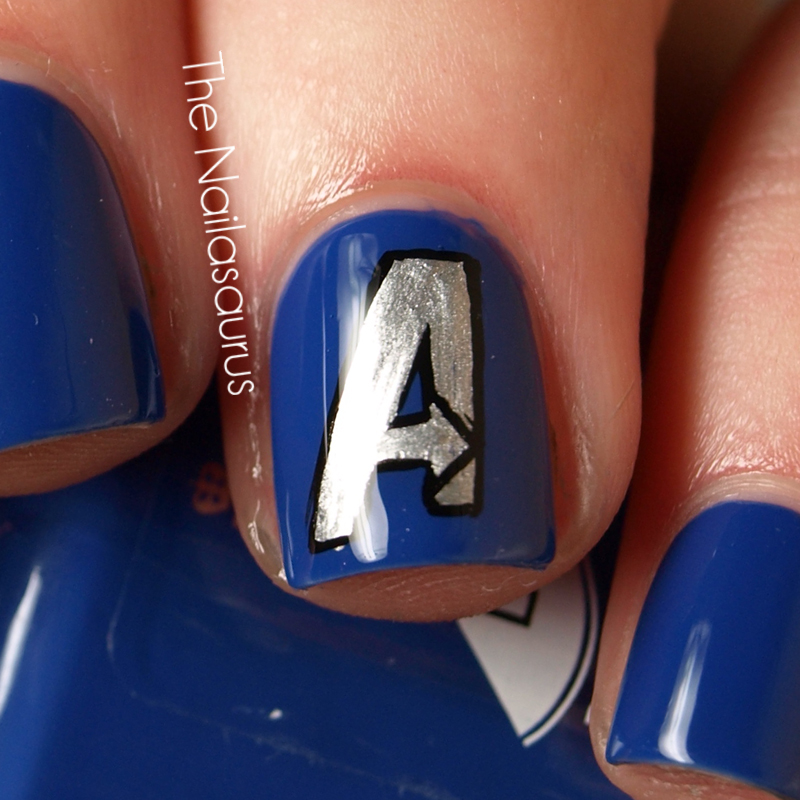
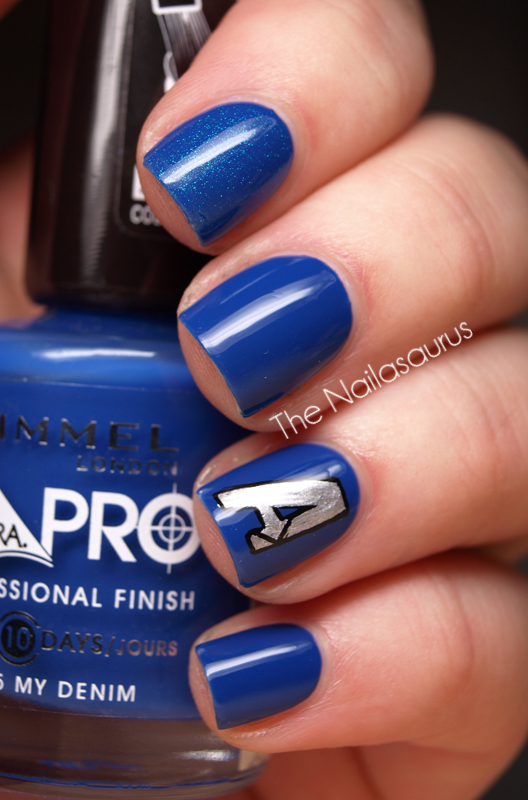
Well these are the nails I wore which I kind of threw on last night but you can see some more in detail Avengers nail art from the archives here.
The base colour is Rimmel My Denim and I used a coat of Girly Bits Cosmic Ocean on my pointer for a bit of sparkle. I used Barry M Silver Foil and black acrylic paint for the ‘A’.
I’m slowly falling in love with Rimmel polish. I’ve been finding a lot of them at bargain prices recently and although I probably wouldn’t pay full price (£3-5) for them, I find myself reaching for the ones in my collection a lot recently.
It’s just a quick one tonight as it’s already past 1am and I’m hella sleepy!
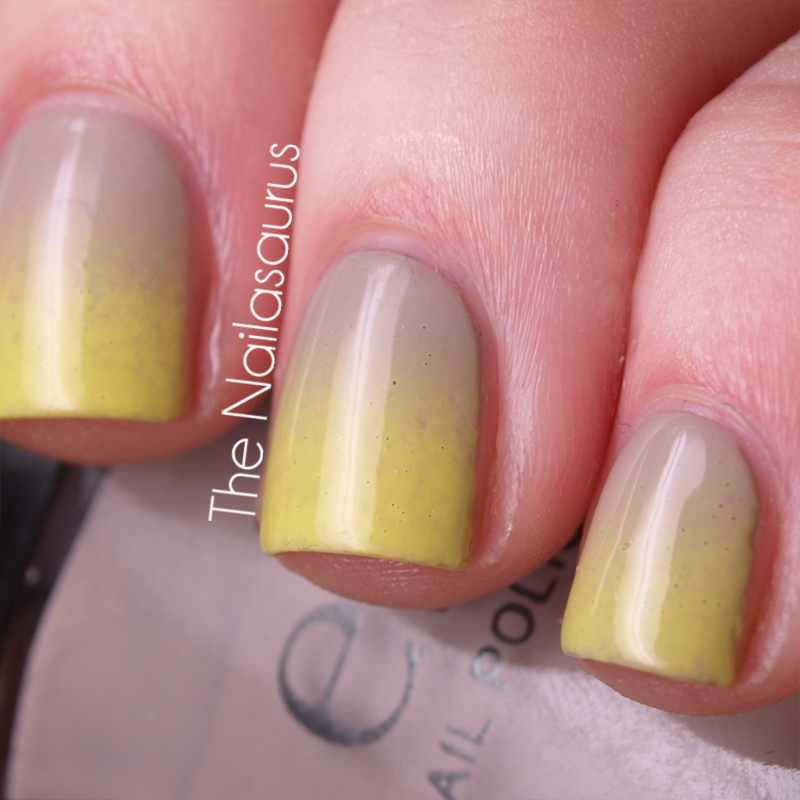
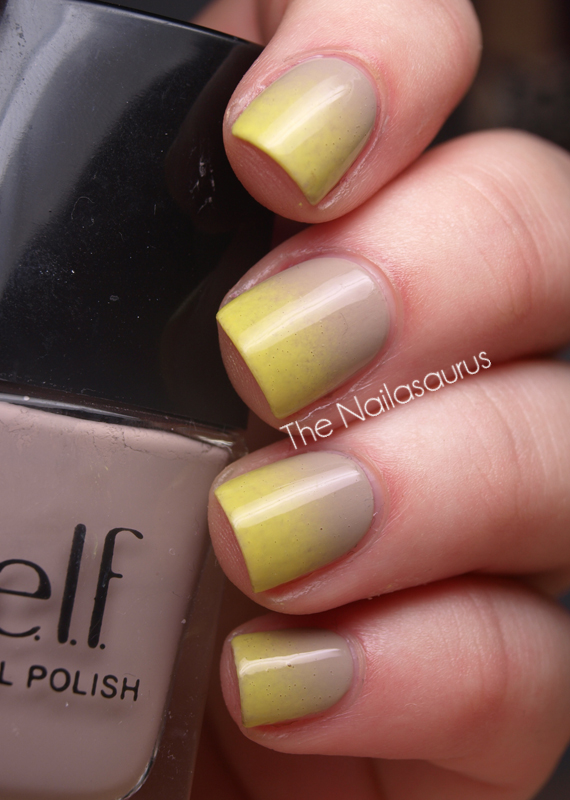
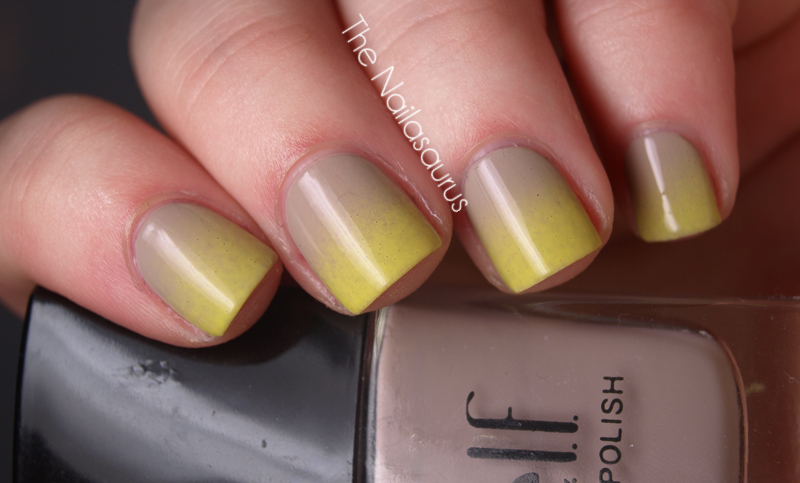
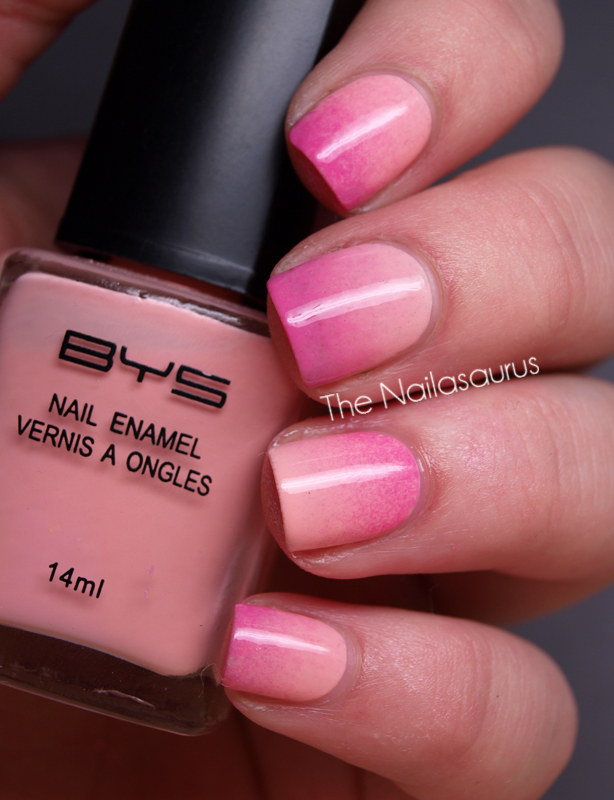
I hope you’re not sick of the gradients yet, I’m certainly not and I’m having a great time trying it out with different colour combinations. So far I’ve tried Pink and Girly, Bright and Fruity and today is Soft and Neutral. I think it’s my favourite combo so far!
I used E.L.F Desert Haze as a base and then NYC Lexington Yellow following this tutorial. The top coat I used to glaze it is so thick, it’s practically a solid so it’s bubbled like crazy but the bubbles are not at all noticeable in real life unless you look very, very closely!
You know that involuntary loud noise you make when you’re shopping to express surprise and joy at the same time that makes other shoppers look over at you like you just shouted ‘BOGIES’ at the top of your lungs? It’s something along the lines of a sharp intake of breath accompanied by a stupid big grin because you’ve seen something you didn’t expect to see on that shelf in front of you and it’s an absolute bargain. I know you’ve all done it!
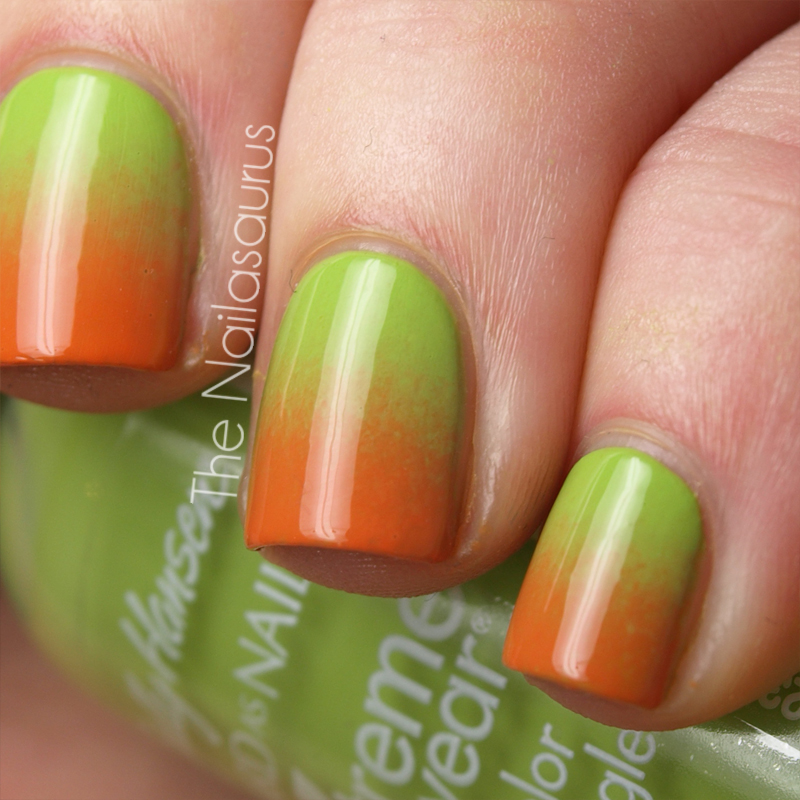
Well I made that noise a couple of times today while I was out bargain hunting and one of them was for a shelf full of pretty polish in The Original Factory Shop. I came away with a very restrained 5 bottles including these two colours from Sally Hansen’s Xtreme Wear range for just £1 each!
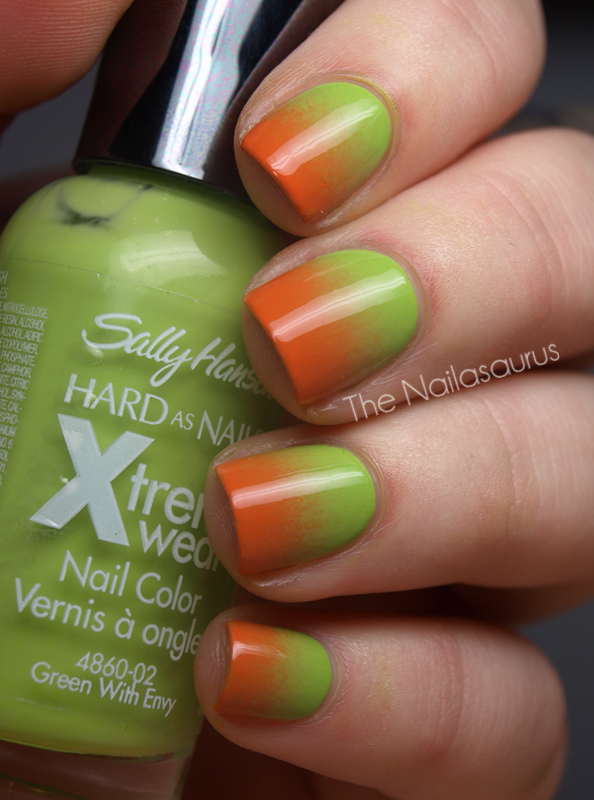
The gradient/ombré trend is picking up faster than any nail trend I’ve ever seen this week so of course I had to go with the flow and create another gradient mani!
I used Sally Hansen Xtreme Wear polishes in Sun Kissed and Green With Envy. I applied them following this tutorial. I sponged the colours on twice today which has given better results than last time – I think the graduation is more subtle and there’s less evidence that I even used a sponge because you can’t see so many sponge marks like last time!
Exciting news today! This blog now resides at thenailasaurus.com! I’ve always wanted my own domain and after two years I finally decided today was the day to fix that.
For some reason, I had it in my head that it would be complicated and expensive. It wasn’t! I don’t know how it works on other platforms, but it turns out Google will pretty much do it all for you for $12.30 a year. All you have to do is go to your basic settings in dashboard and follow the steps. Easy as pie and just as satisfying!
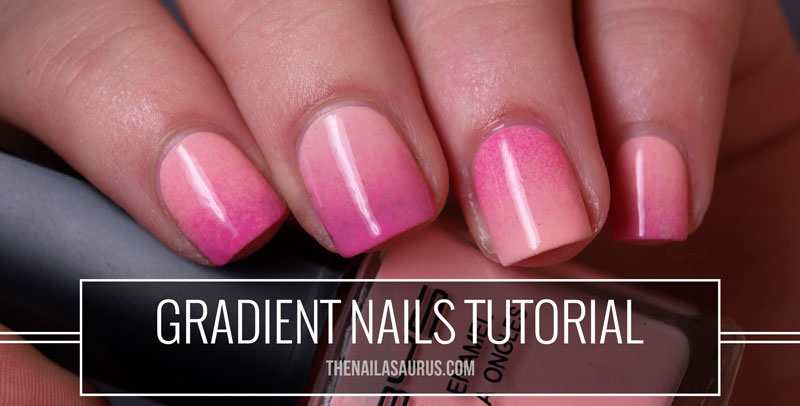
So yesterday I hinted that I’d be elaborating on the technique I used for my gradient nails. And today, as promised, I’ve written a detailed picture tutorial for you guys. Enjoy!
UPDATE: Here’s a video version!
Before you start, make sure you have everything you need and that it’s easy to reach from wherever you’re sitting. It’s also a good idea to make a quick trip to the bathroom. There’s nothing worse than creating an awesome mani and then ruining it because you didn’t prepare ahead!
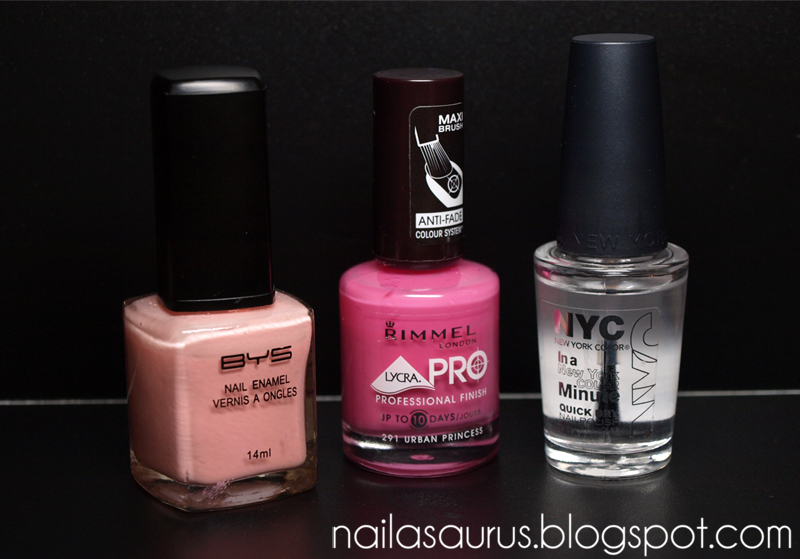
What You’ll Need
Two colour polishes and a top coat
You can choose colours that compliment or go bold and pick two that clash. Experiment with different combinations and see what works.
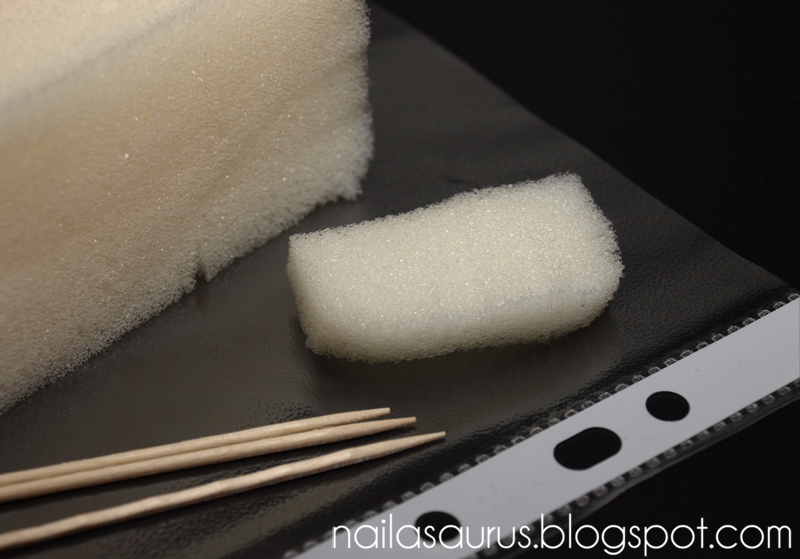
A sponge, a plastic sheet and toothpicks
I bought a big bathroom sponge and I just cut sections off when I need them. The sections don’t have to be perfectly cut, as long as one side is flat it will work. You can use absolutely any sponge – a make-up sponge, washing up sponge or any other kind of sponge you can find.
If you don’t have any of these plastic wallets in the house, raid the kitchen cupboards for some foil or baking paper.
How to do Gradient Nails
Step 1
Using the lightest of the two colours, paint your nails and wait for it to dry completely.
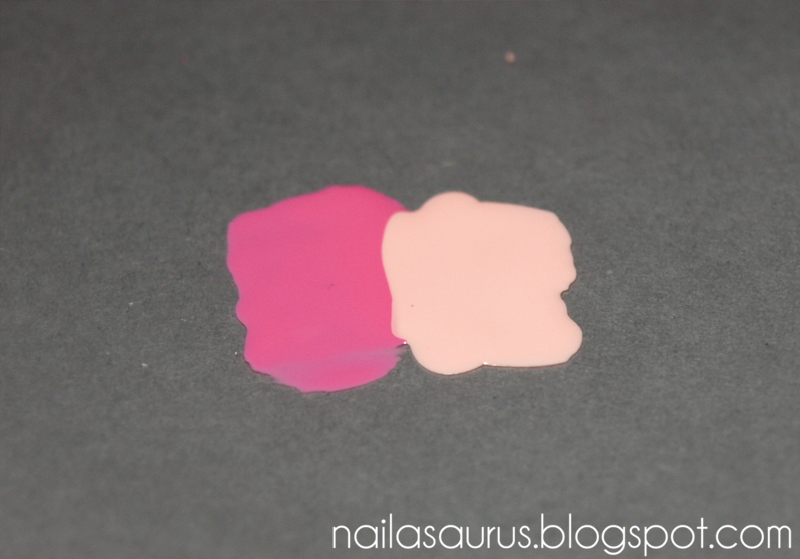
Step 2
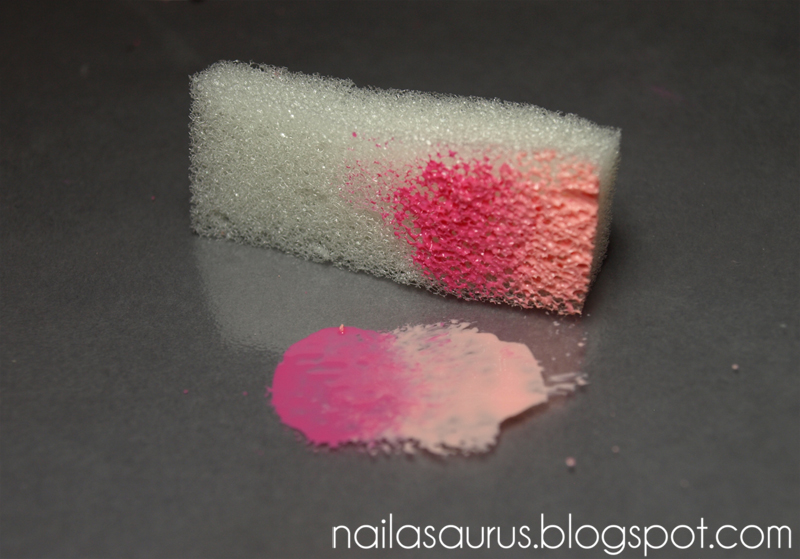
On a flat surface, paint a generous amount of the colours right next to each other on to the plastic. Make sure they’re just about touching at the edges.
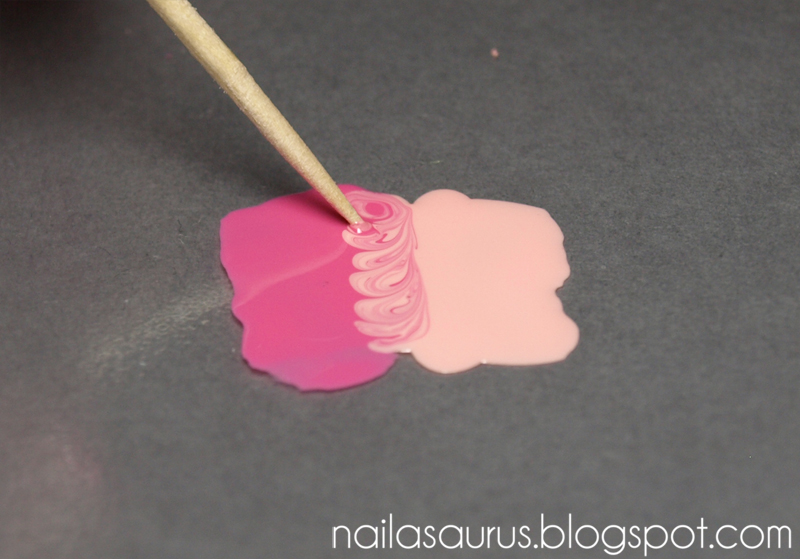
Step 3
Using a toothpick, swirl the two colours together where they meet. The area where they mix will determine the length of the graduation. So if you want a long graduation, mix a bigger section of the colours, if you want less of a fade, just mix them together a tiny bit.
Step 4
Take your sponge and dab it directly down on to the polish a few times.
Step 5
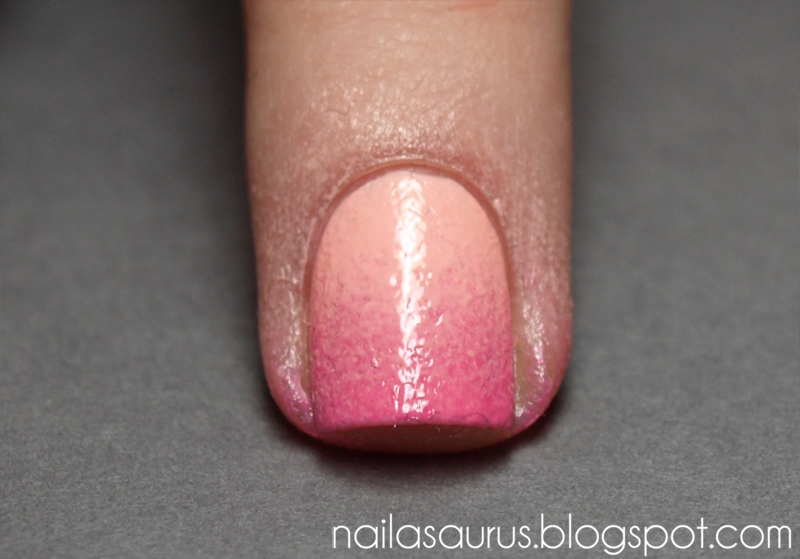
Dab the sponge directly down on to your nail. Keep dabbing lightly and moving it very slightly up and down your nail.
You can repeat this step as many times as you need to. Just make sure each layer is completely dry before sponging again otherwise you will start smudging the underneath layers and ruin the whole thing.
Step 6
Add a topcoat. Or two or three! The sponging makes this mani very bumpy so you may need a couple of topcoats just to even out the surface.
Step 7
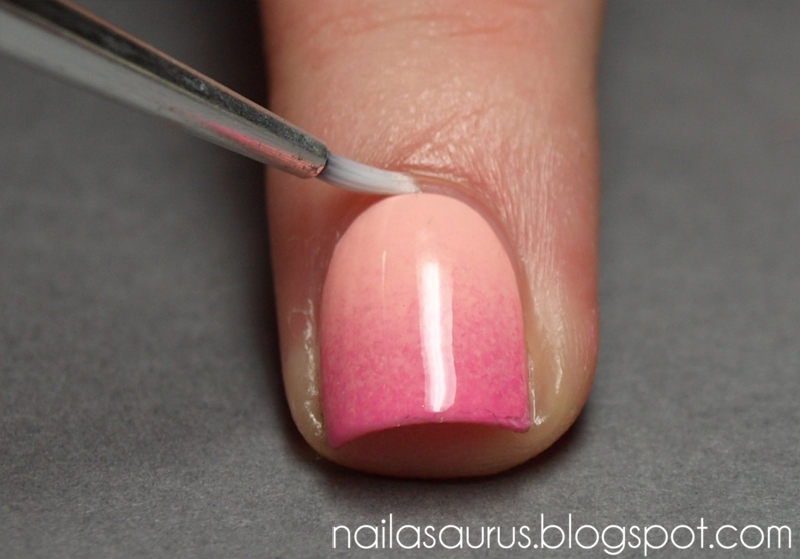
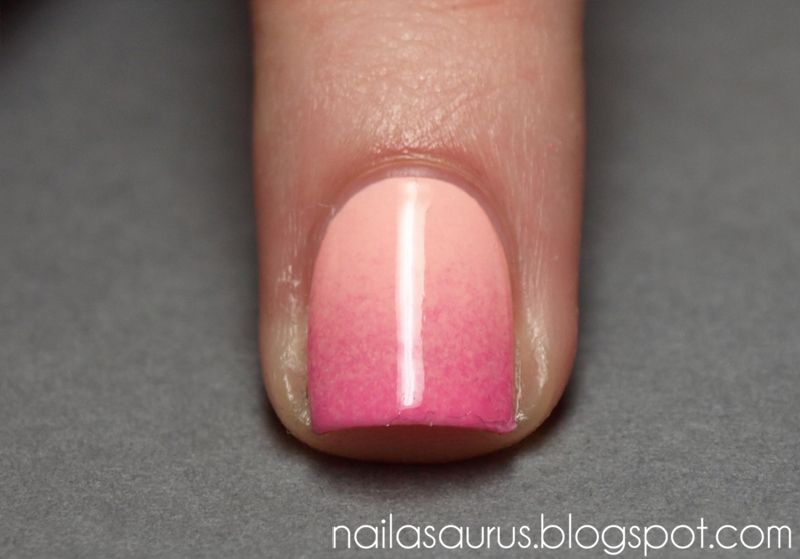
Clean up all the excess using a brush dipped in acetone or polish remover. I use a q-tip dipped in remover for the big bits I can reach on my skin, then a small brush in pure acetone as I get closer to my nail and to make a crisp line near the cuticles.