Follow:
Browsing Category:

Nail Art

    Studs, Uncategorised, Waterfall

    Pastel Waterfall

    Before Google Reader closed down I imported all my subscriptions in to Bloglovin’ and yesterday I finally got round to sitting down and looking through every single blog I’ve followed over the last three years. I lost track of time but I know it took at least 2 hours! I must have unfollowed hundreds of blogs – just the ones that haven’t posted for 2 months or longer, some hadn’t even posted since 2011 – and I got a bit nostalgic whenever I came across a blog that I once loved but is now retired. I even shed a tear when I read Gilded Nails’ last post and it made me realise how lucky I am that I’ve been able to continue blogging all this time.
    Anyway, enough of the soppy stuff! The point is that I’m so glad to have an organised dash where I can now start to really keep up with my favourite blogs and hopefully plenty of new ones!
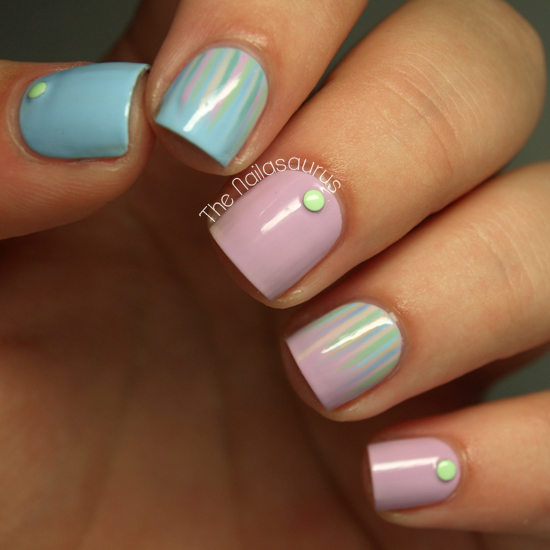
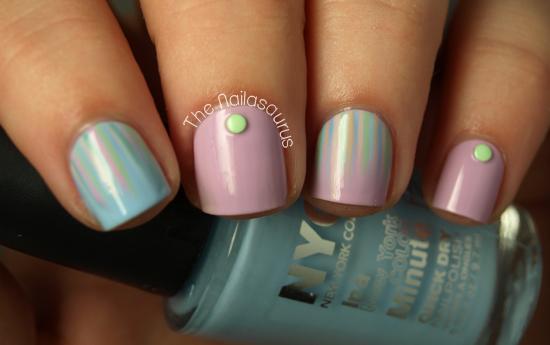
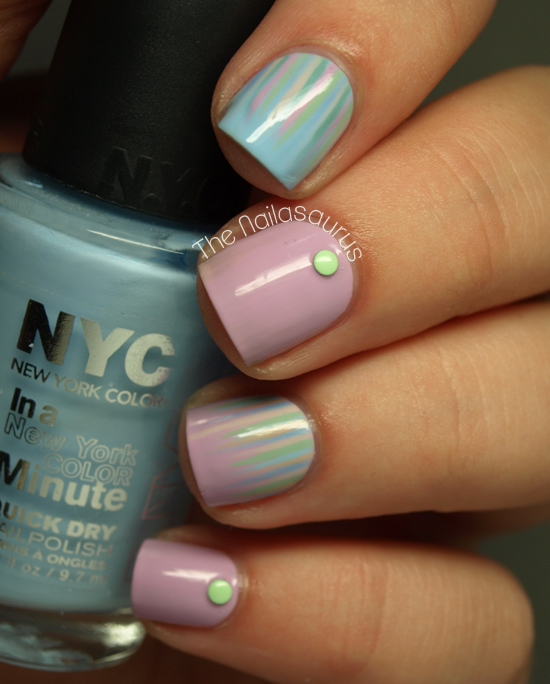
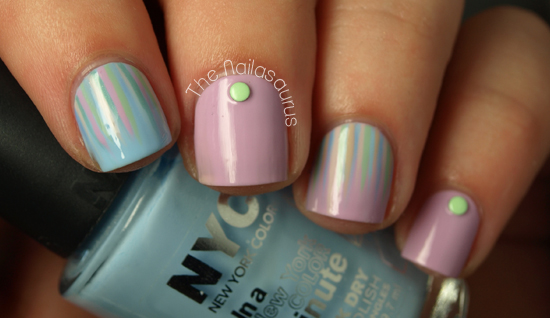
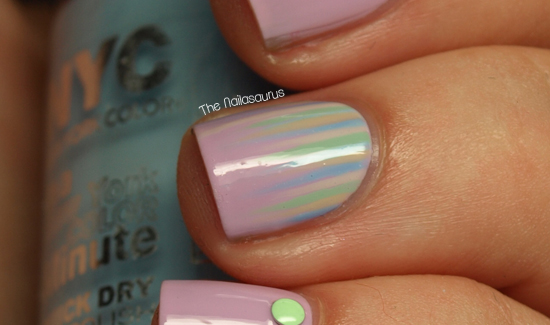
    I’m still loving pastels and I find myself reaching for them constantly. There is a waterfall in here somewhere but I used pastel colours and the look is very subtle!

    My base colours are NYC Raindrop and Lavender Cupcake. For the waterfall design, I used Sally Hansen Green Tea, Models Own Utopia, Barry M Lychee, Essie Bikini So Teeny and the two base colours (tutorial here). The green studs are from Born Pretty Store and you can now get them in a wheel with a range of colours and square ones in the mix too. It’s all finished off with No7 Stay Perfect Top Coat.

    TwitterBloglovin’Tumblr

    Share:
    Stamping, Uncategorised

    White (and Blue) Russian

    So I mentioned a while ago that I’d ordered a few Nailz Craze plates which were Tattoo, Magical and Russian and this is the first manicure I’m posted using them! This pretty pattern is from NC03, the Russian plate. I really only bought that one for the amazing argyle pattern which I’m saving for Christmas (which is less than 5 months away by the way, how fast has this year gone?!) but I think I’ll get a lot of use out of this pattern too.
    I’ve tried Natalie’s tutorial for creating coloured decals out of stamping designs a few times but I always fail when it comes time to apply it to the nail. I’m determined to master it because I love what she did with the tattoo plate!

    I used Essie Bikini So Teeny as my base colour and then stamped on the design from Nailz Craze NC03 using Born Pretty Matte White. It’s all topped with a coat of No7 Stay Perfect Top Coat.

    TwitterBloglovin’Tumblr

    Share:
    Freehand, Uncategorised

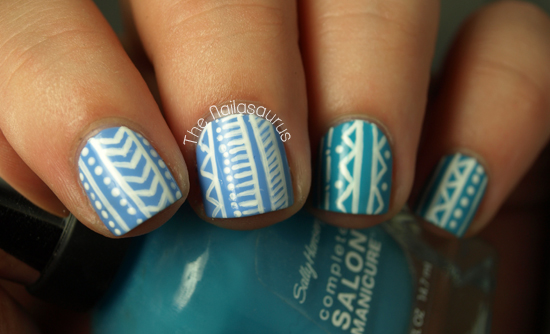
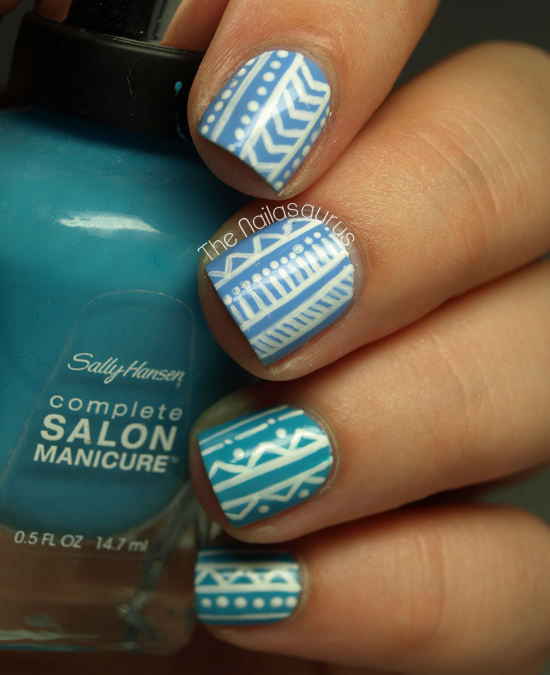
    Whiteout

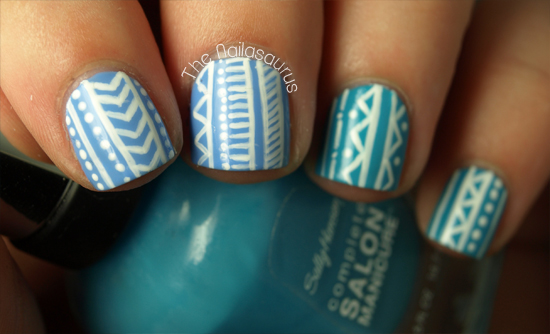
    I went a bit decal crazy this week so today I wanted to stretch my skills a bit today and venture in to a full on freehanded manicure. This is an idea I’ve been holding on to for a while – I wasn’t sure if I could do a whole tribal manicure in one colour without running out of juice but I did it! I love a bit of white on blue action!

    I used Barry M Blueberry and Sally Hansen Water Color as my base colours and freehanded on the tribal print using a nail art brush. It’s all finished with two coats of No7 Stay Perfect Top Coat.

    TwitterBloglovin’Tumblr

    Share:
    Freehand, Studs, Uncategorised

    What’s in a Name?

    Bit of a late post today because I’ve been out all day hunting giant Gromits in and around Bristol as part of Gromit Unleashed! It’s a trail of Gromits scattered across the city all decorated by different artists including Cath Kidston, Quentin Blake and Zayn Malik. Yes, that’s Zayn from One Direction! It was a super fun day out except for the crazy rain that struck just after lunch time. Boooo!
    I loved Will Paint Nails For Food’s Fractal design so much that I wanted to have a go myself. It took absolutely ages and made my eyes hurt but it was totally worth it. I’m also showing off the last of my new Born Pretty goodies today. I’m rocking a Rose Water Decal and some of their new, colourful 2mm studs.

    1. My base colours are Barry M Prickly Pear and Sally Hansen Crinolin.
    2. I applied the studs using a dot of clear polish and then a top coat over the top.
    3. The water decal is pretty self explanatory. Drop it in some water, wait 10 seconds, peel off the decal and place it on the nail.
    4. I used Barry M Plum and a small nail art brush to create the fractal design on my ring finger.
    5. It’s all topped with a coat of No7 Stay Perfect Top Coat.

    TwitterBloglovin’Tumblr

    Share:
    Freehand, Uncategorised, Waterfall

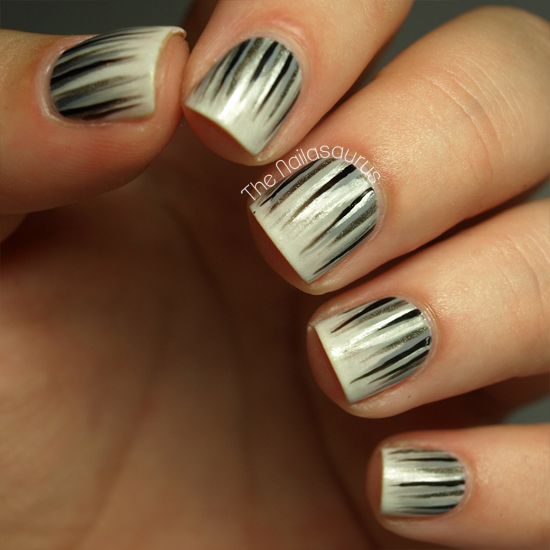
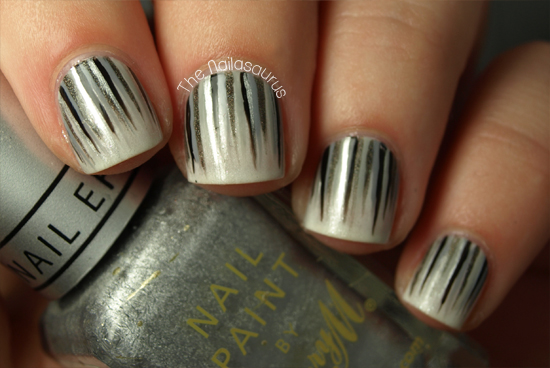
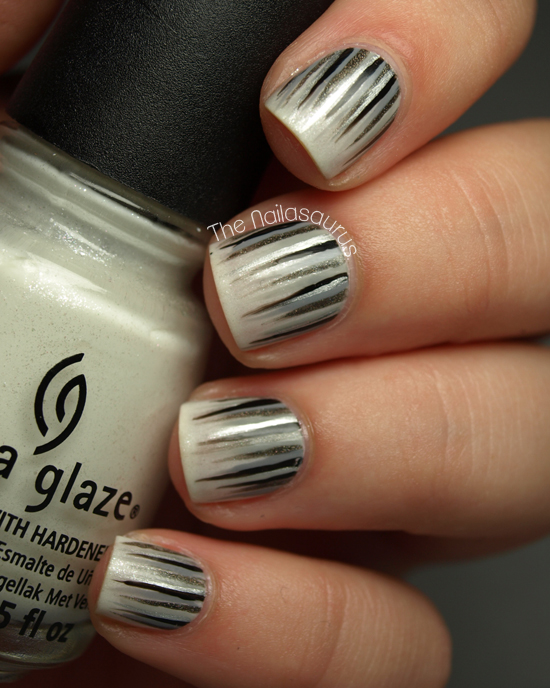
    Monochrome Waterfall

    The last thing on my list of must-do waterfall manis was a monochrome creation. This was suggested in the comments on the first ever waterfall mani I posted and I finally got round to it this week! 

    My base colour is China Glaze Dandy Lyin’ Around which is a shimmery creamish white. I thought I’d step away from the Barry M White on this one as it seems I’m using it in almost every manicure recently!
    For the details, I used Rimmel Grey Matter, Sally Hansen Dorian Grey, No7 Just Black and A-England Fated Prince. There’s a tutorial for the waterfall look here.
    I finished it all off with a coat of No7 Stay Perfect Top Coat and then one coat of Essence Better Than Gel Nails Top Sealer.

    Friendly reminder that my blog is shortlisted in the Established Beauty Blog category at this year’s Cosmo Blog Awards and you can vote for me here.
    Share:
    Nail Art, Stamping, Uncategorised

    Welcome to The Circus from Nailz Craze

    A couple of months back, I came across Nailz Craze on Etsy when I was searching for some new stamping plates to add to my collection. A few weeks later, I came across a blog by the same name and got to wondering if there was a connection between the two. There was!! I found out that Natalie, the creator of the Nailz Craze plates, is also an insanely talented nail artist and blogger!
    I recently ordered a few of Natalie’s nail plates for myself and I can’t wait to try them out. When I asked her to guest post for me I was really hoping she’d create something with her own plates and I wasn’t disappointed!

    Where to find Nailz Craze
    Blog – Facebook – Instagram – Etsy Store
    ——————————————————————————————-

    Hello there, dear Nailasaurus fans!
    I have to start this post by telling you how excited and honored I am to be here and share with you my design. Samantha’s blog was one of the first I’ve followed and was inspired by, so it’s really a great honor to be featured at her awesome blog. Thank you Samantha!
    Today I have a festive and special design to share with you, It’s the first design I’ve made with one of the new Nailz Craze plates I’ve created and released at my store this month. To those of you who are not familiar with Nailz Craze yet, it’s a small indie stamping plate brand I own, where you can find themed plates with my original illustrations and designs.

    This manicure was created with the Nailz Craze NC05 Circus plate, and even though you might think it’s a difficult design to create at first look, you will be surprised it’s actually quite easy. Here’s how I created this design:
    I started with two coats of China Glaze Ruby Pumps, my all-time favorite red glitter. It’s a fantastic polish with a great formula, I really love it and if you don’t have it in your collection yet, you totally should get it!
    The first design I applied over the red base was the radial stripes, I used Konad’s White stamping polish for it. After applying this design to my nails, I waited a bit and for it to dry.
    On top of the radial stripes I decided to apply different circus elements such as a circus manager, a seal, an elephant, an acrobat and a star. For the elephant, seal and the acrobat I just stamped the designs with Konad’s Black polish straight on the nail. With the circus manager and the star I decided to fill the stamped design (face and inner star) with a different color to make them stand out better on top of the striped background.  You can see how it’s done at this stamping decal tutorial at my blog, but basically you transfer the image to the stamper as usual, and then before applying it to the nail, you fill the parts you like with another polish and let it dry, then apply it to a tacky nail polish on your nail. And that’s about it.

    I waited for the stamped designs to dry on my nails for a while, and then applied a generous coat of Poshe Top Coat, pulling it lightly on the nail to prevent smearing (which can be a quite stressful part, since smearing the designs after working so hard on it can be a nightmare).
    The finished result is before you, I think it turned out quite festive and sparkly, and I was pretty pleased with the result. I was very happy to make it for you and I hope you will like this design as well. 
    Thank you for reading and have a lovely weekend!
    Xoxo
    Natalie

    Share: