Follow:
Browsing Category:

Nail Art

    Galaxy, Uncategorised

    White Space Take 2

    Thanks to some stellar photography tips from the ladies at Very Emily and The Nail Polish Challenge, I finally feel like my photos are up to scratch so you’ll be pleased to hear that I won’t be moaning/apologising about it going forwards. Yesterday Kelli recommended that I try shooting in RAW format so I have a lot more control during the editing process and it’s changed my life! I feel so good about my photos right now!
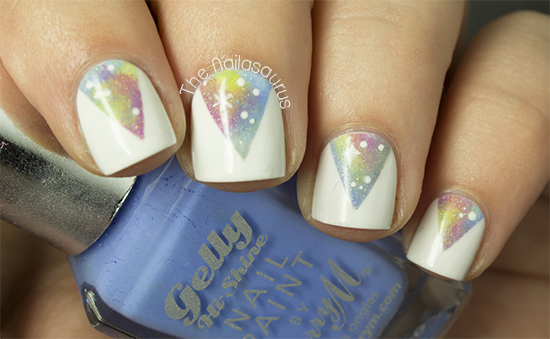
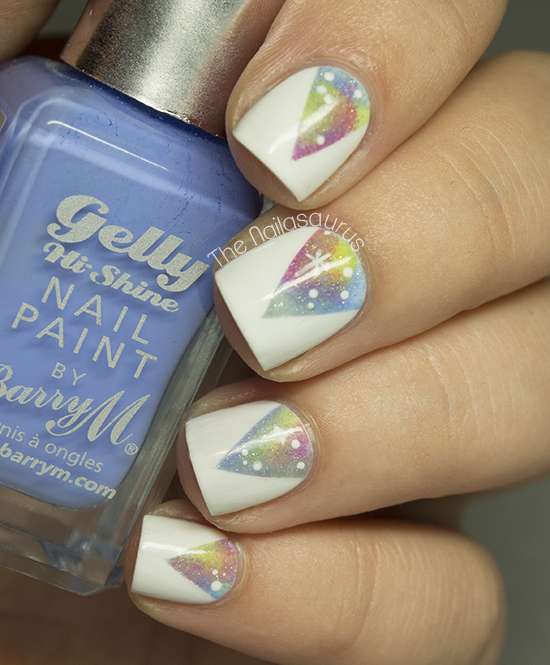
    Today’s nail art is very similar to the ‘White Space‘ look I did a few weeks back. I just loved it so much that I knew I’d have to try it again and here we are!
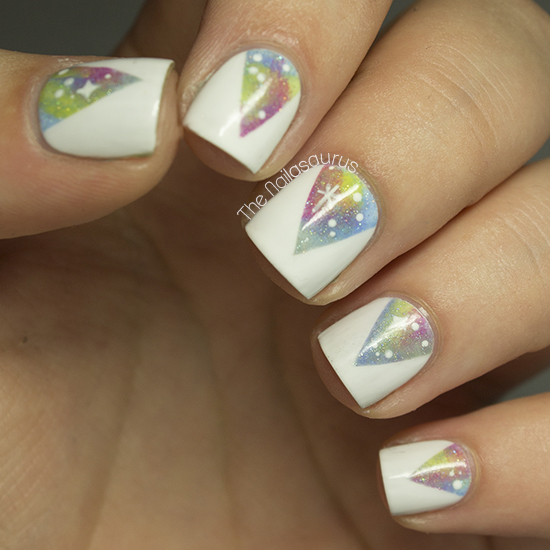
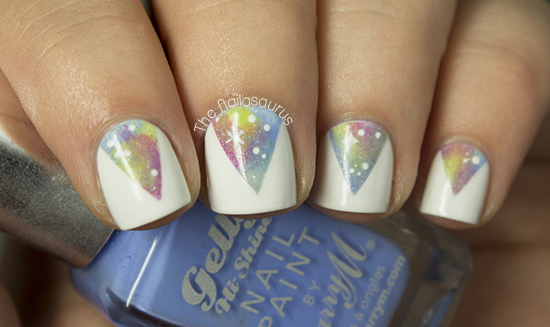
    1. I used Barry M White as my base colour and then applied a coat of Sally Hansen Dries Instantly.
    2. When it was completely dry, I used Scotch Tape to mark off a triangle at the base of each nail.
    3. One nail at a time I created the Galaxy look using Barry M Blueberry, Collection 2000 Think Pink, NYC Lexington Yellow and Sally Hansen Dorian Grey with a coat of Calvin Klein Blue Wants to be a Millionaire over the top. The Calvin Klein holographic polish gives it that sparkly finish and does a good job of blending all the colours together.
    There’s a galaxy tutorial here if you’re not familiar with the method.
    4. Finally I finished it all off with two coats of Dries Instantly.
    TwitterBloglovin’Tumblr

    Share:
    Studs, Uncategorised

    Introducing The Nailasaurus Emporium (and a Giveaway)

    Today I’m very excited to tell you guys about something that’s been in the works for a few weeks now… The Nailasaurus Emporium!
    The Nailasaurus Emporium is my online store where I’ll be stocking my favourite nail art tools and accessories. Basically, it’s one place for me to curate all my favourite things for you guys to shop the nail art looks I post here. At the moment I’m on a trial run and I’m stocked up with studs, striping tape and some brushes but if everything goes smoothly and you guys like it enough, I’ll soon be stocking mountains of nail goodies!

    Round Gold Studs 1.5mm

    Because I’m so excited about this launch and I want you all to experience my amaaaazing customer service skills, if you spend more than £10 in August you’ll get 20% off with the code ‘EARLYBIRD‘. I’m also giving away a £15 gift card! Jump to the Rafflecopter below to enter…

    a Rafflecopter giveaway

    TwitterBloglovin’Tumblr

    Share:
    Glitter, Studs, Uncategorised

    Cirque Helios with Pastels

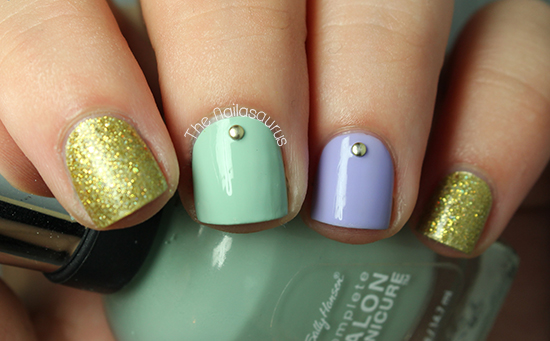
    I have another Cirque polish to show you today! Here we have Helios… a very fine gold glitter with holographic glitter sprinkled in. I decided to dress it up with some pastel colours. When pairing up gold with another colour, I normally go straight to black but I’m wayyy happier with the pastels this time.

    For the glitter fingers, I used one coat of Barry M Gold Foil with 3 thin coats of Cirque Helios. You could wear Helios on its own with 3 coats but you’d have nail poking through the glitter so I chose to put a similar shade base colour underneath.
    The pastels I used are Sally Hansen Green Tea and Barry M Prickly Pear.

    It’s all topped off with a coat of Sally Hansen Dries Instantly and one of Essence Top Sealer. I added some 1.5mm gold studs on top while the Essence polish was still wet.

    Visit cirquecolors.com for stockists or to buy directly.

    TwitterBloglovin’Tumblr

    Share:
    Stamping, Uncategorised

    Swirly Stamping

    Well today has been eventful. My Sundays always seem, through a series of unexpected events, to become the most news-worthy day of the week! First I got in a big panic over the state of my blog when I thought myself a clever-clogs and decided to mess with my domain settings whilst trying to figure out subdomains. I couldn’t see my blog at all for close to an hour but luckily it didn’t seem to affect any of you guys. Next thing, I find out that I was on the Tumblr Radar which was just incredible! Did you have a good weekend?

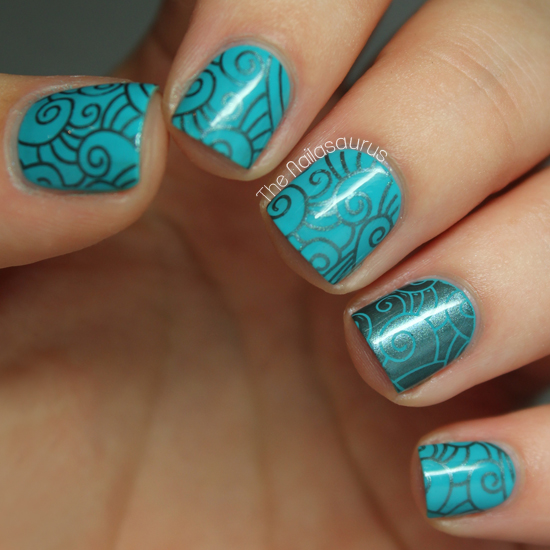
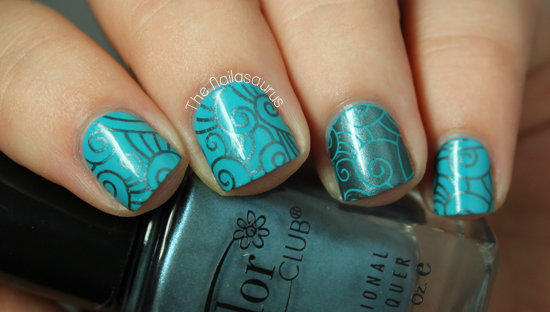
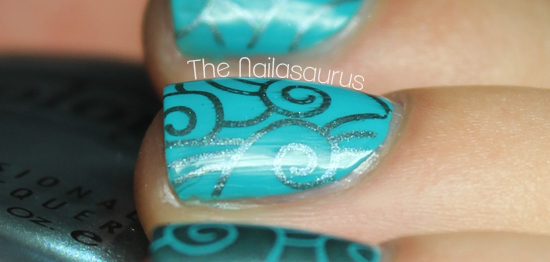
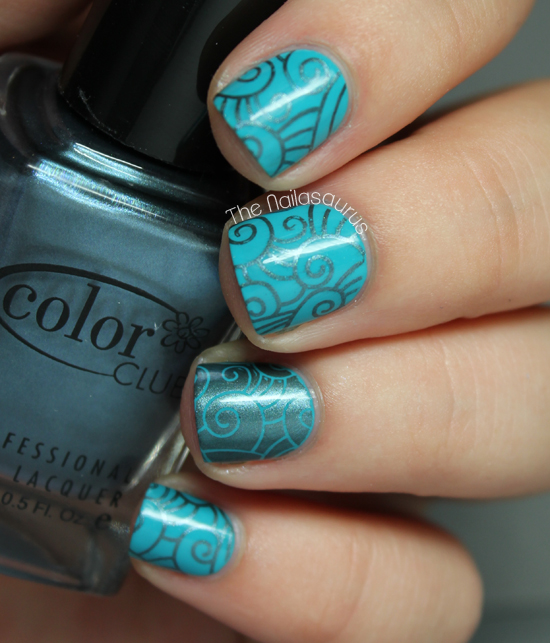
    My base colour for this mani is Barry M Guava and I used Nailz Craze Plate NC02 to stamp on the swirly patterns. The polish I used to stamp is a dusty chrome blue from Color Club but there’s no name on the bottle. This is actually one of my first ever Color Club polishes. They’re not easy to get hold of in the UK. I picked up a (generally disappointing) set of 6 shades plus a topcoat from TK Maxx for £7.99 recently. Despite the disappointment, which was mostly due to my bad choices, I think I’ll be back there to pick up a set of cremes very soon.

    TwitterBloglovin’Tumblr

    Share:
    Freehand, Gradient, Uncategorised, Waterfall

    High Contrast

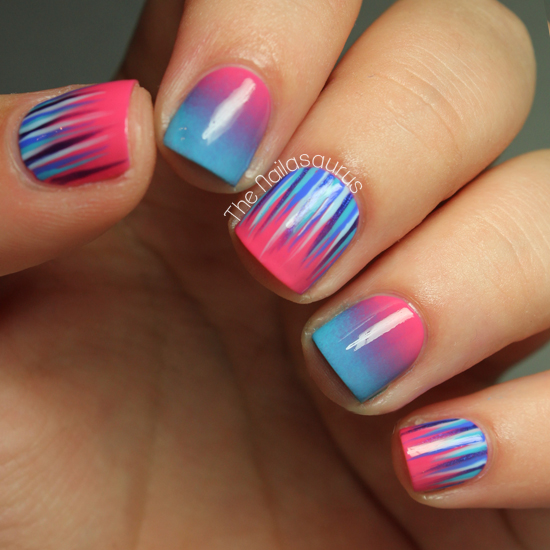
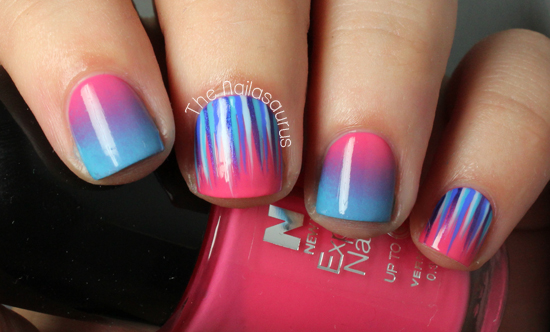
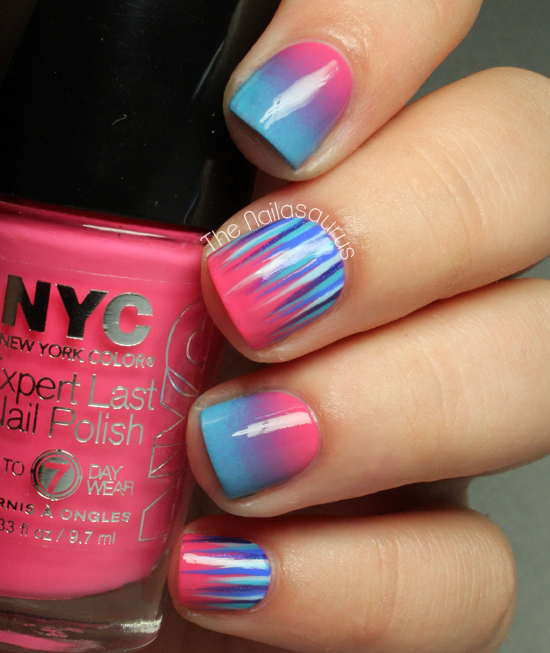
    Where I mixed the two colours for this gradient in the middle, they swirled together and created a purple section in the middle. This has never happened to me before! I don’t know why I’m so excited about this snippet of basic colour science but I thought it was cool!
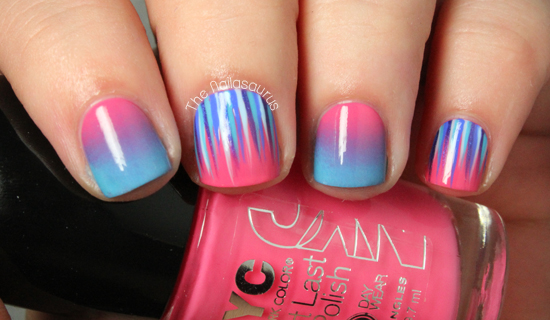
    All my waterfalls so far have been fairly subtle, at least compared to this one. I always tried to keeps the base colour and waterfall colours in the same scheme so today I wanted to try something with a bit more contrast that would really stand out. And I like it!

    My base colour is NYC Bubblegum Pink and I created the gradient using a make up sponge and Sally Hansen Himalayan Blue. There’s a tutorial for that here.

    For the waterfall nails, my colours were NYC Pier 17NYC RaindropSally Hansen Pacific Blue and Sally Hansen Himalayan Blue. You’ll find that tutorial here!
    It’s all topped off with two coats of No7 Stay Perfect Top Coat.

    Share:
    Freehand, Uncategorised

    Dainty Doilies

    After more than a year of talking about it, pondering and hesitating, I finally took the leap and a bought a new camera. I’ve had my old Olympus E-510 for close to 5 years now and I felt it was time for a little upgrade. In the end I went for the Canon 60D. It arrived yesterday and I’ve spent every waking hour since trying to figure it out! This is my first post using pictures from that camera so let me know if they look any different.
    Recently I was looking through all the piCture pOlish Blog Fest 2013 entries and two in particular caught my eye. I just loved Lucy’s Stash and XOXO Alexis Leigh‘s Blog Fest manicures and this creation is a sort of mash-up of the two. I took the idea of painting from the corner from Alexis and a lot of the patterns were inspired by Lucie! I like the subtle colours but I also think it would look amazing in a combination of brights.

    1. For the base I used one coat of Barry M Lychee (creme nude) followed by two coats of Nails Inc Elizabeth Street (shimmery nude).
    2. I freehanded on the designs with a nail art brush using NYC Mint Macaroon, Sally Hansen Himalayan Blue and Barry M Prickly Pear.
    3. When everything was dry I finished it off with two coats of No7 Stay Perfect Top Coat.

    TwitterBloglovin’Tumblr

    Share:
    Freehand, Uncategorised

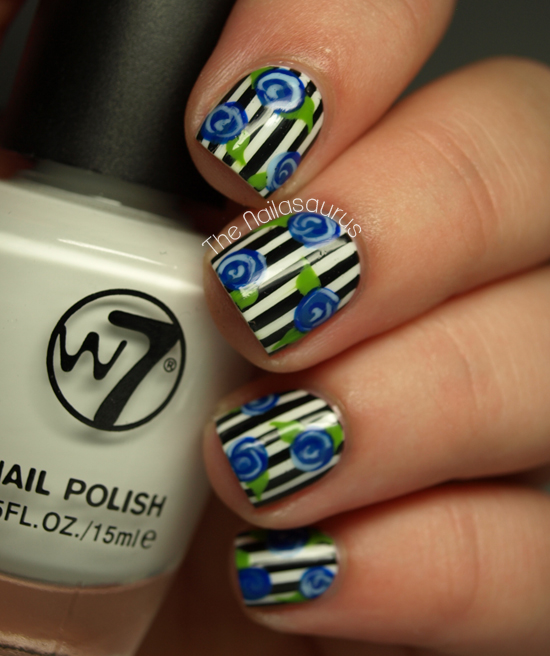
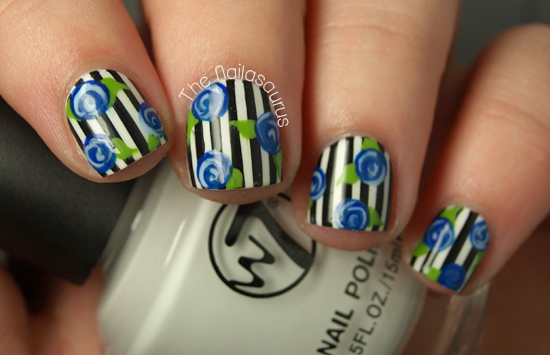
    Rosey Posey Pinstripe

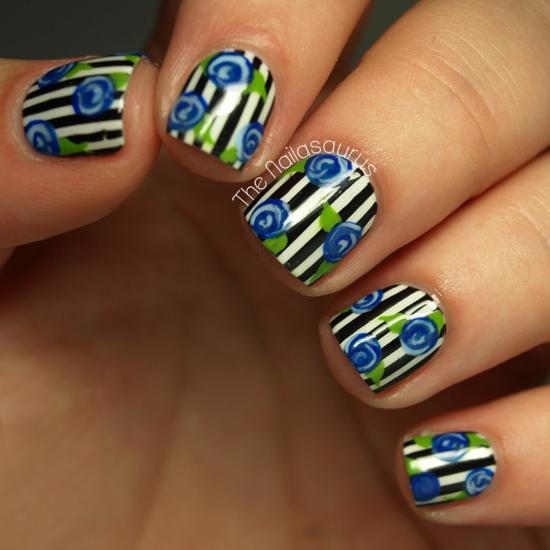
    Today is the first time in a very long while that I’ve decorated every nail with the same design and I have to be honest – I don’t like the feeling! As much as I love this nail art, I’m just itching to remove the polish from a couple of nails and add in a plain glitter accent or some simple studding!

    1. I used a base of W7 White followed by a coat of No7 Stay Perfect Top Coat.
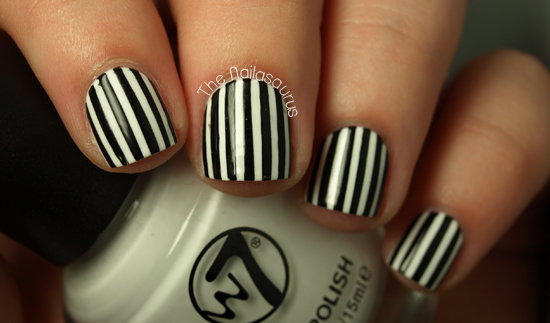
    2. I used striping tape to mark off pinstripes and painted over it with W7 Black. While the black polish was still wet, I removed the striping tape.
    3.  I waited for it to dry and added another coat of No7 Stay Perfect.
    4. I freehanded the roses using a nail art brush with Barry M Blue Grape, Nails Inc. All Saints Road and NYC Raindrop. I used Saly Hansen Grass Slipper for the leaves. There’s a tutorial for the roses here.
    5. Finally, it’s all topped off with another coat of No7 Stay Perfect!

    And a few shots before the flowers because I was proud of my pinstripe!

    TwitterBloglovin’Tumblr

    Share: