Follow:
Browsing Category:

Nail Art

    Freehand, Uncategorised

    The Lego Movie Nail Art

    Since I’m single this Valentine’s day I’ll be spending the evening at the cinema with my girlfriends in what has kind of become an annual tradition for us. The plan this year is to watch the The Lego Movie but there are quite a few good picks showing so it could go any which way! I do like a good movie mani and I thought it would be totally awesome to do some nail inspired by The Lego Movie.

    I started with a base of Barry M White on every nail.

    The character details were all freehanded using a nail art brush. I used mainly black and white acrylic paint with Essie Glamour Purse, Sally Hansen Himalayan Blue and Sally Hansen Lively Lilac for the pops of colour. NYC Lexington Yellow is the perfect yellow for the Minifig faces.

    To get the effect of lego blocks, I had to create some 3D pieces to attach to my nails. I did this by stacking up some small, round pieces of glitter. I sandwiched them 10 high with a dot of clear nail polish between each layer. It took ages but it was totally worth it! The glitter I used was these white glequin-like sheets from Born Pretty Store.
    I painted on two coats of the colour and then stuck on the glitter stacks before it dried. Then I used a small nail art brush to paint over each stack in the same colour.
    The colours I used for the bricks are No7 Poolside Blue and Rimmel Heart on Fire.

    I finished it all off with a coat of KBShimmer Clearly on Top and added Rimmel’s Matte Top Coat to the character nails.

    Before I go, I want to leave the ladies with this stellar bite of Leslie Knope wisdom. Happy Valentine’s Day everyone!

    Share:
    Freehand, Gradient, Uncategorised

    Valentine’s Day Mish Mash

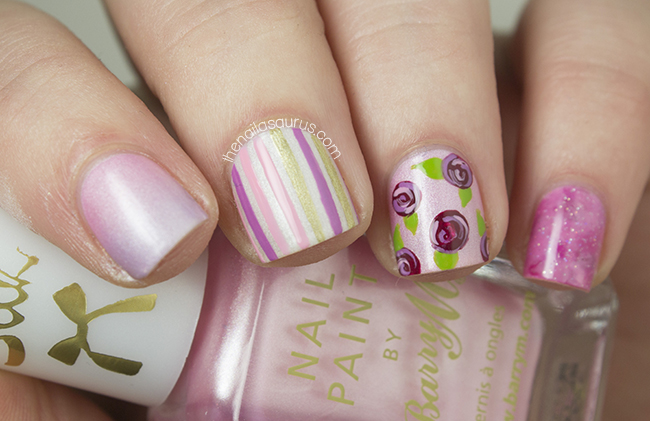
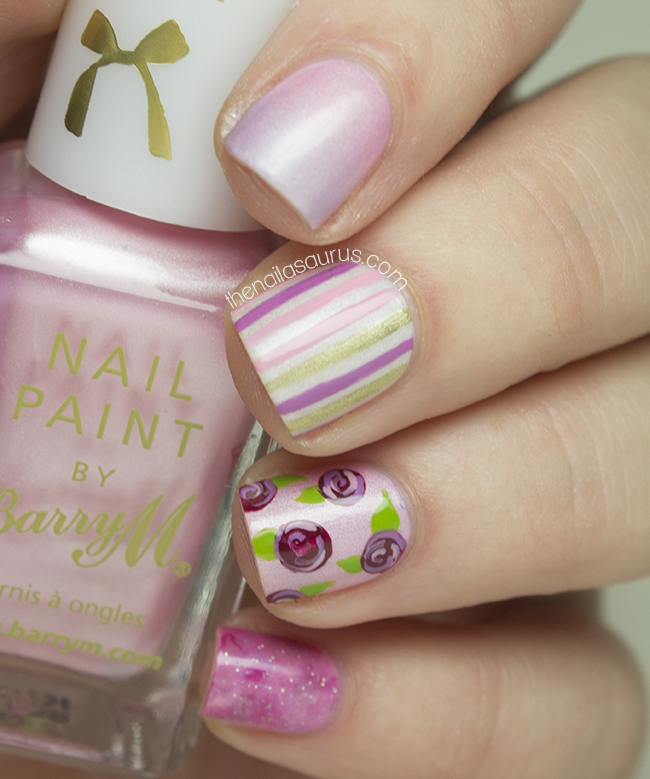
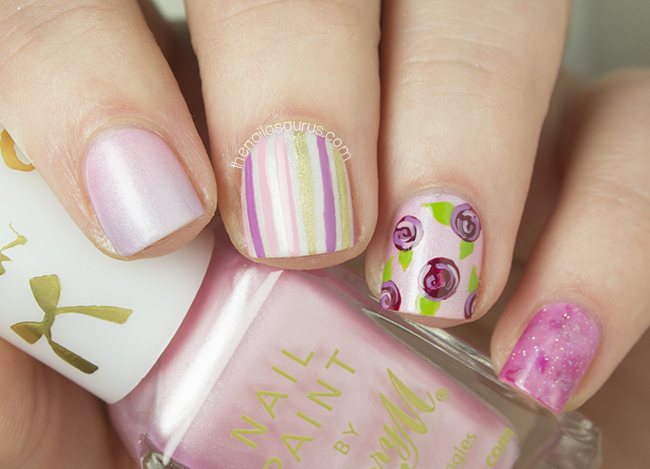
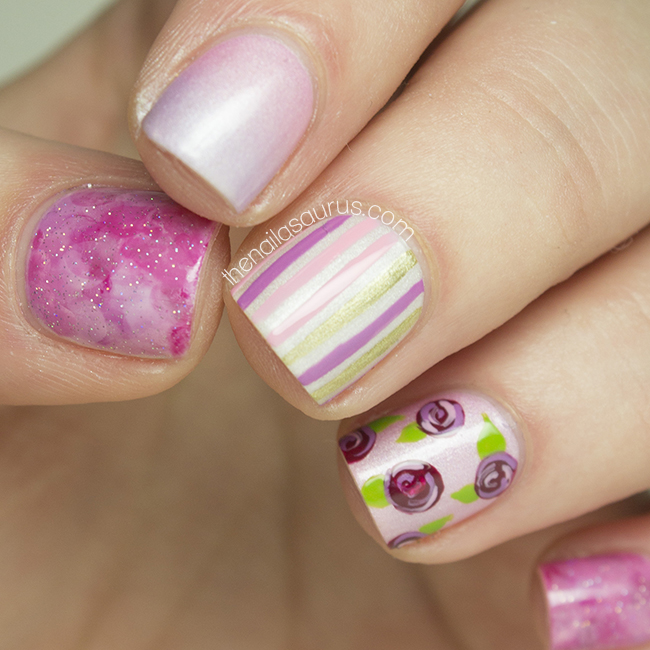
    This mani features a few of the designs from the nail wheel I posted at the start of the week. It’s been quite a while- since I used any of these techniques so it was a good chance for me to refresh my skills! 
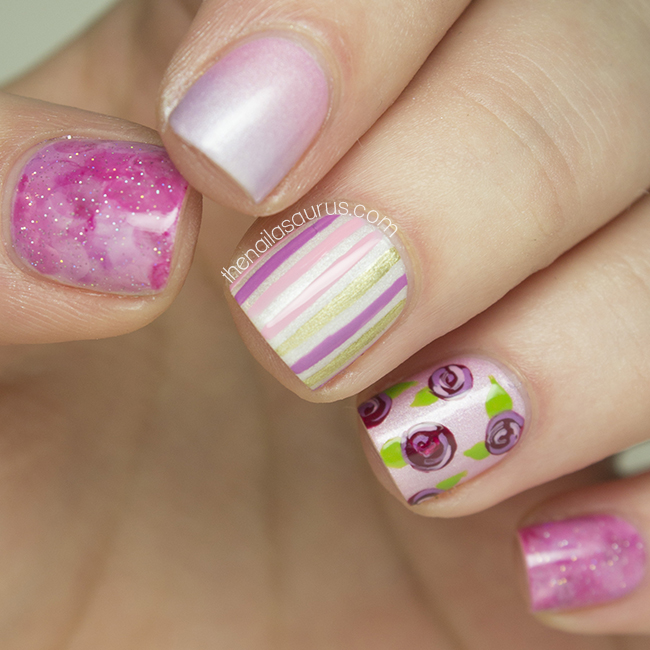
    This is my first shot with the new Barry M Silk polishes and I must say that I really like them. It seems that opinion is divided but I personally love how fresh they are and I’m a sucker for a Barry M innovation. It’s a kind of finish that I haven’t seen before – somewhere right in the middle of shimmer and matte – and the colours just scream out Spring to me.

    I used Barry M Blossom and Pearl as the base colours for this manicure.
    On my first finger, I created a gradient using Barry M Heather. Gradient tutorial here.
    On my middle finger, I used striping tape with Barry M Gold, W7 Baby Pink and Sally Hansen Lovely Lilac. Striping tape tutorial here.
    On my ring finger, I freehanded the roses using Revlon Bordeaux, W7 Baby Pink and White Acrylic Paint. Rose tutorial here.
    On my thumb and pinky, I did some nimbus nail art using a bunch of colours that have already been mentioned here but most notably Revlon Bordeaux and W7 Baby Pink. Nimbus tutorial here.
    It’s all topped off with a coat of Glisten and Glow HK Girl.

    Share:
    Freehand, Glitter, Uncategorised, Waterfall

    Delush XO Collection with a Waterfall

    Valentine's Day Waterfall Nail Art
    Being the perfectionist that I am, I wasn’t entirely satisfied with the waterfall nail art that you saw on my Valentine’s Nail Wheel yesterday. It was quite tricky to paint straight lines on those false nails as they have a lot more curves and bends than mine so I really wanted to give it another shot on my own nails. Aside from the fact that I haven’t done a waterfall in so long, I really wanted to have a go with the amazing Delush XO collection before Valentine’s Day!

    There are three polishes in the XO Collection – Make Me Blush, Je Ne Sais Quoi and Love Me Lights Out (gotta love a good Beyoncé reference). With this collection, Delush has also introduced a new bottle design with matte handles and a wider brush.

    Make Me Blush is the base for this manicure – a Baby Pink creme with an incredibly subtle gold sheen. Je Ne Sais Quoi and Love Me Lights Out are both glitters with a milky white base. The appearance of green glitter was a surprise in a Valentine’s collection but the soft shade really works with the pinks and purples to create two glitters that are perfect not just for Valentine’s but the whole of spring.

    Je Ne Sais Quoi is my favourite of the two glitters. There’s a good mixture of pink and mint green glitter in this one and the base is slightly pink tinted.

    I’m wearing Love Me Lights Out on my ring finger. I really like the yellow gold in this one and there are also bright pink stars scattered through it although I didn’t manage to pick any of them up this time.

    Valentine's Day Waterfall Nail Art
    For these nails, I used 2 coats of Delush Make Me Blush as my base.
    I applied two coats of Je Ne Sais Quoi on my first finger and two coats of Love Me Lights Out on my ring finger.
    I created the Waterfall using Sally Hansen Lovely Lilac, China Glaze Pink-ie Promise, piCture pOlish Electric Dream and Barry M Gold Foil. There’s a waterfall nail art tutorial here.
    It’s all topped off with two coats of Glisten and Glow HK Girl.
    Delush Love Me Lights Out Swatch
    Valentine's Day Waterfall Nail Art

    Valentine's Day Waterfall Nail Art
    These polishes are $8.95 each at delushpolish.com. Worldwide shipping is available.
    Share:
    Freehand, Glitter, Uncategorised

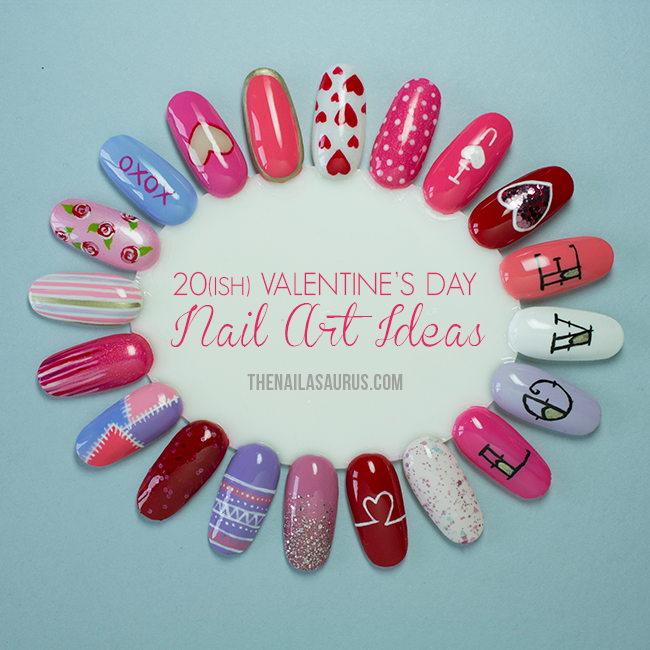
    20(ish) Valentine’s Day Nail Art Ideas

    Valentine's Day Nail Art Wheel
    For the last 7 days or so, my desk has been completely overflowing with an array of pink polishes and today is the day I finally finished my Valentine’s Nail Wheel. I forgot how long these things take but I had a so much fun with my Christmas Nail Wheel that I thought I’d do the same for Valentine’s Day! Many of these designs have been seen before on this blog and I’ve linked to tutorials wherever I have written/can find them. There will be plenty of Valentine’s nail art coming up this week in the run up to the 14th but I wanted to share this as I know plenty of you will be on the prowl for romantic nail art ideas and this selection might spark something in you!

    Soft Coloured Tribal. Glitter Gradient. Heartbeat. Delush Polish Je Ne Sais Quoi.

    Freehand Nail Tatz with Tattoo Ink font
    Alternatively: Nailz Craze NC06 Stamping Plate
    Glequin Heart. I ♥ U. Polka Dots. Love Hearts.
    Share:
    Freehand, Glitter, Uncategorised

    NYFW Nail Art: Nonoo AW14 Inspired

    NYFW has brought a much needed surge of creativity for me. I was browsing the Vogue galleries for a few hours today but for nail art inspiration and I found it, once again, in the Nonoo collection. You can see last year’s Nonoo inspired nail art here.
    Nonoo’s aesthetic is right up my street – the clothes are all smart and sophisticated with clean cut lines but still edgy and youthful. The piece that stood out for me was this sweatshirt. The combination of textures shouldn’t work but she makes it work and it still looks hella classy! 
    UK Nail Art Blog: Nonoo AW14 Inspired

    Image credit: Vogue.co.uk

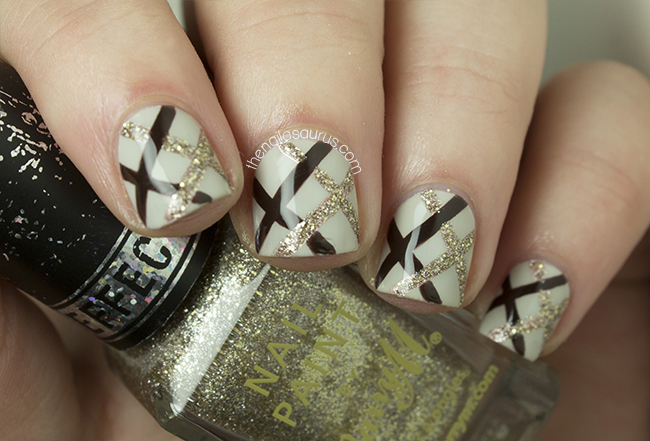
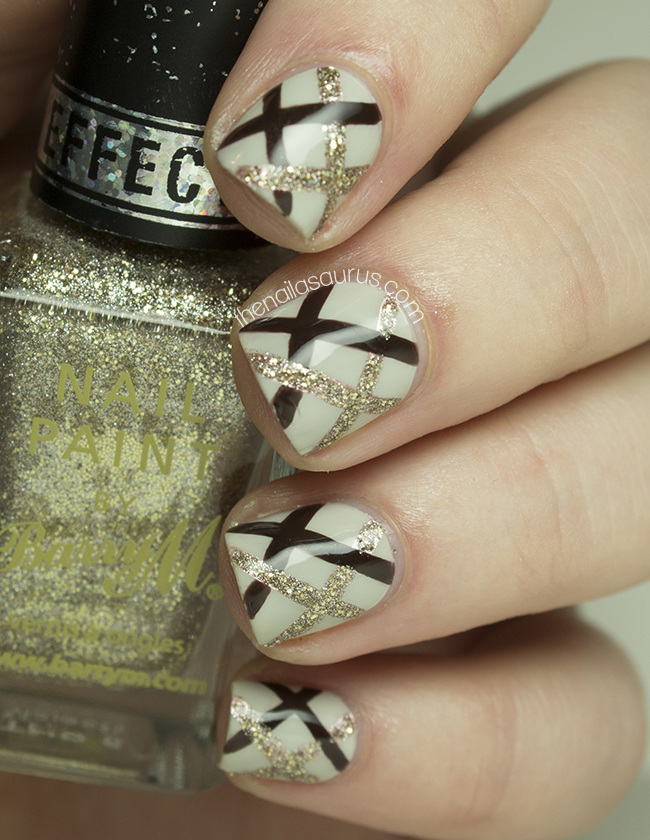
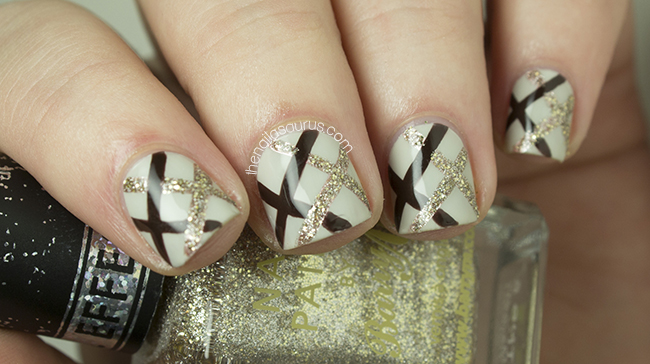
    I used Sally Hansen Ion as my base colour here. Next I freehanded two lines using Essie Penny Talk to lay a copper base for the metallic look.
    I drew the brown lines using NYC Midtown Mink and went over the copper with Barry M Majesty – a textured polish from the Royal Glitters collection.
    Finally, I finished it off with two coats of Rica Glossy Glam to smooth everything over.
    UK Nail Art Blog: Nonoo AW14 Inspired
    UK Nail Art Blog: Nonoo AW14 Inspired
    Share:
    Gradient, Holographic, Stamping, Uncategorised

    Valentine’s Day Holographic Gradient Nail Art

    You may notice that things are looking a little different around here. Over the weekend, I finalised the redesign on my blog and I really love the new look! It’s been a long time coming so it’s such a great feeling to tick it off my to-do list. I wanted to clean up all the clutter and make things a bit airier so I’m really pleased with the outcome and my favourite part is the bigger pictures! I hope you guys like it too but if you have any suggestions for functionality or features that could make it better for you to visit, look around and read, then I’d really like to hear your thoughts.
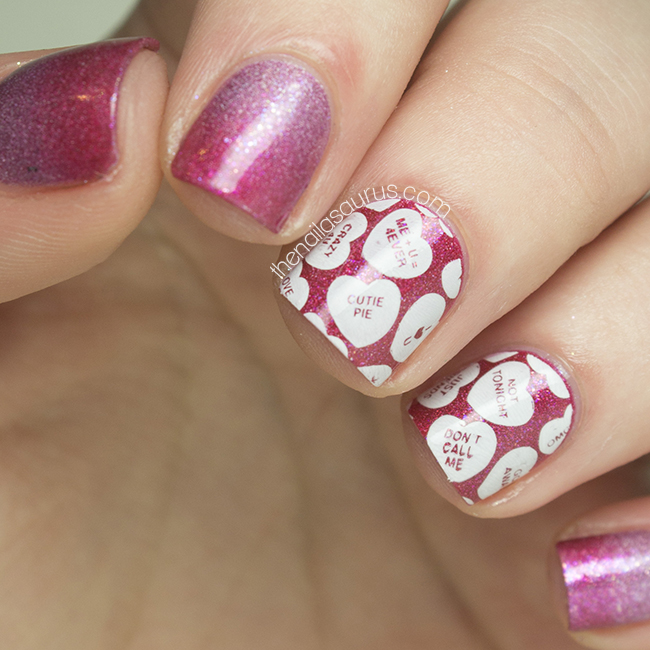
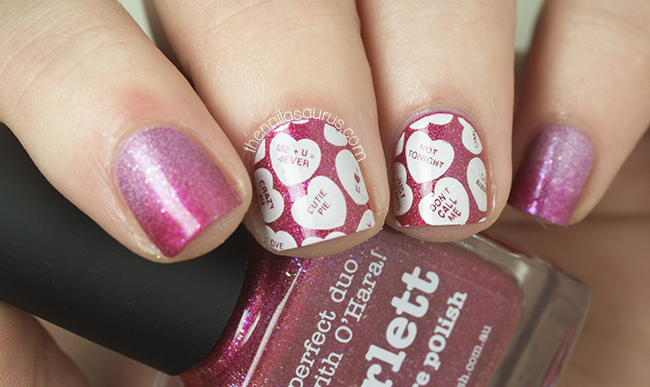
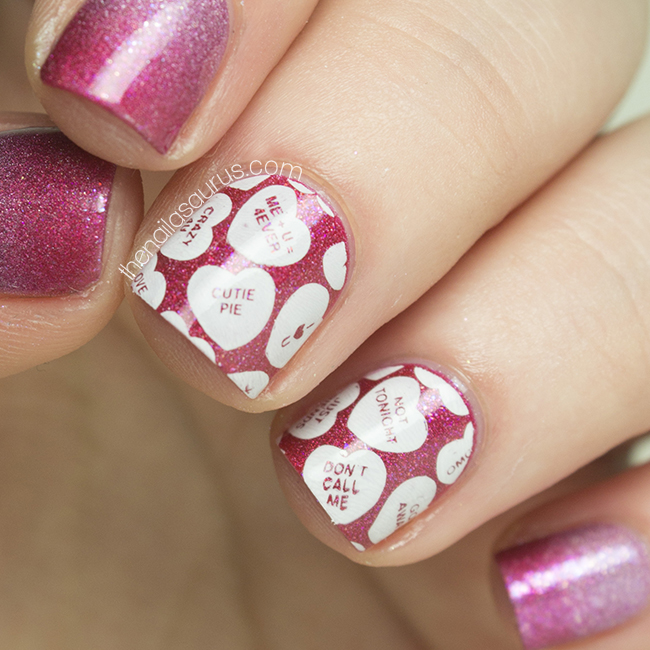
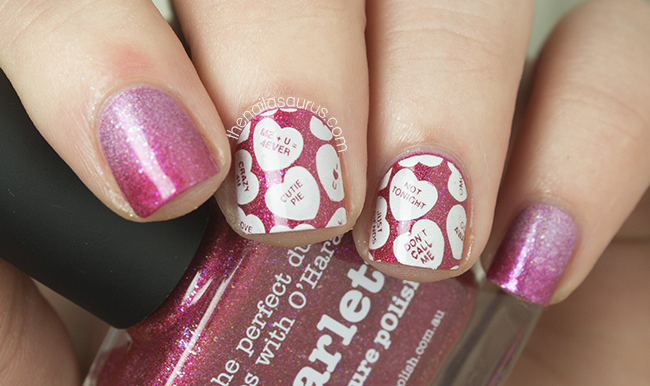
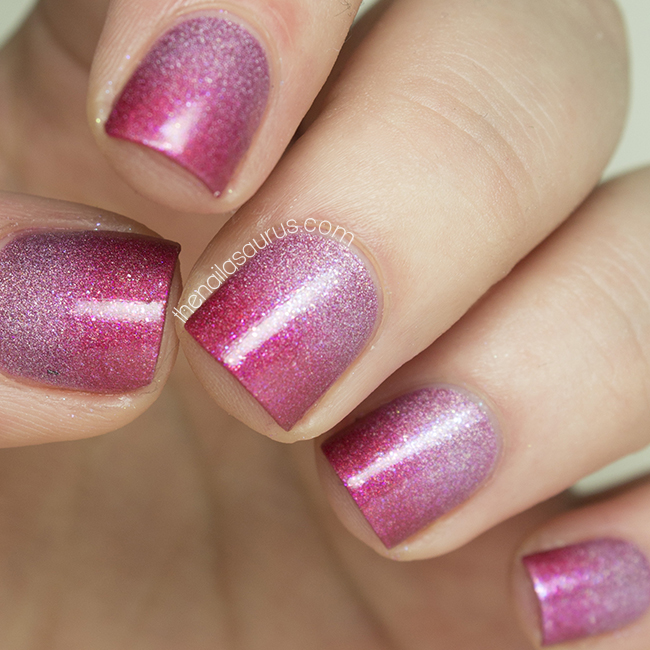
    Today’s nail art features a few from the new piCture pOlish collaboration collection – the Bijou Holos. These two shades are just so perfect for Valentine’s day so I thought I’d combine them for a sweet as sugar Valentine’s gradient.

    I used piCture pOlish Pirouette for the base colour and then created a gradient using piCture pOlish Scarlett.  There’s gradient tutorial here.
    I had to remove the gradient from two of my nails after a failed stamping attempt so I painted them again with Scarlett and then stamped using Bundle Monster Plate BM421 and BK Matte White.
    It’s all topped off with a coat of Glisten and Glow HK Girl.

    Here are a few shots of the gradient before any nail art.

    Share:
    Glitter, Stamping, Uncategorised

    Nailvengers Assemble! New Year, New Technique

    Happy Friday everyone!! I don’t think I’ve ever been this happy to see the weekend. It’s been such a hectic week that I feel like I could sleep right through to Monday morning.
    I’m back today with another new project that I’m lucky enough to be a part of… Nailvengers Assemble! Myself and a few other British Nail Bloggers have gotten together to start a monthly challenge amongst ourselves and for January we’re going for New Year, New Technique which is fairly self-explanatory – pick something you’ve never tried before and do it!
    The ladies that will be joining me on this quest are the amazing bloggers behind One Nail to Rule Them All, Lucy’s Stash, xAmeliax and Brit Nails. We all met at the Cosmo Blog Awards back in October and have been in touch ever since. As inspiration and creativity was drying up for us towards the end of last year, we decided we should start setting ourselves a monthly prompt and work as a group to motivate each other and get those creative juices flowing again!
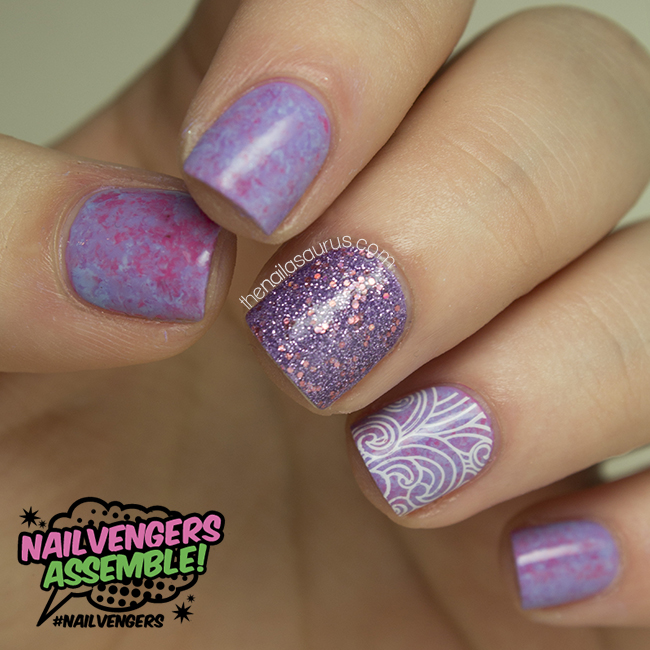
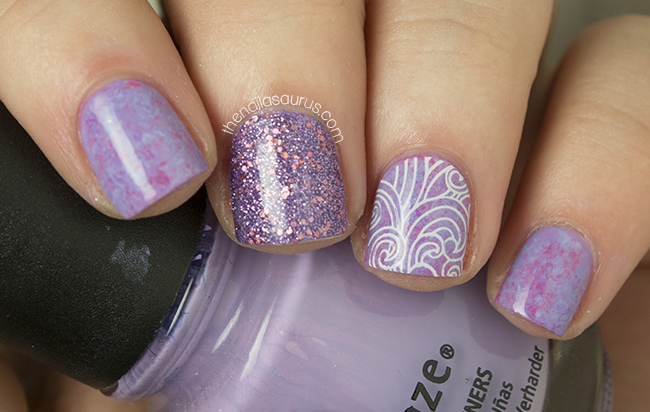
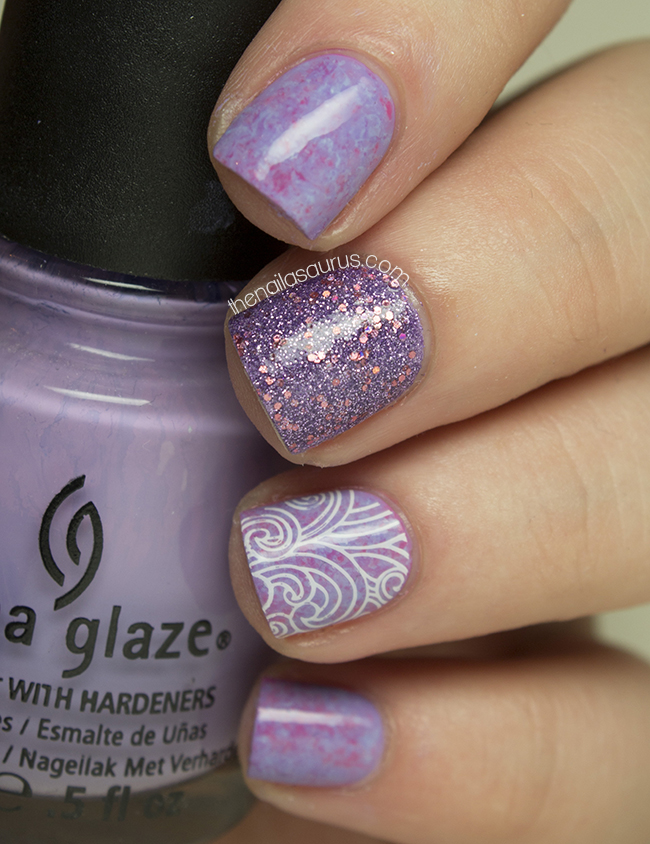
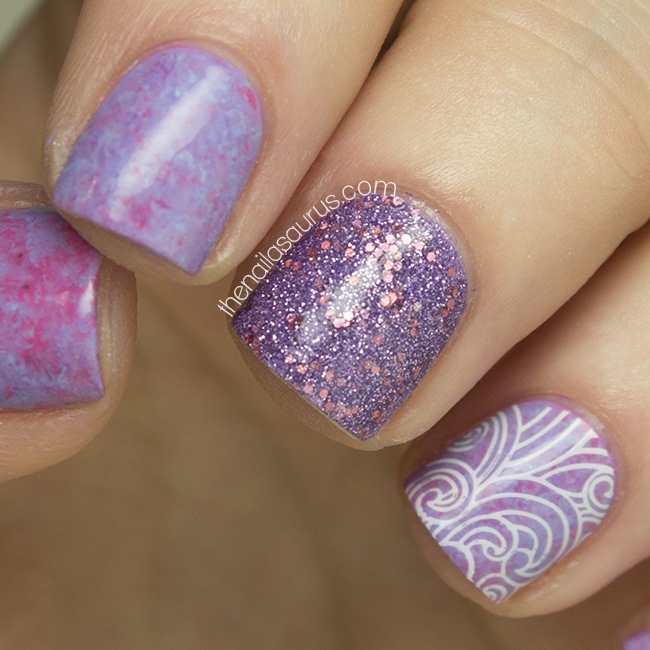
    For my New Technique, I’ve gone for Saran Wrap nails. It’s such a simple technique and you can achieve some amazing looks with it, yet I’ve never tried it before. I followed Amelia’s tutorial for this but with a pastel colour scheme and I really like the way they turned out. I couldn’t resist adding a bit of stamping over the top and a glitter accent too!

    I used China Glaze Tart-y For the Party as my base colour. Then I got down to the saran wrap-ing with Collection Think Pink and China Glaze Fade Into Hue. Check out the tutorial on xAmeliax’s YouTube Channel.
    The glitter on my middle finger is Sally Hansen Be-Jeweled and I stamped on the design from MoYou Fairytale Collection 02 plate using BK Matte White.
    It’s all topped off with two coats of Glisten and Glow HK Girl.
    Share: