Follow:
Browsing Tag:

Sally Hansen

    Glitter, Gradient, Holographic, Nail Art, Studs

    Just a Refresher

    Green Gradient Nail Art

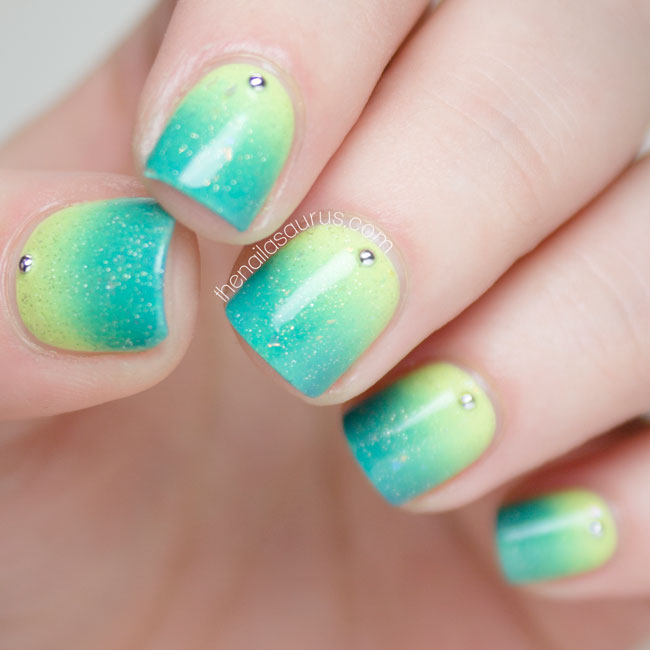
    It’s a few weeks since I was in normal blogging mode and I must admit, I’m a bit rusty but slowly easing back in to the routine. I recently had another big sort out of my polishes and downsized my collection a fair bit. Whilst looking through I discovered a few hidden gems which I had forgotten were in there so I’ve brought them out to see the light of day and hop back to summer with my brights. I think the colour combination is very refreshing – it makes me think of ice cold cocktails somewhere sunny! Read more

    Share:
    Christmas, Favourites, Glitter, Nail Polish

    Top 5: Christmas Nail Colours

    1. Delush – Glam Squad

    You’d normally catch me wearing the classic red creme at Christmas but this year I’ve been converted to this frosty metallic red by Delush. With three coats, the colour is so deep and luxe. This shade isn’t from a holiday collection but I feel like it was made for Christmas!
    See it here: Christmas Nail Art

    2. piCure pOlish – LakoDom

    I can’t get enough of this shade. White nail polish has been my go-to for plain nails these last couple of months and LakoDom immediately became a favourite from first wear! It’s a slightly grey tinted white with silver/holographic particles which makes me think of glistening snow.
    See it here: Reindeer Nail Art Tutorial, Militarised

    3. A-England – Saint George

    I had to get a green in here somewhere but the traditional forest-y christmas tones have never been a favourite of mine. Saint George is a holographic teal polish that’s been with me for a very long time and I’ve just rediscovered it this month. I think it’s the least typically festive shade of the selection but it’s the only green I’ll be sporting this season!

    4. Sally Hansen – Coat of Arms

    This metallic polish is somewhere between gold and silver; a cool gold, if you will, and very majestic as implied by the name! The finish on this one is lovely – perfect in two coats with little (if any) streaking which is rare for foil polishes.
    See it here: Turquoise and Gold Art Deco Nail Art

    5. L’Oreal – Platinum Chic

    What’s a Christmas mani without a bit of sparkle? Well, this polish has more than a bit of sparkle; it’s literally a bottle packed full of glitter. There are silver hexes in two sizes mixed in with irridescent gold micro glitter. For the swatch above, I used 3 coats for full coverage but you can also layer it over another polish for an equally stunning effect.
    See it here: Christmas Nail Art

    Share:
    Freehand, Nail Art, Uncategorised

    Turquoise and Gold Art Deco Nail Art

    Freehand Art Deco Nail Art

    When I tweeted about a certain new video game the week before last, you may have thought I was joking when I hinted that I wouldn’t be around much in the coming days. I seriously wasn’t joking! I’ve been out of commission for a while (although not just because gaming) and for that, I’m sorry. Noone wants to hear my excuses and I don’t really feel like bringing the mood down around here so let’s leave it at that. I’ll try to do better next month!

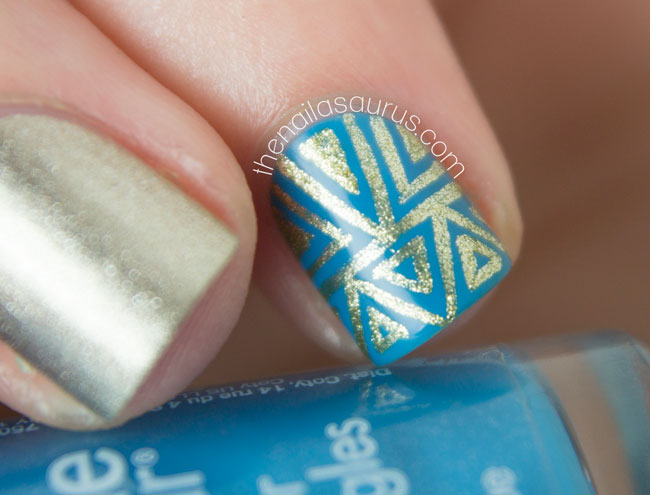
    For this nail art, I’m borrowing heavily from an art design that I did over a year ago for the 31 Day Challenge 2013. I can’t believe it was that long ago! I didn’t even have to go back to the pictures or watch the tutorial to remember the pattern. I loved it so much that it’s been ingrained on my brain since the day I first pained it. I switched it up a bit this time with different patterns on all the nails and I had so much fun doing it. It’s definitely reignited my nail art spark.

    In other news (still related to this nail art), I stumbled across one of those incredible odds-and-ends beauty stores in Bridgend over the weekend that seem to pop up all over the place before disappearing within a few months. I can never walk past one of these stores without going in. EVER! This one had a whole wall of neatly stacked nail polish, which I really appreciated because normally you have to dive through huge bins full of bottles to find the good ones! I restrained myself and left the building with only 5 bottles and a few make-up items. Two of them feature here today!

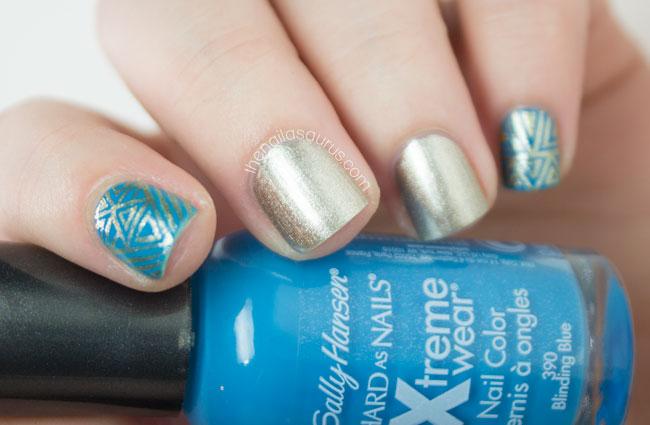
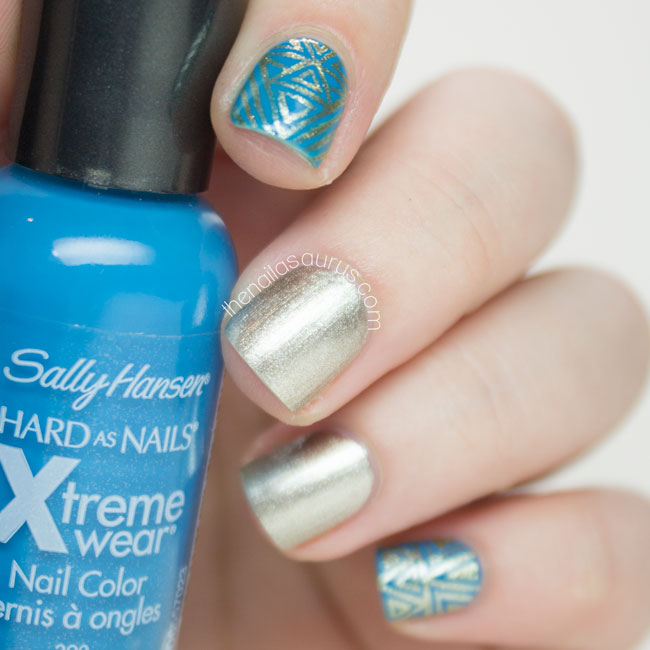
    I used Sally Hansen Blinding Blue and Sally Hansen Coat of Arms as my base colours. For the lines, I used NYC Full Metal Jacket with a skinny brush from Winstonia. It’s all topped with a coat of Glisten & Glow HK Girl.

    NYC Loft in Williamsburg

    Art Deco Nails

    Art Deco Nail Art

    Art Deco Nail Art Macro

    Share:
    Freehand, Nail Art, Uncategorised

    Popping Tribal Nail Art

    Tribal Nail Art // Freehand

    When I saw that Hannah from The Dalai Lama’s Nails listed Winstonia Store’s brushes in her ‘Can’t Live Without’ products in this month’s Nail It! magazine, I knew I had to get my hands on some. I went for the 5-piece set (recommended by Hannah) and also the 1.4cm and 1.65cm stripers. All the brushes are really amazing but you can’t beat a strong, skinny striper for some tribal nail art.

    I also have to give a shout out to these Skinny Chevron Guides by What’s Up Nails. I threw them in to my Winstonia basket along with the brushes, but they also have their own site where you can buy too (and you can get 10% off all vinyl products with the What’s Up Nails code: NAILASAURUS10). All the chevron decals/guides/stickers/vinyls I’ve used in the past have been bigger and I can never fit all that many on my nails but the skinny size works so well on my tiny little nail beds. Can’t wait to try more things with these!

    Tomorrow, I’m off to Nail Harmony HQ to spend the day mastering Gelish. It’s very exciting since I’ve never (EVER!) used gel polish before but I really want to learn more. Gels are such a huge thing now, even some of my friends who normally show little interest in nails have been asking me for advice about which techniques and products are best. They get a bit of a surprise when I sit there quietly and tell them I have no idea! Normally you can’t shut me up when someone asks anything vaguely nail related! It should be a fun day and I can’t wait to meet some new bloggers. As always, you can follow me on Twitter for updates on the day (and maybe a selfie or two!).

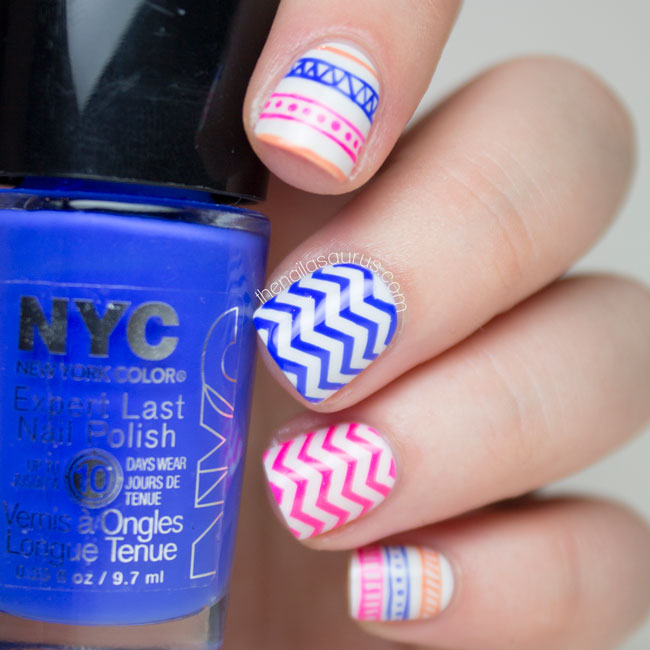
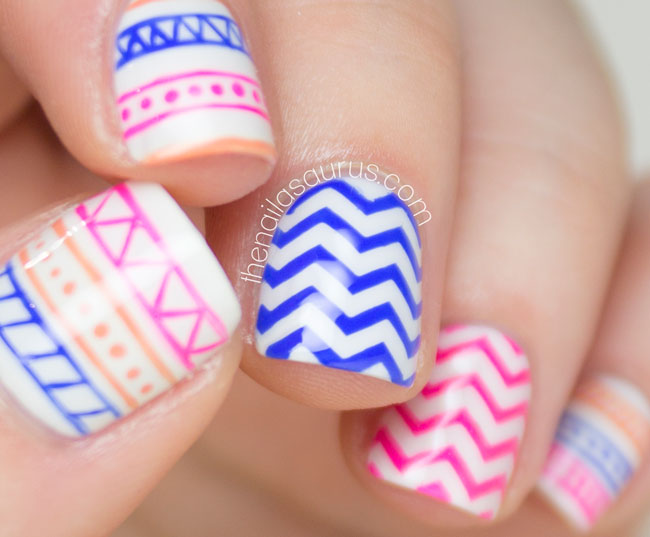
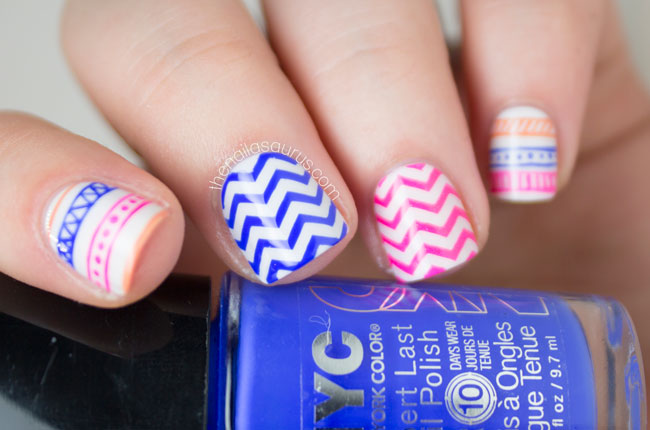
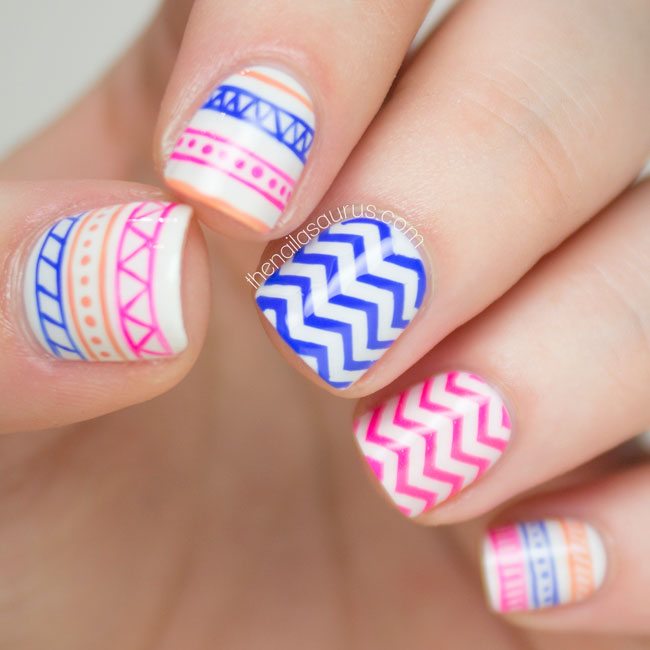
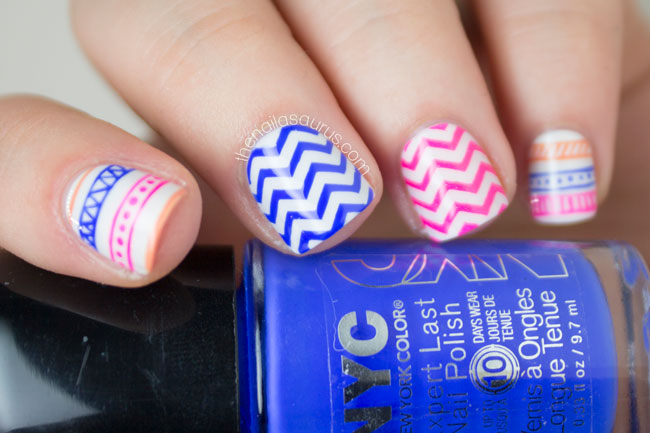
    For this nail art, I used a base of Barry M Coconut and topped it with a thin coat of Glisten & Glow HK Girl.

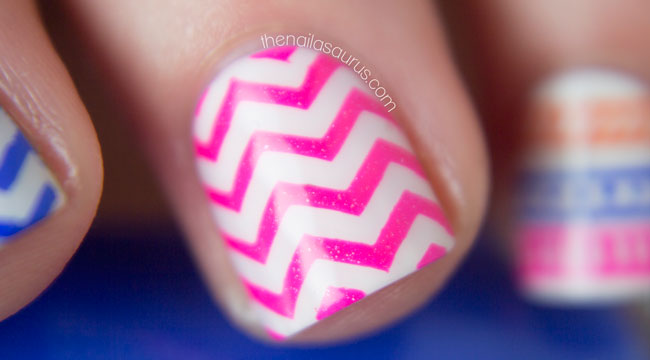
    For the chevron nails, I used What’s Up Nails Skinny Zig Zag Guides with piCture pOlish Sizzle and NYC Hudson Breeze.

    I freehanded all the tribal details using the 1.4cm striper from Winstonia. The colours are NYC Hudson Breeze, piCture pOlish Sizzle and Sally Hansen Tahitian Sunset.

    It’s all topped with two coats of HK Girl.
    What's Up Nails Skinny Chevrons

    Chevron Nail Art with piCture pOlish Sizzle

    Blue Chevron Nail Art

    Tribal Nail Art

    piCture pOlish Sizzle

    Share:
    31 Day Challenge, Nail Art, Uncategorised

    31 Day Challenge: Inspired by a Pattern

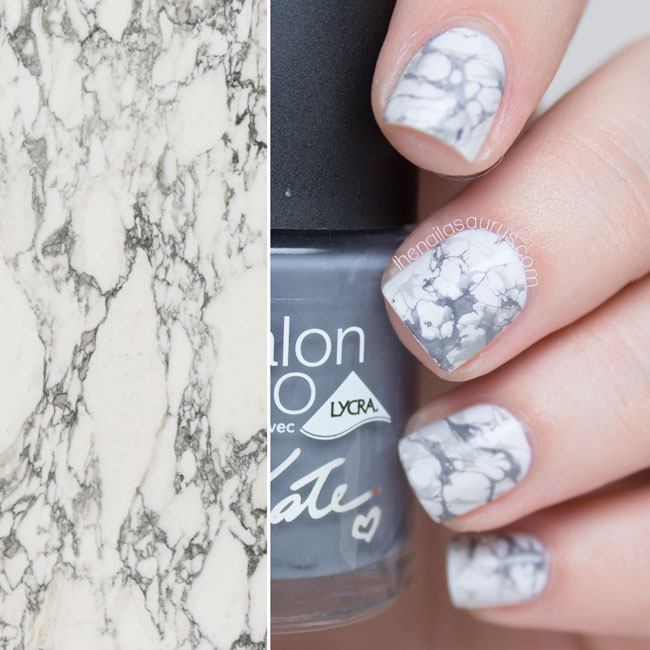
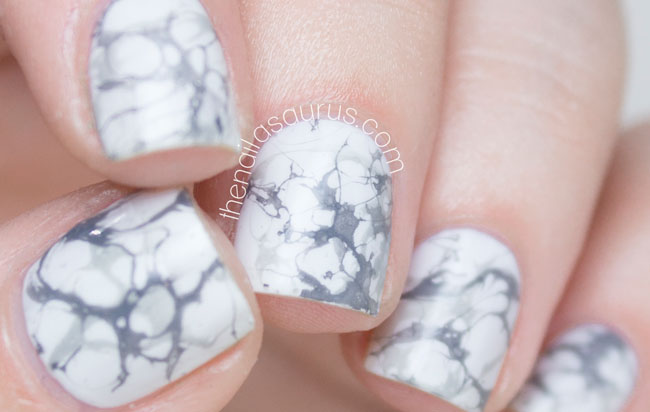
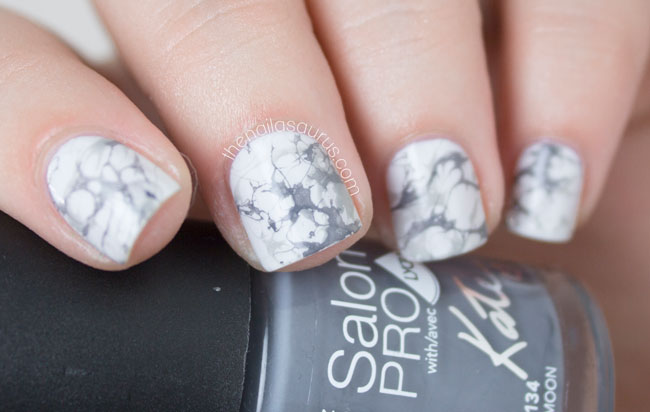
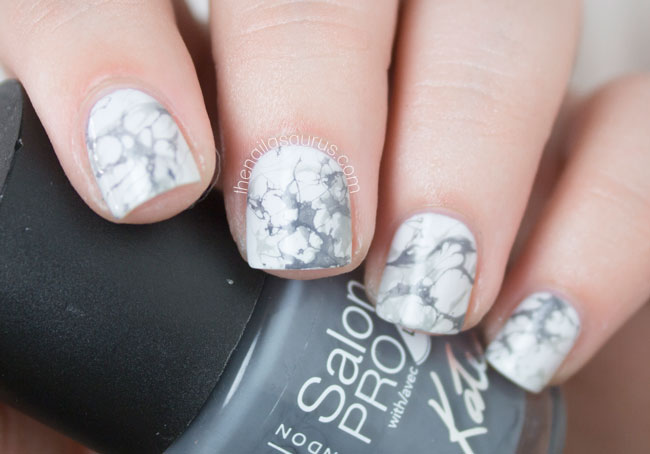
    Real Marble Effect Nail Art

    Marble image source: rockstella.ca

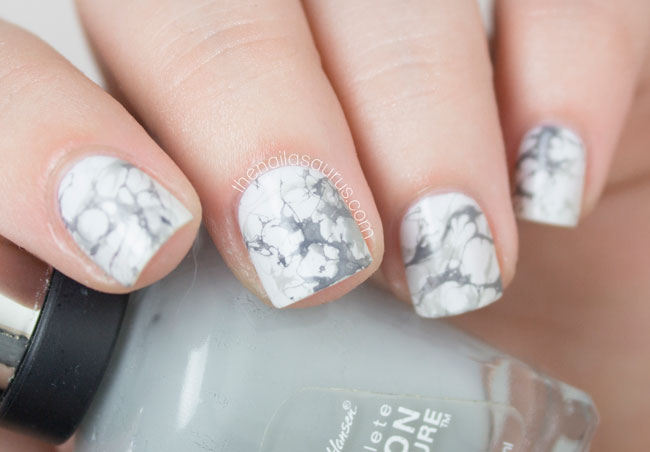
    Today’s inspiration came from out of the blue. I was browsing Etsy for some pattern inspiration as I was in the mood for something graphic and/or geometric, when all of a sudden I just thought it would be cool to do some marble effect nail art. 
    I couldn’t be happier with the outcome – I think my nails really could pass for solid marble and considering it’s only my second time using the water spotted technique, I think I did a pretty swell job! I was going for ‘veiny’ rather than ‘spotted’ but I’ve found that using a hair spray that shoots out of the bottle pretty fast (although not aerosol) will make your dots spread further, even break apart, and look more like a marble effect.
    1. I used two coats of Barry M White as my base colour.
    2. Once that was dry, I shielded the skin around my nails with tape.
    3. To create the marble effect, I used Sally Hansen Dorien Grey with the ‘water spotted’ technique (video tutorial here) then repeated with Rimmel Moon.
    I used lukewarm water straight from the tap with VO5 Plump it Up Blow Dry Spray in case anyone is curious!
    4. Finally, I finished it all off with two coats of Glisten & Glow HK Girl.
    Real Marble Effect Nails
    White Marble Effect Nail Art // The Nailasaurus
    White Marble Effect Nail Art
    31DC2014 // White Marble Effect Nail Art
    Real Marble Nail Art
    Share:
    31 Day Challenge, Nail Art, Uncategorised

    31 Day Challenge: Inspired by a Book

    So far this year, I’ve been on a YA binge when it comes to books. I’ve read Divergent, The Maze Runner and The Selection trilogies plus almost every John Green Book! Right now I’m reading 50 Shades of Grey so that’s what inspired today’s nail art – I literally painted 50 shades of grey on to my nails.
    It’s not the most exciting, I know, and I was going to create something else but I wore it all day today and the effect really grew on me. I created these nails in the same way I would do a streaky watercolour (mixing nail polish with acetone to make it runny) but I used a striping brush and only painted on the colour in one direction to create stripes.
    I used pretty much every grey in my collection for this and just mixed them together in every combination! I can’t guarantee there are 50 different shades of grey here, but I think there’s a good chance there could be.

    Share:
    31 Day Challenge, Freehand, Nail Art, Uncategorised

    31 Day Challenge: Inspired by a Movie

    Herbie Nail Art

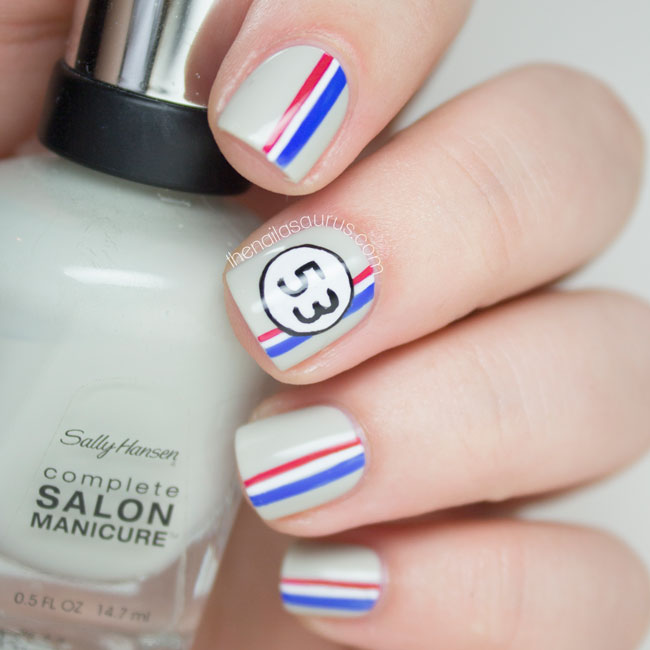
    I was grocery shopping on the weekend when I saw a real-life Herbie in the car park. I knew then and there that I would have to do some nail art dedicated to the famous Bug and luckily for me, it fits in perfectly with today’s prompt – Inspired by a Movie. There’s quite a selection of Herbie movies to choose from and it’s been a very long time since I saw one. I mostly remember watching the TV series in the middle of the day on the weekends as a kid and wanting a Beetle so badly!
    For the nail art, I used a base of Sally Hansen Ion then a quick coat of Glisten & Glow HK Girl to make it dry swiftly.
    Next, I did the racing stripes using striping tape for the red and blue, then filling in the middle with a white striper polish. The red polish is NYC Rooftop Party Berry and the blue is NYC Hudson Breeze.
    For the ’53’, I painted on the white circle using the polish from my white striper and added the black details with a black liner.
    It’s all finished with another coat of Glisten & Glow HK Girl.
    Herbie Nail Art // The Nailasaurus
    Herbie Nail Art
    Herbie Nail Art // The Nailasaurus
    Herbie Nail Art
    Share: