Follow:
Browsing Tag:

Revlon

    31 Day Challenge, Nail Art, Waterfall

    31DC2015: Yellow Nails with a Waterfall

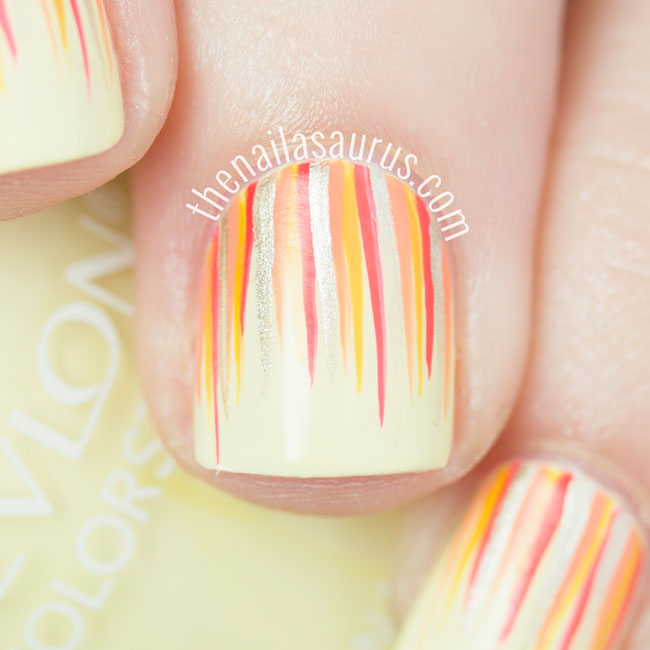
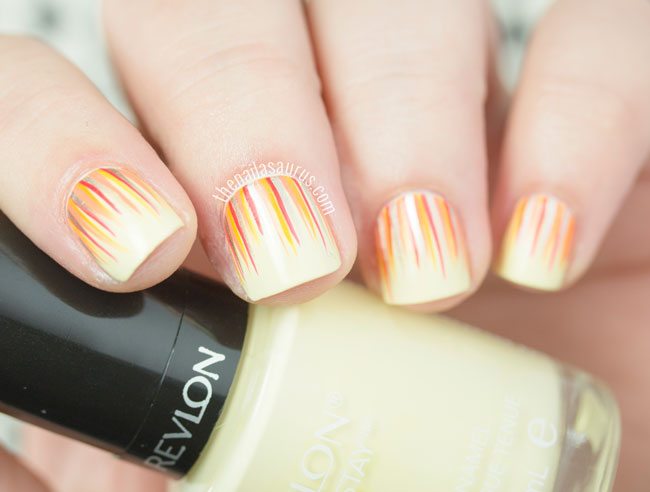
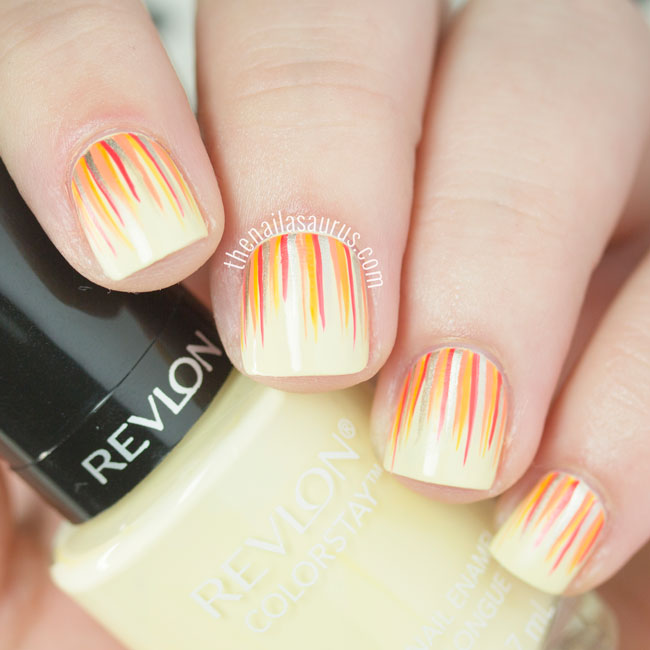
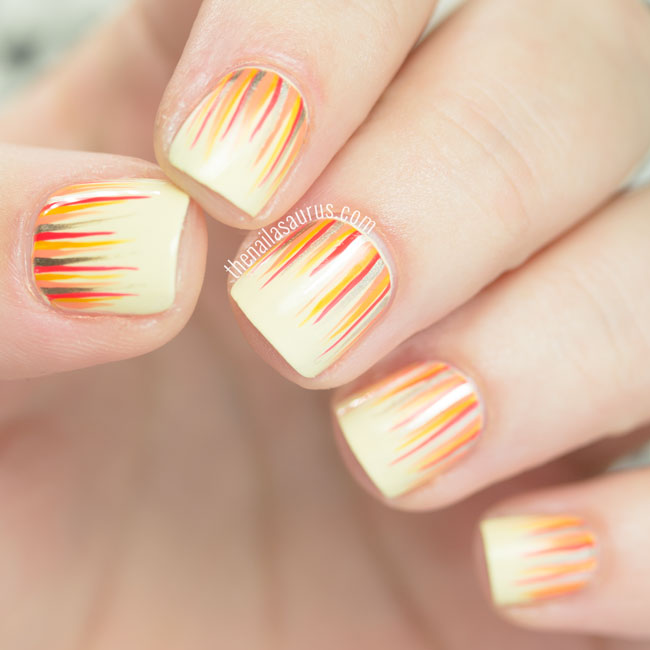
    Waterfall Nails by The Nailasaurus

    This year, I was actually happy for Day 3: Yellow Nails to roll around as I’ve been looking forward to using this pastel shade again. It’s just so hard to find a great yellow polish – all too often they’re streaky / runny / need too many coats to be viable – the struggle is real you guys! But how can you hate a polish that’s as buttery and good as Revlon Buttercup.

    Buttercup is a three-coater, you just need that thin third coat to smooth everything over and then you have the perfect pastel yellow. And that’s no mean feat. Can I get a round of applause for Revlon on this one?

    The Nail Polish

    My base colour is Revlon Buttercup. I created the waterfall nail art with Barry M Passion Fruit, Barry M Mustard, NYC Sunny Manhattan and Essie Good as Gold.

    Yellow Waterfall Nails

    Pastel Yellow Nail Polish

    The Nailasaurus Waterfall Nail Art

    Share:
    Nail Art

    Nail Art: 80’s Geometric Brights

    Bright Geometric Nail Art by The Nailasaurus

    I feel like I’m ready for the roller disco with these nails! I started with the pastel yellow base and just knew I’d have to use some brights for the nail art. After a bit of experimenting with some straight and sticky stencils, this is the geometric creation I came up with. I also ended up adding some holographic glitter which I think works perfectly with this design. So glitzy!

    Polishes Used:

    Base coat: Revlon Buttercup
    Triangles: Barry M Pink Punch and Barry M Sugar Plum
    Glitter: Ciate Looking Glass

    Geometric Nail Art by The Nailasaurus

    Here’s a swatch of Buttercup before I added the nail art. Just 3 thin coats with a top coat and it’s the perfect pastel yellow!

    Share:
    Gradient, Nail Art, Stamping, Uncategorised

    MoYou Hipster Stamping Nail Art

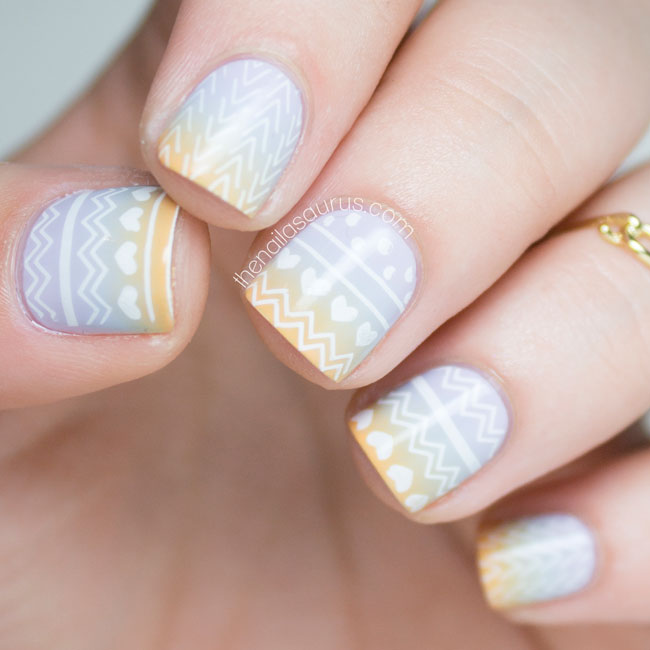
    Have I ever told you that I really love MoYou London stamping plates? Wait.. what do you mean, I’ve already told you dozens of times? Well it’s absolutely true. These designs are both from a plate in the Hipster collection and I can’t wait to try out the rest of the designs on the plate. It’s times like these I wish I had 18 fingers so I could use every pattern at once.

    What I Used

    Revlon Cloud
    Maybelline Ceramic Blue
    piCture pOlish Totes
    Astrid & Miyu Infinity Midi Ring
    Share:
    Freehand, Nail Art, Stamping, Uncategorised

    Beepbopboop

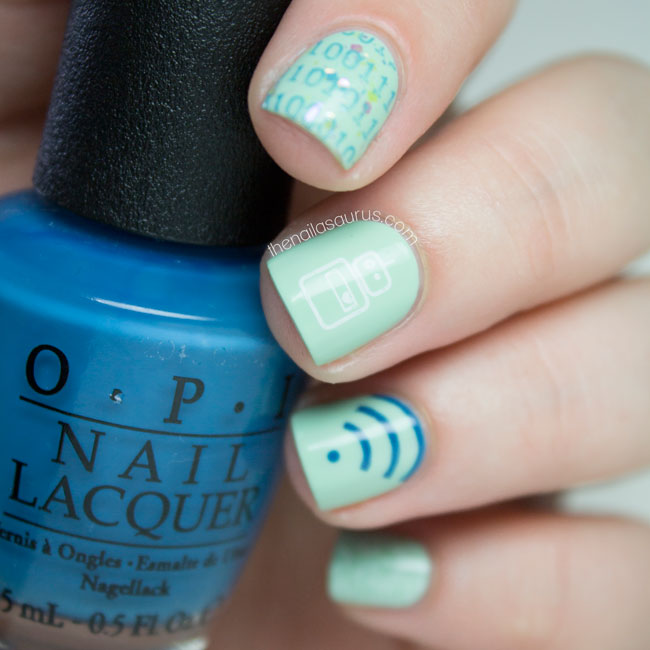
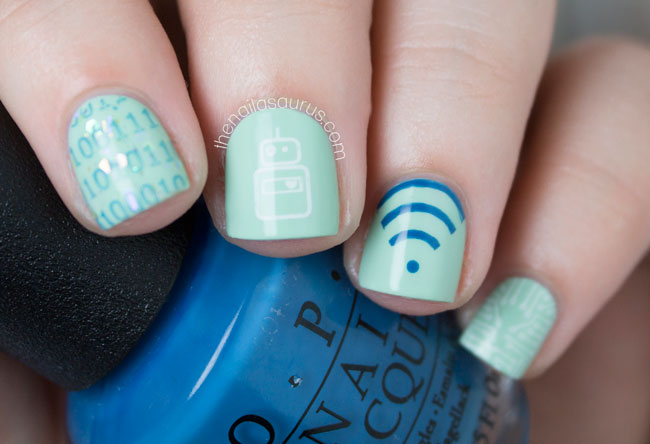
    When I was at a nail event a little while ago, this wi-fi design by Jessica Hoffman was on the nail art menu and I knew that I would have to try it for myself. I started this mani intending just to do the wi-fi all over but it swiftly turned in to a technologic mani!
    My base colour is Revlon Minted and I topped a few nails with Cirque Magic Hour.
    All the stamping is from Bundle Monster plate BM415 and I used OPI Suzi Says Feng Shui and BK Matte White for all the details.
    To draw on the wi-fi signal, I used two straight vinyl stencils to mark off a triangle at the base of my nail, then drew 3 curved lines stretching edge-to-edge with a nail art brush. I tried to follow the curve of my cuticle to get them all matching! I quickly removed the vinyls and used a dotting tool to add one dot at the base.
    It’s all topped off with a coat of Glisten & Glow HK Girl.
    Share:
    Uncategorised

    Introducing #guiltfreeze with yoomoo x Nails Inc.

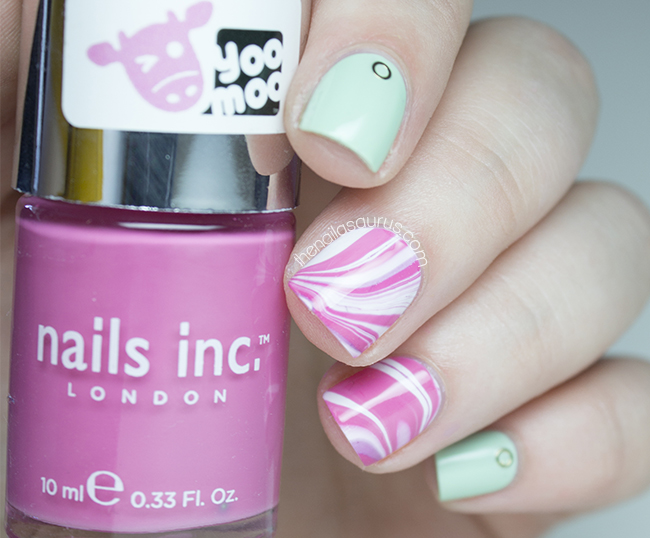
    Pink Water Marble Nail Art | The Nailasaurus | UK Nail Art Blog

    This summer, yoomoo have teamed up with Nails Inc. to bring us #guiltfreeze, a nail art competition with prizes up for grabs every week. Nails Inc. are bringing the nail art and yoomoo will be providing the mouthwatering snacks! To keep up with the competition and tutorials, make sure you like yoomoo on Facebook or subscribe to their YouTube channel.

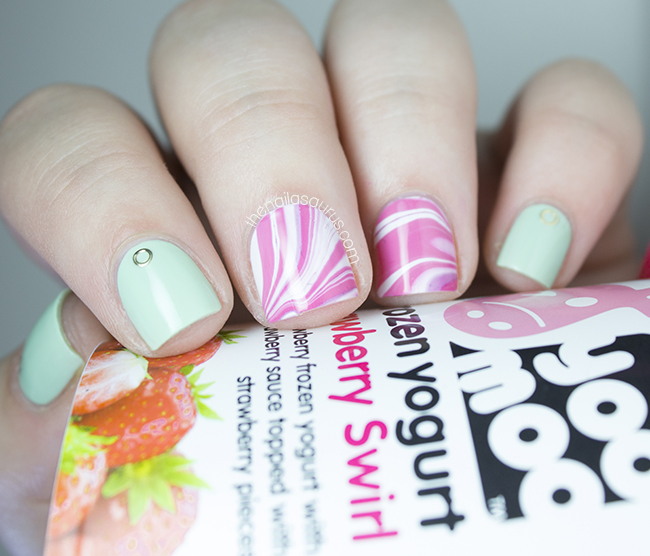
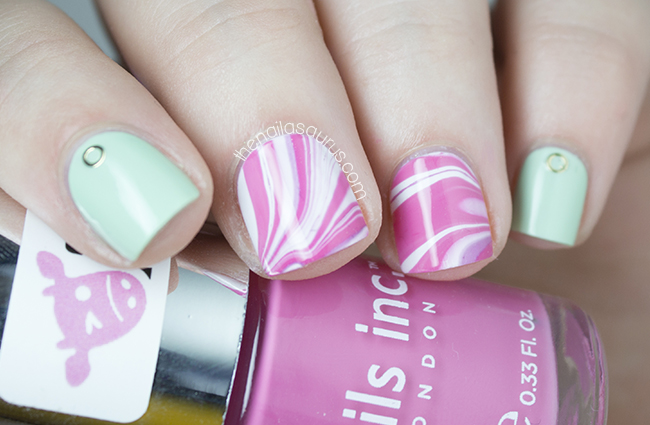
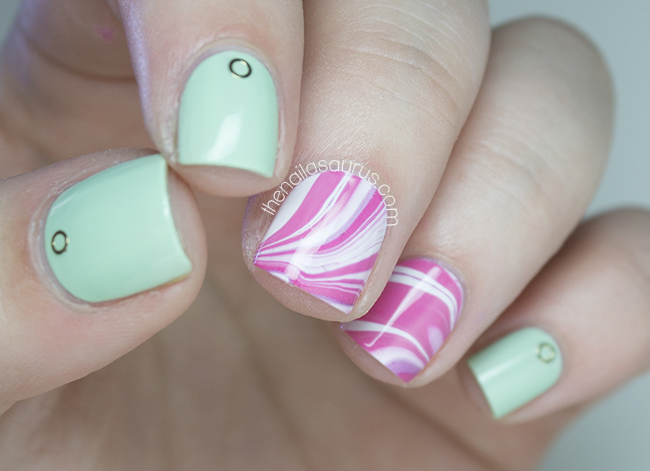
    The first tutorial in the series is Water Marbling so that’s what I’m trying my hand at today. In the past I haven’t had the best luck with marbling – it’s definitely one that comes with practice but I truly nailed today’s attempt. I got both nails done on the first attempt and managed not to ruin them before they were dry. Success!

    How to enter #guiltfreeze

    1. Visit yoomoo on Facebook to get your money off voucher here
    2. Snap a picture of your yoomoo inspired nail art with your pot of yoomoo in hand (just like my picture above)
    3. Post your picture to Instagram with the hashtag #guiltfreeze to win on-the-spot prizes
    Pink Water Marble Nail Art | The Nailasaurus | UK Nail Art Blog
    For my take on Nails Inc.’s water marble, I used Barry M White as my base colour and created the marble using Barry M WhiteDifferent Dimension Lucky and Nails Inc. Udderly Shocking Pink. If you want to get your hands on your own bottle of Udderly Shocking Pink, make sure you enter your nail art on Instagram for a chance to win!
    I also used Revlon Minted with some circle decals from Born Pretty Store (#123).
    It’s all topped off with a coat of Glisten & Glow HK Girl.
    Pink Water Marble Nail Art | The Nailasaurus | UK Nail Art Blog
    Pink Water Marble Nail Art | The Nailasaurus | UK Nail Art Blog
    Share:
    Uncategorised

    Much More Muted

    OPI French Quarter For Your Thoughts with Nail Art | The Nailasaurus | UK Nail Art Blog
    I’ve been in full on Summer mode this weekend – waking up with the sun, filling the freezer with ice cubes and, get this, wearing flip-flops! With one thing or another, it’s been almost a week since I painted my nails and when I finally sat down today, I had it in my head that I must use summery colours. I tried brights, I tried pastels but nothing stuck. In the end I opened up a drawer, pulled out the first two polishes that I fancied and it turns out that my heart was singing for much more muted tones. The resulting nail art is nothing special, just a strange mix and match but I’m happy with it for today!
    OPI French Quarter For Your Thoughts with Nail Art | The Nailasaurus | UK Nail Art Blog
    The polishes here are OPI French Quarter For Your Thoughts and Revlon Cloud
    I topped a few nails with Seventeen Off The Wall,  black and white glitter topper.
    The Anchor is from She Sells Seashells it’s all topped off with KBShimmer Clearly on Top.
    OPI French Quarter For Your Thoughts with Nail Art | The Nailasaurus | UK Nail Art Blog
    OPI French Quarter For Your Thoughts with Nail Art | The Nailasaurus | UK Nail Art Blog
    OPI French Quarter For Your Thoughts with Nail Art | The Nailasaurus | UK Nail Art Blog
    Share:
    Gradient, Tutorial, Uncategorised, Video

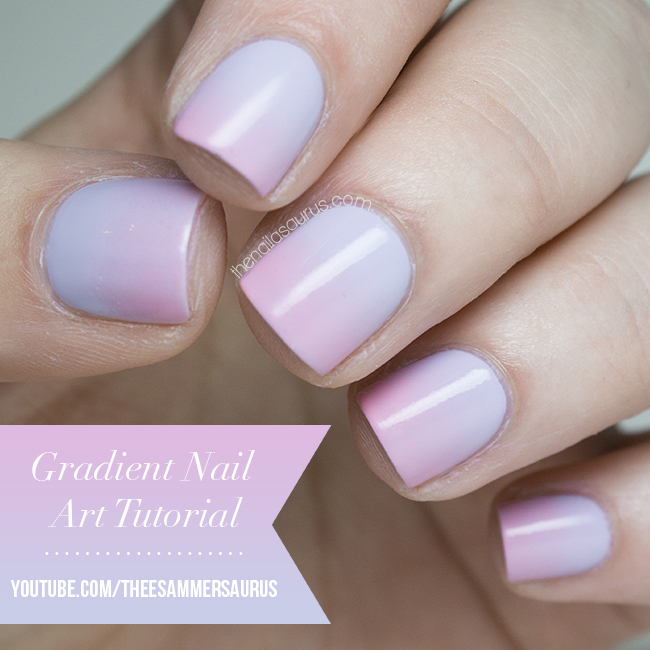
    Gradient Nail Art Tutorial Video and FAQ

    Gradient Nail Art Video Tutorial

    When I ventured back in to making videos recently, it seemed inevitable that I’d be making a gradient nail art video since my picture version was quite a success and many people have asked to see me do it in a video. This mani does take a while but most of that time is spent waiting for polish to dry. Once you get the hang of it, sponging on the gradient is easy!
    While we’re here, I also thought it would be a great opportunity to answer some of the questions I get asked most frequently about this technique. Over time I’ve learnt a lot more about the process and how to overcome a few of the difficulties that you might come across on your first couple of tries.
    What polishes work best for gradients?
    You can’t go wrong with creme polishes that are quite runny. They don’t have to be very opaque either, streaky polishes often work best for gradients.
    How do you avoid bits coming off the sponge and sticking to your nail?
    I don’t think there’s any way to avoid this. If you see little flecks of sponge breaking off and sticking to your nail, just pick up a new sponge and continue where you left off.
    You can use tweezers to pick these flecks out of your mani but if they’re only small, usually your top coat will hide them!
    Should you wet the sponge first?
    Personally I never use water but I know others that use a damp sponge with amazing results. Try both ways and see what works for you!
    How do you clean the sponge after?
    I don’t bother trying to clean the sponges. I just throw them away and use a fresh one the next time.
    Any other tips?
    It’s super important to wait for your polish to dry in between layers. If you try to sponge over wet polish, you’ll just start picking up the polish that’s already there and it’ll be a gloopy mess. Watch a movie while you’re doing it to avoid boredom!

    If you try this mani yourself, don’t forget to use #looknailasaurus on Instagram so I can see your results!

    Share: