Follow:
Browsing Tag:

Purple

    Freehand, Glitter, Uncategorised

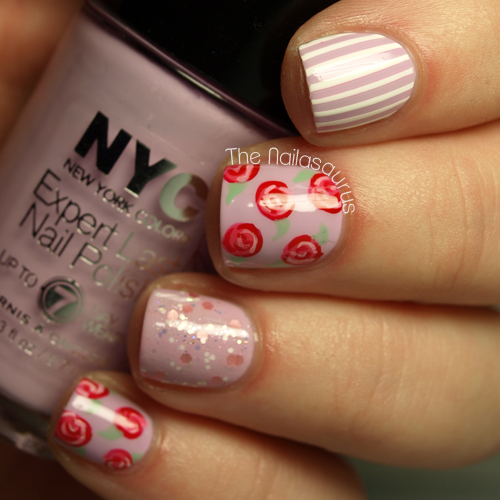
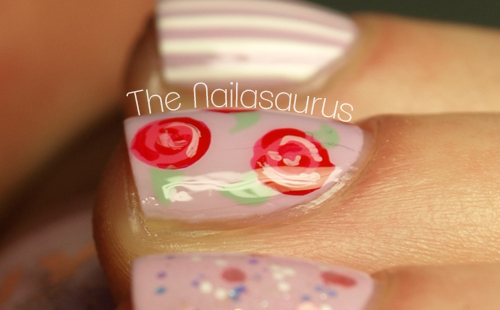
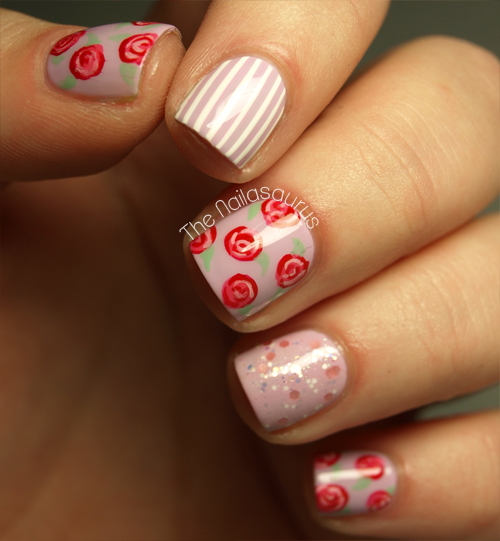
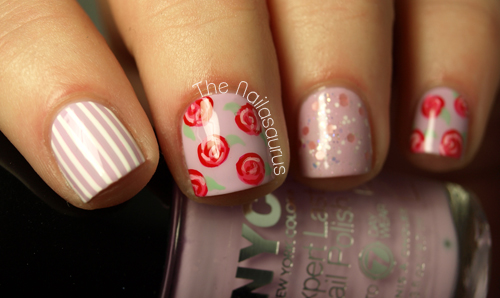
    Stop and Smell the Roses

    Happy Monday! I know some of you will be thinking that Monday is not a day to be happy, but it’s recently become my favourite day of the week because it means a new episode of Game of Thrones! I can’t believe there are only 2 episodes left in the season after today’s. I must confess I haven’t read the books, so far I’ve only made it half way through the first, so I have plenty of material to tide me over until the fourth series.

    I used NYC Lavender Cupcake as my base colour with Sonnetarium Lenten Rose glitter on my ring finger. I did the pinstripes on my index finger using striping tape and BK Matt White. For the roses I used NYC Bubblegum Pink, Barry M Blood Orange and BK Matt White with NYC Mint Macaroon for the leaves. There’s a full tutorial for the roses here. Finally I topped it all off with two coats of Sally Hansen Dries Instantly.

    TwitterBloglovin’Tumblr

    Share:
    Freehand, Gradient, Uncategorised

    Facets of Fishtail

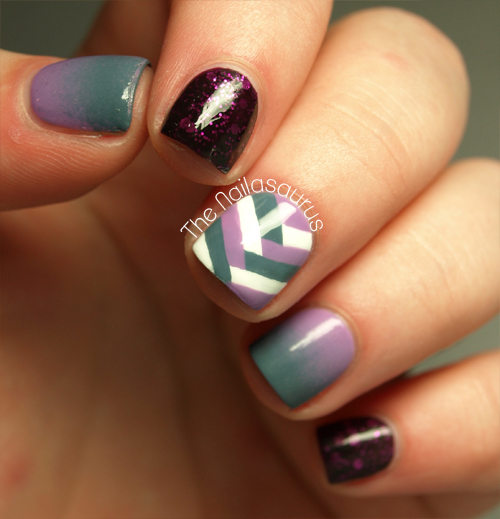
    It’s only now that I’m writing this post that I remember I really wanted to mattify this manicure! I think the purple glitter would look phenomenal with a matte top coat. I’ve had matte on my mind for a long time now but it always skips my mind when I’m actually in a position to use it, doh! I think I need to put my matte top coat in prime position on my desk so I don’t forget it next time I wear a pretty glitter.

    The beaut of a glitter is Revlon Facets of Fuschia and I applied that over a coat of PVA glue to make removal nice and easy.
    I created the gradients using Sally Hansen No Hard Feelings as the base with Sally Hansen Gray by Gray. Finally, for the fishtail nail I used a nail art brush to apply those two Sally Hansen shades with Born Pretty’s Matt White polish.
    It’s all topped off with a coat of Sally Hansen Dries Instantly.

    TwitterBloglovin’Tumblr

    Share:
    Tutorial, Uncategorised

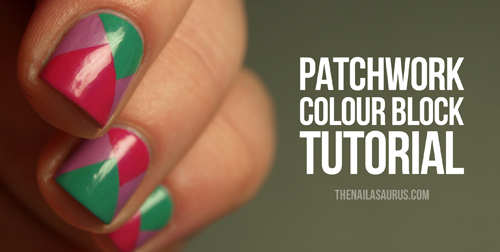
    Patchwork Colour Block Tutorial

    A little while ago, Sally Hansen got in touch to see if I’d like to be a Nail Art Ambassador for their I ♥ Nail Art campaign. As you’ll know if you’ve been reading for a while, my undying love for Sally Hansen is no big secret around here so of course I was more than happy to get involved!

    Each month there’s a new theme and you can submit your nail creations for the chance to win amazing prizes. I’ll be bringing you two tutorials every month and for the month of April, the theme is Colour Blocking!

    Before you start, make sure you have everything you need:
    Three (or more!) colours. I’m using Back to the Fuschia (what an amazing name!), Lively Lilac and Mint Sprint.
    A quick drying top coat. I’ve picked Dries Instantly for this one.
    Some Scotch tape, or anything similar. I decided to invest in one of those nifty gadgets which slides over your knuckles and dispenses it in little strips. If you’re cutting from the roll it’s a good idea to snip off some little strips before getting stuck in to the painting.
    Start by painting on your base colour, this is the colour that will show at the sides. At this point I apply a top coat to make it dry nice and quickly. 
    Sticking scotch tape to wet nails is a big no no so wait until it’s completely dry before moving on. I normally give it about 15-30 minutes just to be sure.

    Apply one piece of scotch tape diagonally across your nail…

    … and then another at a right angle to that piece. You want to be able to see an exposed patch in an off centre triangle shape at the bas of your nail.
    Make sure your tape is pressed down firmly so that absolutely no polish seeps underneath. You can use a pair of tweezers to make things a bit easier.

    Paint your second colour on to the exposed triangle and immediately peel off the tape… very slowly and carefully!
    Once that patch is mostly dry, I apply another top coat to speed up the drying but still wait about 15-20 minutes before applying any more tape.

    Apply the second batch of tape in the same way. First with a strip diagonally across your nail (this time you can use the patch that’s already there as a guide), then another headed towards the tip of your nail.

    Paint on colour number 3 and peel off the tape.

    Finally, add one last top coat and use a small paintbrush dipped in acetone to clean up any mess around your cuticles!
    You can enter your own colour blocking manis in to Sally Hansen’s I ♥ Nail Art competition and check out the gallery for plenty more inspiration here.
    Although I kept the base coat the same on every nail, I alternated the colours I used to paint on my patches. There are so many ways to make this mani your own. Your can mix up your base colours, try out some different patches and even experiment with the angles!

    TwitterBloglovin’Tumblr

    Share:
    Tutorial, Uncategorised

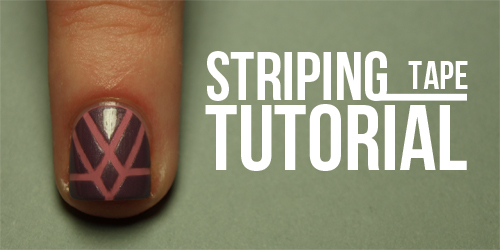
    Striping Tape Manicure Tutorial

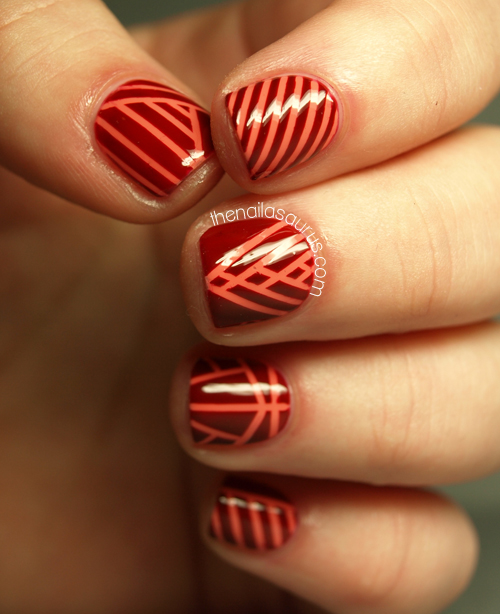
    You can do some amazing stuff with striping tape but it can be tricky to work with! I’ve been doing a lot of striping manicures recently so I thought I’d pass on a few tricks I’ve picked up in the process. You do need a healthy dose of patience and a steady hand but with a bit of practice, I think anyone can do it and the possibilities are literally endless.
    Striping tape is crazy cheap and you can buy it from any number of places online. I find the cheapest place to purchase is eBay, just search for ‘striping tape’ and you’ll get thousands of results. Obviously it’s cheaper if you don’t mind waiting a few weeks for delivery from China but even if you buy domestic, it’s still cheap!

    You’ll need at least two nail polishes (mine are Tiger Lily from Primark and China Glaze Pink-ie Promise), a top coat, some tweezers, striping tape and a pair of scissors.
    Start by painting your base colour and making sure it’s completely dry before moving on the next step. I normally use a quick drying top coat (like Seche Vite) to speed up the process.
    Snip small sections off the roll of striping tape to use on your nails. I do this by hanging a long length of it from my desk lamp, then gripping the end with my tweezers and snipping off about 1-2cm at a time.

    I always use tweezers to handle the striping tape which make it soooo much easier! I honestly don’t think I’d ever approach a striping manicure unless I was armed with a pair of tweezers.
    I have these pointy ones which are great for nail art but regular tweezers will work too. You can buy the pointy ones on Amazon in the US and UK.

    Place the tape in your pattern of choice on your nails and make sure it’s smoothed down right to the edges or nail polish will seep underneath. Most importantly, make sure the tape carries on past your nail so you have space to grip and remove it later. 
    Try to remember which order you applied them in! You’ll see why later.

    Paint your second colour over the top of the tape.

    Here comes the tricky bit….
    Immediately, while the top colour is still wet, remove the strips in REVERSE order to the way that you put them on so that you can pull each one off without it snagging on anything and potentially ruining all your hard work so far.

    Finally, apply a top coat or two and once that’s dry, you can use a small paintbrush dipped in acetone to clean up any mess that’s left on your cuticles.
    Like I said, the possibilities are endless! Just go crazy and see what happens.

    Share:
    Freehand, Uncategorised

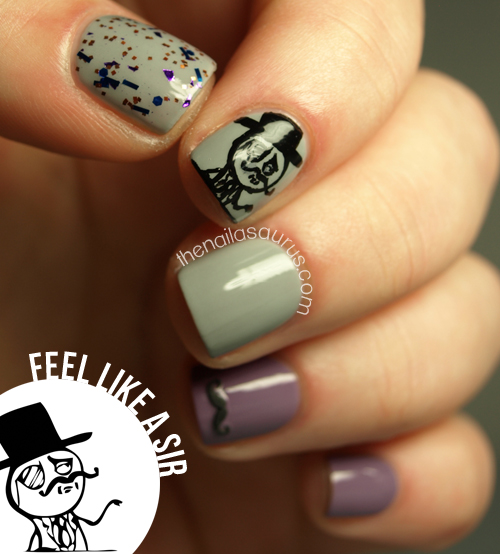
    Feeling Like A Sir

    This week I found a gem of a bargain when I was in Asda. Don’t judge me when I tell you I buy clothes and jewellery from there on a regular basis! I was browsing the girls jewellery, as you do, and I spotted a little packet of moustaches. There was no indication on the packaging as to what they were but using my detective skills I quickly deduced that they were in fact, as I had immediately suspected, nail decals! Hidden away amongst the pink clip in hair streaks and plastic tiaras!
    They were a complete steal at £1.50 for 48 stickers and they’re absolutely great. They’re kind of foamy and the adhesive layer is really thin so they’re easy to handle and stick to the nails really well. The first time I wore them, I used a top coat and they were unmovable. This time around I didn’t and the sticker slid off after about 12 hours of wear so go for a top coat if you’re going to try them yourself. 
    The smallest design, the curly one, immediately made me think of the ‘Feel Like A Sir‘ meme so of course I had to put it on my nails!

    I used Sally Hansen Dorian Grey and A-England Guinevere as my base colours with a coat of WellNails Rock In The New Year on my thumb. The Mo’ decal is, as previously stated, from Asda and I painted on the Sir using a nail art brush and acrylic paint.
    Everything is topped with a coat of No7 Stay Perfect Top Coat except for the sticker, I put that on after the top coat.

    TwitterBloglovin’Tumblr

    Share:
    Glitter, Uncategorised

    It’s My Birthday and I’ll Blog If I Want To

    Yep, today is my Birthday! It’s just a quick post to show you one of my favourite combinations of late. I’ve been wearing a lot of glitter and found the perfect pairing with Sally Hansen Big Money and China Glaze Tart-y for the Party. The little purple hexes in Big Money perfectly compliment the lilac purple.
    There’s a (not so subtle) clue in the mani…. can you guess how old I am today?

    TwitterBloglovin’Tumblr

    Share:
    Stamping, Uncategorised

    Happy Mother’s Day

    Here in the UK it’s Mothering Sunday today. My brothers and I have been laying treats on my mum all day! She’s had smellies, chocolates and flowers galore and I’m just about to go and cook a roast dinner for tea. Marks and Spencer meal deals F-T-Dubz!
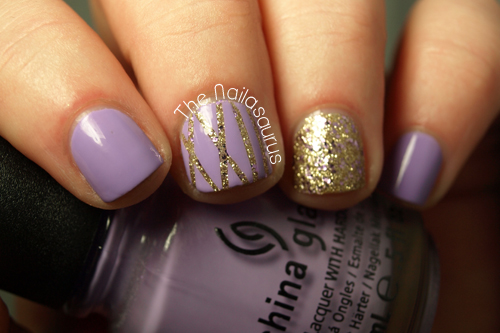
    I’m still in love with the pastels from China Glaze’s Avant Garden collection recently and knew they’d be perfect for creating a girly mani for the day. I’ve also started playing with my new Winstonia* stamping plates which are incredible and also girly!

    I used China Glaze Tart-y for the Party, Life is Rosy, Dandy Lyin’ Around and Pink-ie Promise as my base colours.
    I used stamps from the first generation Winstonia plates (Winstonia Store/Amazon) W102, W111 and W119 on my thumb, pointer and pinky. If you order the plates from their online store, you can get 10% off (the plates only) with code THENAILASAURUS.
    The polish I used to stamp is the BK Matt White from Born Pretty. If you’re looking for a decent white stamping polish, look no further. I bought it after I saw it on Katrina’s Nail Blog to use as a good white base but I find it slightly too thick for normal application. This is never a bad thing for me. Runny polishes are a dime a dozen, but it’s hard to find thick ones for stamping – especially white ones! WIN!
    I used some striping tape on my middle and ring fingers to mark off the criss cross patterns before painting over them with BK White and China Glaze Life is Rosy, then peeling off the striping tape.

    TwitterBloglovin’Tumblr

    Share: