Follow:
Browsing Tag:

piCture pOlish

    Glitter, Tutorial, Uncategorised

    Faviana Prom Dress Nail Art Tutorial

    For today’s post I’ve teamed up with Faviana, to bring you a nail art tutorial inspired by one of their designer prom dresses. The website is chock full with a good mix of short and flirty, insanely glamorous and classical formal dresses and the one that inspired this nail art is somewhere in between all of them. I picked Faviana Style 7364 which is cheeky with a hint of glamour and completely perfect for any formal occasion.
    With prom season coming up, I know a lot of you will be matching your nail art to your prom dress and you can keep it simple by painting your nails a perfectly complimentary or contrasting colour or go all out and take elements from the dress like I have!
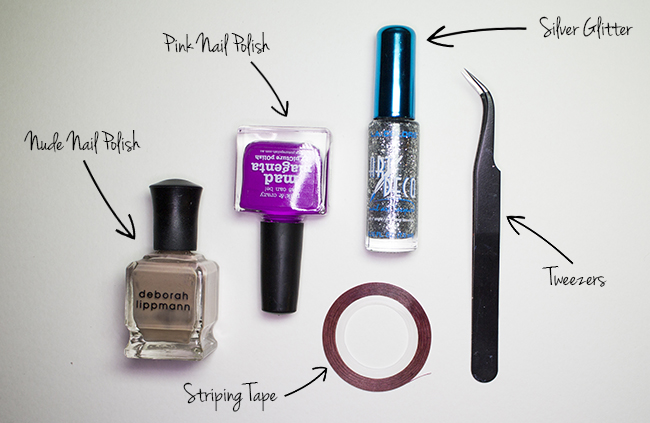
    Tutorial Equipment

    Before you start, make sure you have everything you need. I’m using Deborah Lippmann Fashion and piCture pOlish Mad Magenta as my main colours along with a LA Colors silver striper. You’ll also need some striping tape – in a pinch, you can cut up scotch tape in to very thin strips. The tweezers are an optional extra but I’d suggest keeping a pair on standby if you can!

    1. Start with a nail polish that matches your skin tone and let it dry completely. You can add a fast drying top coat like Seche Vite to speed up the process.
    Tip: You can completely skip the first step and do this on naked nails for a negative space manicure.
    2. Place striping tape on the nails where you want the base colour to show through. I’ve marked off a triangle at the base of my nail and then a few strips at the sides. I used a pair of tweezers to place the tape on my nail.
    3. Using your pink polish, paint over the tape taking care to avoid the triangle near the base of your nail. You can cover the triangle with a piece of scotch tape if you want to be sure you won’t paint over it.
    4. While the polish is still wet, remove the striping tape. Again, I always use a pair of tweezers to do this because it’s a really fiddly job.
    5. This is what your nails should look like once your tape’s removed.
    6. Take your glitter polish and add a healthy amount over the sections at each side.
    7. Finally, add your favourite top coat and sweep around the edges with a clean-up brush dipped in acetone to get rid of any mishaps.
    faviana-nail-art-tutorial
    faviana-nail-art-tutorial-01
    Make sure you stop by faviana.com for more prom nail art inspiration and any last minute dress shopping!
    Share:
    Stamping, Uncategorised

    Nailvengers Assemble: Mardi Gras Madness

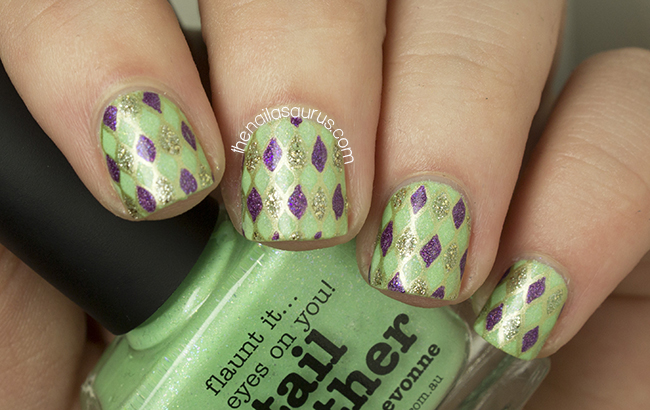
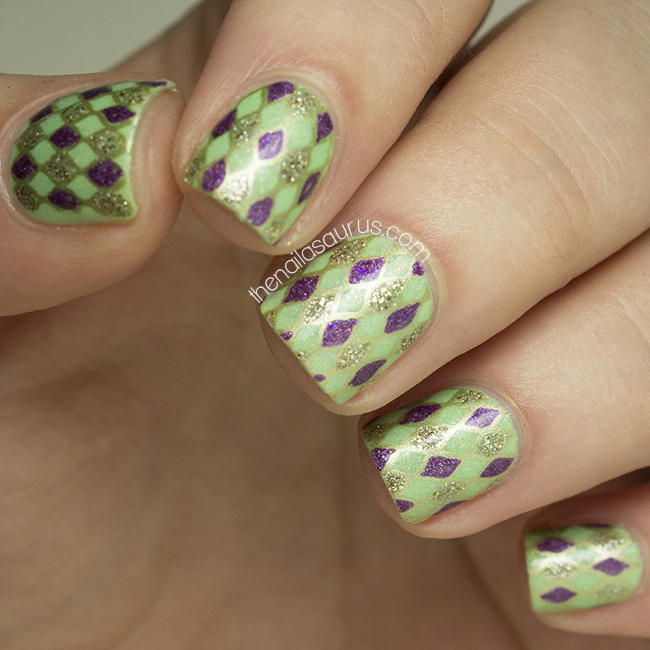
    With Mardi Gras coming up on March 4th, this month we decided to use the holiday as the inpiration for our Nailvengers Assemble challenge. After a failed attempt to create something with caviar (seriously, don’t even ask!), I decided to go for something simple using a few of the colours most often associated with Mardi Gras – purple, green and gold. 
    Don’t forget to check out my fellow Nailvengers’ Mardi Gras nail art- One Nail to Rule Them All, xAmeliax, Brit Nails and Lucy’s Stash!


    For this nail art, I used piCture pOlish Tail Feather as my base colour.

    I stamped on the fishnet design from Bundle Monster plate BM209 using Barry M Gold Foil.
    Using a nail art brush, I filled in some of the diamonds to create a harlequin look using piCture pOlish Hussy and Barry M Majesty.
    It’s all topped off with a coat of Glisten and Glow HK Girl.

    Share:
    Swatch, Uncategorised

    piCture pOlish LE Shades: Illusionist, Gravity, Aurora, Solar Flare and Altered State

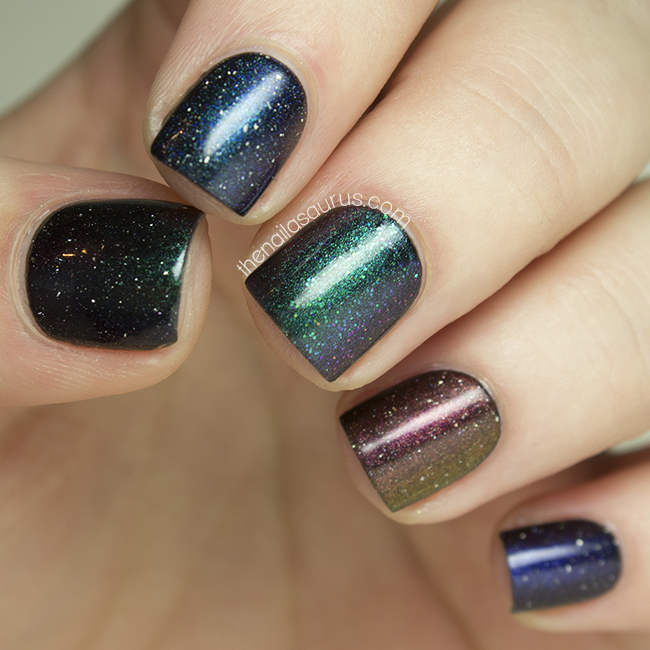
    This Thursday, piCture pOlish are releasing a range of limited edition shades and I’ve got a little sneaky peak of the polishes to show you today. There’s a cosmic theme running through the collection and the polishes are all toppers intended to be worn over black creating a dimensional, multichrome look. There are also tiny holographic particles mixed in to 4 of the shades. The shades are Gravity, Altered State, Illusionist, Solar Flare and Aurora (which is super limited edition).


    These swatches are one coat of each polish over a base colour of No7 Just Black. These shades look breathtaking in the bottles but it doesn’t even compare to when they’re on the nail. What I find fascinating is how the polish on the brush looks way too sheer – almost clear – to have any impact with just one coat but one coat is all you need to bring out these vibrant colours.
    I’m wearing, from thumb to pinky: Illusionist  |  Gravity  |  Aurora  |  Solar Flare  |  Altered State 
    My favourite shades are Gravity and Altered State, the blue/teal and purple respectively. I have nothing against the other shades, I’m just a sucker for blues and purples!

    There are only 800 bottles of Aurora available and you’re limited to one bottle each if you plan to order from the website to keep things fair for everyone. But if you can’t get your hands on that one, it’s similar in many ways to Illusionist. Illusionist is just lacking in the micro glitter and doesn’t have the same strong multichrome shimmer that shifts from green to purple to pink.

    The shades retail at AUD$13.50 (AUD$14.00 for Aurora) and will be available from Thursday February 20th on the piCture pOlish website and soon after from international retailers.
    Share:
    Gradient, Holographic, Stamping, Uncategorised

    Valentine’s Day Holographic Gradient Nail Art

    You may notice that things are looking a little different around here. Over the weekend, I finalised the redesign on my blog and I really love the new look! It’s been a long time coming so it’s such a great feeling to tick it off my to-do list. I wanted to clean up all the clutter and make things a bit airier so I’m really pleased with the outcome and my favourite part is the bigger pictures! I hope you guys like it too but if you have any suggestions for functionality or features that could make it better for you to visit, look around and read, then I’d really like to hear your thoughts.
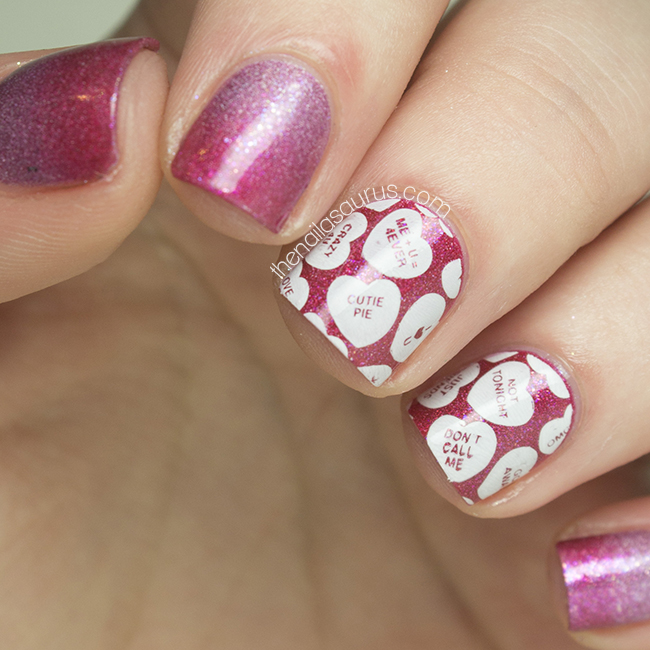
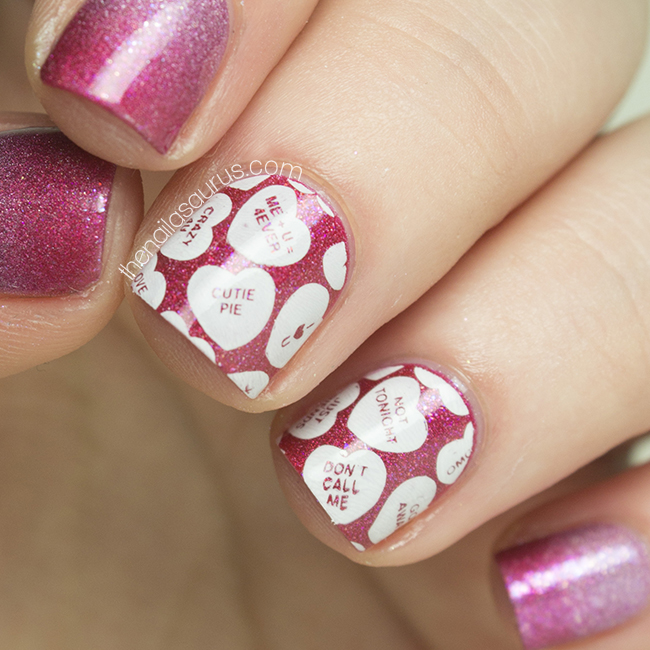
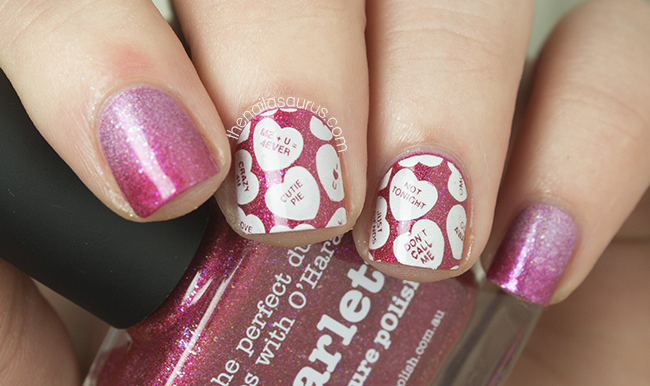
    Today’s nail art features a few from the new piCture pOlish collaboration collection – the Bijou Holos. These two shades are just so perfect for Valentine’s day so I thought I’d combine them for a sweet as sugar Valentine’s gradient.

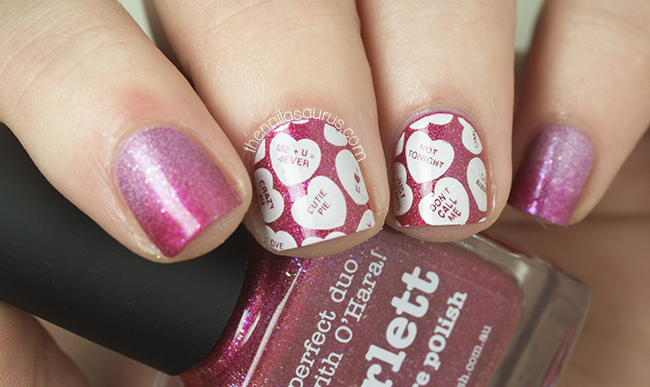
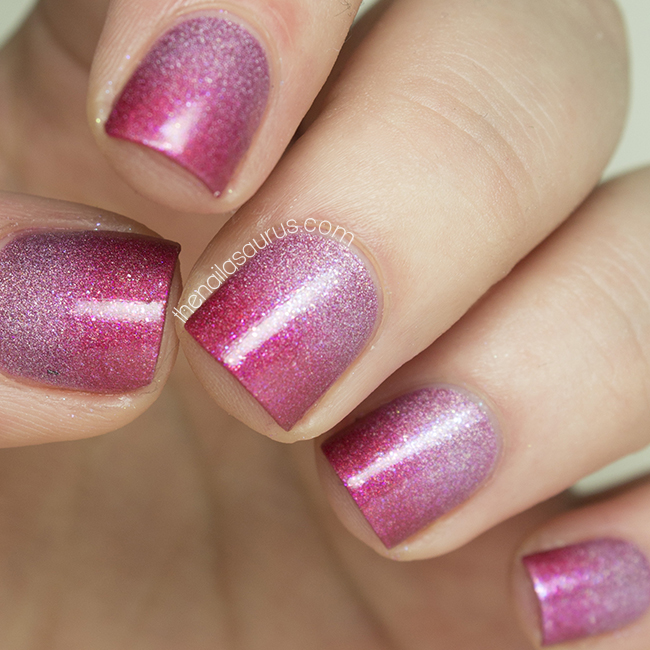
    I used piCture pOlish Pirouette for the base colour and then created a gradient using piCture pOlish Scarlett.  There’s gradient tutorial here.
    I had to remove the gradient from two of my nails after a failed stamping attempt so I painted them again with Scarlett and then stamped using Bundle Monster Plate BM421 and BK Matte White.
    It’s all topped off with a coat of Glisten and Glow HK Girl.

    Here are a few shots of the gradient before any nail art.

    Share:
    Freehand, Glitter, Uncategorised

    Tooty Fruity

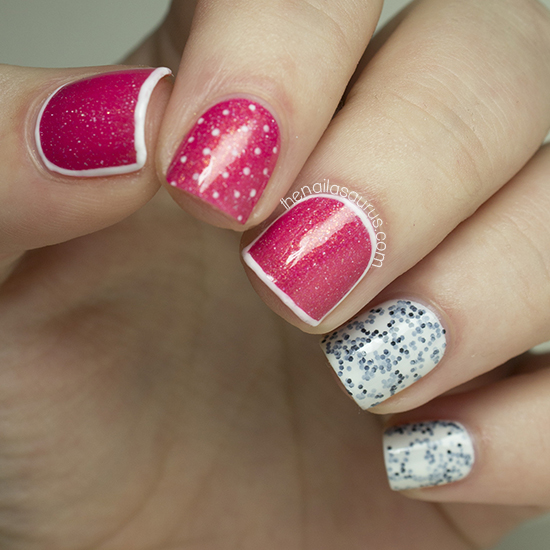
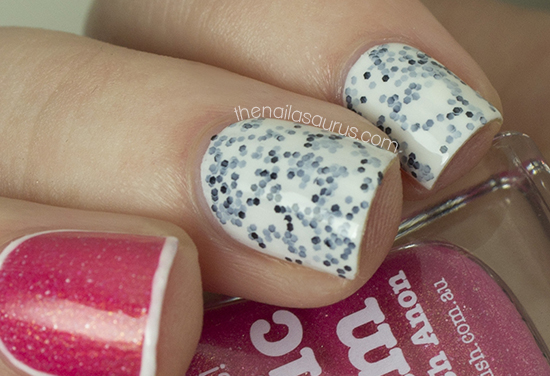
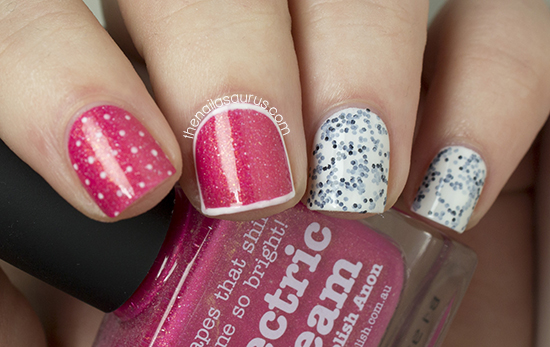
    Today’s nail art features an amazing fruity coral shade from piCture pOlish called Electric Dream. In the bottle, the colour looks like a shimmery coral but on the nails it really pops a lot more pink with loooads of shimmer!

    piCture pOlish Electric Dream

    The main colour here is piCture pOlish Electric Dream and I added some simple nail art using a Pink Tease White Nail Art Striper.

    For the accent nails, I started with one coat of Barry M White then added two coats of W7 Salt n Pepper.

    It’s all topped off with two coats of Glisten and Glow HK Girl.

    W7 Salt n Pepper

    piCture pOlish Electric Dream

    piCture pOlish Electric Dream

    piCture pOlish Electric Dream
    Share:
    Glitter, Holographic, Stamping, Uncategorised

    When Whimsy Collides

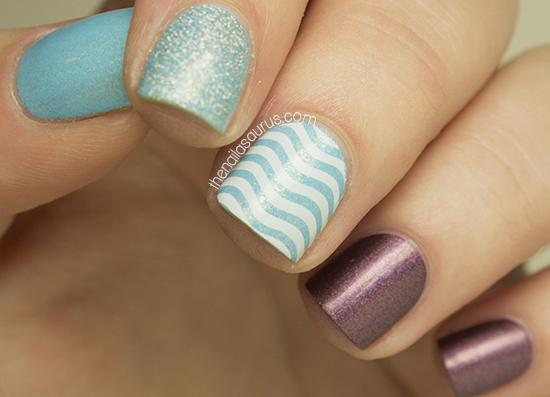
    Today’s nail art is very simple. I mean VERY simple! I tried a few nail art possibilities with the purple holographic polish but in the end I decided to keep it as it was in all its mauve beauty.

    This holographic glitter was first spotted on the blog last week and I’ve worn it almost every day since. I’m completely obsessed. I’ve never been someone that was distracted by sparkly shiny things but there’s something about a glitter that glistens like this that has me hooked. It really is like magic! In the same post, I mentioned my long standing desire to own China Glaze Fairy Dust and over the weekend I finally ordered a bottle. As if by fate, I had an email from Nail Polish Direct declaring a China Glaze sale and took it as a sign from the Fairy gods!

    piCture pOlish Whimsy with Nail Art


    China Glaze When Stars Collide with Nail Art


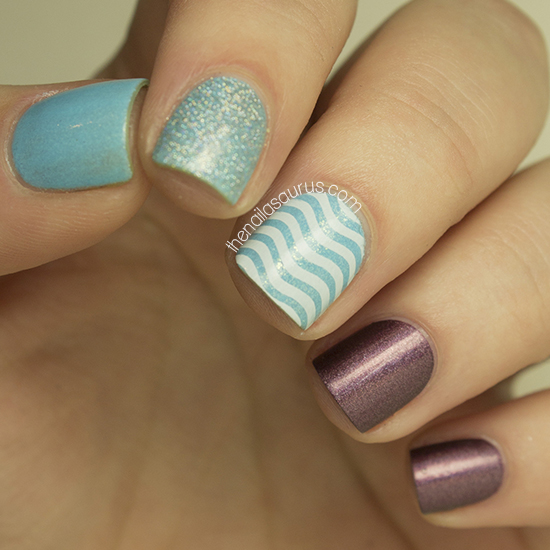
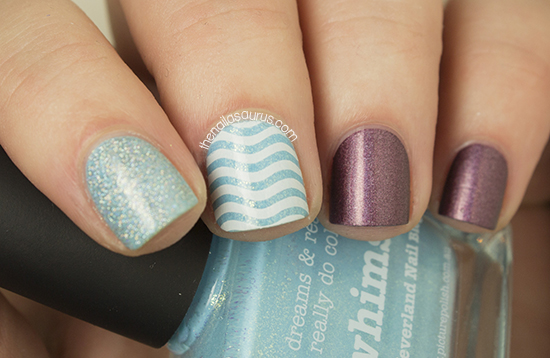
    The blue base colour is piCture pOlish Whimsy and the purple holographic polish is China Glaze When Stars Collide.
    I stamped on the wavy design from MoYou Sailor 05 using BK Matt White.
    The glitter on my index finger is Claire’s Holographic Glitter.
    It’s all topped off with a coat of Essence Better Than Gel Nails Top Sealer.

    piCture pOlish Whimsy with Nail Art

    piCture pOlish Whimsy with Nail Art

    Share:
    31 Day Challenge, Freehand, Uncategorised

    31DC2013 Day 27: Inspired by Artwork

    I’ve made a huge mistake! Only as I was writing this post did I notice that today’s challenge is ‘Inspired by a Pattern’ but I got my days muddled up so I’m posting Day 27’s Artwork Inspired nails today. Look out for my patterned nails tomorrow!

    Day 27’s prompt is the one I normally struggle with. In previous years I’ve spent hours searching for inspiration but luckily for me, I came across some inspiration a few weeks ago and decided to save it for this challenge. The piece of art that inspired today’s nail art is by Alex Box, a very creative make-up artist and Illamasqua’s Creative Director. I kept seeing her name on blogs and other beauty sites so I thought I’d better see what all the fuss was about and I was blown away by her work. One of the looks that she created for her collaboration with Rankin particularly caught my eye and I knew I’d have to do some nail art inspired by it.


    Image credit: Rankin.co.uk

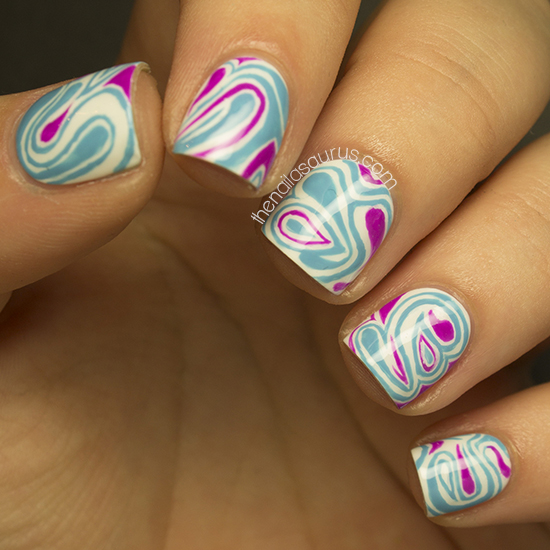
    I started with a base of Barry M White. Once that was dry, I freehanded on the details using a nail art brush with piCture pOlish Mad Magenta and Sally Hansen Water Color.
    It’s all topped off with two coats of No7 Stay Perfect Top Coat.

    Here’s an image that’s good for pinning if you’re in to that kind of thing!

    Day 27: Inspired by Artwork 2012
    Day 27: Inspired by Artwork 2011
    See what’s coming next in the 31 Day Challenge 2013!

    Twitter ♥ Bloglovin’ ♥ Tumblr

    Share: