Follow:
Browsing Tag:

NYC

    Best of Three, Review

    Best of Three: Budget Peel Off Base Coats

    Peel off base coat has really taken off this year and you kind of have to wonder why the revolution didn’t happen sooner! Bloggers and nail polish fanatics found this DIY solution for hard-to-remove glitter nail polish quite a while before manufacturers twigged on and started marketing similar products. As we come to the end of 2014 it’s great to see more brands producing affordable versions, but what is the best peel off base coat you can get on the UK high street?

    Miss Sporty Peel Off Base Coat

    Superdrug / Boots £2.29
    This polish goes on white and dries to a clear matte finish so you know exactly when it’s ready to lay on your nail polish over the top. I’m very impressed by how quickly this dries – by the time I’ve finished the 10th finger, the first one is already dry.

    The brush in this one is round and firm which is great for getting a perfect curve around your cuticles. It’s also great fun for peeling – I can normally get all nails off in one piece!

    I know wear time is a concern with peel off base coats and some are known to chip quite quickly. While I haven’t been able to run a proper endurance test with this one, I have successfully worn it for 24 hours without chipping

    MUA Peel Off Polish Base Coat

    Superdrug £2
    I’m just gonna come out with it – this is my least favourite of the three. As you can see, this is the only one of the group that’s clear which makes application really tricky because you can’t always tell where you’ve got coverage without twisting your hand to the light at funny angles. It shrinks before it’s dry if there’s even a trace of oil on your nails and you can’t tell whether it’s dry without touching it which obviously messes things up if it’s not yet dry.

    If you can get past the bad application, the peel off function works okay but I haven’t gotten more than 15 hours of wear without my polish chipping at the tips.

    NYC Strip Me Off Base Coat

    Superdrug £2.99
    NYC are one of my favourite brands on the high street because the polishes are always great quality for the price point. I was very excited when I saw that they had a peel off base coat on the way. It performs very similarly to the Miss Sporty. Again, it goes on white and quickly dries to a clear matte. It’s also nice and easy to peel off with long wear. I wouldn’t actually be surprised if the products are pretty much (if not exactly) the same since NYC and Miss Sporty are both Coty brands.

    Although the price runs a little higher on this one, you get a little bit more product for your money (9.7ml vs. 8ml) and I prefer the brush in the NYC. It’s a little longer, somewhat flat and I’m just very used to using the NYC brushes.

    I got a full 48 hours wear out of this one with no chipping and it may have lasted longer if I didn’t have to peel it off.

    Best of Three

    For me, NYC’s Strip Me Off takes the crown. The application is easy, it gives long-lasting wear, it’s easy to peel off and it all comes at a perfectly pocket-friendly  price.
    If you’re currently using the MUA peel off base coat, you should throw it in the bin and buy this one. Your life will be so much easier!
    Share:
    Freehand, Nail Art, Uncategorised

    Turquoise and Gold Art Deco Nail Art

    Freehand Art Deco Nail Art

    When I tweeted about a certain new video game the week before last, you may have thought I was joking when I hinted that I wouldn’t be around much in the coming days. I seriously wasn’t joking! I’ve been out of commission for a while (although not just because gaming) and for that, I’m sorry. Noone wants to hear my excuses and I don’t really feel like bringing the mood down around here so let’s leave it at that. I’ll try to do better next month!

    For this nail art, I’m borrowing heavily from an art design that I did over a year ago for the 31 Day Challenge 2013. I can’t believe it was that long ago! I didn’t even have to go back to the pictures or watch the tutorial to remember the pattern. I loved it so much that it’s been ingrained on my brain since the day I first pained it. I switched it up a bit this time with different patterns on all the nails and I had so much fun doing it. It’s definitely reignited my nail art spark.

    In other news (still related to this nail art), I stumbled across one of those incredible odds-and-ends beauty stores in Bridgend over the weekend that seem to pop up all over the place before disappearing within a few months. I can never walk past one of these stores without going in. EVER! This one had a whole wall of neatly stacked nail polish, which I really appreciated because normally you have to dive through huge bins full of bottles to find the good ones! I restrained myself and left the building with only 5 bottles and a few make-up items. Two of them feature here today!

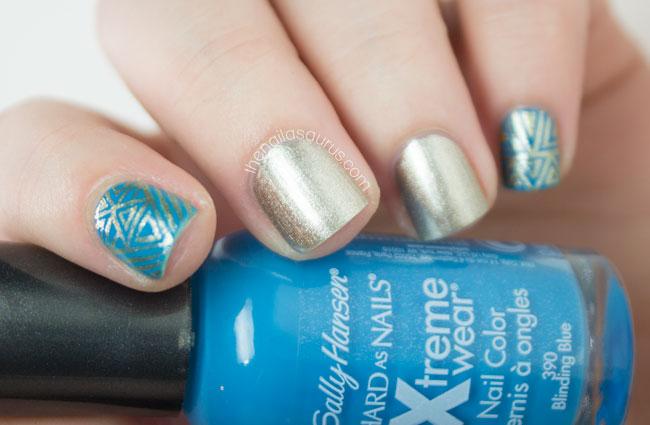
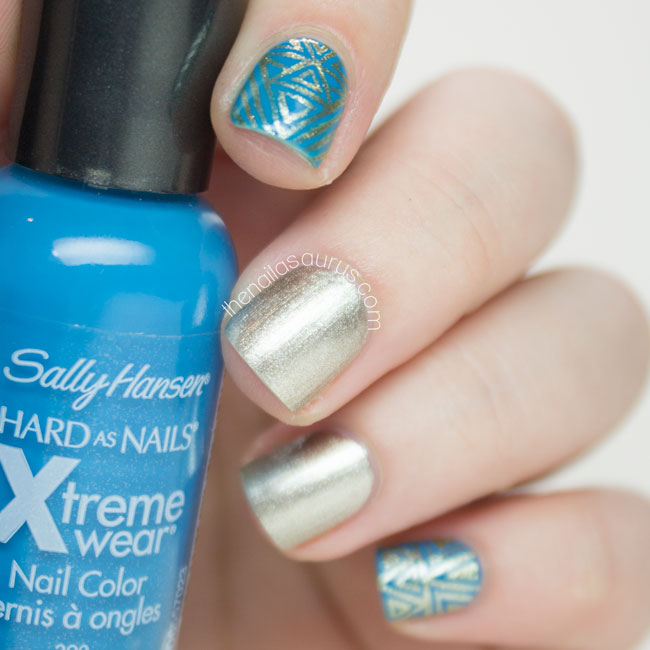
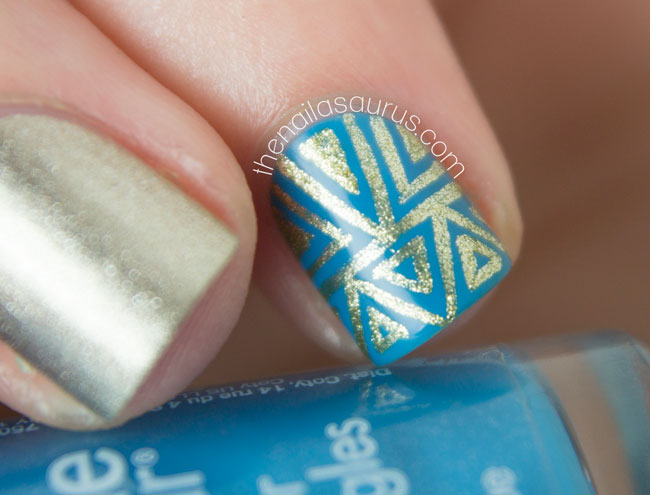
    I used Sally Hansen Blinding Blue and Sally Hansen Coat of Arms as my base colours. For the lines, I used NYC Full Metal Jacket with a skinny brush from Winstonia. It’s all topped with a coat of Glisten & Glow HK Girl.

    NYC Loft in Williamsburg

    Art Deco Nails

    Art Deco Nail Art

    Art Deco Nail Art Macro

    Share:
    Nail Art, Uncategorised

    NYC Velvet Chic with a Glitter Pyramid


    Last weekend, I was on the hunt for NYC’s new peel off base coat which, amazingly, I found on the first try. While I was there, I spotted the 3 for 2 offer across all cosmetics and inevitably got sucked in to buying two extra bottles of polish! One of them was this new NYC shade I spotted, Velvet Chic. Although we’re a bit trained to think of dark colours as winter nail colours, this caught my eye as a perfect winter shade. It’s like a cool pastel; not too bright but not dull either, just somewhere in the middle as classy to boot.

    For the nail art here, I was inspired by this post at Chalkboard Nails although instead of dotting on the colours, I used some little round glequins from Born Pretty Store over NYC Velvet Chic. I think the iridescent effect is interesting paired with the matte top coat.

    I topped it off with one coat of Glisten and Glow HK Girl and then one of NYC Matte Me Crazy.

    Share:
    Freehand, Nail Art, Uncategorised

    Popping Tribal Nail Art

    Tribal Nail Art // Freehand

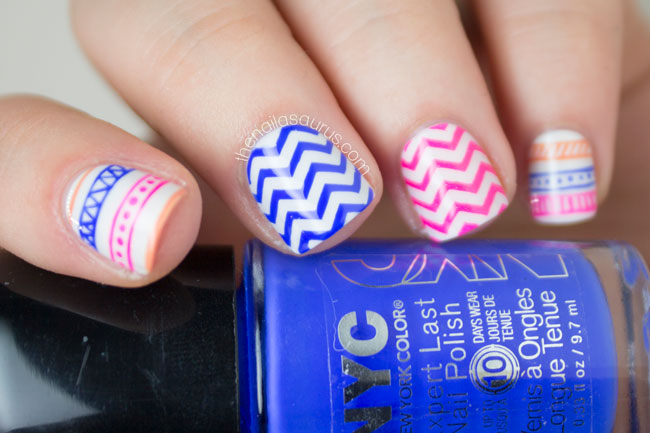
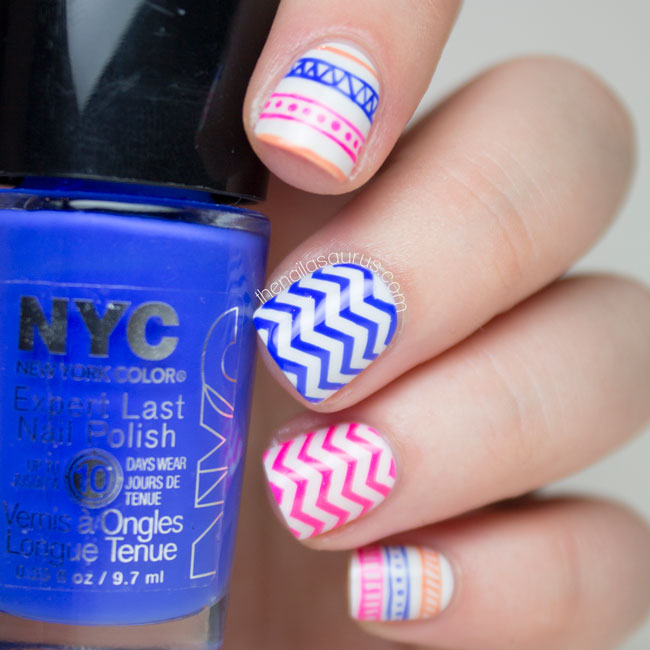
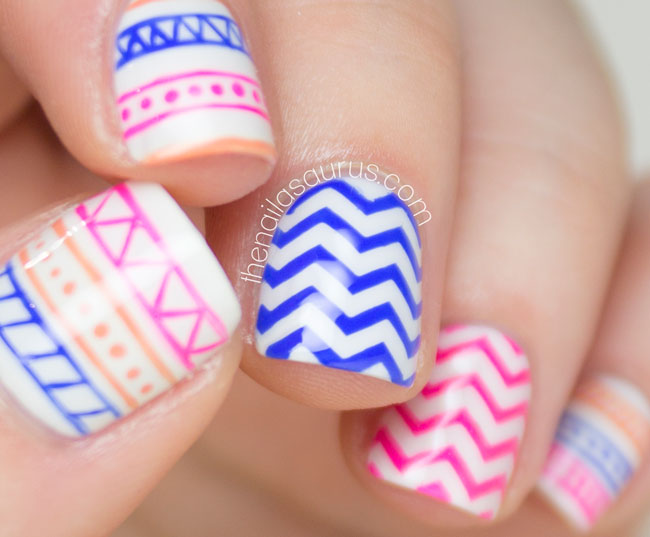
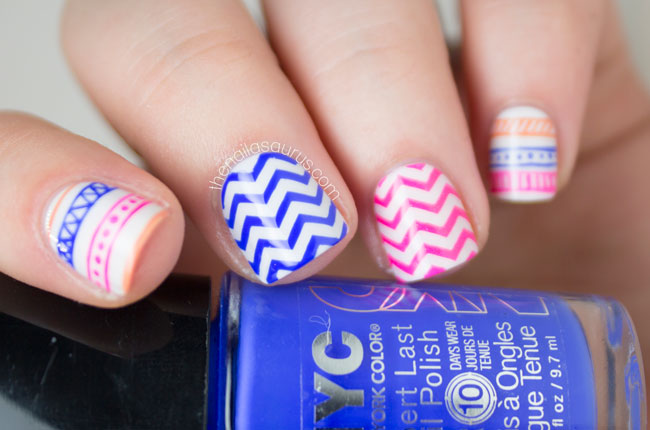
    When I saw that Hannah from The Dalai Lama’s Nails listed Winstonia Store’s brushes in her ‘Can’t Live Without’ products in this month’s Nail It! magazine, I knew I had to get my hands on some. I went for the 5-piece set (recommended by Hannah) and also the 1.4cm and 1.65cm stripers. All the brushes are really amazing but you can’t beat a strong, skinny striper for some tribal nail art.

    I also have to give a shout out to these Skinny Chevron Guides by What’s Up Nails. I threw them in to my Winstonia basket along with the brushes, but they also have their own site where you can buy too (and you can get 10% off all vinyl products with the What’s Up Nails code: NAILASAURUS10). All the chevron decals/guides/stickers/vinyls I’ve used in the past have been bigger and I can never fit all that many on my nails but the skinny size works so well on my tiny little nail beds. Can’t wait to try more things with these!

    Tomorrow, I’m off to Nail Harmony HQ to spend the day mastering Gelish. It’s very exciting since I’ve never (EVER!) used gel polish before but I really want to learn more. Gels are such a huge thing now, even some of my friends who normally show little interest in nails have been asking me for advice about which techniques and products are best. They get a bit of a surprise when I sit there quietly and tell them I have no idea! Normally you can’t shut me up when someone asks anything vaguely nail related! It should be a fun day and I can’t wait to meet some new bloggers. As always, you can follow me on Twitter for updates on the day (and maybe a selfie or two!).

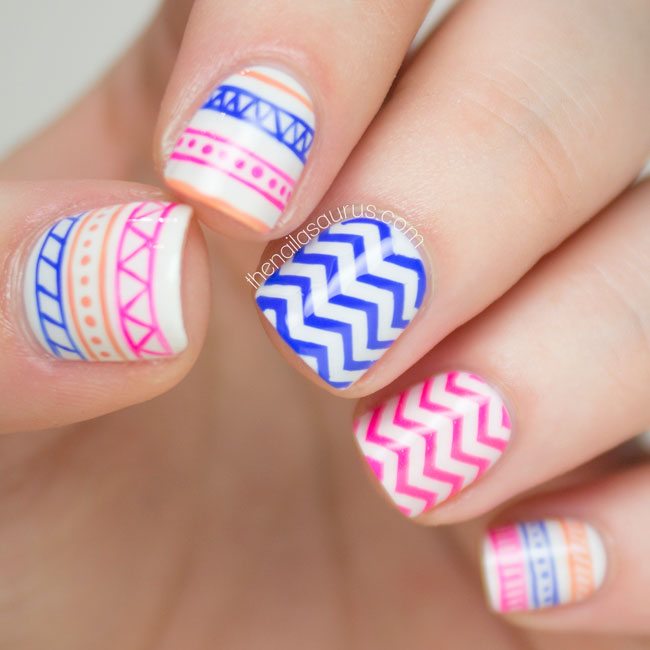
    For this nail art, I used a base of Barry M Coconut and topped it with a thin coat of Glisten & Glow HK Girl.

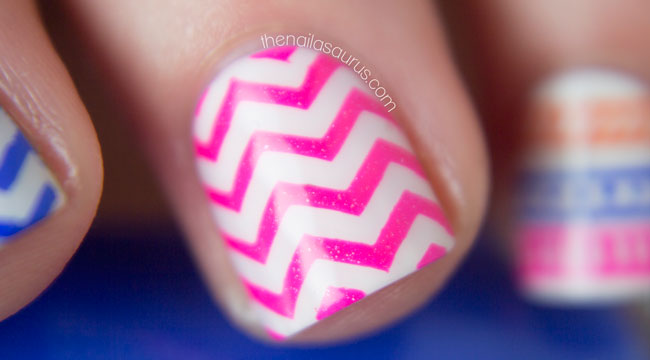
    For the chevron nails, I used What’s Up Nails Skinny Zig Zag Guides with piCture pOlish Sizzle and NYC Hudson Breeze.

    I freehanded all the tribal details using the 1.4cm striper from Winstonia. The colours are NYC Hudson Breeze, piCture pOlish Sizzle and Sally Hansen Tahitian Sunset.

    It’s all topped with two coats of HK Girl.

    What's Up Nails Skinny Chevrons

    Chevron Nail Art with piCture pOlish Sizzle

    Blue Chevron Nail Art

    Tribal Nail Art

    piCture pOlish Sizzle

    Share:
    31 Day Challenge, Nail Art, Stamping, Uncategorised

    31 Day Challenge: Animal Print

    Leopard Print Nails // The Nailasaurus

    For my my animal print nails, I’ve gone pretty simple with a true classic leopard print stamp from Konad. This is the first stamping plate I ever owned so I have deep feels for the patterns that are on it! 
    This gold polish from NYC is really great for nail art as it’s good and opaque with a foil finish, rather than chrome, but it is a bit of a nightmare to clean up! I think it’s because it’s sort of like a lgitter in that there are trillions of tiny particles of colour in there which get away from you. I used my DIY Peel Off Base Coat around my nails before stamping in an effort to protect from the worst of it but you can still see little bits around my cuticles that I couldn’t get rid of. I could have scrubbed with a nail brush but I didn’t want to risk scraping off the stamping, since there’s no top coat over it.
    I started with a base of Barry M Espresso.
    I used a coat of Rimmel Matte Finish to even out the surface as I find the Barry M mattes can sometimes look a bit streaky.
    Finally, I stamped the leopard design using NYC Full Metal Jacket with Konad Plate M57.
    31 Day Challenge: Animal Print
    Matte and Glossy Stamping Nail Art // The Nailasaurus
    Konad M57 Stamping // The Nailasaurus
    Konad M57 Nail Art // The Nailasaurus
    Share: