Follow:
Browsing Tag:

Essie

    Freehand, Glitter, Uncategorised

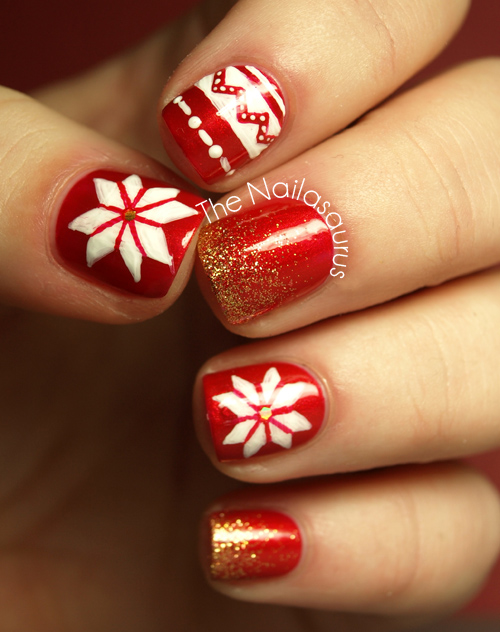
    Christmas Jumper-y

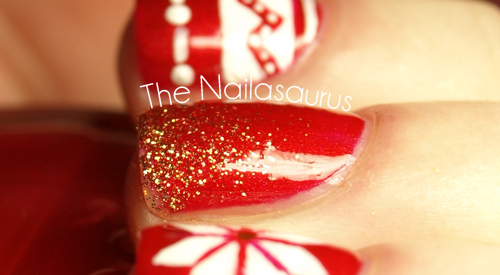
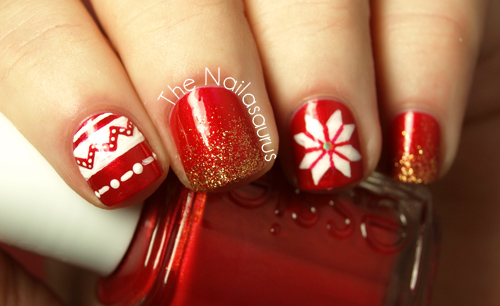
    Here’s another Christmas mani featuring Essie Jag-u-are, a polish I picked up in TK Maxx just because I thought it was Christmas-y. I don’t normally go for frosty, shimmery polishes like this but the shimmer in this is subtle so I don’t hate wearing it on my nails but I’ imagine after this month, it’s going to sit at the back of the drawer until next December.
    For the snowflake designs on this mani, I followed Coewless Nails‘ super simple Fair Isle Snowflake Tutorial.

    I used Essie Jag-u-are as my base colour and painted on the white detail with acrylic paint and a small nail art brush. The gold glitter on my tips is Sinful Colors Paris and I dabbed that on using a sponge.
    Finally I topped it off with two coats of NYC.

    TwitterBloglovin’Tumblr

    Share:
    31 Day Challenge, Freehand, Uncategorised

    31DC2012 Day 26: Inspired by a Pattern

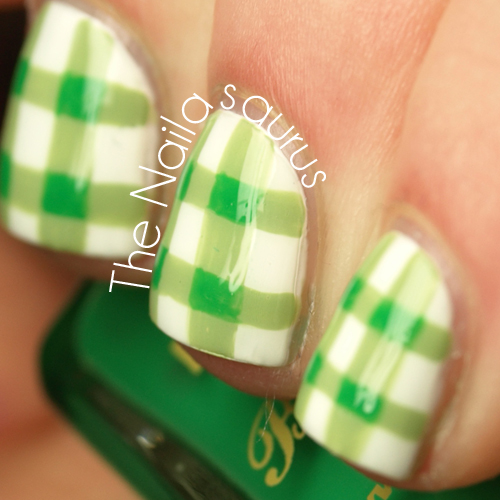
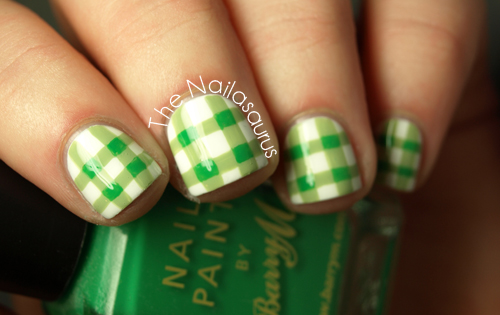
    Today’s nails are inspired by good old gingham as part of the 31 Day Challenge. I’ve done gingham nails before but I wasn’t 100% happy so I wanted to give them another try and I like the outcome much better. 
    As always, head over to Let Them Have Polish and Nails and Noms to see their nail art today.

    I used Barry M White as my base colour and used a nail art brush to paint on the stripes 2×2 on each nail in Essie Navigate Her and then used Barry M Spring Green to paint on the little squares where the lines cross. I topped it all with a coat of Seche Vite.

    TwitterBloglovin’Tumblr

    Share:
    31 Day Challenge, Gradient, Uncategorised

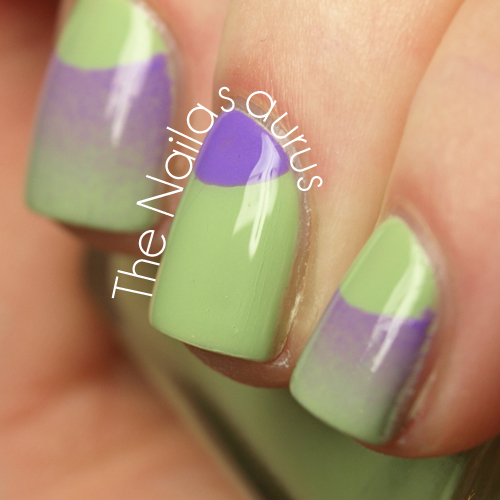
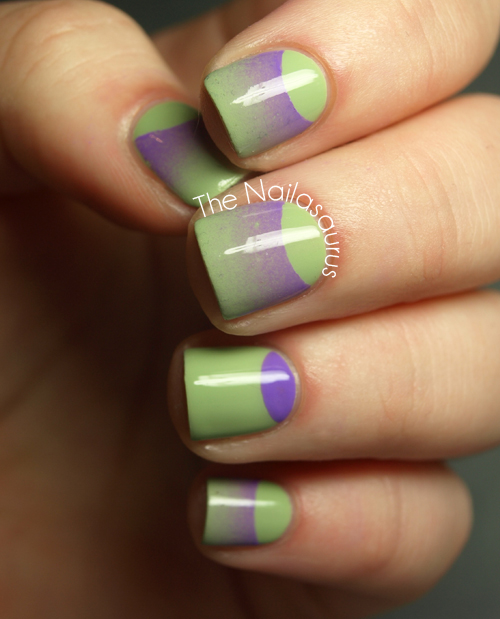
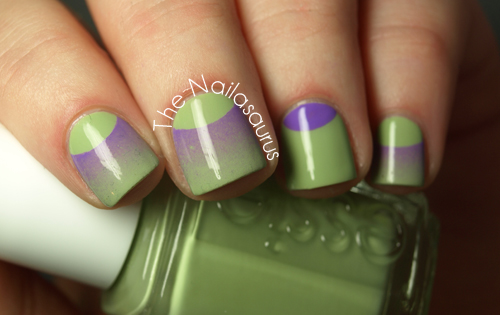
    31DC2012: Day 18 Half Moons

    For day 18 of the challenge, we have to create half moon manicures. This is another day that I’ve been really looking forward to since I saw this half gradient, half half moon creation at Globe and Nail. I stole the Purple and Green colour combination from last year’s Day 18 manicure! I never know what to pair with green except for more green. Then my brain always skips to ‘What’s green?’ Grass and HULK… ‘What colour does he wear?’ PURPLE!
    You can see Christina’s Half Moon Manicure here and Rie’s is here!

    I used Essie Navigate Her as my base colour and applied a coat of Seche Vite to make it dry quickly.
    Next I stuck Hole Reinforcers to my nails at the cuticle to mark off the half moon shape before creating a gradient with Julep Anne and a little more Navigate Her (gradient tutorial here).
    Finally, I used a nail art brush with a bit of Julep Anne just to fill any any gaps on the moons and topped it off with two coats of Seche Vite.

    TwitterBloglovin’Tumblr

    Share:
    Tutorial, Uncategorised

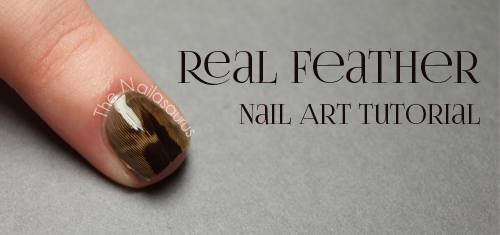
    Real Feather Nail Art Tutorial

    This tutorial is for the feather nail art I posted yesterday. I tried my best to explain the way I did it, but as they say, a picture speaks a thousand words so I think you’ll find this tutorial much easier to understand!
    You will need…
    A base colour. I chose Essie Glamour Purse.
    A few top coats – one that’s very thick (I’m using a bottle of Essence Better Than Gel Nails that’s a few months old) and one that dries quickly (like Seche Vite).
    A nail file
    A small pair of scissors
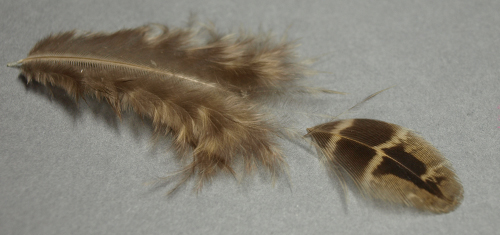
    And, of course, some feathers! The thinner and lighter the better.
    I got mine from Hobbycraft in a huge bag for £2.99 but you should be able to find something suitable in most large craft stores. I think Michaels is the US equivalent of Hobbycraft in the UK.
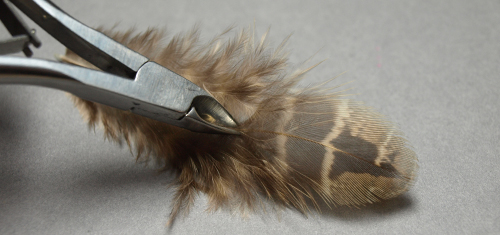
    Before you start, prepare all of the feathers you plan to use by cutting off the ends. This is the only part we need to use. Pick out feathers that match the size of your nail(s) so that you don’t have too much overhang at the cuticles which can be a pain to trim. 
    Paint on your base colour, let it dry, then add a thick coat of your thick clear top coat.
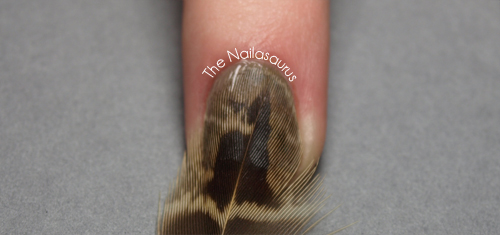
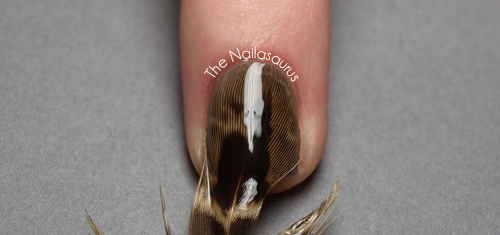
    While the clear coat is still tacky, carefully place the feather on to your nail. Try to only cover the part of your nail that has colour on.
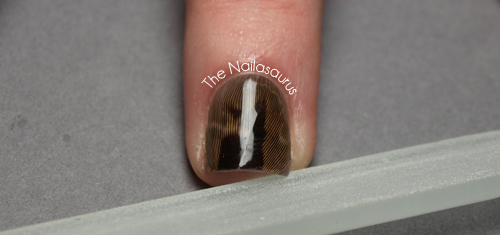
    Lick the index finger on your other hand and use that to very gently press the feather down in to the sticky nail polish. Don’t worry about the unwanted feather hanging off the end of your nail just yet.
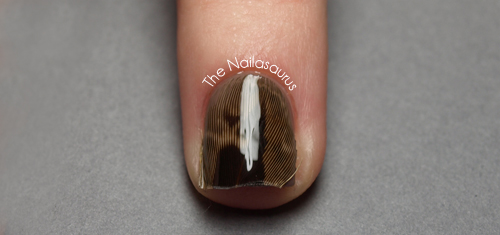
    When that’s completely dry, apply a few coats of your fast drying top coat. Carry it on past the end of your nail to make the feather hard and easy to cut/file. I used 3 coats of Seche Vite to give it a thick glaze!

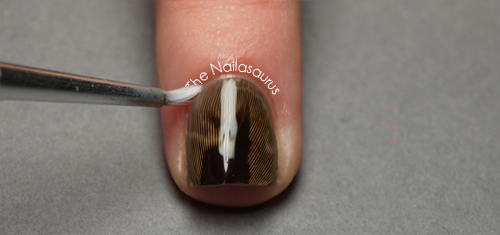
    Once that’s dry, use scissors or cuticle clippers to trim off most of the excess feather hanging off the end of your nail.
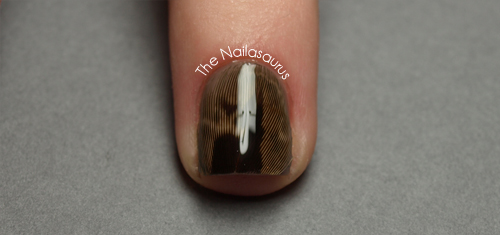
    You can remove what’s left with a nail file which also leaves you with a nice smooth edge. This will stop it from annoyingly catching on your clothes and remove the temptation to pick it off!
    I like to clean up around my cuticles with pure acetone and a small paintbrush, especially after piling on all that top coat!
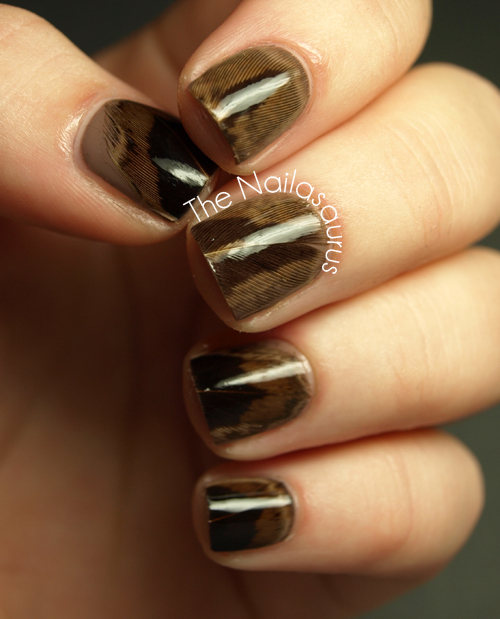
    And here’s the result…

    TwitterBloglovin’Tumblr

    Share:
    31 Day Challenge, Uncategorised

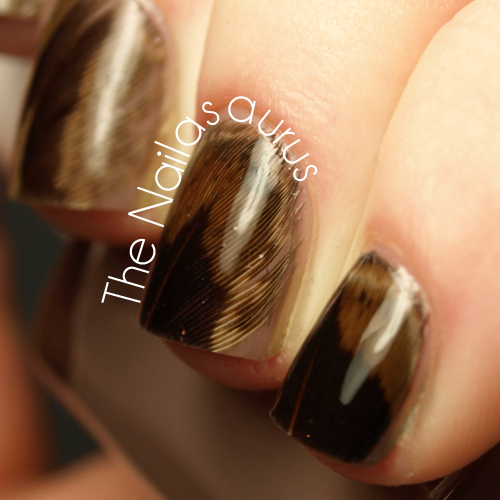
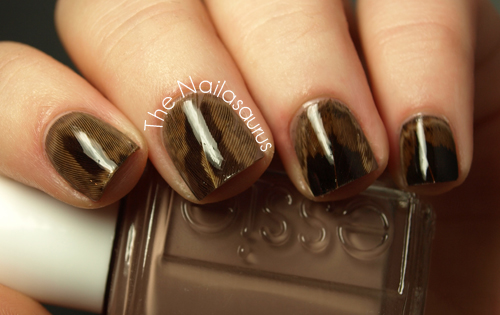
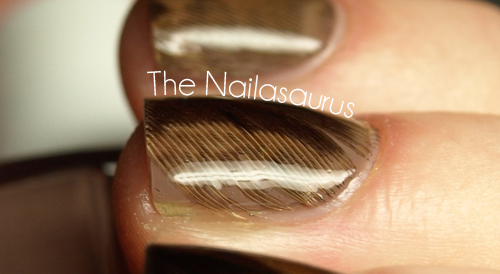
    31DC2012: Day 13 Animal Print REAL FEATHERS!

    I’ve been burning the candle at both ends this week and as a result I’ve either been too busy or too tired to blog. So this is actually Thursday’s post, just super late!
    I’ve been looking forward to this day since before the challenge started. I bought these feathers in Hobbycraft weeks ago and I knew they’d be my animal print mani. I’m in huuuge love with this nail art but, being a picker, it didn’t last more than a day before I pulled the feathers off! 
    You can see Cris’s animal print mani here and Rie’s right about here.

    It’s so hard to explain how I did this, but I’ll try anyway! I painted on two coats of Essie Glamour Purse and let it dry completely. I picked out feathers that were already the right size for my nail and just cut off a bit more than I needed to cover my nail.
    Next I added a thick coat of top coat and placed the end of the feather on my nail. I licked my finger and used it to gently push the feathers in to the clear polish. At this point there is still feather hanging off the end of my nail that I’ll cut off later. 
    After doing that on every finger and letting it dry a bit, I added about 3 coats of Seche Vite to every nail to smooth it over. Finally, I used some scissors to cut the feathers at the end and then a nail file to file the leftovers right down to my own nail.

    TwitterBloglovin’Tumblr
    Share:
    31 Day Challenge, Freehand, Glitter, Uncategorised

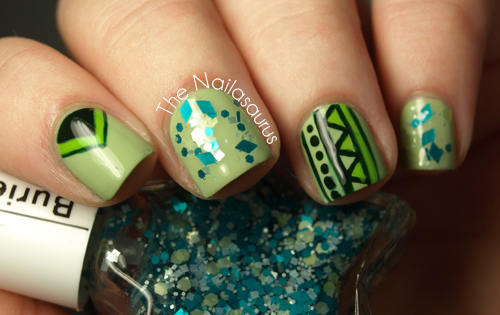
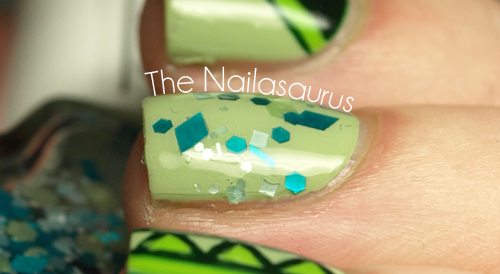
    31DC2012: Day 4 Green Nails

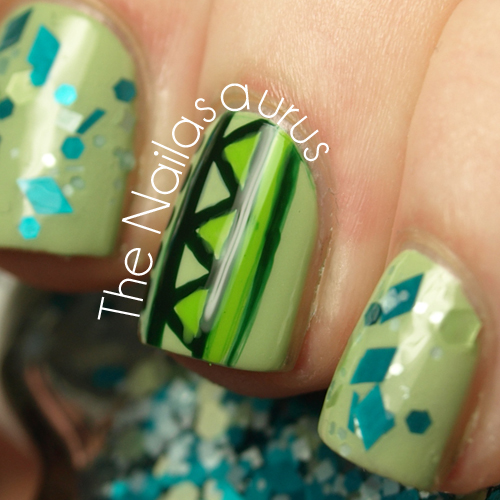
    You all know how much I love a bargain and my base colour today, you’ll be pleased to hear, was indeed a bargain. I’ve mentioned before that I found some Essies in TK Maxx well now I’ve found some in The Original Factory Shop for £3 each. I picked up two and this is definitely my favourite, Navigate Her. It’s a mint green for autumn. There’s just a hint of something in there which makes it less pastel and more creamy.
    I sparkled it up with JENsations Buried Treasure, then went freestyle with Sinful Colors Last Chance and La Femme Lime Cream. Finally, I topped it with two coats of Seche Vite.
    Rie and Cristina will also have some green manicures for you today!

    TwitterBloglovin’Tumblr

    Share:
    Gradient, Uncategorised

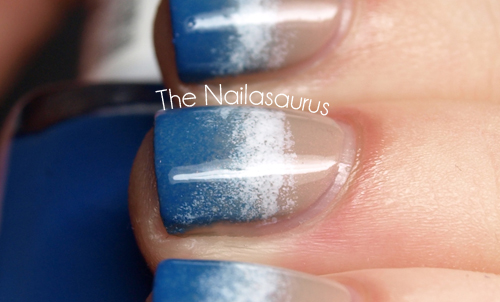
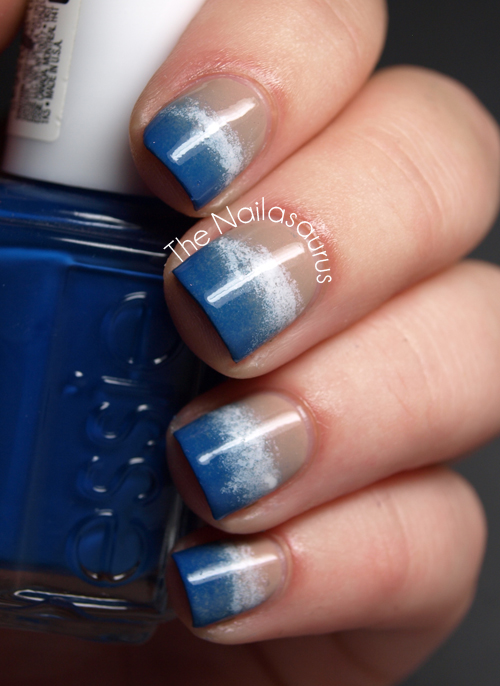
    Beauty and the Beach: Nail Art Entry

     This is my entry to the Beauty and the Beach Competition which is being held by travelsupermarket.com.
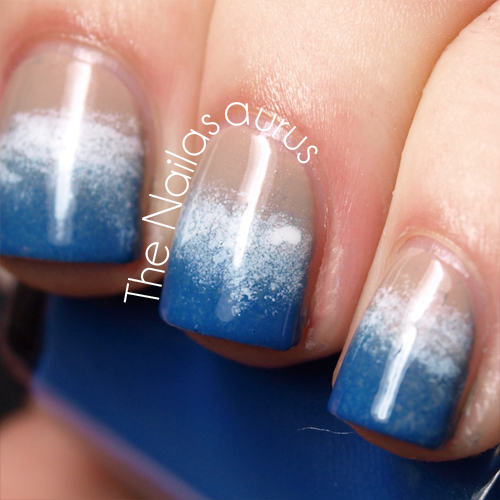
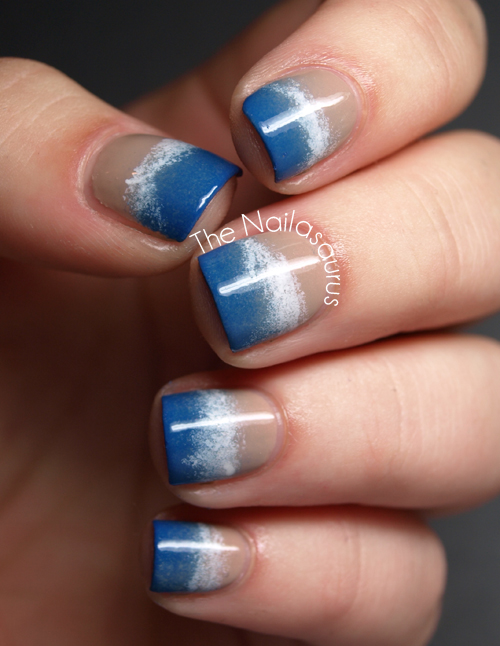
    I struggled for while to come up with a holiday look so in the end I just sat myself down and thought ‘What’s my favourite part about the beach?’, and the answer is easy… the waves!
    This nail art is meant to look like the little remainders of the tide that wash up on the beach. For me, it doesn’t qualify as a holiday unless I at least get to dip my feet in that last inch of the ocean.

    I used Cult Nails Cruisin Nude as my base colour then used Essie Mezmerized to create a gradient using this tutorial. Then I used a sponge to dab on some Barry M White to create the foam. Finally, I finished it off with two coats of Essence Better Than Gel Nails

    TwitterBloglovin’Tumblr

    Share: