Follow:
Browsing Tag:

Essie

    Galaxy, Uncategorised

    Fractal Fingertips from Will Paint Nails For Food

    Today’s guest post is coming to you courtesy of Meghan from Will Paint Nails for Food
    Meghan’s been at the nail blogging game for less than a year but she’s already making waves and once you see her nail art you’ll know why! If you follow the nail art tag on Tumblr, you’ve probably seen her nails on there more than a few times. She’s currently in the middle of the 31 Day Challenge so make sure you go and follow her to keep up to date with her creations!

    Where to find Will Paint Nails for Food
    BlogFacebook – Instagram – Tumblr – Bloglovin’
    ——————————————————————————————-

    Hi everyone! What an honour it is to be writing for this blog. Thank you Sammy for having me here!

    I had the idea of combining galaxy nails with some sort of fractal design months ago. I’m no expert on the subject but simply put, fractals are complex geometric designs where the small parts are very similar to the larger overall pattern. And there are many connections between galaxies and fractals – some believe the universe is just a large fractal.
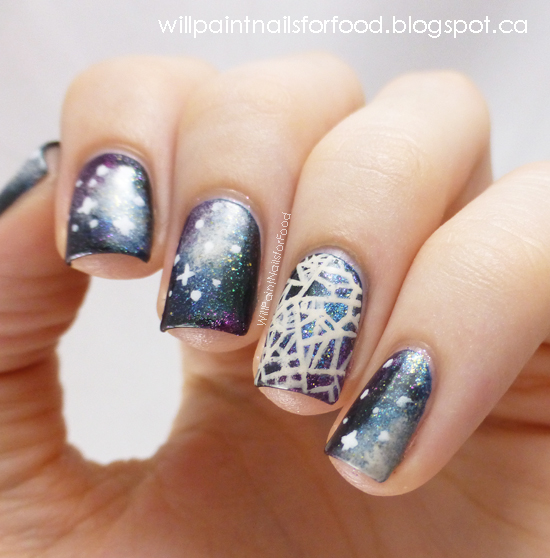
    I’m not sure how successfully the accent nail conveys the idea of fractals, however, you can check out the source image HERE .

    Here’s the steps I took for these nails:

    1. I started with a base of Essie Midnight Cami
    2. Using little bits of makeup sponge I slowly built up the colours, first with the blues using piCture pOlish Cosmos, piCture pOlish Pshiiit, Foxy Paws One More Night, and Zoya Crystal
    3. Then I built up the purples with Nicole by OPI Back In My Gloria Days, and Zoya Carly
    4. I added my blacks with Orly Liquid Vinyl and Liquid Sky Lacquer Party All Night
    5. I added the nebula effect with more Zoya Crystal and OPI My Vampire is Buff
    6. I painted the stars with a detail brush and Sally Hansen White On
    7. For the accent nail, the base is the same as the others, only I didn’t add the lighter nebula. The fractal design is painted with OPI My Vampire is Buff and a detail brush.
    8. I finished with two coats of KBShimmer Clearly On Top

    I love galaxy nails because, generally, most people use the same technique, but everyone’s looks different. I tend to use more polishes than necessary, you probably don’t need this many colours.

    I hope you enjoyed my post, and thanks again Sammy for having me here!

    TwitterBloglovin’Tumblr

    Share:
    Gradient, Uncategorised

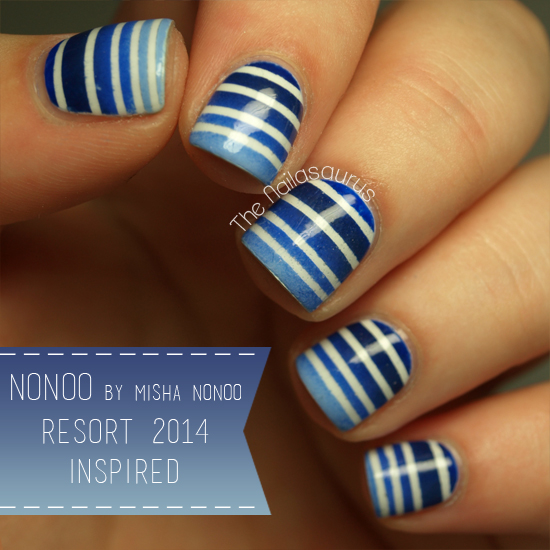
    Nonoo Resort 2014 Inspired Nail Art

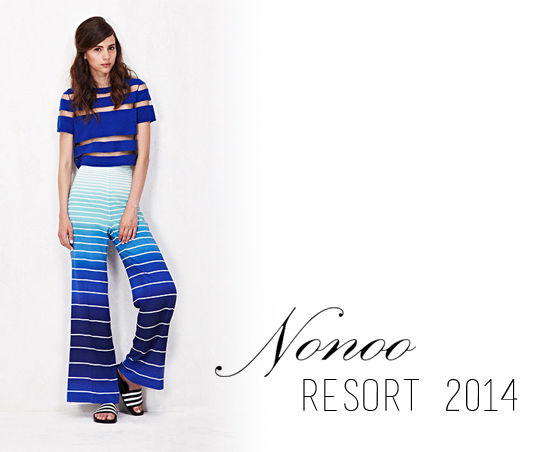
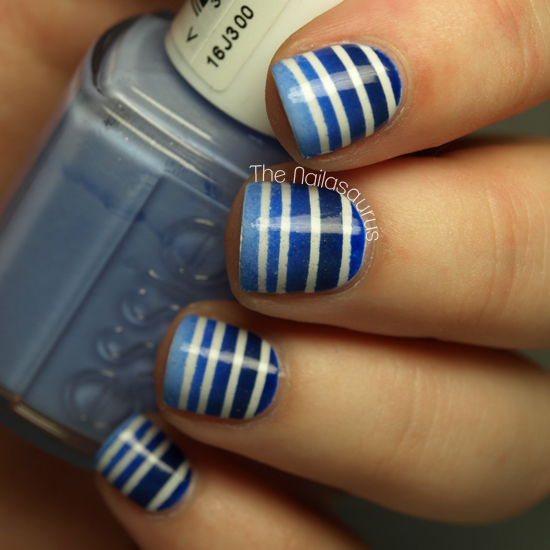
    Yesterday I was checking out the finalists for 2013’s CDFA/Vogue Fashion Fund at Glamour.com and when I saw the lookbook image from Nonoo’s Resort 2014 collection, my heart skipped a beat. As we all know, I have a weakness for stripes, gradients and anything blue so within seconds I’d decided that it was going on my nails!

    Image source: Nonoo.com

    I’m going to try a new way of writing out the steps I took today. I’m hoping a broken down step-by-step is going to be easier to follow than the regular massive paragraph of description!
    1. I used a base of Barry M White and a coat of No7 Stay Perfect Top Coat to make it dry a bit quicker.
    2. Using a pair of tweezers, I placed striping tape across all of my nails nail where I wanted the white to peek through.
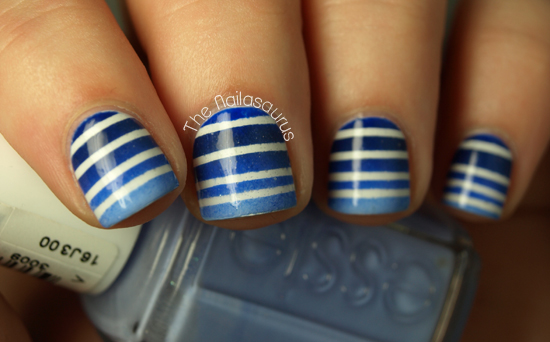
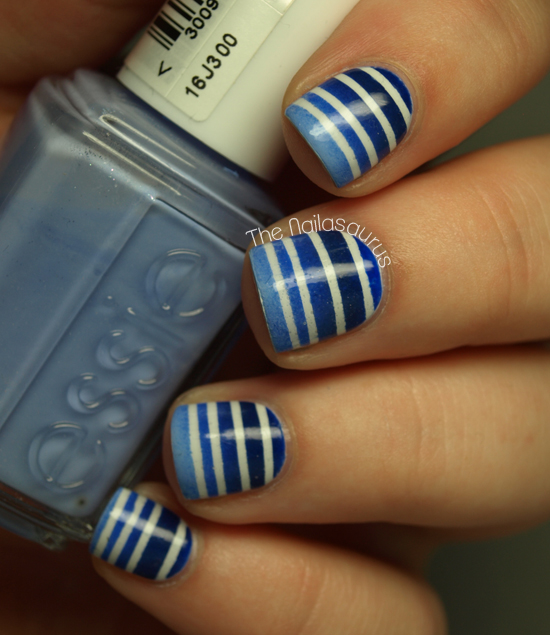
    3. For the gradient, I used Barry M Grape, Sally Hansen Thinking of Blue, Sally Hansen Pacific Blue and Essie Bikini So Teeny in that order from cuticle to tip.
    Instead of using my normal gradient technique, I painted the colours straight on to the sponge. I then dabbed it on to a sheet of plastic to blend the colours slightly before sponging it on to my nail, one nail at a time.
    4. Straight after sponging on the gradient, I peeled the tape off my nail and moved on to the next.
    5. Once it was all dry, I added two coats of No7 Stay Perfect Top Coat to smooth everything over.

    TwitterBloglovin’Tumblr

    Share:
    Freehand, Uncategorised, Waterfall

    Fiery Waterfall

    So it seems you guys like the waterfall mani as much as I do! Thank you for letting me know your amazing ideas for colours. I’ve noted them all down and will be trying them out asap!
    The weather today has been insane. I’ve spent half the day moving around at quarter speed and the other half laid down completely still with a fan pointed at me trying to cool off! I’m really not one for this scorching heat… when it gets to May I’m always like, ‘Hmmm this isn’t too bad. Maybe I like summer now’, but as soon as July hits I remember the torture and start counting down the days to October!

    For this nail art I used Sally Hansen Crinolin, a super pale pink, as my base colour then painted on streaks of Barry M Papaya, Essie Lollipop, NYC Lexington Yellow and NYC Full Metal Jacket.
    I topped it with two coats of No7 Stay Perfect Top Coat.

    TwitterBloglovin’Tumblr

    Share:
    Glitter, Stamping, Uncategorised

    Banish the Blues: Mint Chevrons

    I’m on such a chevron kick recently and although using tape and craft scissors is great because I get to choose exactly where each zig zag goes, the chevron plate from Bundle Monster’s 25pc set gives super crisp results when I don’t have the time or spare energy to use the tape method!

    I used a base colour of Essie Navigate Her and stamped on the chevron design from Bundle Monster Plate BM201 using Born Pretty’s Matt White Polish (SUCH a good stamping polish!). I used 1 coat of Sonnetarium Snowfall on my ring finger and topped it all off with a coat of No7 Stay Perfect Top Coat.

    TwitterBloglovin’Tumblr

    Share:
    Freehand, Uncategorised

    Life’s Like a Box of Chocolates

    … you never know what you’re gonna get! 
    I’ve never tried sugar spun nail art before but I wanted to give it a go this week and Forrest Gump served for the perfect inspiration. I wanted to create the look of fancy boxed chocolates and I think the sugar spun technique was the right way to go.  I had to add the foil heart because it seems to me like you get one of those in every single box of chocolates! 

    The colours I used for the chocolate are NYC Midtown Mink, Essie Glamour Purse and Stargazer White. I added a top coat of Essence Better Than Gel Nails to each nail before adding the sugar spun details. You can watch a tutorial for that just here.
    On my middle finger I freehanded the heart with NYC Enchanting Fire with a small nail art brush over 2 coats of NYC Midtown Mink.

    TwitterBloglovin’Tumblr

    Share:
    Uncategorised

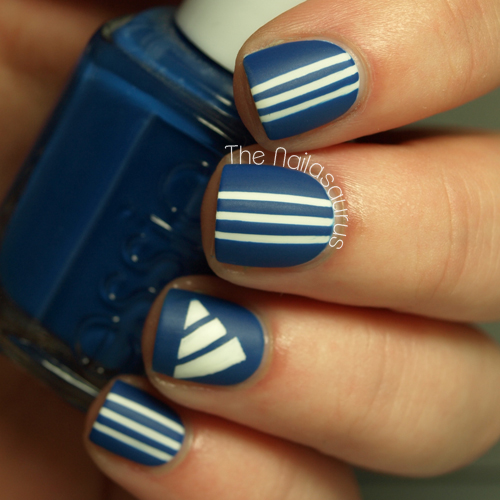
    3 Stripes on my Sneakers (Adidas Nail Art)

    When I was a kid it was all about the Adidas poppers… you know the ones I’m talking about! The tracksuit bottoms with three stripes and poppers running all up the side? Please tell me I wasn’t the only one!
    I had a grey pair which I wore to death. Man I loved those things when I was 11 but I don’t think I’ve worn a pair of tracksuit bottoms in public since. Oh 90s fashion, thank you for staying in the 90s!

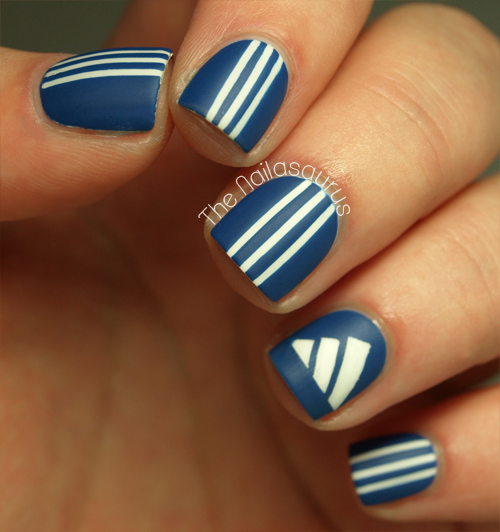
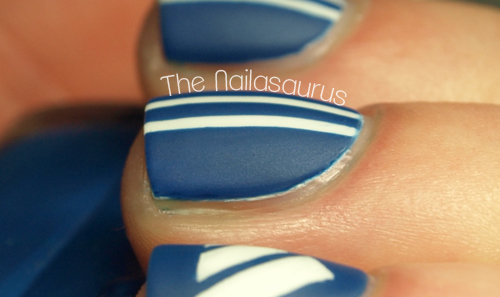
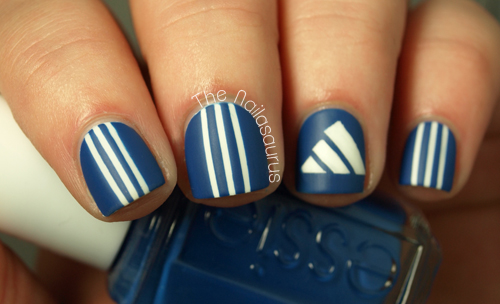
    For the stripe nails, I used 2 coats of Barry M White and then topped it with a coat of Sally Hansen Dries Instantly. Next I used striping tape to mark off three stripes and painted over it using Essie Mezmerised  before peeling off the tape (tutorial here). On my ring finger I used Mezmerised first and marked off the logo using striping tape to keep my lines nice and straight, then I filled in the gaps using BK Matt White and a nail art brush. Finally, I topped it all of with one coat of Rimmel Matte Finish.

    TwitterBloglovin’Tumblr

    Share:
    Glitter, Stamping, Uncategorised

    Just Give Me the Quick Gray by Gray

    After a tip off on Twitter last weekend, I found myself browsing Fragrance Direct and I found out where they’ve been hiding all those discontinued Sally Hansen shades! That website has stackloads of them for £1.49 including my favourite off-white – Ion, and flittery gold – Gilded Lily. After Googling for swatches of all the shades I didn’t already have, I settled on 3 colours including this beauty – Gray by Gray. It’s a very rich, blue tinted, dark grey.

    I started with a base colour of Sally Hansen Gray by Gray then stamped on the Paisley design from Bundle Monster Plate BM-315 using Essie Blue Rhapsody, a metallic blue.
    The glitter on my ring finger is Chit Chat Ariel which I picked up in Poundland. I finished it all off with a coat of Sally Hansen Dries Instantly plus an extra two coat over the glitter.


    TwitterBloglovin’Tumblr

    Share: