Follow:
Browsing Tag:

China Glaze

    31 Day Challenge, Glitter, Uncategorised

    31DC2013 Day 17: Glitter

    Press Sample

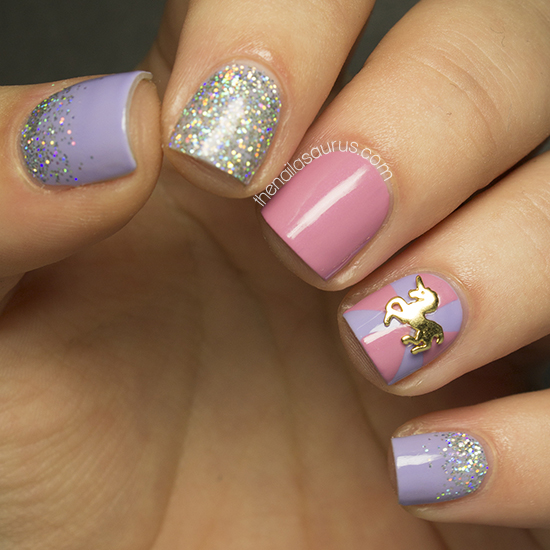
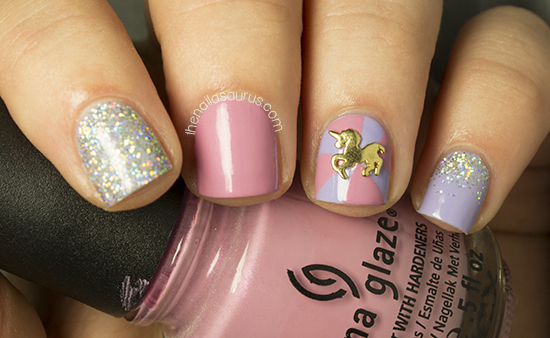
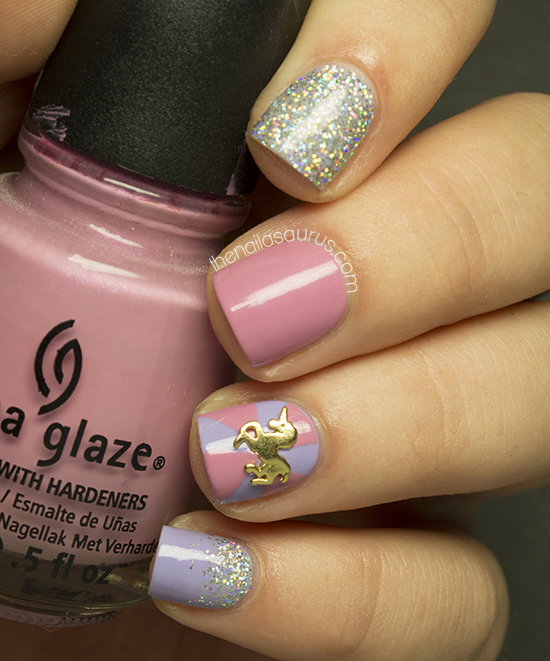
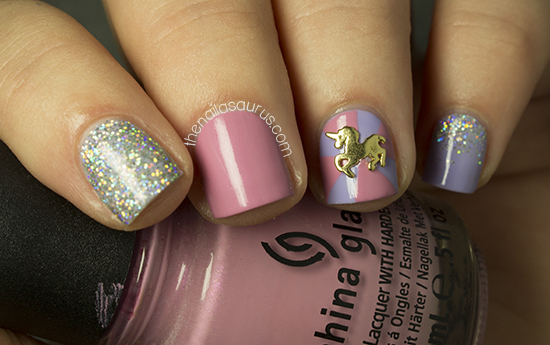
    Even though Glitter was the only prompt that I had an idea for before the challenge even began, today’s design still isn’t as glitter packed as I’d originally planned because I kept changing my mind about the specifics! I ended up with one glitter covered nail and a few sprinkles here and there so I think it can still pass right?
    As I mentioned in my Day 15 post, I’m working my way through a selection of Hex nail charms and second on my list is the Unicorn! ($1.75 at hexnailjewelry.com HERE). I wanted to do some nails that were ethereal, mystical and enchanting to match the charm so I knew it would have to include holographic glitter and pastels which is why I saved it for Day 17. I’m so in love with this nail art and it’s made me realise that I definitely need more holographic glitters.

    The creme colours are China Glaze Pink-ie Promise and Barry M Prickly Pear. The glitter is H+M Jo Is In The House. To get full coverage on my index finger, I used a base coat of Barry M Prickly Pear and then sponged on the glitter. For the nails with glitter on, I used a base coat of PVA Glue to make for easy, peel off removal.
    I topped everything off with two coats of No7 Stay Perfect Top Coat and applied the nail charm using a dot of nail glue.

    Day 17: Glitter 2012
    Day 17: Glitter 2011
    See what’s coming next in the 31 Day Challenge 2013!
    Share:
    Freehand, Uncategorised, Waterfall

    Monochrome Waterfall

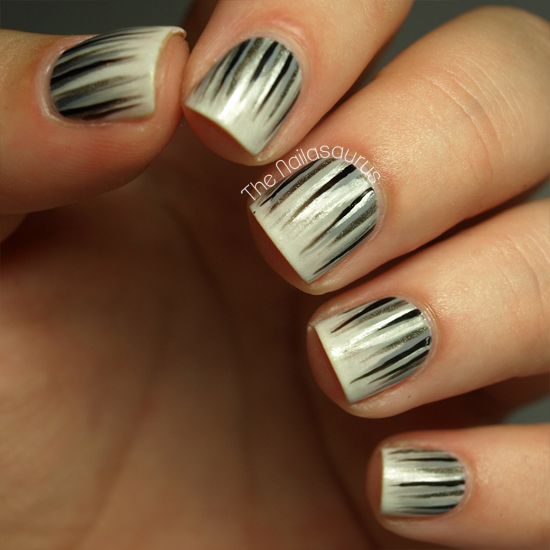
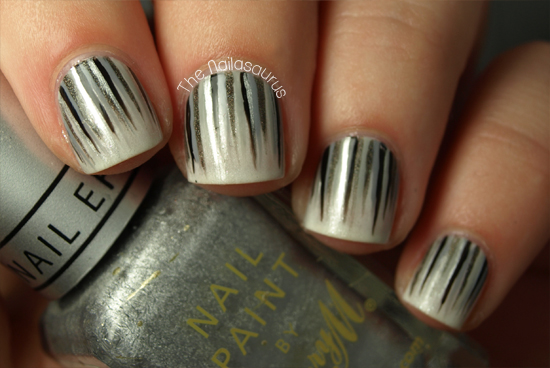
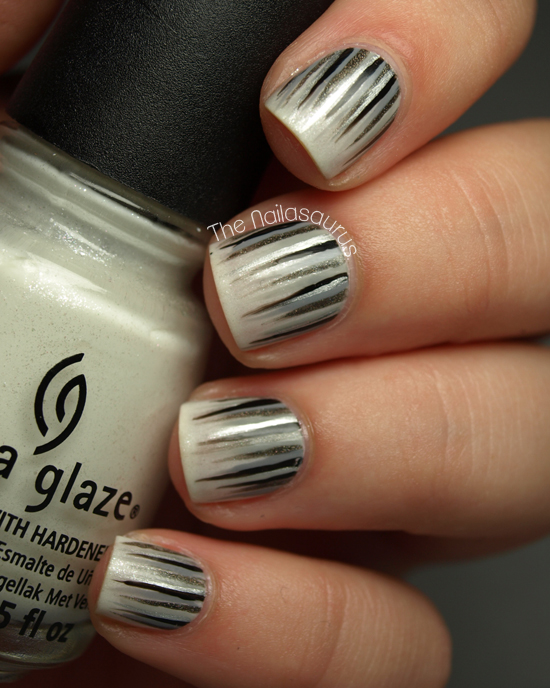
    The last thing on my list of must-do waterfall manis was a monochrome creation. This was suggested in the comments on the first ever waterfall mani I posted and I finally got round to it this week! 

    My base colour is China Glaze Dandy Lyin’ Around which is a shimmery creamish white. I thought I’d step away from the Barry M White on this one as it seems I’m using it in almost every manicure recently!
    For the details, I used Rimmel Grey Matter, Sally Hansen Dorian Grey, No7 Just Black and A-England Fated Prince. There’s a tutorial for the waterfall look here.
    I finished it all off with a coat of No7 Stay Perfect Top Coat and then one coat of Essence Better Than Gel Nails Top Sealer.

    Friendly reminder that my blog is shortlisted in the Established Beauty Blog category at this year’s Cosmo Blog Awards and you can vote for me here.
    Share:
    Nail Art, Stamping, Uncategorised

    Welcome to The Circus from Nailz Craze

    A couple of months back, I came across Nailz Craze on Etsy when I was searching for some new stamping plates to add to my collection. A few weeks later, I came across a blog by the same name and got to wondering if there was a connection between the two. There was!! I found out that Natalie, the creator of the Nailz Craze plates, is also an insanely talented nail artist and blogger!
    I recently ordered a few of Natalie’s nail plates for myself and I can’t wait to try them out. When I asked her to guest post for me I was really hoping she’d create something with her own plates and I wasn’t disappointed!

    Where to find Nailz Craze
    Blog – Facebook – Instagram – Etsy Store
    ——————————————————————————————-

    Hello there, dear Nailasaurus fans!
    I have to start this post by telling you how excited and honored I am to be here and share with you my design. Samantha’s blog was one of the first I’ve followed and was inspired by, so it’s really a great honor to be featured at her awesome blog. Thank you Samantha!
    Today I have a festive and special design to share with you, It’s the first design I’ve made with one of the new Nailz Craze plates I’ve created and released at my store this month. To those of you who are not familiar with Nailz Craze yet, it’s a small indie stamping plate brand I own, where you can find themed plates with my original illustrations and designs.

    This manicure was created with the Nailz Craze NC05 Circus plate, and even though you might think it’s a difficult design to create at first look, you will be surprised it’s actually quite easy. Here’s how I created this design:
    I started with two coats of China Glaze Ruby Pumps, my all-time favorite red glitter. It’s a fantastic polish with a great formula, I really love it and if you don’t have it in your collection yet, you totally should get it!
    The first design I applied over the red base was the radial stripes, I used Konad’s White stamping polish for it. After applying this design to my nails, I waited a bit and for it to dry.
    On top of the radial stripes I decided to apply different circus elements such as a circus manager, a seal, an elephant, an acrobat and a star. For the elephant, seal and the acrobat I just stamped the designs with Konad’s Black polish straight on the nail. With the circus manager and the star I decided to fill the stamped design (face and inner star) with a different color to make them stand out better on top of the striped background.  You can see how it’s done at this stamping decal tutorial at my blog, but basically you transfer the image to the stamper as usual, and then before applying it to the nail, you fill the parts you like with another polish and let it dry, then apply it to a tacky nail polish on your nail. And that’s about it.

    I waited for the stamped designs to dry on my nails for a while, and then applied a generous coat of Poshe Top Coat, pulling it lightly on the nail to prevent smearing (which can be a quite stressful part, since smearing the designs after working so hard on it can be a nightmare).
    The finished result is before you, I think it turned out quite festive and sparkly, and I was pretty pleased with the result. I was very happy to make it for you and I hope you will like this design as well. 
    Thank you for reading and have a lovely weekend!
    Xoxo
    Natalie

    Share:
    Freehand, Uncategorised

    Watercolour Florals from Lucy’s Stash

    Welcome to my holiday week! First up on the list of mystery guest posters we have Lucie from Lucy’s Stash! Most of you will know Lucie already but in case you aren’t familiar with her blog, Lucy is a fellow British blogger whose nail art is always impeccable and she’s really got an eye for the little details, as you’re about to find out!

    Where to find Lucy’s Stash
    BlogFacebook – Tumblr – Instagram
    ——————————————————————————————-

    Hi everyone,
    I’m very excited to write a guest post for Sammy as she’s always been one of my favourite bloggers. It wasn’t easy to decide on what nail art I should do as sometimes it feels like everything has been done before. Lately, I fell in love with watercolours so that’s the technique I’ll be doing today.
    I’ve started with two coats of China Glaze Snap My Dragon and one coat of OPI Matte Top Coat. Then I’ve diluted white watercolour paint and started to draw four-leaf flowers.

    Then I’ve continued to paint the rest of the flowers. This is how it looked before topcoat – lovely matte finish!

    I was curious as to what the design will look like glossy so I’ve applied one coat of Seche Vite top coat

    TwitterBloglovin’Tumblr

    Share:
    Freehand, Glitter, Uncategorised

    Cirque Queen Majesty with Nail Art

    Press Sample

    Today’s nail art is something simple but, I think, totally stunning! I love this vibrant colour combination and this glitter is to die for. It’s one of Cirque’s new shades from the Arcus Collection – Queen Majesty – and it’s very close to the top, if not at the top, of my list of amazing glitters! 
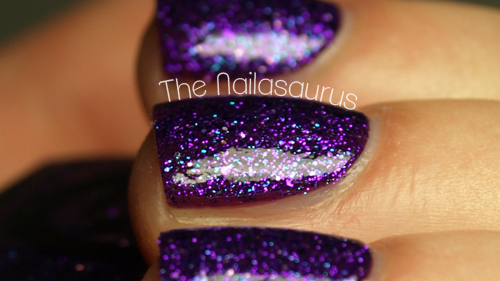
    The glitter is very fine and there are teeny tiny pieces of blue in there which come out in the light – it’s just my dream glitter! It’s beautiful on its own with three coats but I apply two coats of it over a dark purple base colour to bring out all the beauty.
    Cirque Colors Queen Majesty Nail Art
    Read more for a lot more pictures including a proper swatch of the glitter! 

    Cirque Colors Queen Majesty Nail Art
    For the nail art I started with a base colour of China Glaze Sunday Funday. I drew on the drips using a nail art brush with Barry M Plum and then going over it with a bit of Cirque Queen Majesty. It’s all topped off with two coats of No7 Stay Perfect Top Coat. 

    Cirque Colors Queen Majesty Nail Art

    Cirque Colors Queen Majesty Nail Art

    Cirque Colors Queen Majesty Nail Art

    Cirque Colors Queen Majesty Swatch
    Two coats of Cirque Queen Majesty over Barry M Plum with two top coats of No7 Stay Perfect Top Coat. This is a thirsty glitter so if you want a shiny smooth finish, be prepared to use at least two layers of your top coat.

    Cirque Colors Queen Majesty Swatch

    TwitterBloglovin’Tumblr

    Share: