
Base colour: Barry M Coconut
Saran Wrap Shades: China Glaze Tart-y for the Party, piCture pOlish Mad Magenta, NYC Sunny Manhattan
Chevron Colour: Barry M White
Stencils: Nail Mail Chevron Points



Base colour: Barry M Coconut
Saran Wrap Shades: China Glaze Tart-y for the Party, piCture pOlish Mad Magenta, NYC Sunny Manhattan
Chevron Colour: Barry M White
Stencils: Nail Mail Chevron Points

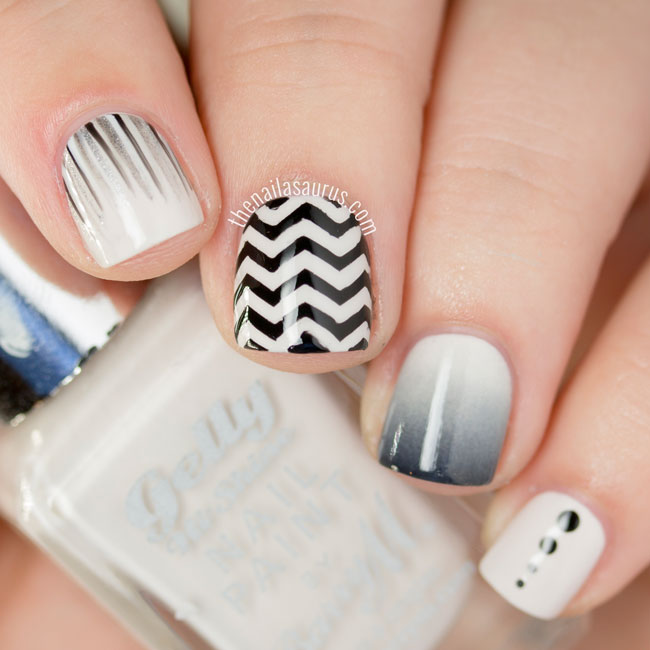
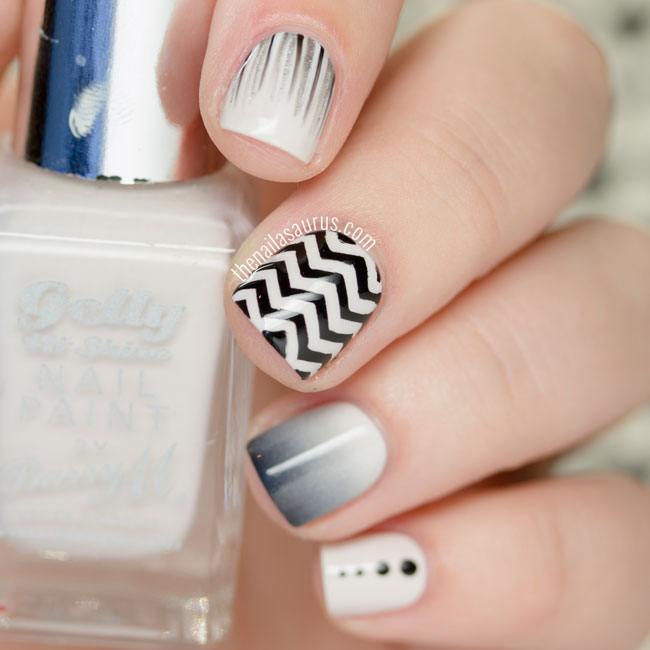
I literally can’t remember the last time I did a skittle mani (a different design on every finger). I went through my skittle-mania phase in 2012 so it was likely all the way back then. I am particularly fond of this one as it has a few of my signature styles in – we have a spot of stamping (which is how this blog got started), my waterfall design and the classic gradient (the tutorial for which remains, to this day, my most popular post). So alongside being a rather breathtaking monochrome mani, it’s a quick trip down memory lane too!
Base Colour Barry M Coconut
Thumb MoYou Back to the 80s Plate 03 stamped with W7 Black
First Finger Waterfall design with W7 Black & Silver, Sally Hansen Dorian Grey & Black Platinum, Barry M White
Middle Finger Chevrons with W7 Black using Whats Up Nails Skinny Zig Zags
Ring Finger Gradient with Barry M Coconut, Sally Hansen Dorian Grey and W7 Black
Pinky Finger Dotting with W7 Black


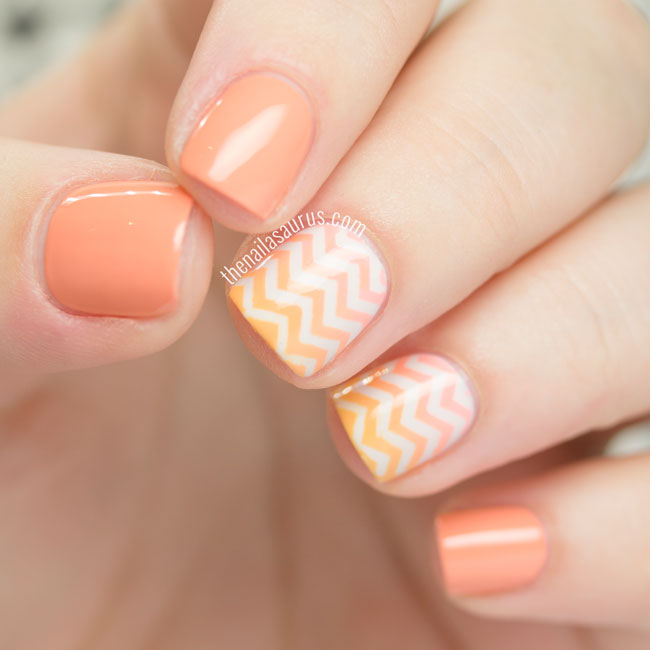
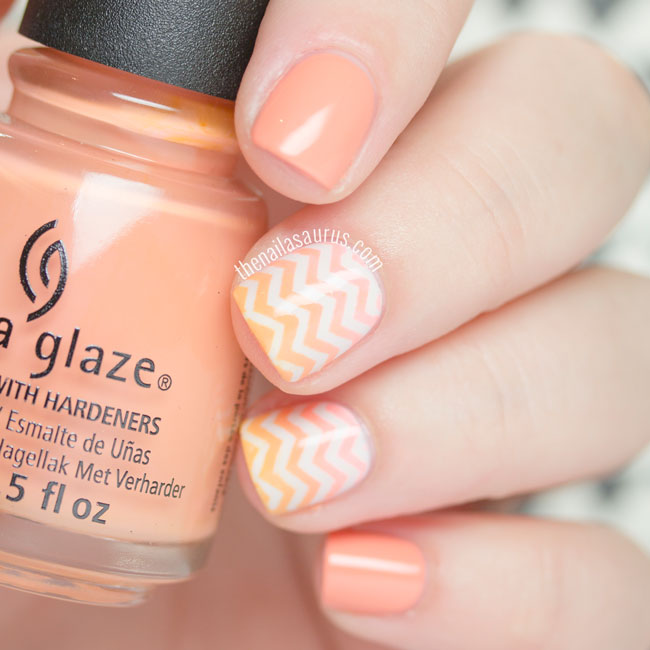
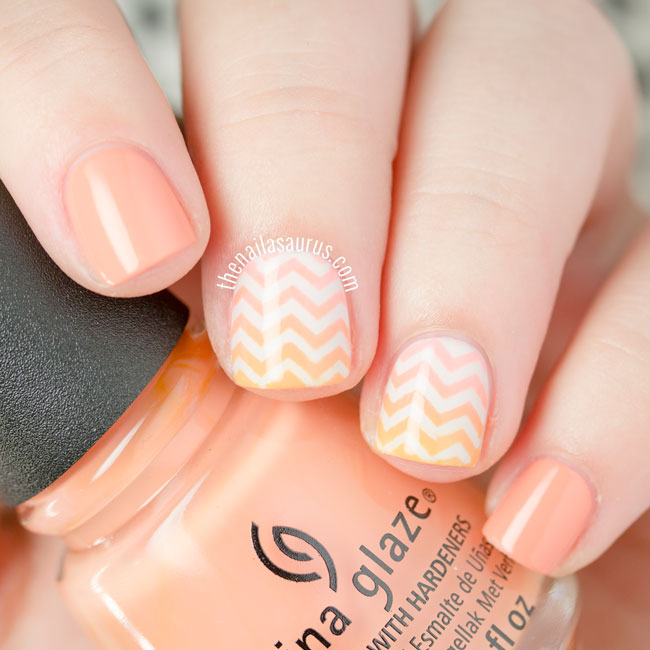
Day 2 of the challenge calls for Orange nails and again I’ve opted for a fairly standard orange mani with a bit of fun sandwiched in to the middle. Does peach count as an orange shade? I sure hope so because I find it far more flattering against my pale skin tone than brighter shades of orange.
First I laid down three coats of China Glaze Peachy Keen and three coats of Barry M Coconut where I was prepping for the chevrons. That was all topped with Glisten & Glow HK Girl to make it dry.
Once that was solid as a rock, I went ahead and applied some of the Skinny Zig Zag Tape from Whats Up Nails over the Coconut. I created the gradient using Seventeen Bright Peach and piCture pOlish Totes. Scroll to the end of the post for a video on that!
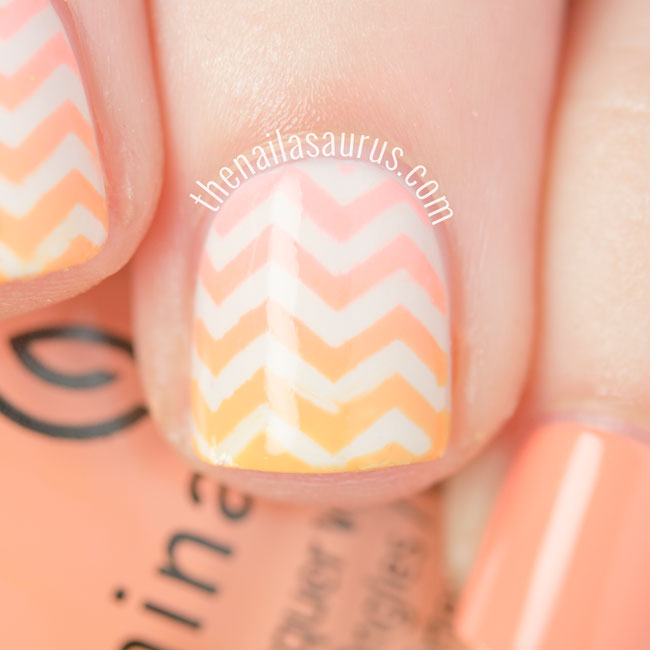
Skip to 3:30 for the gradient tutorial…

Nailbox is the Nail Polish Addict’s answer to those popular beauty subscription boxes that you never really felt were made for you. They seem to be cropping up everywhere but I’ve never seen a nails only one in the UK- until now. Nailbox only launched last month so it’s all very new and exciting! I’ve been lucky enough to get an early look at May’s Nailbox before it goes out to subscribers on May 21st.
April’s box, which you may have seen on my Instagram, was stuffed with shades perfect for Spring and this month, it’s a perfect mix to transition from Spring to Summer and see you through holiday season. My favourite from this box is, quite surprisingly, the bright pink! Essie’s Status Symbol is a crelly finish (between creme and jelly) so it’s super shiny, smooth as hell and really pops on your nails.
Orly Fiery Orange | Orange Jelly packed with holographic hexes and micro string glitter. Perfect in 3 coats.
Essie Status Symbol | Bright pink crelly perfect for toes! Opaque in 3 coats
Rimmel Lucky Lilac | Smooth lilac shade bordering on a pastel. 2 coats needed.
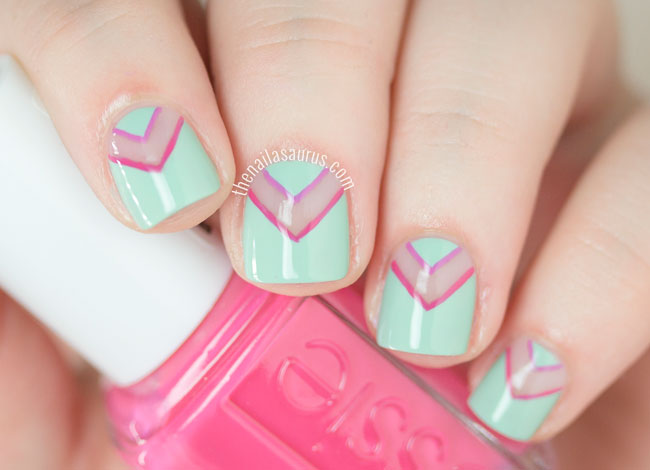
Nicole by OPI Alex by the Books | Dusty Mint Green. 2 coater.
Elegant Touch Professional Cuticle Pusher & Nail Cleaner | Exactly what it says!
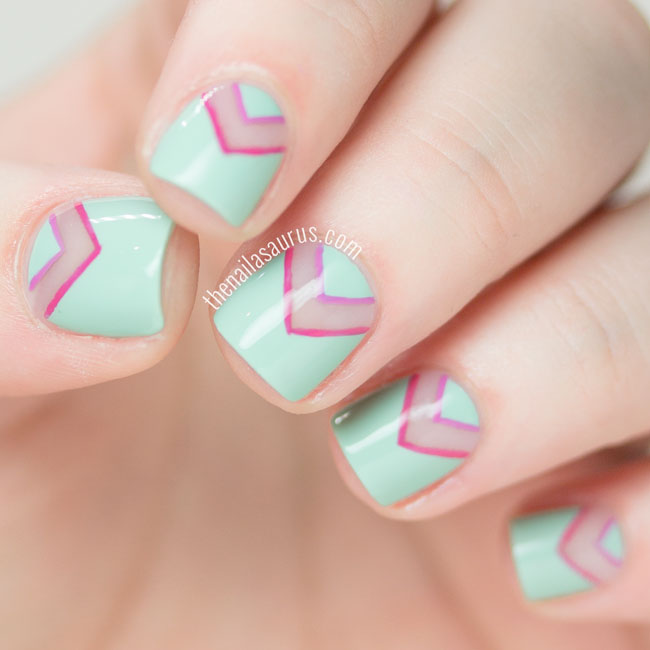
1. Apply base coat and wait for it to dry
2. To create, the negative space, stick on some Chevron stencils. I used Nail Mail’s Chevron Points
3. Paint over everything with two coats of Nicole by OPI Alex by the Books and swiftly remove the chevron stencils while it’s still wet.
4. Using a skinny striping brush, outline the chevrons using Rimmel Lucky Lilac and Essie Status Symbol.
5. Finish up with two layers of top coat.
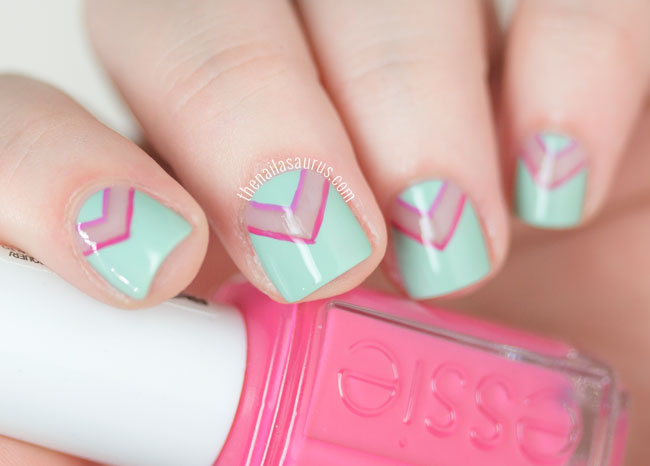
Every month, Nailbox will ship you a total of 5 items: 3-4 full-size nail polishes and 1-2 tools. In both of the boxes I’ve received so far, it’s been 4 polishes from well known brands (including Essie and OPI among other favourites) and 1 professional quality tool.
Someone pointed out that the polishes are not from current collections but I hadn’t even noticed. I’ve never followed collection releases and I’m more interested in the colour / finish / brand of the polish. I can confirm that every polish arrived in perfect condition: the consistency is lovely and the bottles untouched.
It’s also quite exciting (for me, at least) to know there’s the possibility of ending up with a HTF or ‘vintage’ polish. The beauty of nail polish is that tit doesn’t have a shelf life. As long as you store it properly, it can last years!
As long as you’re in the UK, you can join from £13.50-£15.00 / month. As you’d expect with any subscription service, the longer you sign on for, the more discount you get. Sign up for a whole year at £13.50 per month, or pay £15 month-to-month if you want to give it a test run with the option to cancel whenever you want.
Just go to nailbox.co.uk for options and to sign up for your first box. Boxes are dispatched on or around the 21st of each month so as long as you sign up before May 21st, you’ll get this box. If you sign up after the 21st, your first box will be the one that’s released the next time that date rolls aroun.
Yes! I think it’s the perfect service for beginners and experienced polishers alike. If you’re looking to build up your collection and get your hands on some polishes from past collections that you otherwise may not have been able to, then this is for you. Likewise, if you already have a sizeable nail polish collection, but just can’t get enough and want the excitement of receiving a box of nail goodies every month, it’s a fun treat to invest in.
Not to mention, it’s the perfect gift for the girl who has everything. I know this is going to sound cheesy, but it’s one of those gifts that lasts. Every time they get that box in the post, they’re going to think of the person that gifted them that subscription.

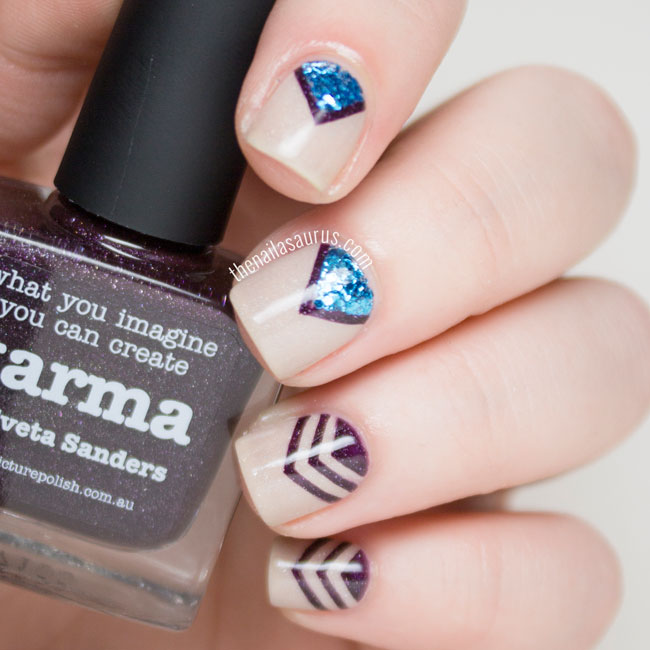
piCture pOlish is coming out with so many new shades this season that it’s getting hard to keep up! Have you seen the Limited Edition Vampy Chameleons? They are to die for! Anyway, that’s a story for another day. Today I’m focusing on Cherish – a nude scattered holo, Karma – the deep plum scattered holo, and Splash – dat sparkly multi sized blue glitter.
I created this nail art by painting on two coats of piCture pOlish Cherish followed by a thin coat of Glisten & Glow HK Girl to dry it fast.
Next up, I applied 3 Thin Single Chevron Stencils from She Sells Seashells near the base of a few nails (which reminds me that I need to go on a bit of a spree since it looks like they’ve got a lot of new bits in since I last stopped by!)
I painted from the cuticle up to the third chevron stencil with piCture pOlish Karma and swiftly removed the stencils.
For the blue glitter chevrons, I applied a chevron stencil, then used the corner of a makeup sponge to apply piCture pOlish Splash so that I got complete coverage. I removed the stencils and outlined the chevron using Karma and a nail art brush.
Finally, I topped it all off with a thick layer of HK Girl.



One of Rimmel’s latest releases is a set of 5 Matte Pastel shades otherwise know as the Sweetie Heart Velvet Matte Pastels collection. Now that spring has officially sprung, it feels like a good time to be showcasing these pretty pastels.
I’m a huge fan of the matte look and I often go through phases of mattifying everything with a top coat although I’m not big on matte polishes. It’s only because I have an unbreakable top coat habit and it just feels unnatural for me to paint on two coats of colour and call it a day. When I wear matte shades, I’ll often apply a shiny top coat, and then add a matte top coat to take it back to how it was intended. Call me crazy, but there’s a method in this madness… somewhere!

If you’re a seasoned stamper like me, you’ll know that nothing compares to chrome finish polishes when you want to get the job done. When I first heard about the new Colour Chrome collection of 10 polishes from Models Own I immediately got to wondering how they’d hold up when put to the test. So, naturally, when I got my hands on a select few of them I went straight to work trying them out with some different designs.
As you can see, they don’t disappoint in the stamping department. I stamped them over Cirque Memento Mori which is a flawless deep black and they held up without any issues (the designs are from MoYou Fashionista Plate 05). They’re all very opaque which makes them ideal for the job. The consistency is quite creamy and easy to work with but I think that once they’ve aged and thickened up a little, they’ll be even better.
If you’re in the UK and are into your stamping, or even just a beginner, I’d seriously recommend investing in a few of these as I collections like this never seem to be around for long. I’m going to snap up Blue and Gold as soon as they’re in stores.

As for wearing them alone, it’s advised you ditch the base coat and top coat and just apply 2-3 coats of the chromes over freshly buffed nails. I was curious, so I tried both anyway! Base coat is a no-no as it gets dragged around by the chrome and makes little unsightly lumps underneath. Top coat is a-okay as long as you wait until the colour chrome is completely dry first.
This swatch is two coats of each with no base or top coat. From thumb to pinky, the shades are Rose, Cerise, Olive, Mauve and Indigo. You do have to use a very light hand and use as few storkes as possible to get a decent finish. Each shade has its own level of streakiness and they cling to any ridges or imperfections on your nails which is, I suppose, why it’s recommended you buff before application (I skipped that step, oops!). I’ve never been a fan of the all-over chrome look and I think I’ll only use these for stamping but I could be converted by Mauve and Mauve alone!

The full collection of 10 Colour Chrome Shades will retails at £4.99 each. They’ll be available at modelsownit.com from 29th January, from UK Models Own bottleshops on the 31st January and Superdrug stores nationwide on the 11th February.


