Follow:
Browsing Tag:

Chevron

    Nail Art, Uncategorised

    Peaches and Cream

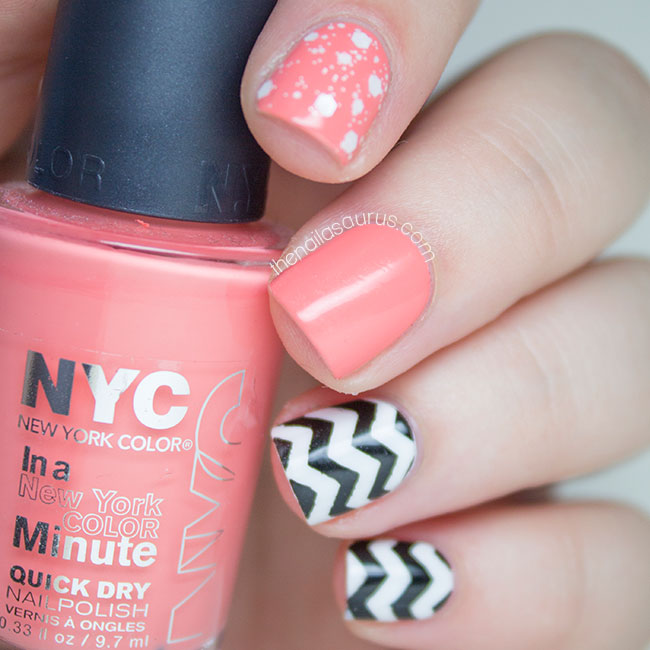
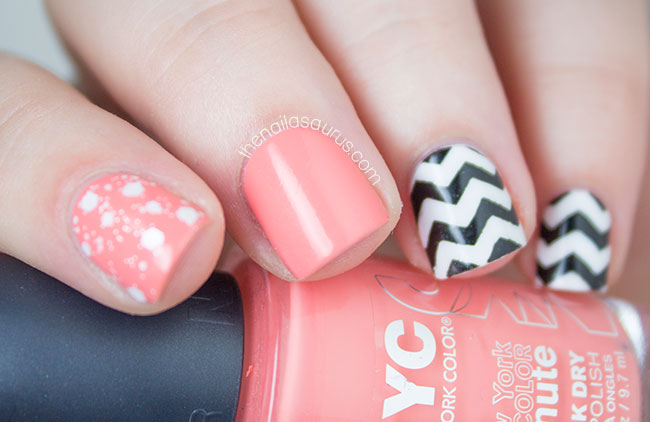
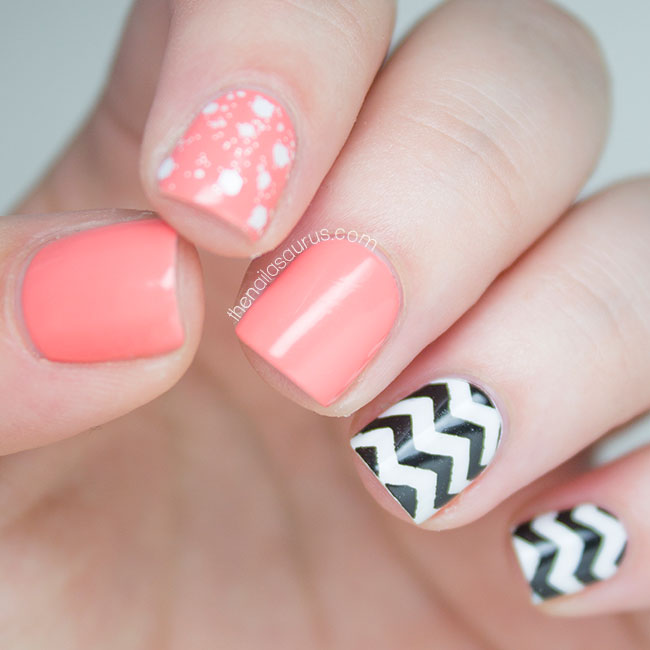
    It would seem that I’m on an Orange kick at the moment. Out of nowhere I seem to have amassed a collection of really gorgeous orange shades and in this weather it just feels so right to wear them. Although this nail art is really simple, I think the stunning peach shade sets it off just right and chevrons always add a nice pop !
    For this nail art, I used NYC Peach Popsicles and Graffiti Nails Ice White as my base colours. I used a thin coat of Glisten & Glow HK Girl on the white nails to dry them quickly.
    For the chevron effect, I used the Chevron Stencils from She Sells Seashells and No7 Just Black.
    The glitter on my first finger is Maybelline Acid Wash Top Splatter.
    It’s all topped off with a two coats of HK Girl.
    Share:
    Uncategorised

    Sorbet Chevron Nail Art

    UK Nail Art Blog | Sorbet Colour Chevron Nail Art
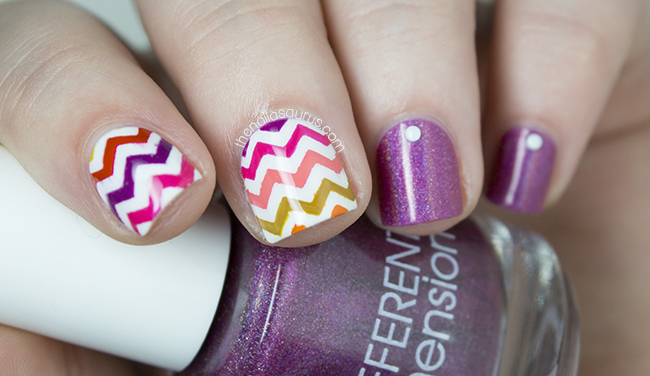
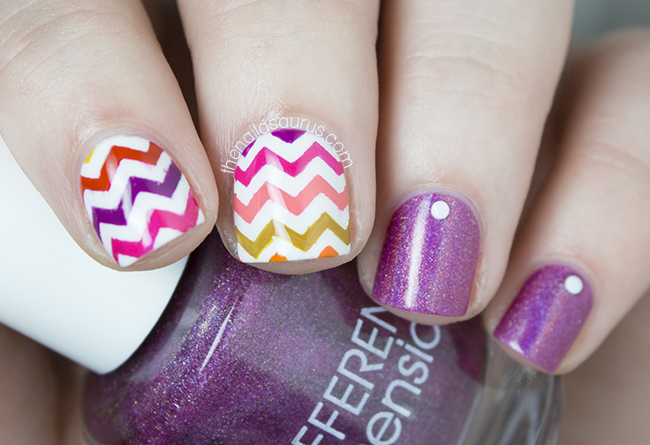
    Today’s nail art was inspired by a tablet case that I got for my birthday last month. My friends, knowing all about my love for Chevrons, picked it out knowing that it would make some great nail art inspiration! They were absolutely right, it’s so me!

    UK Nail Art Blog | Sorbet Colour Chevron Nail Art
    For the nail art, I started out by painting on a base of Barry M White and topping it with a thin coat of Cult Nails Wicked Fast.

    I used the Chevron Minis from Nail Vinyls to mark off the chevron sections and individually painted on each colour using a nail art brush. The colours I used for the Chevrons are Rimmel Heart on Fire, Barry M Bright Purple, Sally Hansen Back to the Fuschia, Essie Fear and Desire and Nails Inc Hampstead Gardens.

    The holographic polish on my accent fingers is Different Dimension Lucky and I added a few 1.5mm white studs.
    It’s all topped off with another coat of Cult Nails Wicked Fast.
    UK Nail Art Blog | The Nailasaurus | Sorbet Colour Chevron Nail Art
    UK Nail Art Blog | The Nailasaurus | Sorbet Colour Chevron Nail Art
    UK Nail Art Blog | The Nailasaurus | Sorbet Colour Chevron Nail Art
    Share:
    Glitter, Uncategorised

    Negative Triangles with NYC Lavender Blossom

    NYC Lavender Blossom
    For the longest time, my nails were quite seriously stained (yellow) from years of abuse at the hands of nail polish, so I made an effort steer clear of negative space nails because the stains would show through and throw the whole thing off. Whenever I did attempt some negative space, I’d use a jelly nude as a base to give the illusion of normal coloured nails!
    Recently I’ve had much less time to paint my nails so they’ve been completely naked a lot of the time except for a coat or two of my trusty OPI Nail Envy. This has given them a chance to recover and with just a little light buffing, my nails are a healthy hue again so I’m venturing in to negative space!

    1. To create the negative space accents, I attached the triangles first by sticking them in to my base coat. The triangles are from She Sells Seashells but unfortunately are no longer in stock. You could use triangle studs or any other kind of embellishment you fancy. 
    2. Once that was dry, I lined up a piece of striping tape against two sides of the triangle to make sure I’d be painting exactly parallel to the triangles!
    3. I painted from the striping tape upwards using two coats of NYC Lavender Blossom (available from May 7th) and immediately removed the tape.
    4. For the glitter nails, I used two coats of Jindie Nails Love Me over one coat of the NYC Lavender Blossom.
    5. It’s all topped off with two coats of Cult Nails Wicked Fast.
    Share:
    Glitter, Uncategorised

    We’ve Got a Headfirst Kind of Love

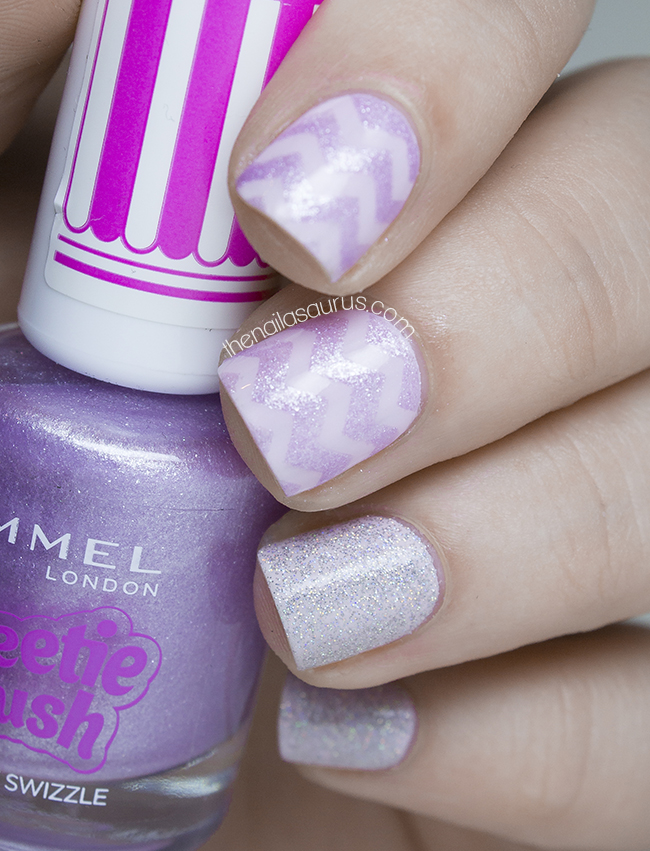
    My Instagram feed seems to have been taken over by Chevron nails recently and I’m pretty happy about that. I just love the way they look but haven’t always loved the tedious process of creating them using scotch tape and craft scissors. Here comes Nail Vinyls to save the day. There are quite a lot of places to get pre-cut vinyl chevrons but I went with Nail Vinyls as they’re the ones that always crop up on IG, plus they make mini versions which are definitely needed for my teeny-weeny nails.

    1. I used NYC Lavender Cupcake as my base colour on every nail and applied HK Girl to the fingers where I was going to add the chevrons. 
    2. While I was waiting for that to dry, I used two coats of Claire’s Silver Holographic on my pinky and ring finger.
    3. For the chevron effect, I stuck on some of the mini chevrons from Nail Vinyls and painted over them with a thick layer of Rimmel Violet Swizzle. I did this one nail at a time and made sure to remove the vinyls while the Rimmel polish was still wet.
    4. Finally, I topped it all off with two more coats of HK Girl.
    Share:
    Glitter, Uncategorised

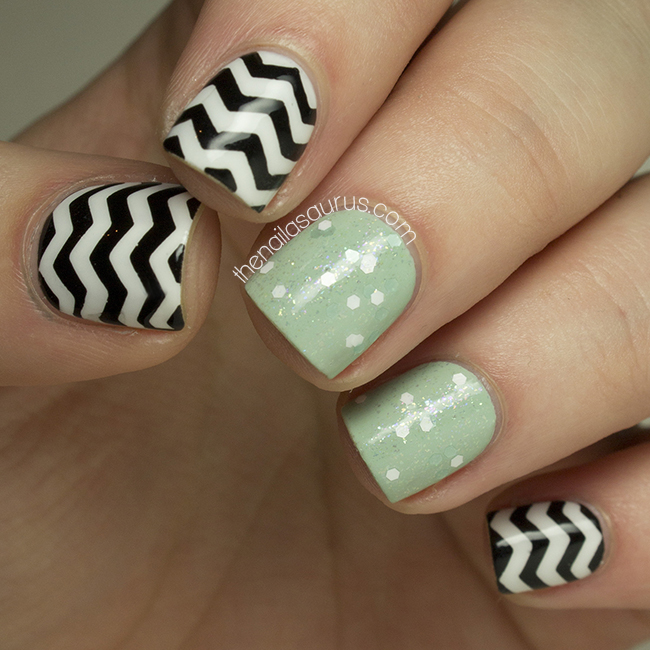
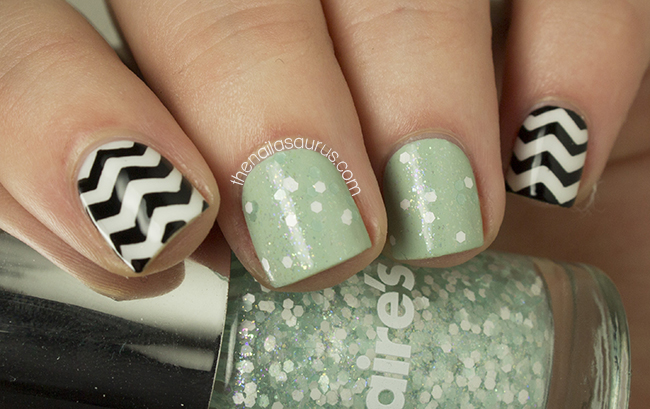
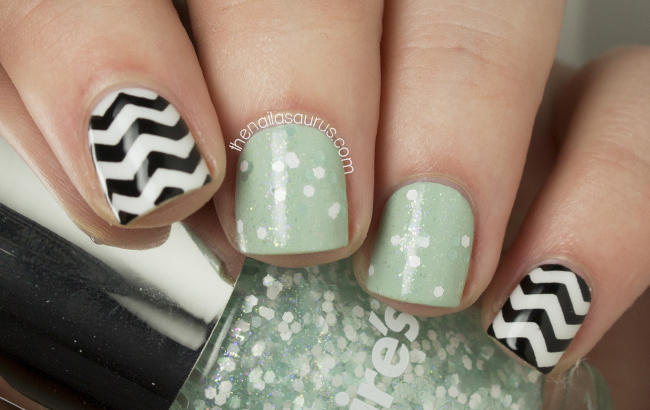
    Minty Glitter and Chevron Nail Art

    Whenever I pass a Claire’s Accessories, I can’t help but look in at the nail polishes ever since I found an amazing silver holographic glitter in there. Today I almost couldn’t believe my eyes when I was met with an amazing selection of indie-esque polishes on the shelf including some neon glitters. Considering that very few, if any, mainstream cosmetic brands in the UK have conquered the quirky glitter trend, I was pleasantly surprised to see these kind of polishes in Claire’s and I picked up three of them – a chunky neon mix, a blue neon glitter and this pastel green shimmery based glitter.
    These polishes run at £3.00 each and are now finally available to purchase online at claires.co.uk. I strongly suggest you take a look through the selection if you like drool-worthy glitter combinations and grab the silver holographic if you can!

    For the glittery nails, I used Sally Hansen Green Tea as my base colour and then applied two coats of Claire’s Shiver.
    To create the chevrons, I laid down a base of Barry M White followed with a thin coat of Glisten and Glow HK Girl to make it dry quickly. Once that base was completely dry, I cut scotch tape in to thin chevron stripes using some craft scissors and applied them to my nails.
    I painted over it all using W7 Black one nail at a time and quickly removed the tape while the black polish was still wet.
    It’s all topped off with two coats of HK Girl to smooth everything over.
    Share:
    Glitter, Gradient, Stamping, Uncategorised

    The Lacquer Legion: Adoration

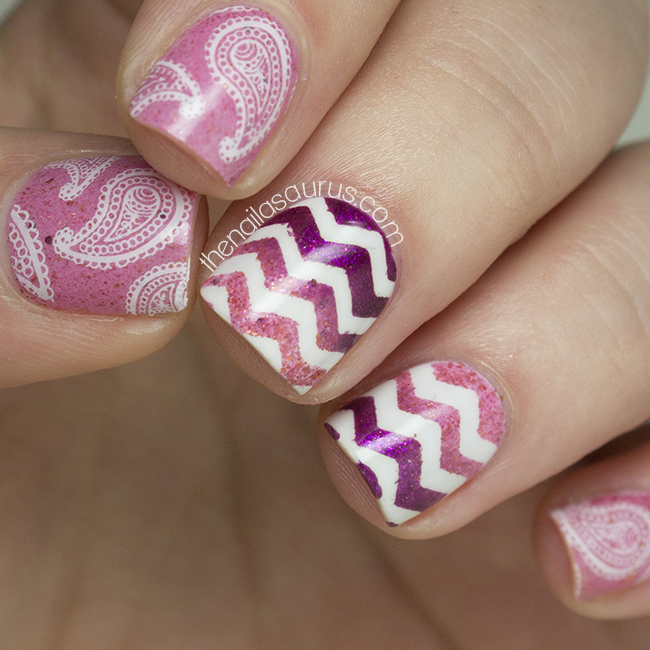
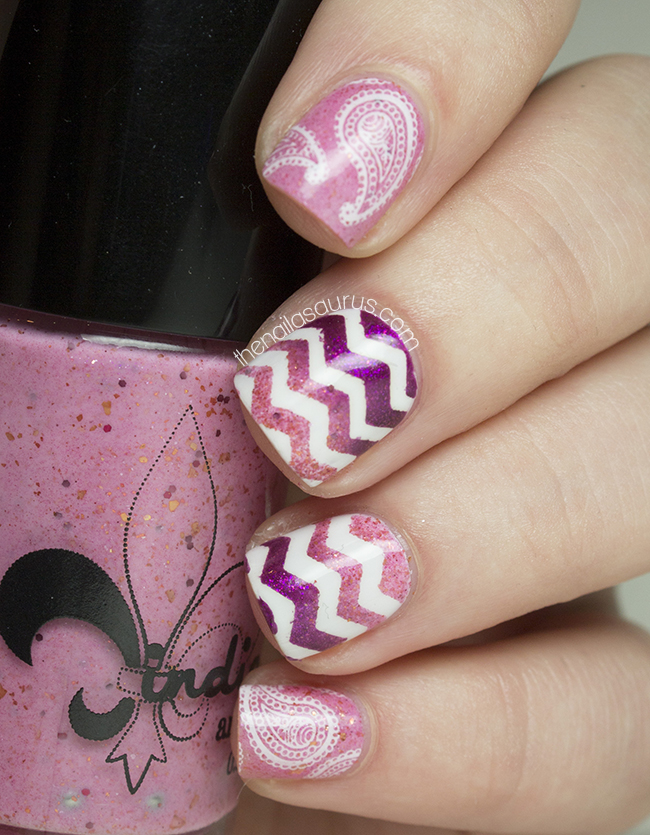
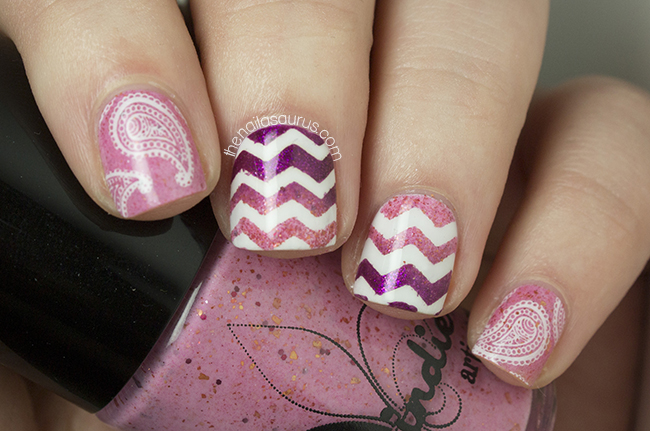
    For today’s Lacquer Legion nail art, I kept coming back to this idea of gradient with chevrons peeking through. I’ve only done this kind of nail art once before but every time I come across it on Instagram or Pinterest, I’m reminded how much I truly adore it.
    As far as I’m aware, this nail art was created by Storm and Stars and she has a great tutorial here.
    Wherever you share your Lacquer Legion mani today, don’t forget to use the hashtag #LLAdoration and get your links up on The Lacquer Legion’s Facebook page where we’ll be sharing our personal favourites throughout the day.

    For these nails, I used Jindie Nails K.I.S.S. (Keep It Simple Stupid) from the upcoming Recover-Me Collection as my base colour.
    I used Barry M White as the base for the nails where I was creating the gradient. I followed Storm and Stars’ tutorial using Jindie Nails K.I.S.S and Collection 2000 Minx to create the gradient.
    For the stamping, I used Bundle Monster Plate BM315 and BK Matte White
    It’s all topped off with a coat of Glisten and Glow HK Girl.
    Share:
    31 Day Challenge, Gradient, Uncategorised

    31DC2013 Day 30: Inspired by a Tutorial

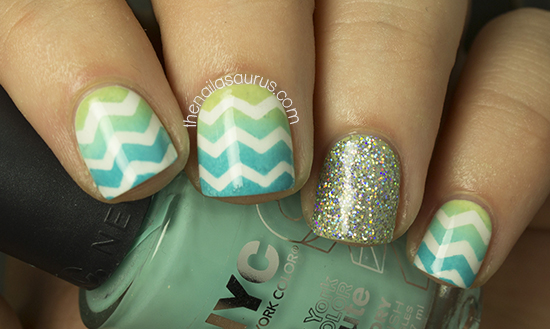
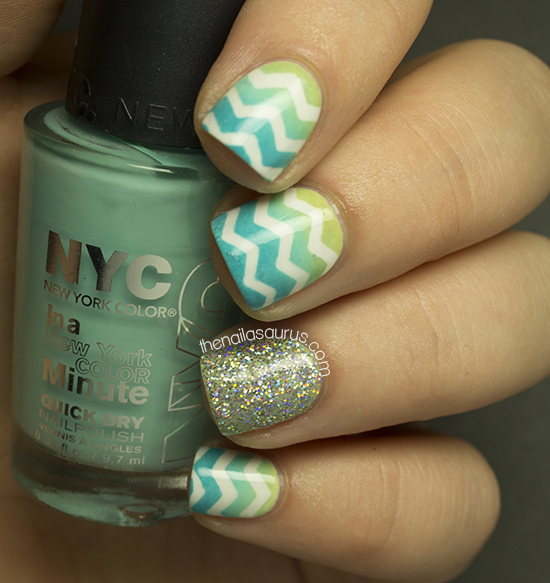
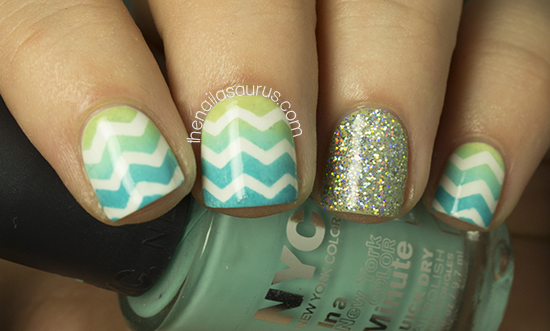
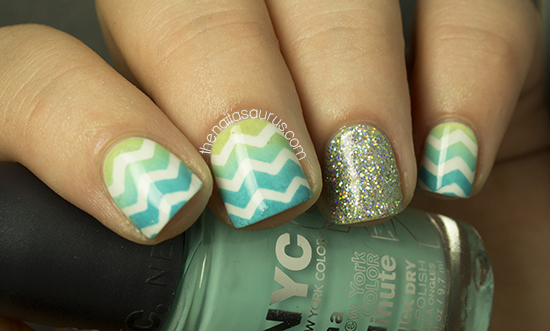
    Today’s inspiration comes from Storm and Stars who created this nail look a while back for Blog Fest. Click here to see her post with the tutorial. I went through a phase where I was completely obsessed with chevrons so when I was searching for an inspiring tutorial for today’s nails, this look reignited that flame in me. I immediately pulled out my funky scissors and scotch tape and set to work!

    I chose a different colour scheme than you’ll see in the original and added a glitter accent nail because GLITTER! I’m really really in love with these nails, it’s a very simple technique for such a striking look and although it’s quite time consuming to do the whole hand, it would make an excellent accent nail in any mani.

    To see how this is done, hop over to Storm and Stars HERE for an amazing tutorial.
    The colours I used for the gradient are Barry M Guava, NYC Blue Sky and Essie Navigate Her. The glitter on my ring finger is H+M Jo Is In The House applied over Navigate Her.
    My top coat is No7 Stay Perfect.

    See what’s coming next in the 31 Day Challenge 2013!

    TwitterBloglovin’Tumblr

    Share: