Follow:
Browsing Tag:

Brown

    Freehand, Glitter, Uncategorised

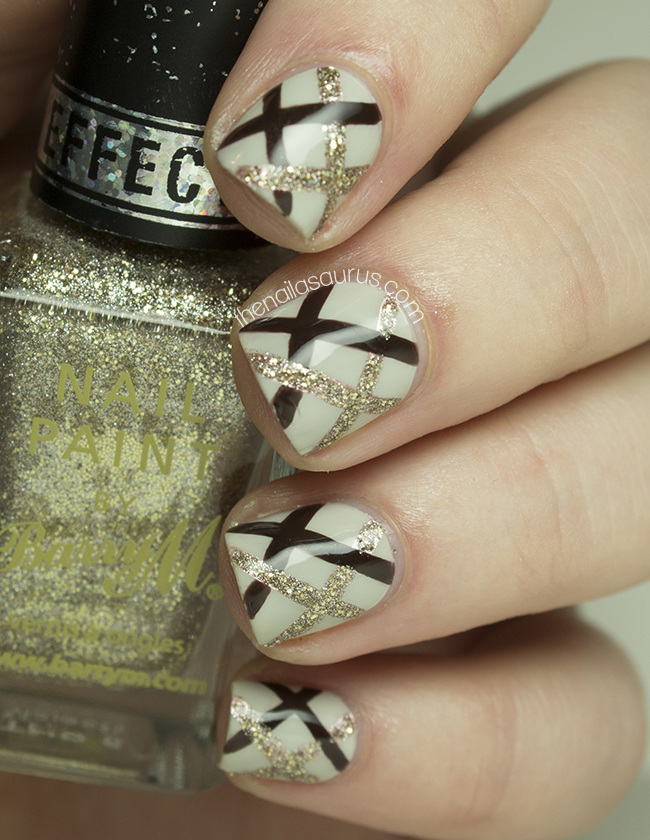
    NYFW Nail Art: Nonoo AW14 Inspired

    NYFW has brought a much needed surge of creativity for me. I was browsing the Vogue galleries for a few hours today but for nail art inspiration and I found it, once again, in the Nonoo collection. You can see last year’s Nonoo inspired nail art here.
    Nonoo’s aesthetic is right up my street – the clothes are all smart and sophisticated with clean cut lines but still edgy and youthful. The piece that stood out for me was this sweatshirt. The combination of textures shouldn’t work but she makes it work and it still looks hella classy! 
    UK Nail Art Blog: Nonoo AW14 Inspired

    Image credit: Vogue.co.uk

    I used Sally Hansen Ion as my base colour here. Next I freehanded two lines using Essie Penny Talk to lay a copper base for the metallic look.
    I drew the brown lines using NYC Midtown Mink and went over the copper with Barry M Majesty – a textured polish from the Royal Glitters collection.
    Finally, I finished it off with two coats of Rica Glossy Glam to smooth everything over.
    UK Nail Art Blog: Nonoo AW14 Inspired
    UK Nail Art Blog: Nonoo AW14 Inspired
    Share:
    Glitter, Uncategorised, Waterfall

    Autumnfall


    When I do nail art, I hardly ever wear the same design on every nail. I’m an advocate of the skittle manicure but lately I’ve been completely obsessed with this double accent style. One just isn’t enough any more! I’m revisiting the waterfall today. It’s been more than a month since my last one and I’ve been itching to do one for a while. This combination was inspired by the glitter polish on my accents – KBShimmer You Autumn Know. I tried to match the colours in the glitter polish as closely as possible and decided to apply it over a shimmery gold base which is perfect for autumn!

    The glitter accents are two coats of KBShimmer You Autumn Know over one of Barry M White.

    I create the waterfall nail art (tutorial here) over a base of Rimmel Sunset Bronze. I used a nail art brush to apply the stripes using Barry M Gold Foil, Rimmel Purple Reign, Essie Jag-U-Are, China Glaze Dandy Lyin’ Around and Sally Hansen Sun Kissed.

    It’s all topped off with a coat of Seche Vite.

    Share:
    Freehand, Uncategorised

    Life’s Like a Box of Chocolates

    … you never know what you’re gonna get! 
    I’ve never tried sugar spun nail art before but I wanted to give it a go this week and Forrest Gump served for the perfect inspiration. I wanted to create the look of fancy boxed chocolates and I think the sugar spun technique was the right way to go.  I had to add the foil heart because it seems to me like you get one of those in every single box of chocolates! 

    The colours I used for the chocolate are NYC Midtown Mink, Essie Glamour Purse and Stargazer White. I added a top coat of Essence Better Than Gel Nails to each nail before adding the sugar spun details. You can watch a tutorial for that just here.
    On my middle finger I freehanded the heart with NYC Enchanting Fire with a small nail art brush over 2 coats of NYC Midtown Mink.

    TwitterBloglovin’Tumblr

    Share:
    Freehand, Glitter, Stamping, Uncategorised

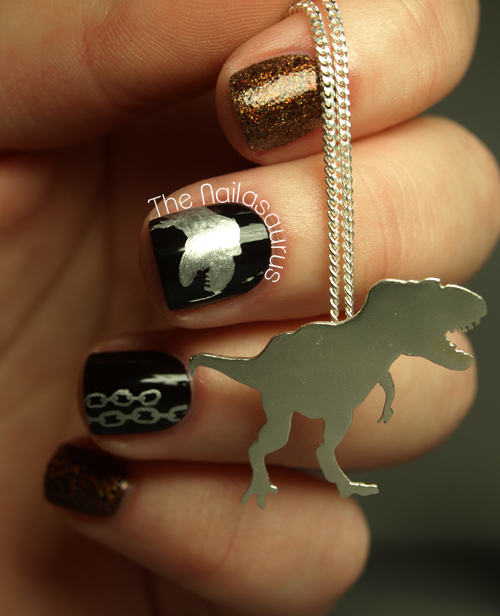
    Meet The Necklasaurus

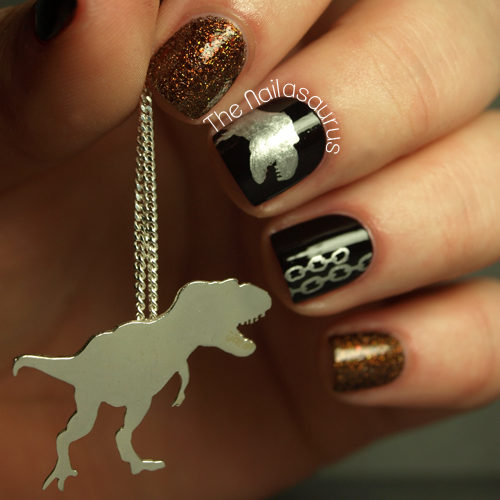
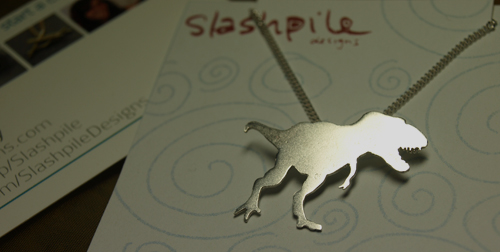
    I have never ever been this excited about a piece of jewellery before! I first found this amazing specimen in Slashpile Designs’ Etsy shop way back in September last year and couldn’t get it out of my mind since. I shopped around for other possible mascots but always came back round to this one. It’s just so ‘me’… minimalist but detailed. I finally decided to cough up some cash and just go for it and boy oh boy was it worth it!
    Slashpile Designs is the creation of sisters Tara and Courtney and if you like interesting jewellery, you should most definitely go and have a browse. I especially love their 1 ‘Carrot’ diamond ring!


    I’m not sure if I’ve ever told the story of my blog name before and I think now would be a perfect time seeing as it’s also my 750th post! I started going by ‘Sammersaurus’ online when I joined MySpace close to a decade ago, maybe 2004-05, and I honestly can’t remember how I came up with it.
    A few years later, I was watching ‘Meet The Robinsons’ with my family and one particular scene involving a Tyrannosaurus Rex with a ‘big head and little arms’ (video here) tickled me and my Dad. I’m slightly below average height and often can’t reach things that are high up so the Saurus name kind of stuck and ‘I’ve only got little arms’ has become a running joke in the family!
    When I decided to create a nail blog, I didn’t have to think about the name at all. I knew from the start it would be The Nailasaurus and to this day I still love the name, even if I do have to spell it out every time I tell someone.
    Now that I’m talking about it, I realise it’s kind of a strange name! What did you think when you first came across this blog and saw that title?!

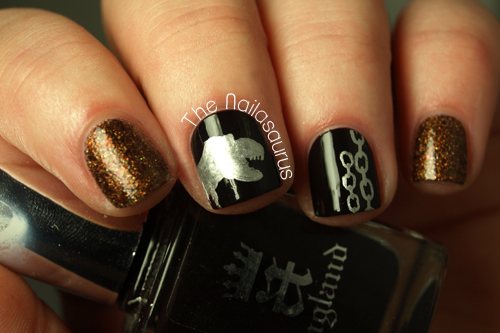
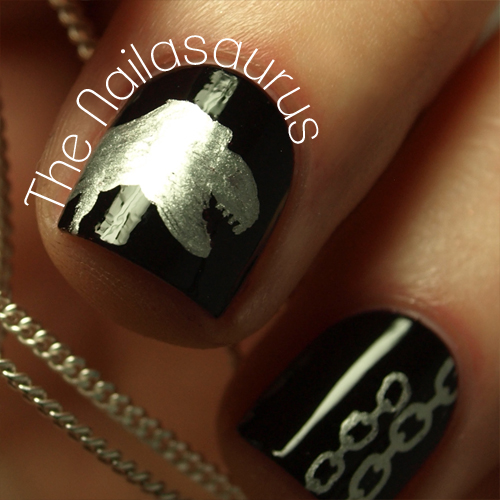
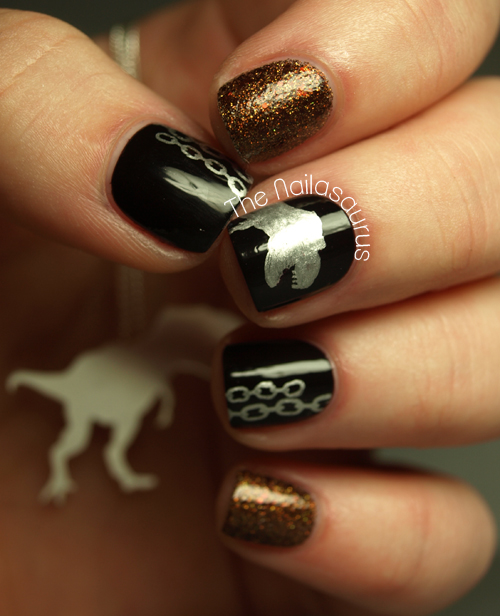
    I used A-England Lancelot as the black base colour and then freehanded on the T-Rex using a nail art brush with Barry M Silver Foil.
    The chain design is a stamp from Bundle Monster Plate BM12 but the links on the stamp all have gaps in so I filled them in with the Barry M Silver Foil.
    The glitter is Cirque French Roast and I used 3 coats of it over a base of PVA Glue for easy peel removal!
    It’s all topped off with two coats of NYC In a New York Minute top coat.

    TwitterBloglovin’Tumblr

    Share:
    Gradient, Uncategorised

    Something Sweet

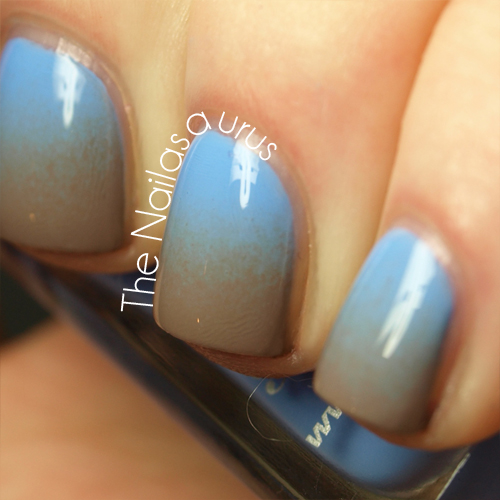
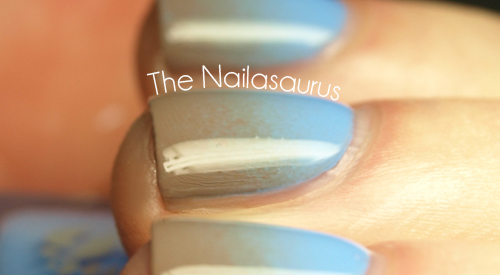
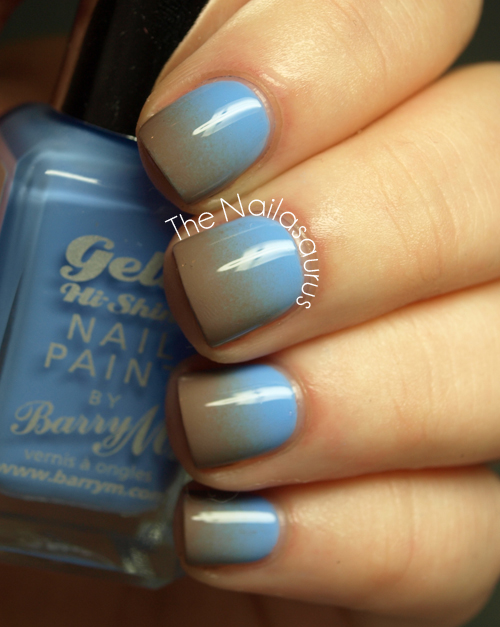
    It’s been a long time since I did a gradient. I’ve really been in the mood to create some gradient nails for a while now but I couldn’t think up a colour combination that I was really happy with and that I hadn’t already done! Blue and brown sounds wrong when you put the words together but I’ve always loved them paired as colours. I really have gone super girly recently. This is a very soft set of colours for me!

    I used two coats of Barry M Blueberry as my base colour and created the gradient with Essie Glamour Purse using a makeup sponge, following this tutorial. I topped it with two coats of Seche Vite for an ultra glassy look. 

    TwitterBloglovin’Tumblr

    Share:
    31 Day Challenge, Studs, Uncategorised

    31DC2012 Day 30: Inspired by a Tutorial

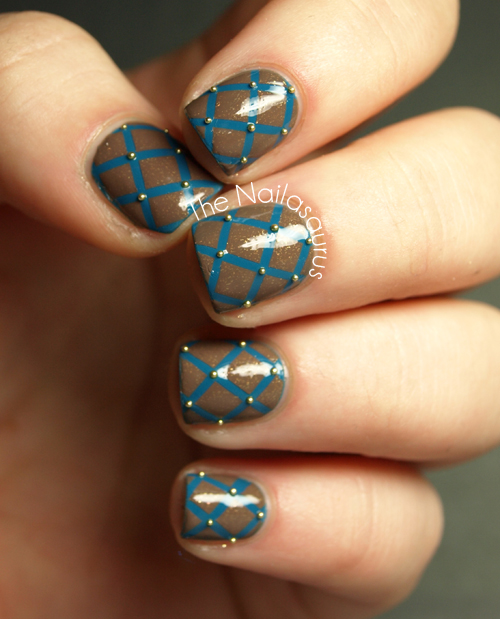
    Day 30’s nails have to be inspired by a tutorial. I gotta admit, I did these more than two weeks ago! When I was researching potential tutorials to be inspired by I came across this look and just couldn’t wait another day to do it.
    The tutorial I followed for this look is a brief but brilliant one from Jen at The Polishaholic and it was inspired by a phone case. What I love about Jen’s nails is they really do look quilted. She really nailed the 3D texture but mine has come out a bit… flatter! Either way, it’s a great look. Thanks Jen!

    The colours used here are GOSH Pool Party and Cult Nails Tulum. The caviar beads*, or studs as I like to think of them, are from NPW Nail Art. I used one coat of Seche Vite to finish off. To see a tutorial for this look, go to The Polishaholic.

    TwitterBloglovin’Tumblr

    Share:
    31 Day Challenge, Uncategorised

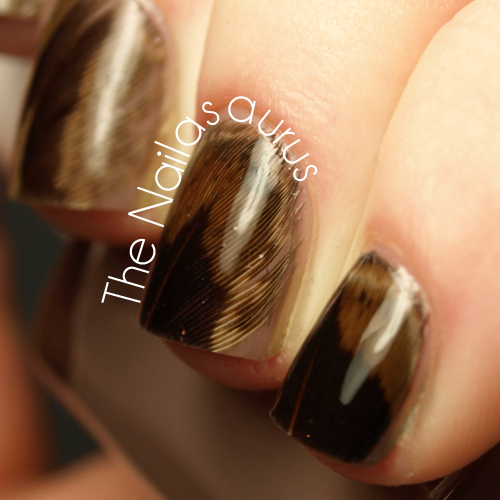
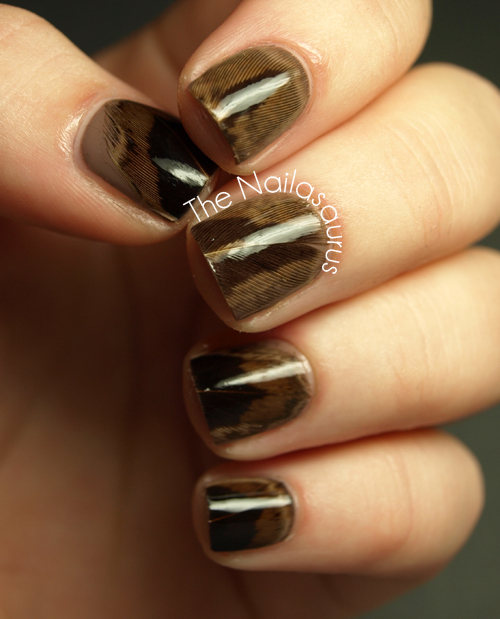
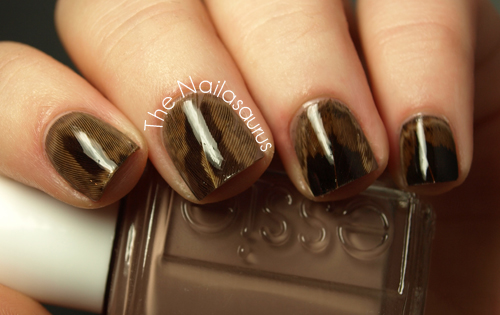
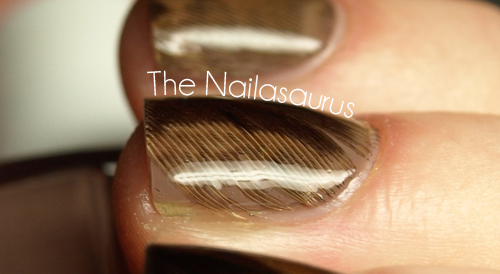
    31DC2012: Day 13 Animal Print REAL FEATHERS!

    I’ve been burning the candle at both ends this week and as a result I’ve either been too busy or too tired to blog. So this is actually Thursday’s post, just super late!
    I’ve been looking forward to this day since before the challenge started. I bought these feathers in Hobbycraft weeks ago and I knew they’d be my animal print mani. I’m in huuuge love with this nail art but, being a picker, it didn’t last more than a day before I pulled the feathers off! 
    You can see Cris’s animal print mani here and Rie’s right about here.

    It’s so hard to explain how I did this, but I’ll try anyway! I painted on two coats of Essie Glamour Purse and let it dry completely. I picked out feathers that were already the right size for my nail and just cut off a bit more than I needed to cover my nail.
    Next I added a thick coat of top coat and placed the end of the feather on my nail. I licked my finger and used it to gently push the feathers in to the clear polish. At this point there is still feather hanging off the end of my nail that I’ll cut off later. 
    After doing that on every finger and letting it dry a bit, I added about 3 coats of Seche Vite to every nail to smooth it over. Finally, I used some scissors to cut the feathers at the end and then a nail file to file the leftovers right down to my own nail.

    TwitterBloglovin’Tumblr

    Share: