Follow:
Browsing Tag:

Black

    Studs, Uncategorised

    Born Pretty Spikes

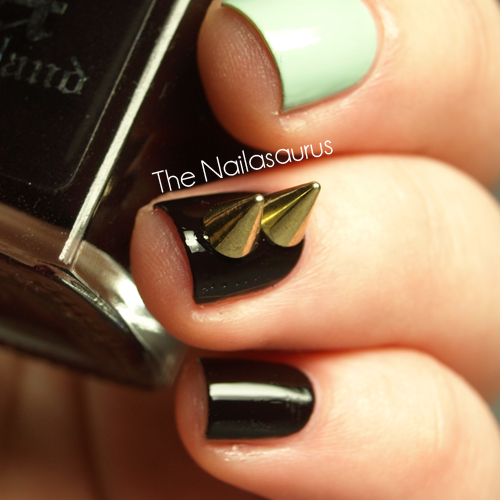
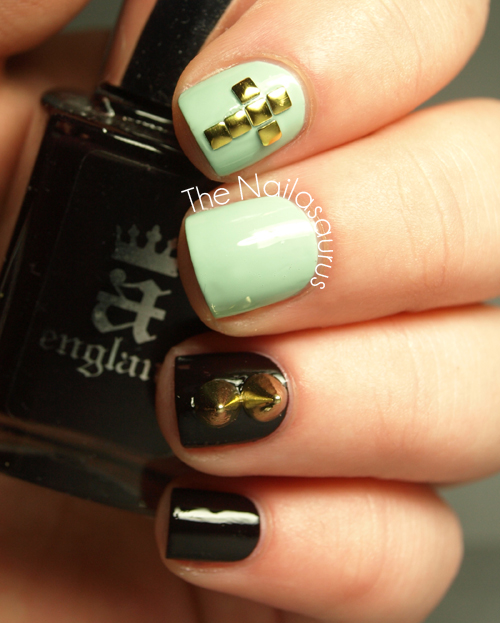
    We all know that I have a penchant for studs. Whether it’s clothes, nails or shoes – if it’s got studs on, I’ll be there drooling all over it. The next logical step is spikes and Born Pretty have started stocking nail sized ones! They’re available in gold and silver and come in packs of 10 for $0.99 or 100 for £7.99.
    I used clear nail polish to attach these to my nail. I just used a nail art brush to dab a spot on where I wanted them and stuck them on. I tried using tweezers but with all those smooth, glossy, rounded surfaces there was no hope of getting a good hold so I just used my fingers.

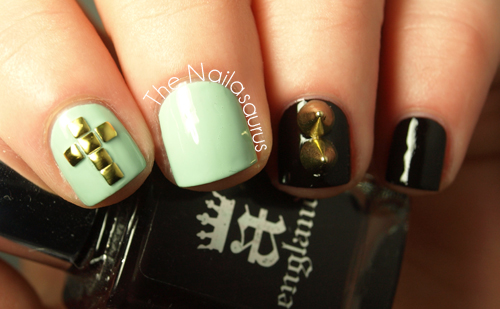
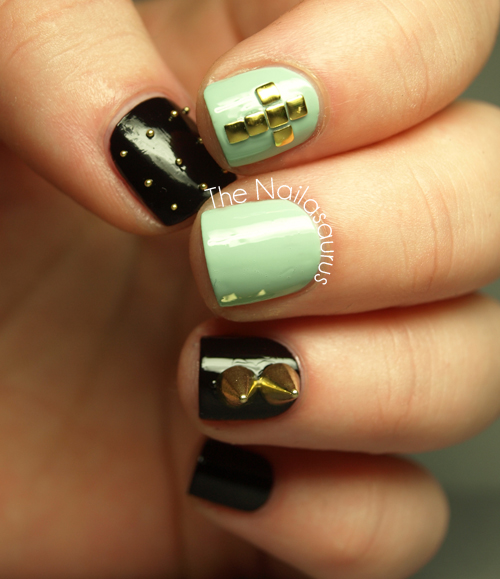
    My base colours are A-England Lancelot and Sally Hansen Green Tea. I top coated it all with a coat of Sally Hansen Insta Dri before quickly applying Born Pretty’s 2mm square studs to create the little cross on my index finger. The spikes* are also from Born Pretty here.

    TwitterBloglovin’Tumblr

    Share:
    Studs, Swatch, Uncategorised

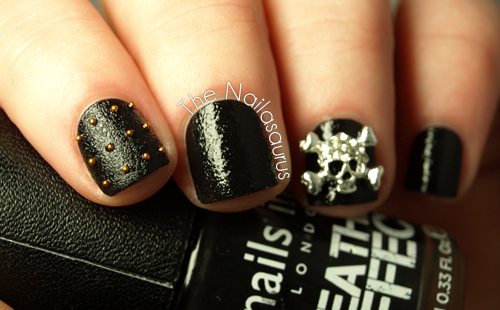
    Nails Inc Leather Effect (Noho) Swatch, Skulls and Studs

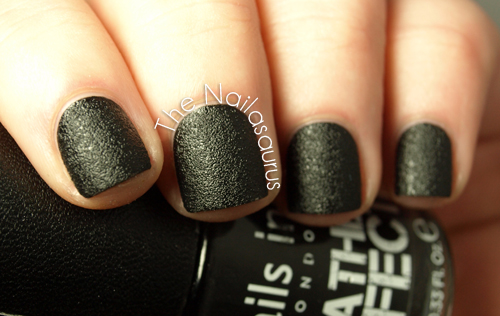
    Today I have another textured polish on my nails and it’s perhaps the first one that caused a lot of buzz among nail polish fans… Nails Inc’s Black Leather Effect*.
    As a nail crazed lover of anything black and leather, this is one that I couldn’t wait to get my hands on. Or should I say on my hands?! I was sceptical about whether it would actually look like leather on the nails since I never trust promo shots but the more I look at it, the more I believe I’m wearing leather on my fingers.

    I’m so impressed with the consistency of this polish, there was no gloopiness and it just swiped on perfectly in two coats. It dries to a matte finish and it’s recommended that you don’t use a top coat but of course I had to try… for review purposes of course, not just because I felt rebellious!
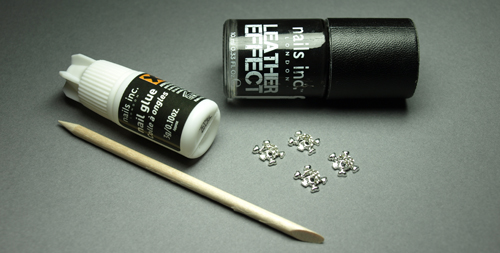
    The polish comes in a kit with nail glue, an orange stick and 4 embellished skulls (which can be reused if you clean them carefully with a little bit of acetone).
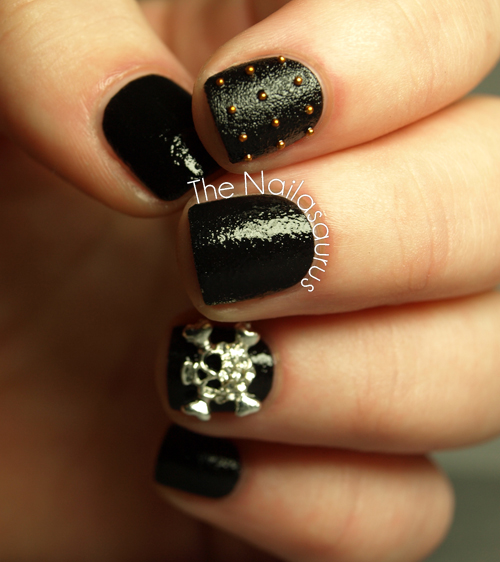
    I applied a top coat of Seche Vite to every nail except for my pointer finger which has kind of glossed them over and made them lose most of the leathery effect. I definitely prefer it without. 
    On my pointer, I used one coat of NYC In A New York Minute to attach the studs. This top coat is much thinner than the Seche Vite so it sank in to the Leather Effect pretty well.
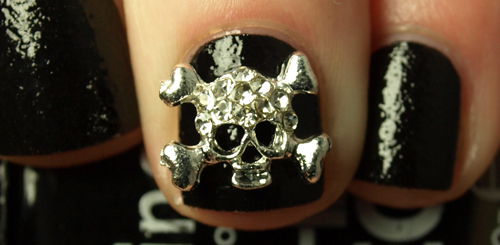
    I attached the skull using tweezers and a little bit of nail glue on the back of his head and chin. The skulls are not something I’d wear day-to-day but next time there’s a special occasion, you can bet I’ll be rocking one of these bad boys on each hand!
    This polish is only available in the ‘Bling It On’ set and the retail price seems to float somewhere around £20/$25. 
    After a bit of searching, the cheapest price I’ve found here in the UK is £19 at Very. It’s also available from Littlewoods who I was amazed to find have a brilliant selection of nail polish including OPI and Butter London.

    Share:
    Uncategorised

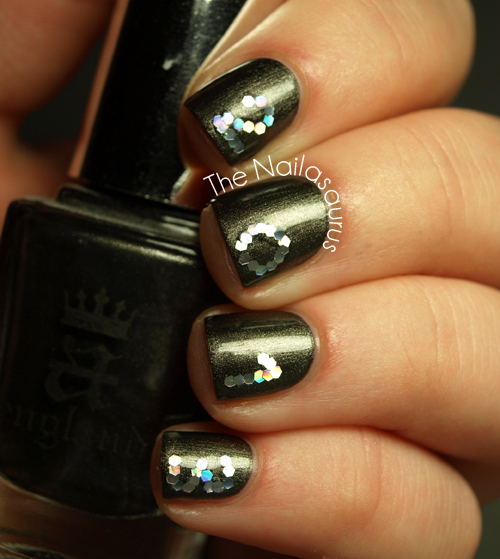
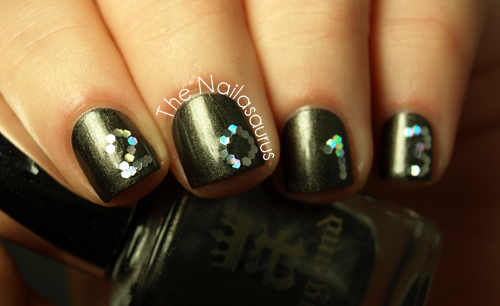
    Happy New Year Nails!

    I know it’s not really the New Year yet but I wanted to get this post up a bit early because I know most of you will be busy tonight (winky wink) and you might even be looking for some New Year nail ideas!
    These are the nails I plan to be wearing come the stroke of midnight but if I’m honest with myself, there’s no way they’re going to last that long! I’m sure I’ll end up peeling them off and slathering my nails in glitter polish before the evening.
    I guess now would be a good moment to look back and reflect on this year. In all honesty, it wasn’t really a big one for me. Aside from getting my first proper job, not a lot has happened in my life! My year was good, just not great compared to some of my other years! I really want to hear how you guys feel about 2012 so please let me know some of your highlights in the comments. Hopefully you can inspire me to make the most of the next 365 days.
     Here’s to 2013. May it be awesome for everyone!

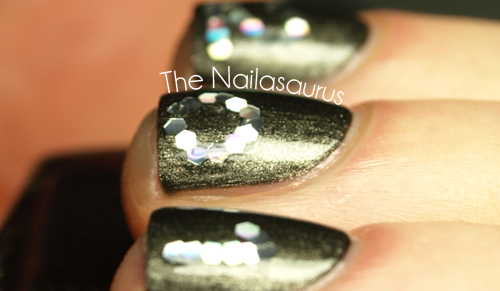
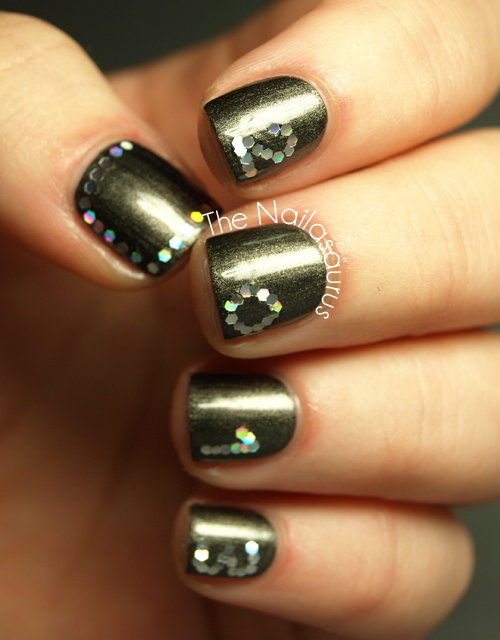
    I used 2 coats of A-England Dorian Gray as my base colour. One nail at a time, I painted on a coat of clear polish and placed on the glequins one by one in number formation (video tutorial here). Finally, I topped it all with two coats of NYC In A New York Minute.

    TwitterBloglovin’Tumblr

    Share:
    Christmas, Freehand, Glitter, Uncategorised

    My Christmas Jumper Nails

    Merry Christmas everyone! I don’t know if it’s the done thing to blog on Christmas morning but every year, we have a few hours to ourselves in between the early morning present opening and when the rest of the family gets here so I thought I’d squeeze in a quick post to show you what I’m wearing on my nails today! 
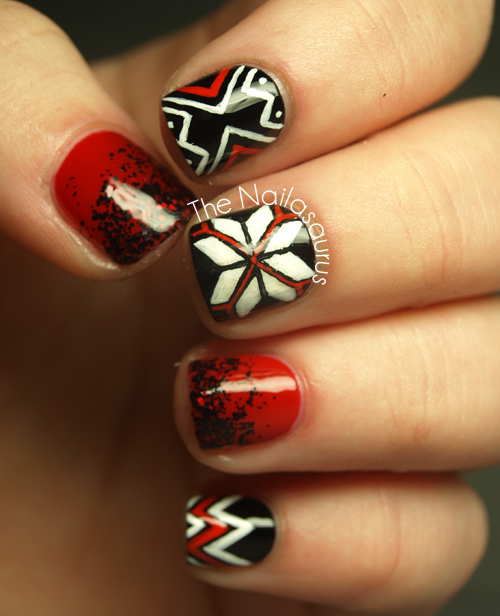
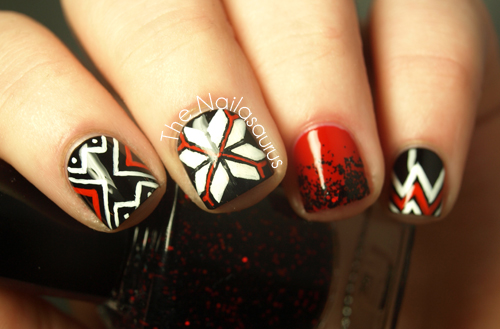
    I’ve matched my nails to my Christmas Jumper which you can kinda see here. They’re not super christmassy, I’ve gone easy on the glitter and haven’t even featured any gold or green but I like them!

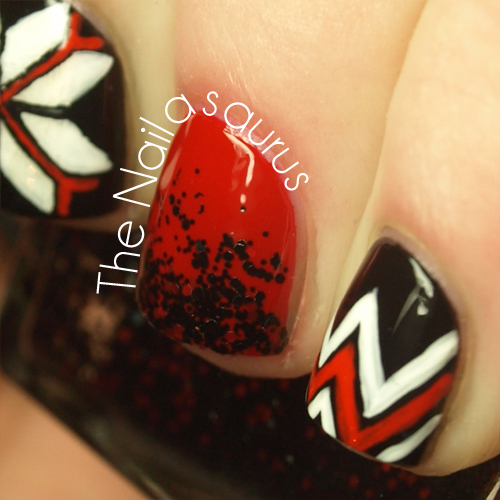
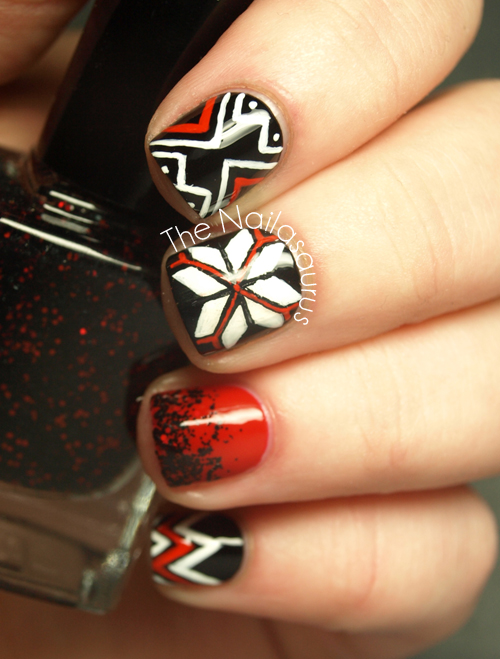
    I used W7 Black as my base colour and painted the details with White and Red acrylic paint using a nail art brush. On my thumb and ring finger, I’m wearing Rimmel Heart on Fire with Lac Attack Dementor’s Kiss sponged on to the tips. I finished it all off with a few coats of NYC In A New York Minute.

    TwitterBloglovin’Tumblr

    Share:
    31 Day Challenge, Uncategorised

    31DC2012: Day 31 Recreate Your Favourite Challenge (Part 2)

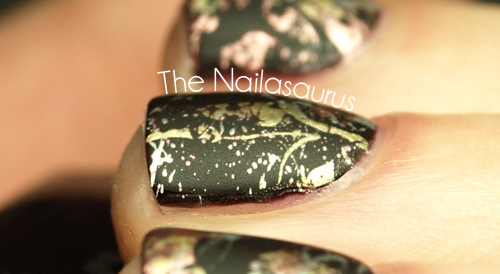
    Here it is. The very last. The final day of my 31 Day Challenge 2012! It’s been a long and bumpy ride, we even lost a woman 5 weeks in but just like last year, I’m so glad we did it! I don’t really have much else to say on the subject so I’ll just leave you with my recreation of Rie’s Day 8 Metallic Nails.
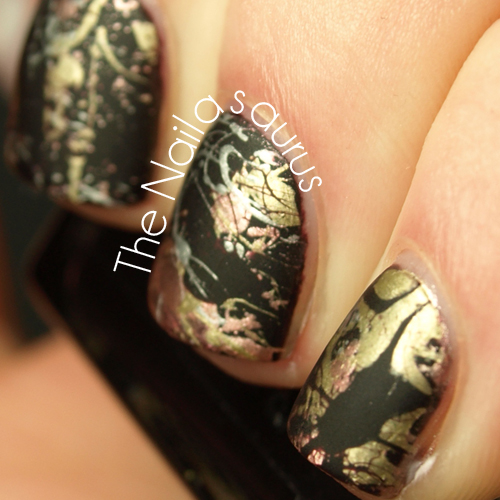
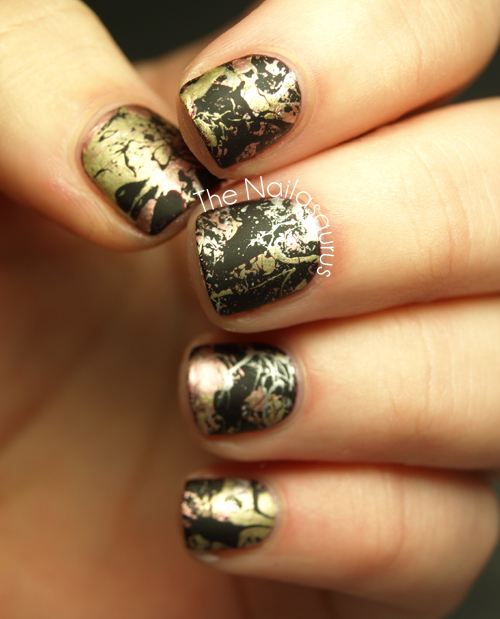
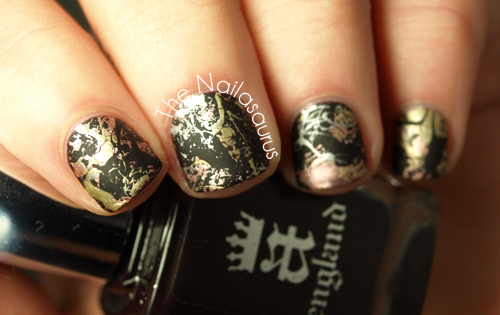
    I’ve never ever done a splatter mani before and I probably won’t be doing one again any time soon. The clean up on this took just as long, if not longer, than the mani itself! I think part of the problem was the metallic polishes. Whenever I touched acetone to the mess, it would send a million bits of shimmer swimming in to my cuticles and I just couldn’t get it all off! Saying that, I did grow to love the result and maybe a bit of practice will do me good.

    I used A-England Lancelot as my base colour, then used Essie Penny Talk, Barry M Gold Foil and Barry M Silver Foil for the splatters. I topped it with one coat of Seche Vite to make it dry quickly and then one coat of Rimmel Mattifying Top Coat.

    TwitterBloglovin’Tumblr

    Share:
    31 Day Challenge, Freehand, Studs, Uncategorised

    31DC2012: Day 31 Recreate Your Favourite Challenge (Part 1)

    It’s here! Technically, today is the last day of the 31 Day Challenge – Recreate Your Favourite Challenge. Although it’s not really because there’s another instalment of Day 31 coming very soon. I just erm… haven’t had a chance to do that mani yet!
    Like last year, we decided to recreate our favourite challenges from each other for Day 31 rather than recreate our own manicures.

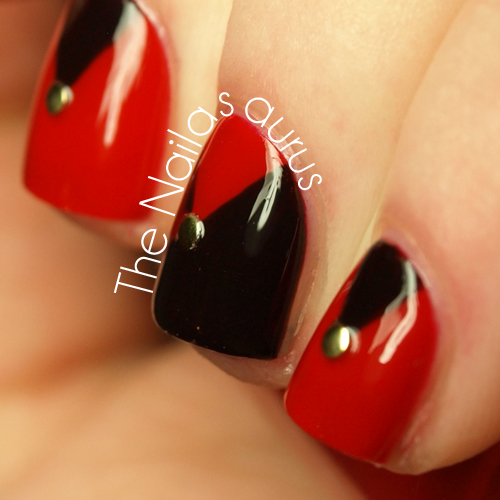
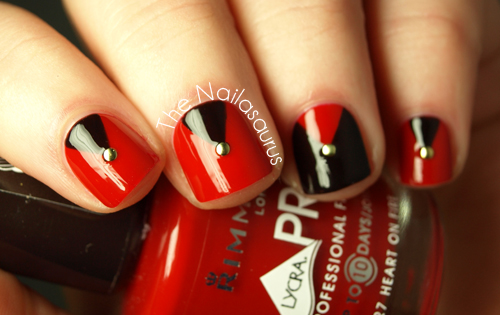
    Today I recreated Cristina aka Let Them Have Polish’s Day 18 manicure – half moons which you can see here. What can I say, she used studs, so I had to!

    I used Rimmel Heart on Fire as my base colour on every nail and then freehanded on the chevrons at the base using a nail art brush and W7 Black Cherry. For the accent nail, I painted everything but the chevron with the W7 polish. The studs are from Born Pretty Store and I finished with a top coat of NYC.

    Head over to Cristina’s blog to see her recreations of her favourite from mine and Rie’s challenge manicures.

    TwitterBloglovin’Tumblr

    Share:
    31 Day Challenge, Uncategorised

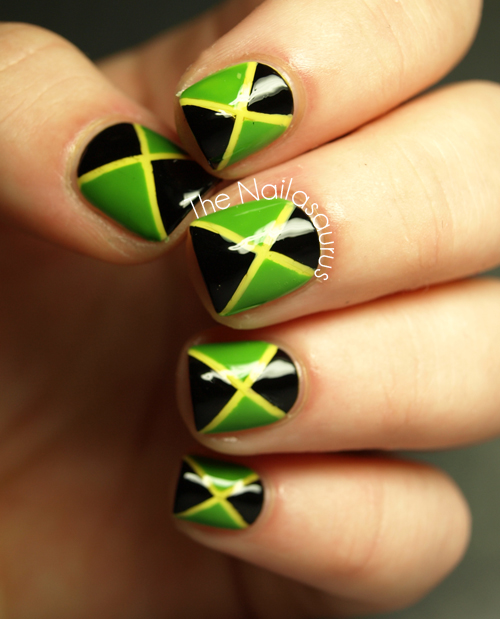
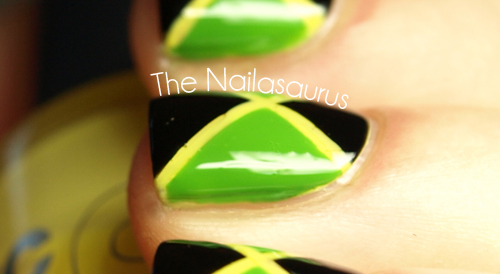
    31DC2012 Day 28: Inspired by a Flag… Jamaica

    My weekends used to be a chance to relax and unwind and get a bit of blogging done but recently they’ve become so hectic. I’ve just found 10 minutes in the middle of all the hustle and bustle before I set off to Birmingham for The Black Keys’ gig tonight. I am excite!
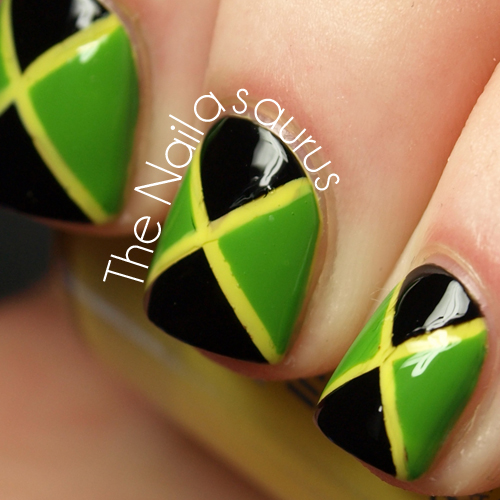
    Today’s challenge prompt is Inspired by a Flag and I picked Jamaica’s. Rie has had to postpone her challenge but Cris has her flag nail art waiting for you here

    I started with one coat of Barry M White and then 2 coats of NYC Lexington Yellow before adding one top coat of Seche Vite to make it dry ready for… striping tape which I placed on the nail in a cross to mark off where the yellow lines would stay. 
    I used W7 Black and NYC High Line Green* with a nail art brush to paint on the triangle sections, being careful not to overlap the striping tape too much. 
    Next I peeled of the striping tape and used a bit of the NYC Lexington Yellow with a striper brush to neaten up any of the bit where the dark colours had crept under the tape.
    Finally, I used two coats of NYC In a New York Minute to top it all off.

    TwitterBloglovin’Tumblr

    Share: