Follow:
Browsing Tag:

Barry M

    Uncategorised

    Hex There, Sailor!

    Nope that’s not a typo, it’s time for some more Hex-y nails! Today I’m wearing the Anchor No. 2 charm so of course it had to be a nautical themed mani.
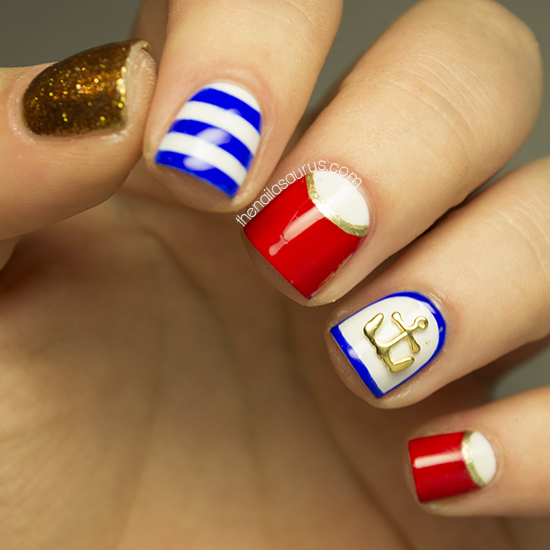
    I used Barry M White as my base colour here. The blue is Barry M Blue Grape and the red is Barry M Gelly Red. On my thumb, I used Sally Hansen Guilded Lily for the sparkle party on my thumb!

    For the stripes I coated my white base with Essence Better Than Gel Nails Fast Dry to make it dry quickly. I cut a few thin strips of scotch tape, suck them where I wanted the white to show through and painted over the whole thing using Blue Grape.

    The half moons and the frame on my ring finger are all freehanded with a nail art brush.

    It’s all topped with two coats of Revlon Quick Dry Top Coat. Finally, I added the nail charm to my ring finger. It’s Anchor No. 2 from Hex Nail Jewelry and I attached it using nail glue.

    TwitterBloglovin’Tumblr

    Share:
    Uncategorised

    Green Nimbus Nail Art

    Betcha didn’t see this one coming! Today I tried out the Nimbus technique with a green and blue colour scheme. I really like the look of these as they’re more marbled than my previous attempt. I’m not sure whether this is because of the polishes I used or whether I’m just getting better at it!

    The colours I used here are:
    Sally Hansen Green Tea as the base colour
    Barry M Blue Grape
    Barry M Guava
    Rimmel Aqua Cool
    I used two coats of Revlon Quick Dry Top Coat over the top.

    Click here for a Nimbus nail art tutorial

    TwitterBloglovin’Tumblr

    Share:
    Uncategorised

    The Manicure of my Dreams

    For a very long time, I’ve had an image of some nail art in my head. I don’t know if it’s something I’ve seen before or a complete fabrication but this week I finally figured out how to make it real! The look I pictured was a marble-like mash up of colours that all blend together and look dreamy on the nails. 
    In my quest to figure this out, I tried a couple of things including the saran wrap and watercolour tecniques. The watercolor came closest but I still wasn’t happy so I set out on my own and tried a few new things. Eventually I found the perfect tool and technique and I’m so in love with this style of nail art. Now I’m not going to ruin a perfectly good chance at a guessing game by telling you the tool that I used – you guys have to guess! All I will say is that it’s an every day item (or items) that you would normally find in the bathroom. Any ideas?
    All will be revealed tomorrow when I post a tutorial for this look. I haven’t quite settled on a name for it yet so suggestions are appreciated!

    For this manicure I used a lot of Barry M Polishes: WhitePlum, Prickly Pear and Bright Purple all feature as well as H+M Midnight Mystery. I used Color Club’s Top Coat.

    TwitterBloglovin’Tumblr

    Share:
    Glitter, Uncategorised

    Could Have Foiled Me

    I have to put my hands up and admit that I was a bit quick to judge the Color Club top coat. It actually is a really good topcoat. I painted these nails last night and today – no sheet marks. Sorry Color Club, my bad!
    Thank you all so much for your top coat recommendations. It seems that Glisten and Glow’s HK Girl topcoat was by far the most popular suggestion so I think I need to get my hands on a bottle on that fact alone! Another one that stood out was Revlon and since I can easily dash in to Superdrug and pick up a bottle any time, that’s exactly what I did. I haven’t had the opportunity to try it yet but it’s very… pungent. I hope that means there are some super strong drying chemicals in there!

    For this nail art, I used a base of Essie Good as Gold with a coat of Essence Better Than Gel Nails Fast Dry Top Sealer.
    When that was dry, I placed on the Striping Tape to mark off where I wanted the foil shade to show through, then painted over it with Barry M Guava. I removed the striping tape immediately, while Guava was still wet.

    On my accent fingers, I used two coats of Sally Hansen Big Money over Essie Good as Gold.

    It’s all topped off with two coats of Color Club Top Coat.

    TwitterBloglovin’Tumblr

    Share:
    Freehand, Uncategorised

    Fancy Pants

    I thought that once the 31 Day Challenge was over, I’d have a huge list of ideas waiting to spill out of me on to my nails. But alas, I feel a bit creatively drained! Hopefully I’ll get my spark back soon. 
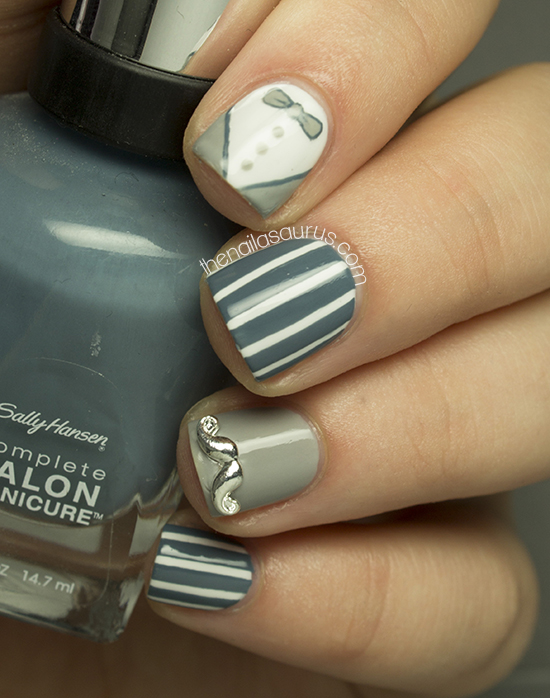
    Today I was looking for inspiration in the little things. I decided to work something around these cute moustache charms and the first thing that came to mind was a fancy suit. I kept it simple with some pinstripes and a tuxedo nail!

    I used Barry M White as a base except on my ring finger which is Sally Hansen Dorien Grey. Then I topped them all with a coat of Essence Better Than Gel Nails Fast Dry Top Sealer.

     For the pinstripes, I used striping tape to mark off the thin white lines and painted over it all in Sally Hansen Gray by Gray. I quickly peeled the tape off while Gray by Gray was still wet on my nails.

    The tuxedo nail is freehanded using a nail art brush with a dotting tool for the buttons and centre of the bow-tie. Again, I used Sally Hansen Dorien Grey, then Gray by Gray to outline the details.

    I attached the moustache charm using a dot of nail glue right in the middle.

    It’s all topped with a coat of No7 Stay Perfect Top Coat.

    TwitterBloglovin’Tumblr

    Share:
    31 Day Challenge, Gradient, Uncategorised

    31DC2013 Day 30: Inspired by a Tutorial

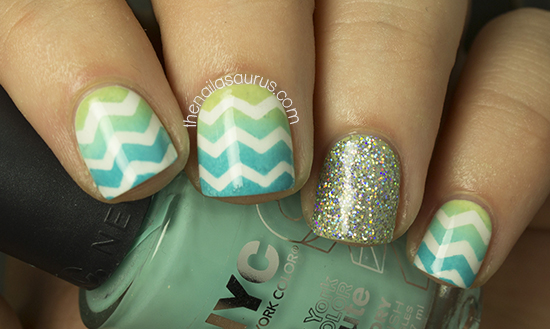
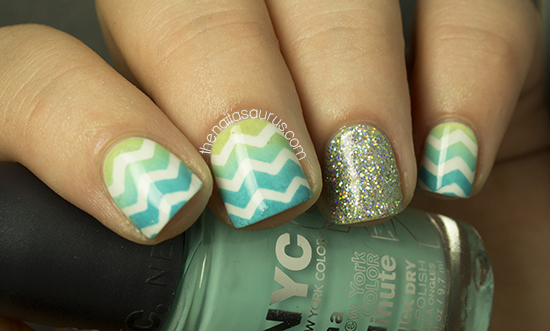
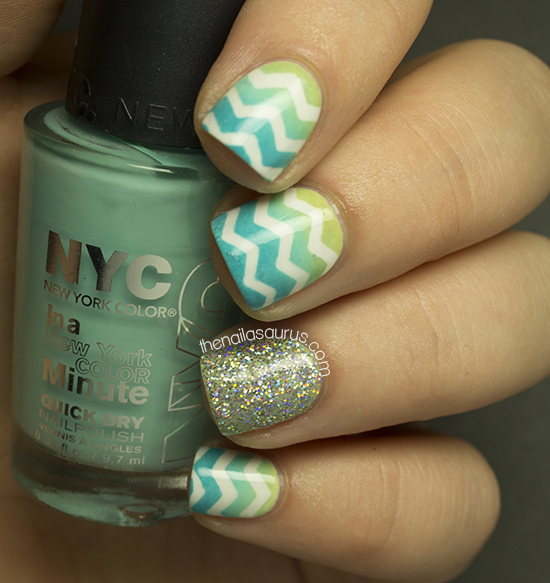
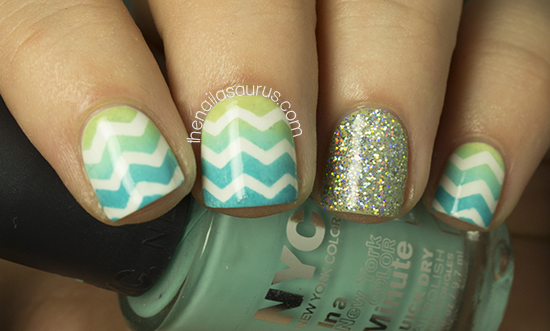
    Today’s inspiration comes from Storm and Stars who created this nail look a while back for Blog Fest. Click here to see her post with the tutorial. I went through a phase where I was completely obsessed with chevrons so when I was searching for an inspiring tutorial for today’s nails, this look reignited that flame in me. I immediately pulled out my funky scissors and scotch tape and set to work!

    I chose a different colour scheme than you’ll see in the original and added a glitter accent nail because GLITTER! I’m really really in love with these nails, it’s a very simple technique for such a striking look and although it’s quite time consuming to do the whole hand, it would make an excellent accent nail in any mani.

    To see how this is done, hop over to Storm and Stars HERE for an amazing tutorial.
    The colours I used for the gradient are Barry M Guava, NYC Blue Sky and Essie Navigate Her. The glitter on my ring finger is H+M Jo Is In The House applied over Navigate Her.
    My top coat is No7 Stay Perfect.

    See what’s coming next in the 31 Day Challenge 2013!

    TwitterBloglovin’Tumblr

    Share:
    31 Day Challenge, Freehand, Uncategorised

    31DC2013 Day 29: Inspired by the Supernatural

    Inspired by The Supernatural has always seemed to me a very uninspiring prompt. As far as I’m aware, Supernatural refers to ghosts and the paranormal which isn’t a subject I have much interest in. So this year, I’ve deviated a little and let myself explore mythology and folklore to search for some inspiration. 
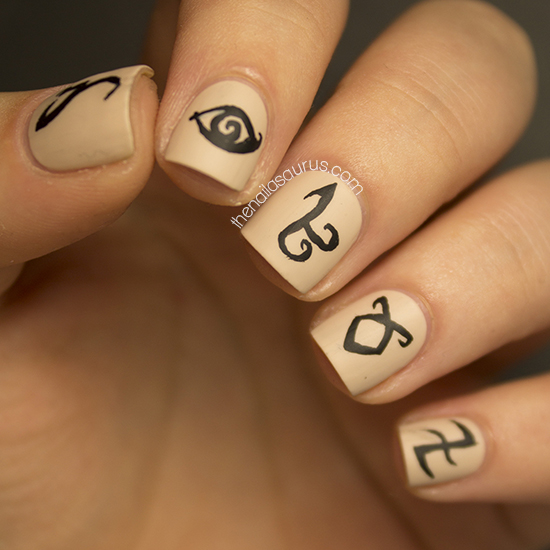
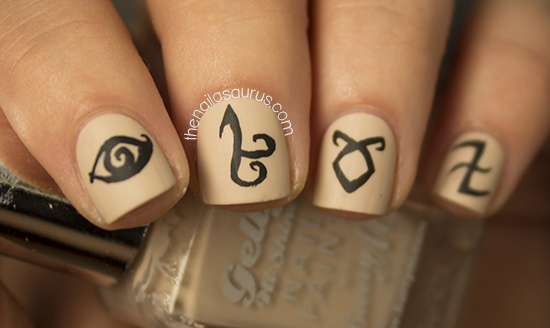
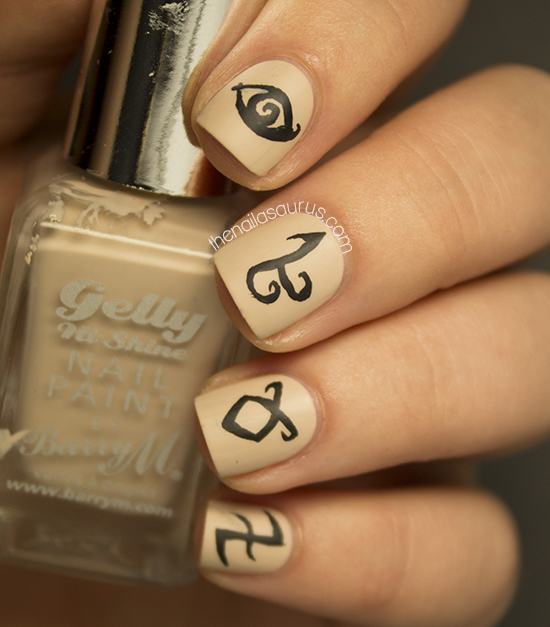
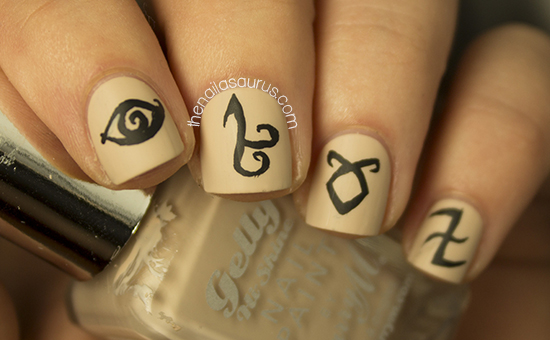
    The topic I chose for today’s nail art is Runes. There’s a huge history attached to Runes and their uses which I know very little of so I won’t pretend to be an expert but I do know that they appear in a lot of myths, legends and magical stories! I took these particular runes from The Mortal Instruments book (and now film) series, kind of a 180 from the old legends I’ve been harping on about but still Runes nonetheless!
    Check out the image on Cassandra Clare’s website HERE to find out what they all mean.

    I used Barry M Lychee as my base colour and painted on the runes using a nail art brush with black acrylic paint. I topped it with one coat of No7 Stay Perfect Top Coat, then one coat of Rimmel Matte Finish for the umm… matte finish!

    Day 29: Inspired by The Supernatural 2012
    Day 29: Inspired by The Supernatural 2011
    See what’s coming next in the 31 Day Challenge 2013!

    TwitterBloglovin’Tumblr

    Share: