Follow:
Browsing Category:

Video

    Nail Art, Uncategorised, Video

    Video: 3 Ways To Use Chevron Decals

    Streaky Watercolour Nail Art Tutorial // The Nailasaurus YouTube


    This video is completely different from any of the tutorials I’ve done in the past and I had so much fun making it. Quite a few people have asked me how chevron decals are used and I think the best way to answer is to show you a few different ways to have fun with them and hopefully answer any questions about the decals themselves.

    Items used

    C H E V R O N    D E C A L S
    Nail Vinyls (Grey)
    She Sells Seashells (Pink)

    L O O K    1   |   T H E    C L A S S I C
    Barry M White
    NYC Hudson Breeze

    L O O K    2   |   C R A C K E D
    Barry M Rose Hip
    NYC Peach Popsicles
    The Lacquer Lab Ultra Violet

    L O O K    3   |   T H E    G R A D I E N T
    Barry M Huckleberry
    NYC Blue Sky
    Barry M Cancun

    T O P    C O A T
    Glisten & Glow HK Girl

    C L E A N    UP
    Flat Nail Art Brush
    Pure Acetone

    If you take some inspiration from this video, I’d love it if you tag #looknailasaurus when you post your look on Instagram so I can see.

    Share:
    Nail Art, Tutorial, Uncategorised, Video

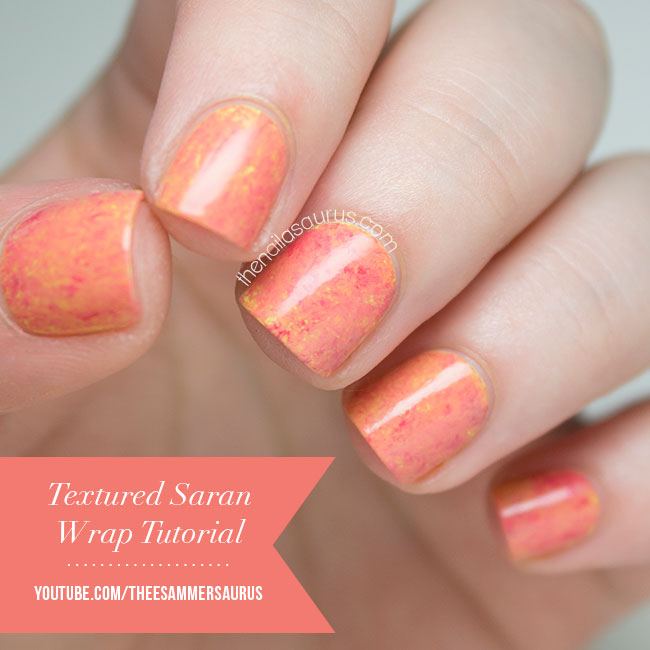
    Textured Saran Wrap Nail Art Video Tutorial

    Textured Saran Wrap Nail Art Video Tutorial // The Nailasaurus

    I know it took a while but here’s the video tutorial for the saran wrap technique I’ve been using a lot recently. It’s my quickest tutorial yet as it’s really quick and simple once you see how it’s done, it’s just tricky to explain in text so I completely appreciate why so many of you have been asking for the tutorial!

    You can see all the manicures I’ve done with this technique here to get an idea of what it looks like in other colour combinations. My favourite so far has to be the acid wash in blue and pink. It’s a really versatile effect that, depending on the colours you use, can look like anything from marble to denim!

    I noticed that in all my tutorials I make a real mess on my cuticles that I have to clean up at the end which you don’t have to do! You can protect your skin using tape, PVA glue or anything else you’ve found that does the job. I just don’t because I’m really lazy and figure since I’ll have to at least clean up a little bit at the end, I may as well just clean up a lot!

    Share:
    Gradient, Tutorial, Uncategorised, Video

    Watercolour Gradient Video Tutorial

    As promised, here is a video tutorial for the Life’s a Beach / Watercolour Gradient nail art I posted a while back. See that post here! If you’re wondering why I’ve suddenly gone crazy for video tutorials, it’s because I have enough time to create them these days and I’m really enjoying building on my video skills. I’ve always wanted to make great video tutorials but often doubted my abilities to create them the way I envisioned them. This year, I finally got a good video kit sorted out and the only thing holding me back was self-doubt about my filming and editing skills. You may remember that, in March, I finally decided that ‘Done Is Better Than Perfect’ (I even have it hanging on my wall to remember) and the first thing on my ‘get done’ list was videos. It also seems that video is becoming an almost essential component of blogging as audiences move towards YouTube for answers and I thought it would be best to jump on that train before it disappears over the horizon!

    I really like this new way of doing gradients to make them to look a bit more streaky and raw! It looks perfect in blue as it has a really watery look about it but I’m looking forward to trying it in other colour schemes too. 

    Share:
    Gradient, Tutorial, Uncategorised, Video

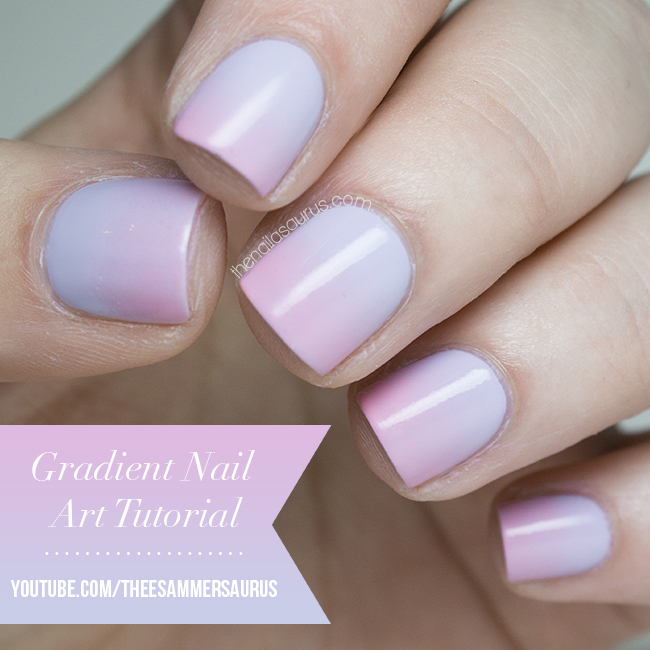
    Gradient Nail Art Tutorial Video and FAQ

    Gradient Nail Art Video Tutorial

    When I ventured back in to making videos recently, it seemed inevitable that I’d be making a gradient nail art video since my picture version was quite a success and many people have asked to see me do it in a video. This mani does take a while but most of that time is spent waiting for polish to dry. Once you get the hang of it, sponging on the gradient is easy!
    While we’re here, I also thought it would be a great opportunity to answer some of the questions I get asked most frequently about this technique. Over time I’ve learnt a lot more about the process and how to overcome a few of the difficulties that you might come across on your first couple of tries.
    What polishes work best for gradients?
    You can’t go wrong with creme polishes that are quite runny. They don’t have to be very opaque either, streaky polishes often work best for gradients.
    How do you avoid bits coming off the sponge and sticking to your nail?
    I don’t think there’s any way to avoid this. If you see little flecks of sponge breaking off and sticking to your nail, just pick up a new sponge and continue where you left off.
    You can use tweezers to pick these flecks out of your mani but if they’re only small, usually your top coat will hide them!
    Should you wet the sponge first?
    Personally I never use water but I know others that use a damp sponge with amazing results. Try both ways and see what works for you!
    How do you clean the sponge after?
    I don’t bother trying to clean the sponges. I just throw them away and use a fresh one the next time.
    Any other tips?
    It’s super important to wait for your polish to dry in between layers. If you try to sponge over wet polish, you’ll just start picking up the polish that’s already there and it’ll be a gloopy mess. Watch a movie while you’re doing it to avoid boredom!

    If you try this mani yourself, don’t forget to use #looknailasaurus on Instagram so I can see your results!

    Share:
    Tutorial, Uncategorised, Video, Waterfall

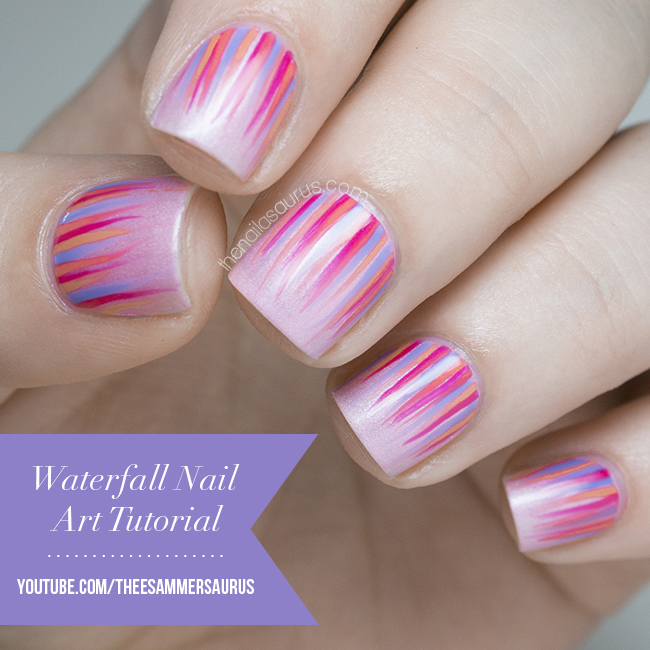
    Waterfall Nail Art Tutorial Video

    Here’s step one on my ‘Done is Better Than Perfect‘ mission… tutorial videos! This is something I’ve been intending to do for more than a year and tried more than a few times but there was always something I was unhappy with. The main issue was lighting but once I decided to stop fussing and just get on with it, I did my research and found a really cool lighting setup that lets me get nice and close without blocking out any light.

    For my first video, I started simple with a Waterfall Nail Art Tutorial to accompany the picture tutorial I posted last July. I must say, I’m really happy with the way it’s turned out which has definitely encouraged me to keep going with videos!

    Share:
    Glitter, Tutorial, Uncategorised, Video

    Glequin Video Tutorial!

    Sorry that you’ve had to pester and pester me for this. I always say it, but I’m such a slacker when it comes to making tutorials. This is by far my favourite tutorial that I’ve made. Editing was minimal and I managed to get most of the shots I needed first time round without any camera or other equipment disasters. I think tutorial making is, like almost everything, one of those instances where practice makes perfect. I’m learning from my mistakes and my videos are getting better for it.

    Hopefully this will answer any questions you might have had about how I apply glequins. Here is a link to the Glitters on Born Pretty Store and don’t forget you’ll get 10% off your order with my code, SA5X31.

    TwitterBloglovin’Tumblr

    Share: