Follow:
Browsing Category:

Glitter

    Christmas, Glitter, Nail Art, Stamping, Uncategorised

    Nailvengers Assemble! Christmas Nail Art

    Christmas Nail Art

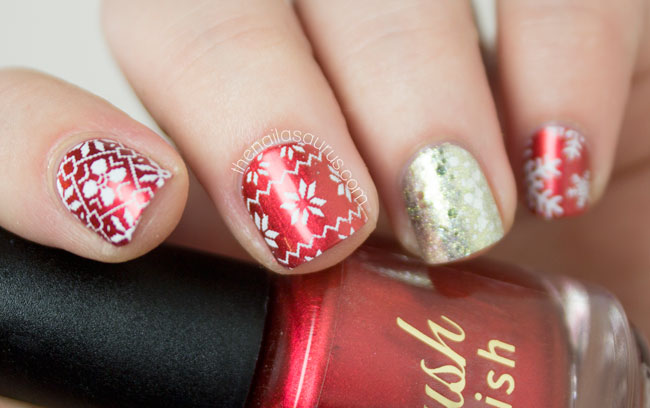
    The Nailvengers are getting in to the festive spirit today as we tick over in to December and Christmas Mania can officially begin. I made a start on my Christmas shopping this weekend and let’s just say I’ll be doing as much as possible online from now on. Carrying giant shopping bags whilst trying to navigate through hoards of people also carrying their own hauls doesn’t make for a fun Sunday and it even resulted in a few bruises!

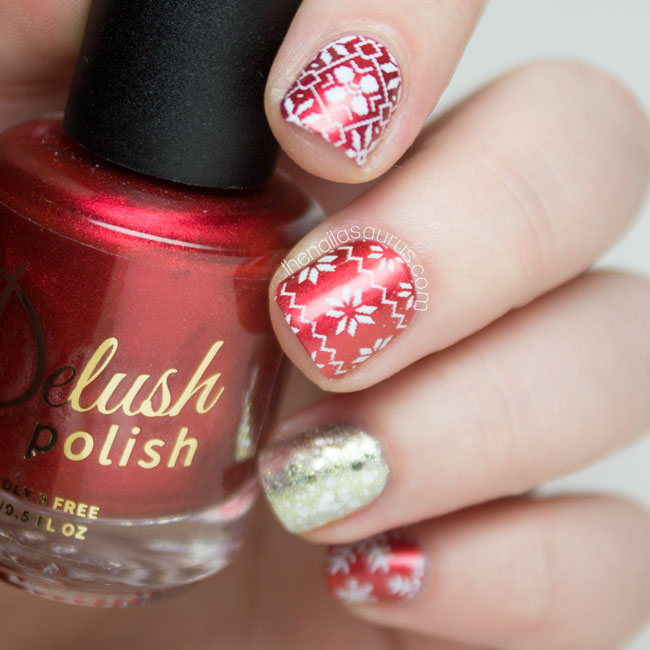
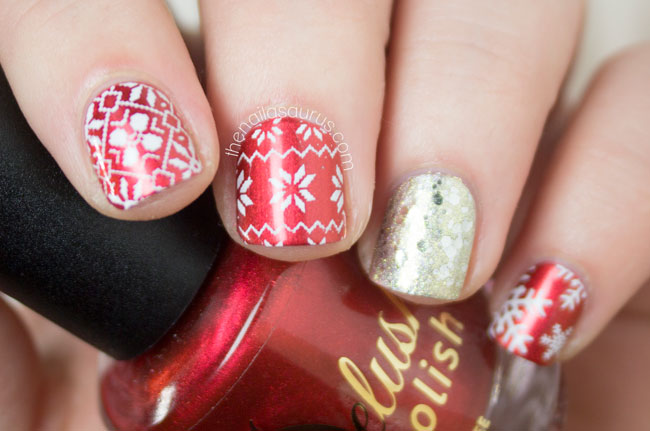
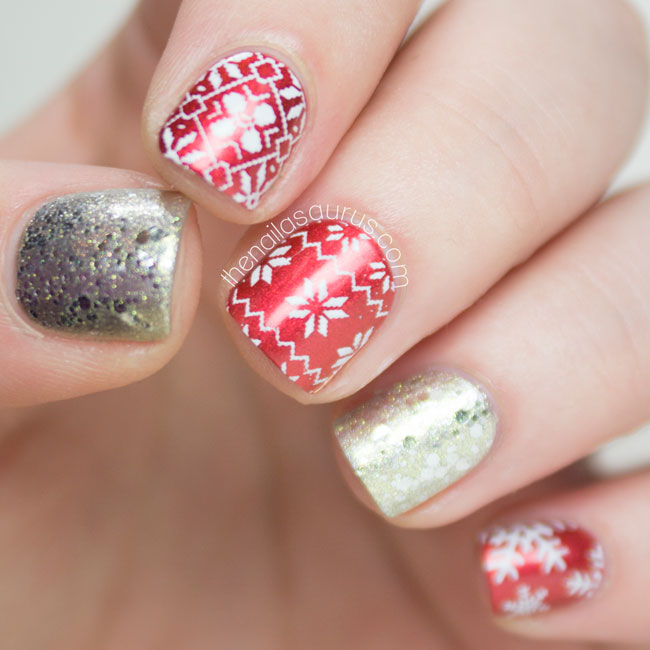
    For this nail art I used Delush Glam Squad, the perfect festive red then added a few gold accent nails with Sally Hansen Coat of Arms and L’Oreal Platinum Chic.

    For the details, I stamped on some designs from MoYou Festive Collection Stamping Plate 06 using BK Matte White.

    It’s all topped with a coat of Glisten & Glow HK Girl.
    Christmas Nail Art

    Christmas Nail Art

    Christmas Nail Art

    An InLinkz Link-up

    Share:
    Freehand, Glitter, Halloween, Nail Art, Uncategorised

    Nailvengers Assemble: Halloween Nail Art

    Halloween Nail Art // The Nailasaurus

    Happy Halloween all! I’ve teamed up with the Nailvengers (Amelia, Allie, Alice and Lucie) today for my first and final Halloween look. I’m sorry if you might have been expecting something a bit more adventurous considering I had 18 designs to choose from, but I was in a bit of a rush and blood drips are always going to be my go-to Halloween design! This time around, I tried to 3D-ify the drips with some highlighting and contouring with moderate success!

    This glitter polish caught my eye half way through the paint job. It’s an untried that’s been sat on my desk just waiting to be used. My eyes skimmed over it and just thought ‘the is PERFECT for Halloween!’, so I removed the polish that was already there and applied the glitter instead!

    For the blood drips, I painted a base colour of Barry M Lychee, then freehanded on the drips using Rimmel Heart on Fire with a nail art brush.

    I mixed a little bit of black polish in with the red to paint the shadows, then mixed a little bit of red with white for the highlights/reflections.

    The glitter is W7 Lava Flow. I used about four (really thin) coats to get full opacity but you could just apply two over white for a similar effect.

    It’s all topped off with two coats of Glisten & Glow HK Girl.

    Halloween Nail Art // The Nailasaurus

    W7 Lava Flow Halloween Nails // The Nailasaurus

    Halloween Nail Art // The Nailasaurus

    Halloween Nail Art // The Nailasaurus

    Share:
    Glitter, Nail Art, Uncategorised

    Side Frenchy with Il Etait Un Vernis

    Il Etait Un Vernis Live, Love, Laugh

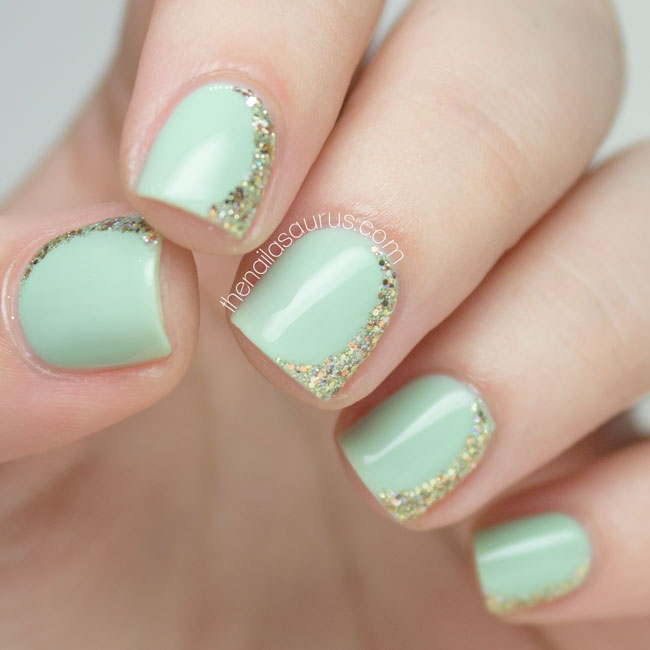
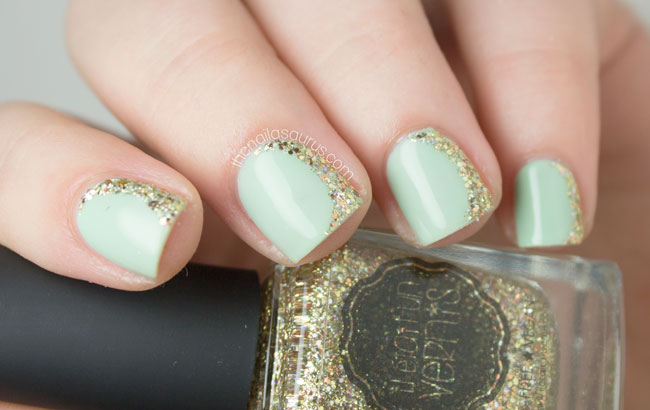
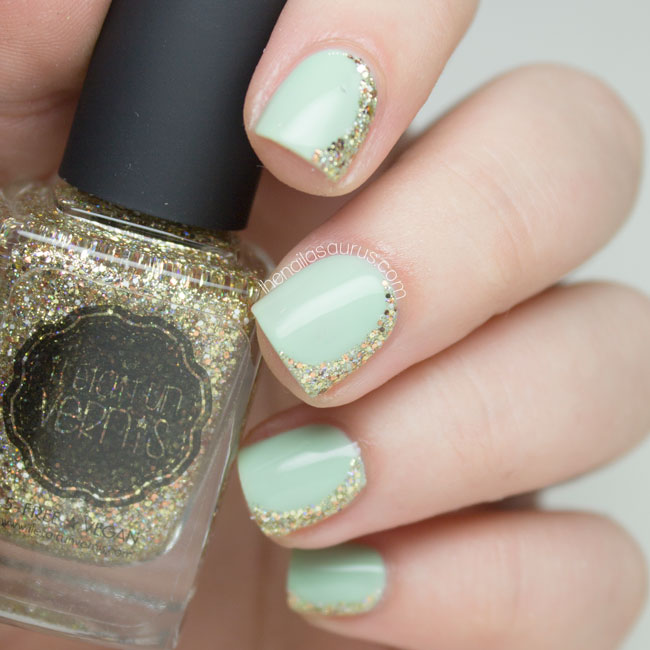
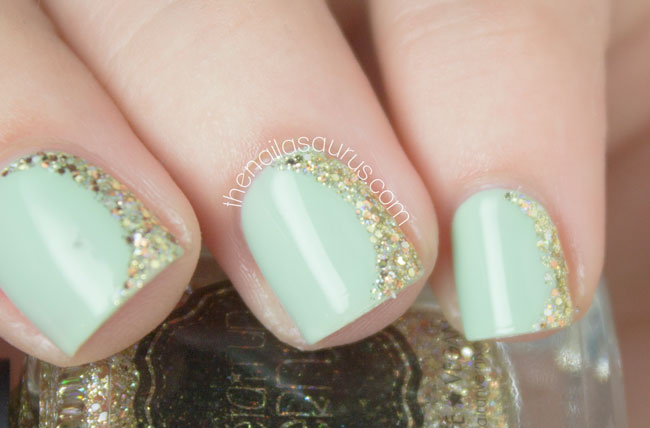
    I’ve seen this look around a lot recently and I’m not sure of the proper name but it’s like a french manicure tipped 90 degrees so the curve sit down one edge of your nail instead of along the tip. We all know how much I love a simple yet sophisticated manicure so I couldn’t resist trying it out myself.

    I must admit,  I don’t know who did this first to make it take off this year, but I would just like to mention that I posted a ‘Side Frenchy‘ years back (and I’m even linking back to a truly cringe worthy blog post to prove it!) so I call dibs on the name! I actually think ‘Drunk French Manicure’ would be a better name for it. You know, like ‘Go home, French. You’re drunk’ – falling all over the place and sitting there all sideways like that!

    You may have seen me Instagram the debut collection from Il Etait Un Vernis with the cute little tote bag it comes in over the weekend. I’m working my way through full swatches of the collection but I just had to add the gold holographic glitter to this mint mani. More info coming soon, but I can tell you now it’s a real winner!

    For this nail art, I painted on the glitter – Live, Laugh, Love by Il Etait Un Vernis – using a small nail art brush over a base of Nicole by OPI I Shop Mintage.

    Il Etait Un Vernis Live, Love, Laugh

    Il Etait Un Vernis Live, Love, Laugh

    Il Etait Un Vernis Live, Love, Laugh

    Il Etait Un Vernis Live, Love, Laugh

    Share:
    Glitter, Swatch, Uncategorised

    Rimmel Pop Art Top Coat Swatch

    Rimmel Pop Art Top Coat Swatch

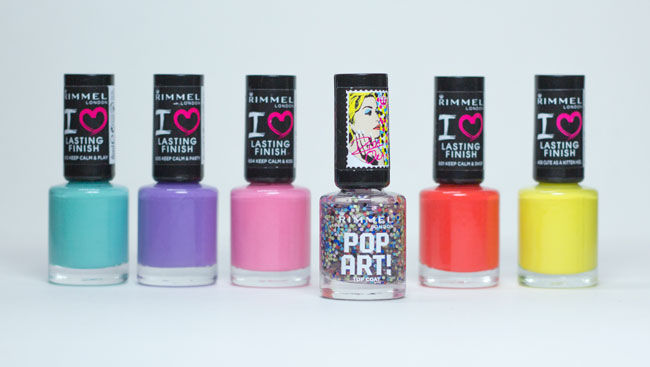
    Matte glitter has made it’s way in to the mainstream this year. One of the offerings is Rimmel’s Pop Art Top Coat and it’s the first one I’ve tried myself. The polish is a glitter topper with uniformly sized hexes in a selection of bold colours.

    Whenever I’m faced with a mutli-coloured glitter, I always have trouble deciding what base colour to pair it with. As you can probably see, this time I just gave up on the decision altogether and tried it over almost every colour of the rainbow! Turns out it perfectly compliments any shade so I needn’t have worried.

    I had to use two thick coats of Pop Art, plus some dabbing, to get decent coverage and it still clumped in a few places. I found it a bit tricky to get enough glitter on the brush at first but there’s definitely a knack to it which I soon got the hang of. Despite the thick coats, once I added my top coat, it all dried nice and quickly so I wasn’t left with the ‘layered’ feeling – when you know the top coat is dry but everything underneath is still squishy and liable to shift about!

    Polishes Used

    Rimmel Keep Calm Nail Polish

    Rimmel Pop Art

    Rimmel Pop Art

    Rimmel Pop Art

    Share:
    31 Day Challenge, Glitter, Nail Art, Uncategorised

    31 Day Challenge: Honor Nails You Love


    Better late than never! I’m here at the finish line of the 31 Day Challenge and amazingly only a few days late. For the very final day of the challenge (oh god, it feels so good to say that!), I have to Honour Nails I ♥ so I’ve selected a design by one of my favourite nail artists – Paulina’s Passions. Paulina was actually inspired by Very Emily – another one of my favourite nail ladies so this mani has given me the chance to pay tribute to two talented artists that I admire!

    As you may know, I’m in the running for the Best Established Beauty Blog award at the Cosmo Blog Awards and the ceremony is tomorrow. I’ve had a busy evening spent packing and I’ve managed to get everything I need in to a reasonably sized duffle bag so I’m feeling like a packing pro right now! This is the third year I’ve been nominated but only the second time I’ll be going to the ceremony. Last year was amazing fun and I’m sure this year will be another night to remember. I’ll be meeting up with Lucie and Alice in London and we’ll be representing the nail blogs this year! If you want to follow any of the action, keep up with me on Twitter and Instagram.

    For this nail art, I put down my base colours: Barry M White, Essie Go Ginza and Barry M Majesty.

    For the patterned nails, I used striping tape to mark off where I wanted the white to show through. I created a textured saran wrap pattern over the top using Nicole by OPI LeaPink for Joy, Sally Hansen Himalayan Blue and Essie Go Ginza and removed the striping tape immediately. There’s a tutorial for the textured saran wrap technique here.

    It’s all topped off with two coats of Glisten & Glow HK Girl.

    Share:
    31 Day Challenge, Glitter, Holographic, Nail Art, Uncategorised

    31 Day Challenge: Glitter

    piCture pOlish Pandora // The Nailasaurus

    I laid down piCture pOlish Pandora on my nails fully intending to create some glittery nail art over the top. But as soon as I finished, held out my hand and took a second to admire Pandora, I decided it really didn’t need anything extra.
    It’s somewhere in between a holographic polish and a glitter. I feel like the chunkier holographic particles push the finished look towards a glitter but it applies (and removes, yay!) incredibly easily like a holo. 
    I used 3 coats in these swatches with HK Girl Top Coat. This polish is the up to the usual high standards I’ve come to know piCture pOlish for – smooth application, lasting wear and truly stunning, unique looking shades.

    Where to buy Pandora

    Pandora is available directly from picturepolish.com.au and their international network of stockists.
    piCture pOlish Pandora Swatch // The Nailasaurus
    piCture pOlish Pandora Swatch // The Nailasaurus
    piCture pOlish Pandora Swatch // The Nailasaurus
    Share:
    31 Day Challenge, Glitter, Gradient, Nail Art, Uncategorised

    31 Day Challenge: Gradient Nails

    Gradient Nail Art // The Nailasaurus

    I think I managed to find a colour combination that I haven’t used yet for today’s gradient. I’ve been on a bit of a blue blue streak since the colour restrictions were lifted and I’m carrying on today. Third time’s lucky as they say!
    For this gradient, I used 2true Shade 15 as my base colour, then created the gradient using Rimmel Keep Calm & Party. There’s a gradient tutorial here!
    I topped it with a coat of China Glaze Fairy Dust and then finished off with Glisten & Glow HK Girl.

    Glittery Gradient Nail Art // The Nailasaurus
    Blue to Purple Gradient Nail Art // The Nailasaurus
    31 Day Challenge Gradient Nail Art // The Nailasaurus
    31 Day Challenge Gradient Nail Art // The Nailasaurus
    Share: