Follow:
Browsing Tag:

White

    Galaxy, Uncategorised

    White Space Take 2

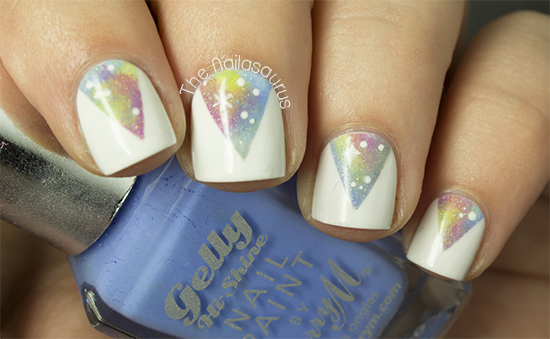
    Thanks to some stellar photography tips from the ladies at Very Emily and The Nail Polish Challenge, I finally feel like my photos are up to scratch so you’ll be pleased to hear that I won’t be moaning/apologising about it going forwards. Yesterday Kelli recommended that I try shooting in RAW format so I have a lot more control during the editing process and it’s changed my life! I feel so good about my photos right now!
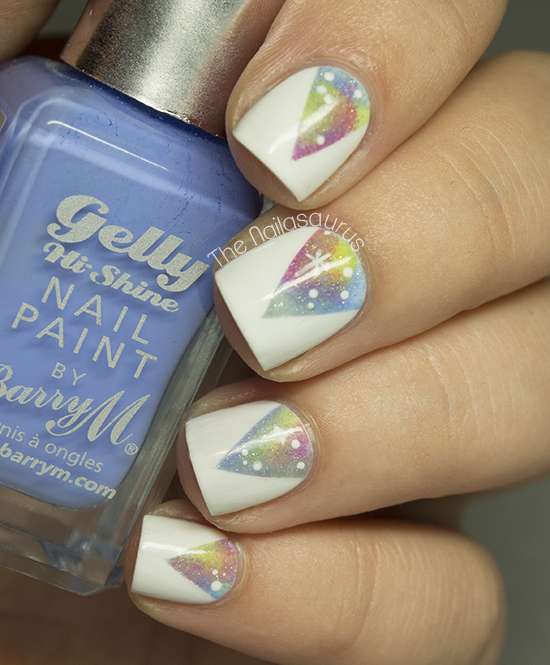
    Today’s nail art is very similar to the ‘White Space‘ look I did a few weeks back. I just loved it so much that I knew I’d have to try it again and here we are!
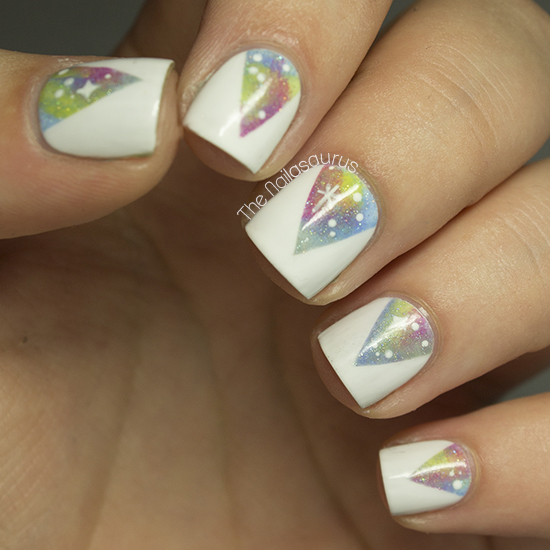
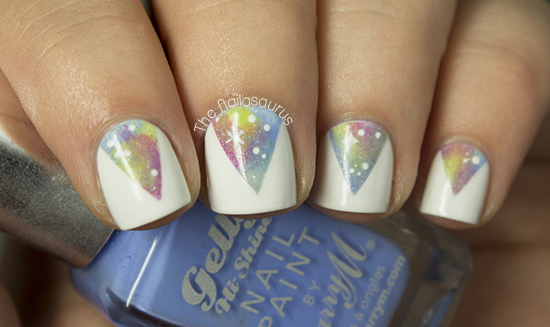
    1. I used Barry M White as my base colour and then applied a coat of Sally Hansen Dries Instantly.
    2. When it was completely dry, I used Scotch Tape to mark off a triangle at the base of each nail.
    3. One nail at a time I created the Galaxy look using Barry M Blueberry, Collection 2000 Think Pink, NYC Lexington Yellow and Sally Hansen Dorian Grey with a coat of Calvin Klein Blue Wants to be a Millionaire over the top. The Calvin Klein holographic polish gives it that sparkly finish and does a good job of blending all the colours together.
    There’s a galaxy tutorial here if you’re not familiar with the method.
    4. Finally I finished it all off with two coats of Dries Instantly.
    TwitterBloglovin’Tumblr

    Share:
    Freehand, Uncategorised

    Rosey Posey Pinstripe

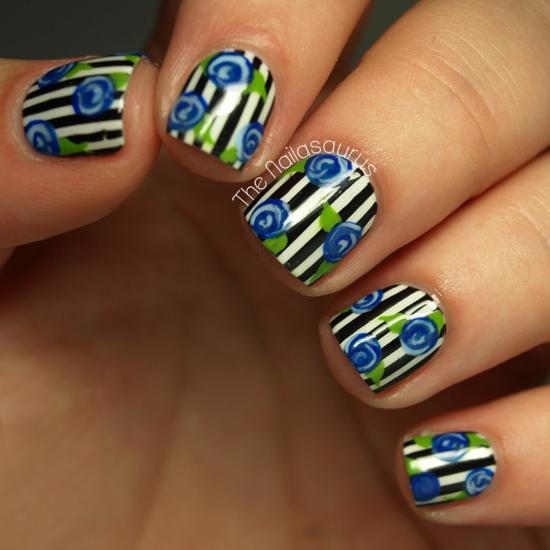
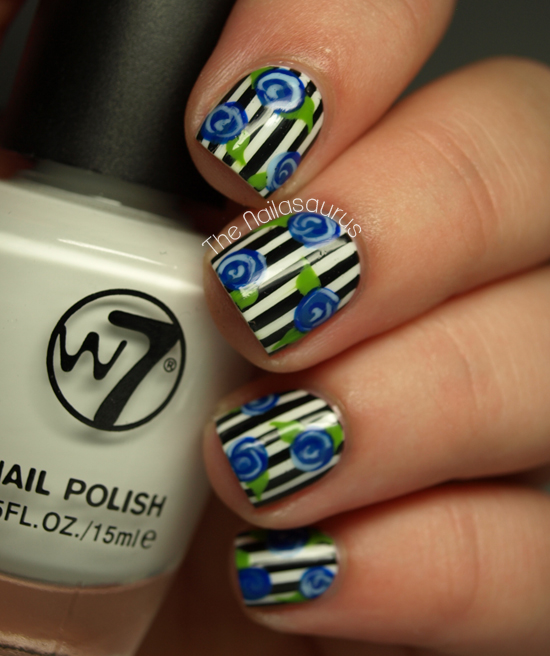
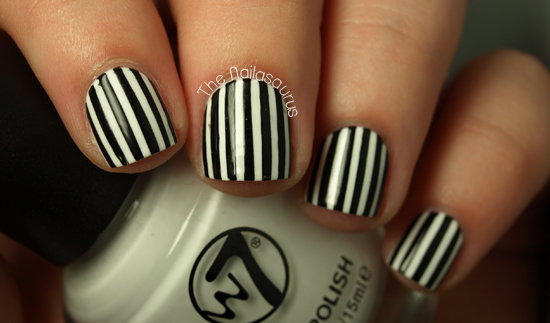
    Today is the first time in a very long while that I’ve decorated every nail with the same design and I have to be honest – I don’t like the feeling! As much as I love this nail art, I’m just itching to remove the polish from a couple of nails and add in a plain glitter accent or some simple studding!

    1. I used a base of W7 White followed by a coat of No7 Stay Perfect Top Coat.
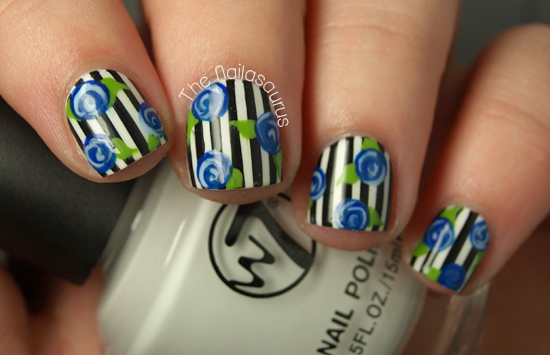
    2. I used striping tape to mark off pinstripes and painted over it with W7 Black. While the black polish was still wet, I removed the striping tape.
    3.  I waited for it to dry and added another coat of No7 Stay Perfect.
    4. I freehanded the roses using a nail art brush with Barry M Blue Grape, Nails Inc. All Saints Road and NYC Raindrop. I used Saly Hansen Grass Slipper for the leaves. There’s a tutorial for the roses here.
    5. Finally, it’s all topped off with another coat of No7 Stay Perfect!

    And a few shots before the flowers because I was proud of my pinstripe!

    TwitterBloglovin’Tumblr

    Share:
    Freehand, Uncategorised, Waterfall

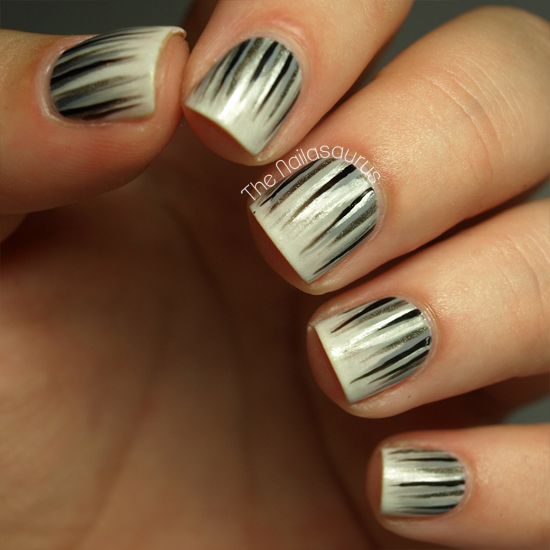
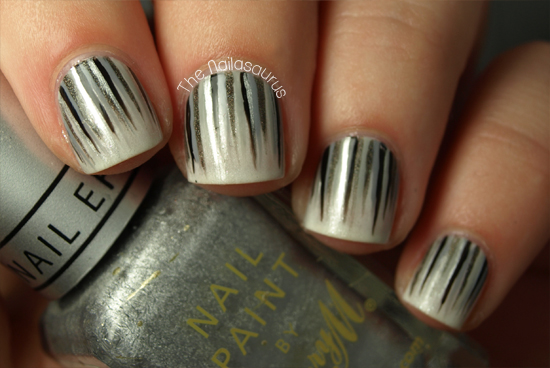
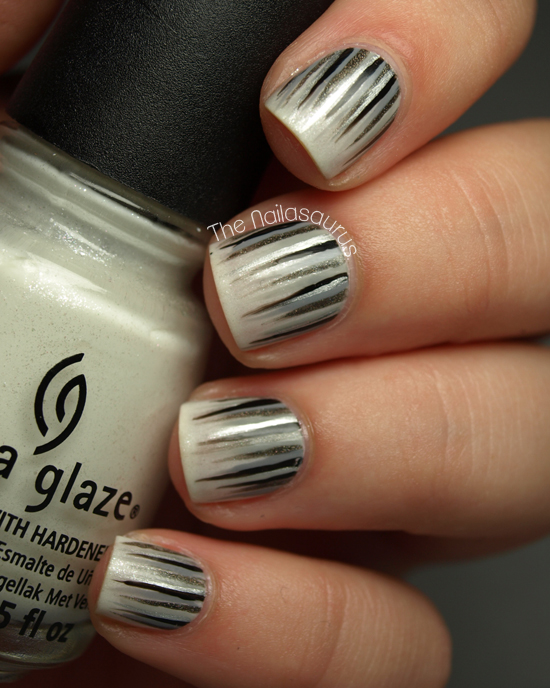
    Monochrome Waterfall

    The last thing on my list of must-do waterfall manis was a monochrome creation. This was suggested in the comments on the first ever waterfall mani I posted and I finally got round to it this week! 

    My base colour is China Glaze Dandy Lyin’ Around which is a shimmery creamish white. I thought I’d step away from the Barry M White on this one as it seems I’m using it in almost every manicure recently!
    For the details, I used Rimmel Grey Matter, Sally Hansen Dorian Grey, No7 Just Black and A-England Fated Prince. There’s a tutorial for the waterfall look here.
    I finished it all off with a coat of No7 Stay Perfect Top Coat and then one coat of Essence Better Than Gel Nails Top Sealer.

    Friendly reminder that my blog is shortlisted in the Established Beauty Blog category at this year’s Cosmo Blog Awards and you can vote for me here.
    Share:
    Uncategorised

    Nautical But Nice

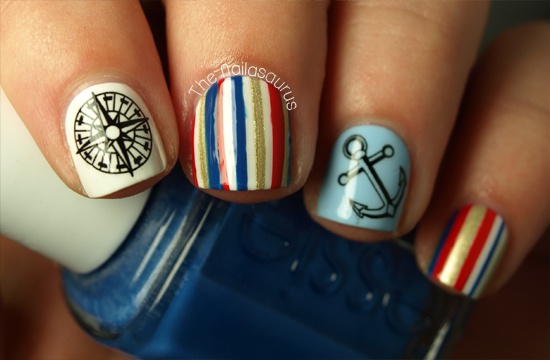
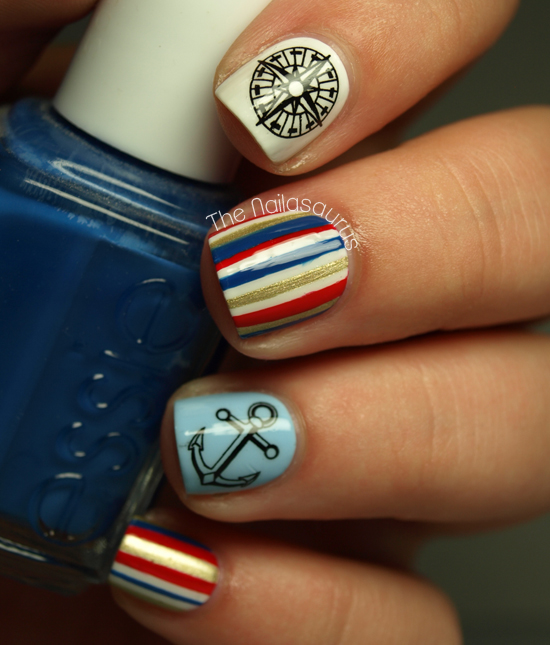
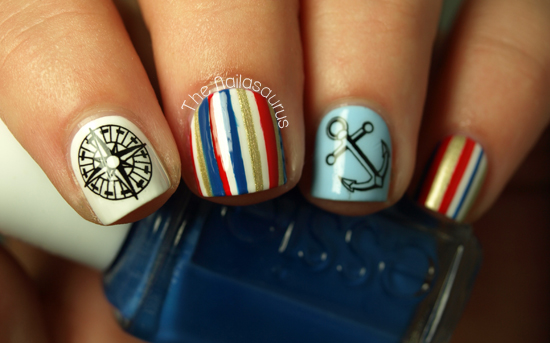
    I really love nautical nails. There’s something about wearing the scheme of red, blue, white and gold in the summer that just makes you feel very sophisticated; like you’re always ready at the drop of a (captain’s) hat to hop on to the yacht and sail around Europe!
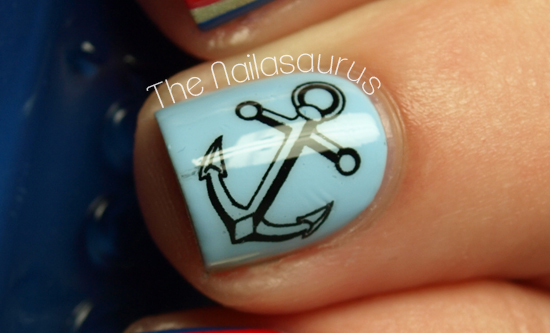
    I spotted these water decals at Born Pretty Store and fell in love immediately! The pack is $2.86 (approx £1.90) and you get a selection of 20 decals in compass and anchor designs. I’m beyond impressed with these. As you can see, they’re the kind that are really thin so as long as you apply them carefully and give them a good smooth over, you can’t even tell they’re decals. Although this does mean they’re very delicate so you have to be light handed when applying them!

    1. My base colours are Barry M White and NYC Raindrop on my index finger.
    2. I applied the nautical themed water decals using a pair of tweezers.
    3. Using striping tape, I marked off some stripes on the other fingers and used a nail art brush to fill in the gaps with Barry M Gold Foil, Essie Mezmerised and Rimmel Heart on Fire.
    4. I finished it all off with two coats of No7 Stay Perfect Top Coat.

    TwitterBloglovin’Tumblr

    Share:
    Glitter, Tutorial, Uncategorised

    piCture pOlish Blog Fest 2013

    Press Sample


    – Celebrating the Year of the Blogger –

    I’ve been absent for a bit longer than planned since my holiday but I’m back with a bang today as it’s piCture pOlish’s Blog Fest! This will be the second year that piCture pOlish have held Blog Fest which involves dozens (maybe even hundreds) of nail bloggers worldwide. We’re all posting our nail art creations today and 3 of us will be chosen to create a collaboration shade with piCture pOlish. One will be voted for by you guys on Pinterest, one by the participants and the final one will be chosen by the girls at piCture pOlish!

    If you want to vote, you can check out all the entries on the Pinterest Board and submit your favourite on the piCture pOlish website!

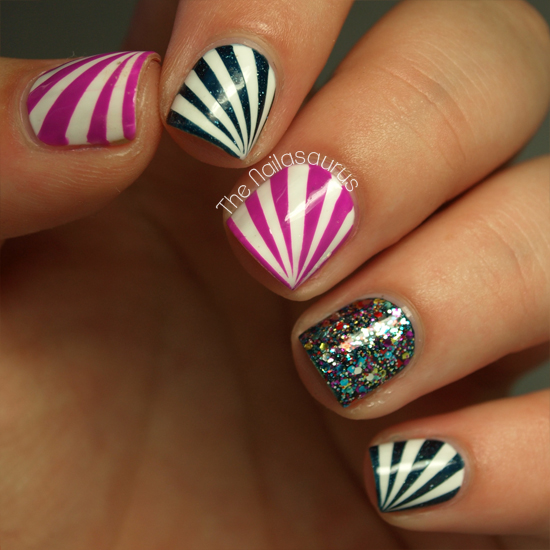
    I was sent three piCture pOlish shades to work with; Blogger, Hope and Mad Magenta. I decided to create this starburst design using scotch tape with an accent nail of two coats of Blogger over two coats of Hope. Cutting the tape is definitely the trickiest part of this nail art! At first it’s difficult to get such tiny strips but once you get the hang of it, it’s comes easy.
    Step 1: Start with a base coat of white nail polish, I used Barry M White, and apply a fast drying top coat. 

    Step 2: Cut some very thin triangles out of scotch tape. Aim for about 4-5 triangles per nail.

    Step 3: When your base colour is completely dry, use tweezers to place the triangles on to your nail working from one corner outwards. Make sure there’s a bit of overhang by the cuticles so you can easily grab it to remove.
    Step 4: Paint your second colour over the tape.
    Step 5: As soon as possible, carefully remove the strips of tape.
    Step 6: Finally, add a top coat and use a nail art brush dipped in acetone to clean up any mess around your cuticles.

    piCture pOlish ship worldwide from their website but you can also click here to find piCture pOlish stockists in your country. Make sure you check out there Everyday Deals page before you order so you’re not missing out on any offers!
    Where to find piCture pOlish
    Share:
    Glitter, Stamping, Uncategorised

    Banish the Blues: Mint Chevrons

    I’m on such a chevron kick recently and although using tape and craft scissors is great because I get to choose exactly where each zig zag goes, the chevron plate from Bundle Monster’s 25pc set gives super crisp results when I don’t have the time or spare energy to use the tape method!

    I used a base colour of Essie Navigate Her and stamped on the chevron design from Bundle Monster Plate BM201 using Born Pretty’s Matt White Polish (SUCH a good stamping polish!). I used 1 coat of Sonnetarium Snowfall on my ring finger and topped it all off with a coat of No7 Stay Perfect Top Coat.

    TwitterBloglovin’Tumblr

    Share:
    Freehand, Uncategorised

    LOL

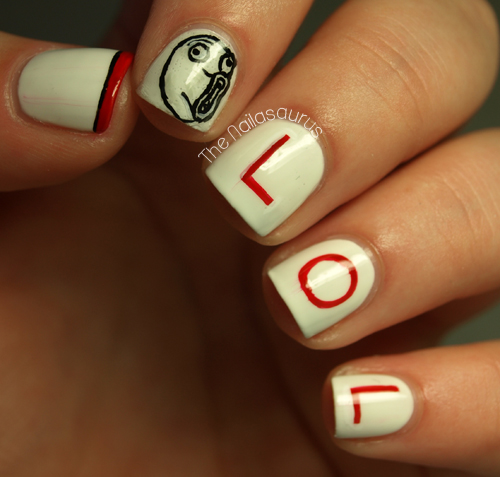
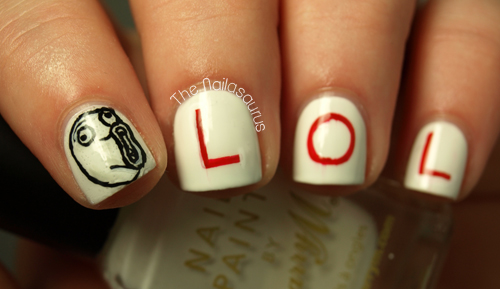
    Like a lot of you here (you know who you are!), I’m a bit of a meme addict and I’m slowly but surely making my way through Know Your Meme on my nails! 
    I kind of cheated with this one by creating a decal rather than freehanding it straight on to my nail.
    I started by painting a thin coat of clear polish about 2x2cm on to a sheet of plastic and letting it dry. Then I used acrylic paint with a nail art brush to draw the face. Once it was all dry, I peeled the whole thing away from the plastic and stuck it to my nail using a coat of clear polish and smoothing it down with my finger. Finally I used a brush dipped in acetone to remove the excess at the edges and top coated it.
    Unfortunately the result is chock full of air bubbles but they’re not super visible unless you get very very close!
    I used Barry M White as my base colour and created the face using the method described above. For the LOL text, I used a nail art brush with Rimmel Heart on Fire.

    TwitterBloglovin’Tumblr

    Share: