Follow:
Browsing Tag:

Water Decals

    Freehand, Nail Art, Uncategorised

    And Make it Fast | Fast Food Nail Art

    Last night, I got the urge to have a little de-stash which resulted in a two hour sort through of all of my nail polish and nail art supplies. My collection has been knocked down 473 bottles which now occupy 5 Helmer drawers and I feel very cleansed and refreshed! I was at a point where bottles were spilling over on to my desk and filling boxes under the bed which was really frustrating me as I really like for everything to have its place. Also, I really don’t want to end up as the lady on Hoarders who only eats takeaway because her kitchen cupboards are stuffed with 10,000 bottles of nail polish!
    It got me wondering how many polishes is ‘normal’ for a hobbyist to have. I asked on Facebook yesterday and answers ranged from 10-1000+ so it seems I’m in the median range. I know I have a modest collection compared to some other nail bloggers but I’d really like to know how many you have and/or how many you think is reasonable! Let me know in the comments.
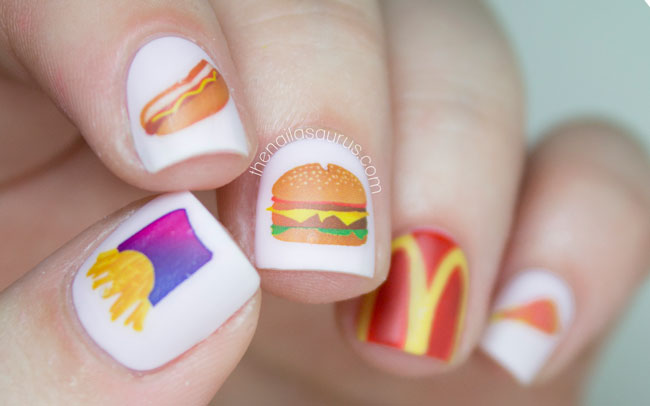
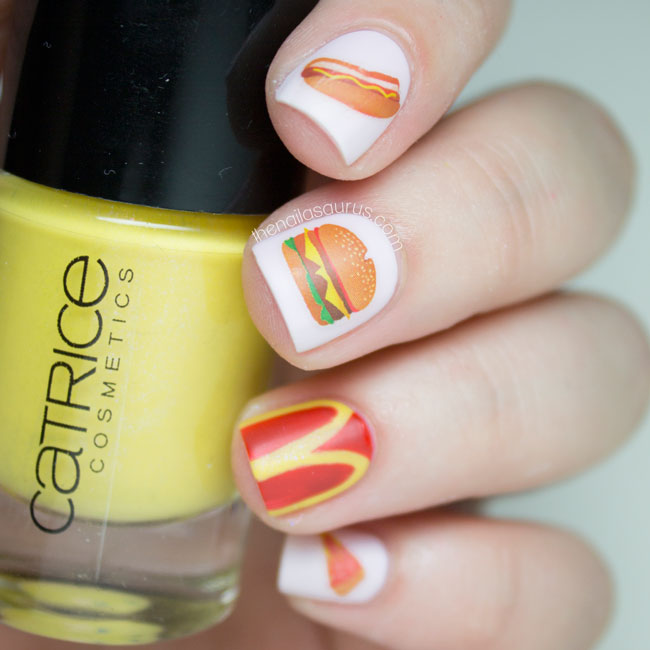
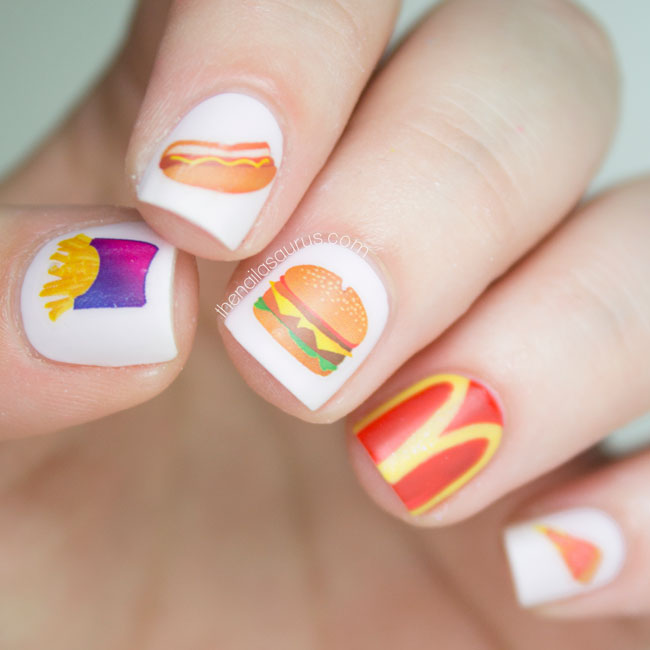
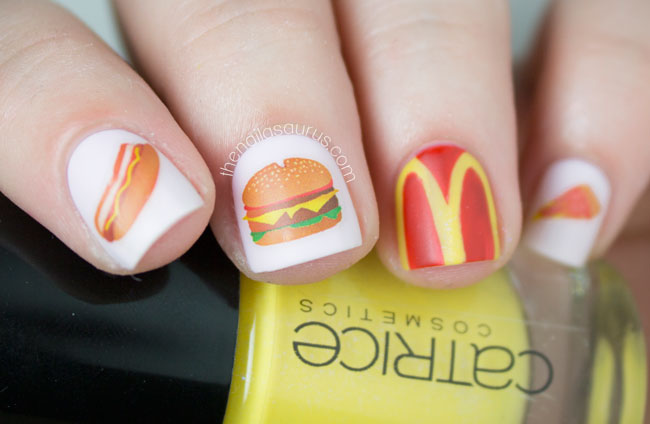
    On to the nail art! These mouth watering water decals are part of Nailed Kit’s June subscription package along with the tribal decals I posted a while back. You have until June 30th to sign up if you want to get your hands on these designs. Of course, I just had to add the golden arches and now I just want to eat McDonalds!
    I used Barry M Rose Hip as the base colour for the water decals.
    To create the ‘M’, I painted on a base of Catrice Earnie & Birdy (yellow), then freehanded on the red details using Rimmel Heart on Fire with a nail art brush.
    It’s all topped with one coat of Glisten & Glow HK Girl and one coat of Rimmel Matte Top Coat.
    Share:
    Nail Art, Uncategorised

    Something Kinda Creepy

    DIY Nails Creepy Water Decals | The Nailasaurus
    I’ve been binging on Orange is the New Black this weekend (thank you, Netflix!) so today’s nail art had to be Orange! I did the marble effect using cling film and it’s my most successful attempt yet. In the past, my attempts have been a little too marbled but the detail is nice and clear this time around.
    The colours I used are Sally Hansen Tahitian Sunset, piCture pOlish Totes, NYC Rooftop Party Berry and Nicole by OPI Yoga-Then-Yogurt.
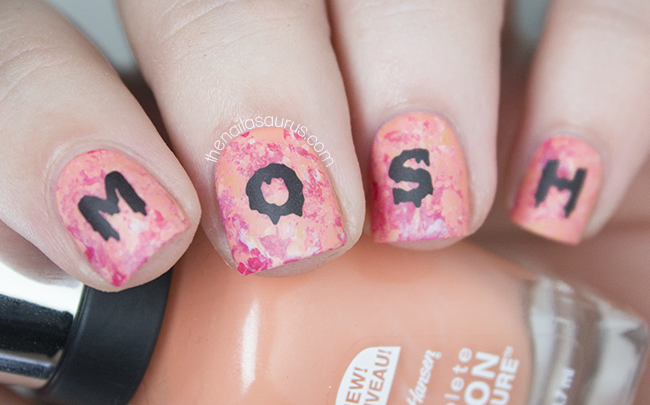
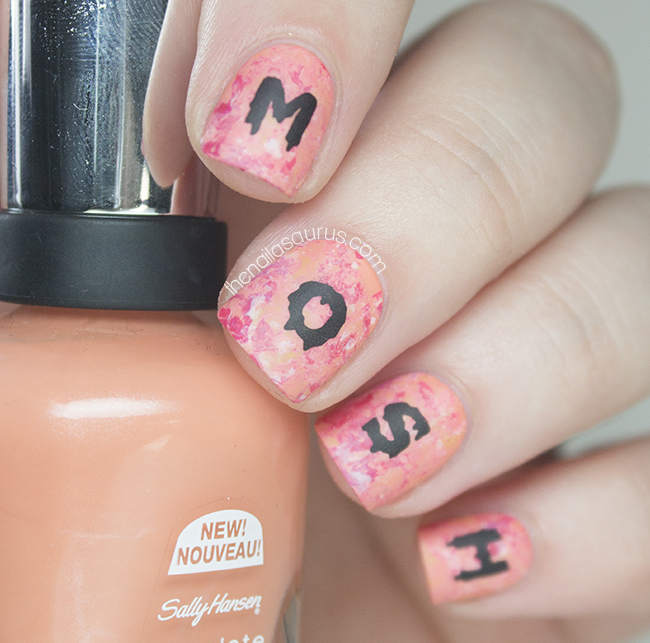
    The details are all DIY Nails water decals. The Drippy Letters are from Creepy and the Parental Advisory stamp is from Love/Hate.

    DIY Nails Creepy Water Decals | The Nailasaurus
    DIY Nails Creepy Water Decals | The Nailasaurus
    DIY Nails Creepy Water Decals | The Nailasaurus
    DIY Nails Creepy Water Decals | The Nailasaurus
    DIY Nails Creepy Water Decals | The Nailasaurus
    Share:
    Uncategorised

    OPI Neons with Nailed Kit Totally Tribal Decals

    OPI Neons with Tribal Nail Art | The Nailasaurus | UK Nail Art Blog

    After what has felt like a nail art dry spell, I finally have a steady trickle of ideas coming in. I think it’s thanks to all the new summer releases that we’re seeing at the moment. I’ll start today with a few from OPI’s Neon collection and a preview of some upcoming Nailed Kit decals.

    I was lucky enough to find the Neon shades in my goody bag from Coty’s summer nail preview on Thursday. I made my way to London to meet up with Alice and Allie and we headed to the event together. I’m a bit of a country bumpkin so I normally avoid London at all costs but since it was solely a nails event and some of my favourite brands (can you say Sally Hansen and NYC) to boot, I thought it would be worth the adventure and it totally was! I had a great day talking to the ladies at Coty and met the bloggers behind Dahlia Nails too, so there was more than enough nail talk to go round.

    The Neon shades I used here are Life Gave me Lemons (Yellow, 2 coats), Juice Bar Hopping (Orange, 2 coats) and Hotter Than You Pink (Pink, 2 coats) with one coat of the Put a Coat On! white base coat underneath. I had a little bit of streaking with the neons on the first coat but that smoothed out with the second as long as I left plenty of drying time between layers.

    This is my first time trying Nailed Kit’s decals so I wasn’t sure how it was going to go, but it turned out to be a successful attempt. The instructions said to use them like temporary tattoos – place them where you want them on the nail and apply a wet piece of cotton/tissue to the back – but this way didn’t work for me. The decal came away from the backing perfectly but I just couldn’t get the decal right where I wanted it. I tried the traditional way of dipping them in to water and dislodging the decal from the paper, then placing them on to the nail which also worked and I much preferred doing it that way.

    This set is Totally Tribal and will be available on their website in June.

    OPI Neons with Tribal Nail Art | The Nailasaurus | UK Nail Art Blog

    OPI Neons with Tribal Nail Art | The Nailasaurus | UK Nail Art Blog
    OPI Neons with Tribal Nail Art | The Nailasaurus | UK Nail Art Blog

    OPI Neons with Tribal Nail Art | The Nailasaurus | UK Nail Art Blog

    OPI Neons with Tribal Nail Art | The Nailasaurus | UK Nail Art Blog

    Where to buy OPI Neon

    RRP £11.95. Available in department stores and salons.
    Currently £6.93 each at Beauty Bay with free delivery
    Share:
    Uncategorised

    Game of Girly Thrones

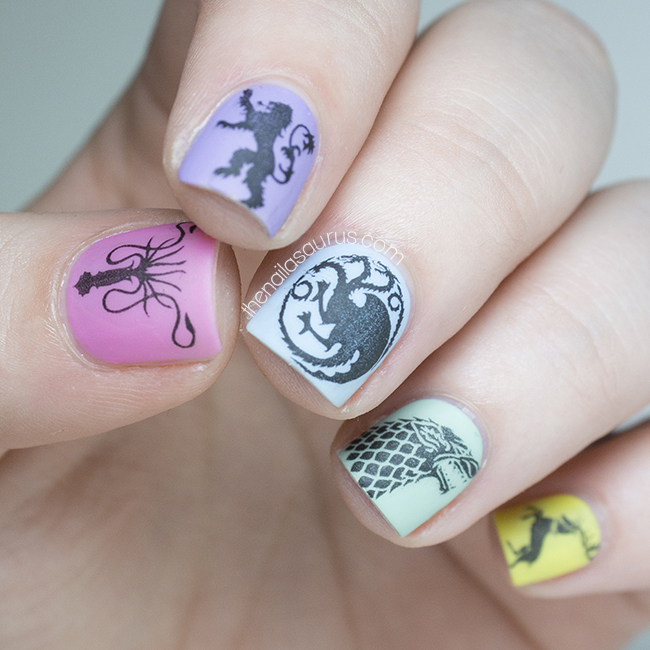
    It feels like we’ve been waiting an age for Game of Thrones to come back and now it’s so close I can almost taste it! A thoughtful friend got me these House Sigil water decals from Tentacle Studios on Etsy for my birthday last week and I don’t think there will ever be a more perfect time to wear them. I did try to match the colours up to the real thing but because the decals are all black, it was kind of tricky so instead, I turned the whole thing topsy-turvy and went for a girly skittle colour scheme.

    My base colours are Barry M Dragon Fruit (which, in hindsight, would have been the perfect colour for the Targaryen Sigil!), China Glaze Tart-y For The Party, NYC Raindrop, Sally Hansen Green Tea and NYC Lexington Yellow.
    The decals are from Tentacle Studios on Etsy.
    I finished it with a top coat of Glisten and Glow HK Girl and then a coat of Rimmel Matte Finish.

    Share:
    Glitter, Uncategorised

    DIY Nails Christmas Water Decals Nail Art


    It’s beginning to feel a lot like Christmas around here. I finished most of my wrapping today but there are still a few gifts I’m waiting for in the post (can you say last minute?!) so I have my fingers crossed that they’re going to get here before Wednesday! These cute Christmas water decals are from DIY Nails and they’re a new contender for my Christmas Day mani. The Fair Isle pattern on this sheet is just too cute to ignore.

    I applied the DIY Nails Christmas water decals over the base of Barry M White.
    For the glitter nails, I applied two coats of Cirque Helios over one coat of Nails Inc Hampstead Gardens.
    It’s all topped off with two coats of Glisten and Glow HK Girl.

    Share:
    Freehand, Studs, Uncategorised

    What’s in a Name?

    Bit of a late post today because I’ve been out all day hunting giant Gromits in and around Bristol as part of Gromit Unleashed! It’s a trail of Gromits scattered across the city all decorated by different artists including Cath Kidston, Quentin Blake and Zayn Malik. Yes, that’s Zayn from One Direction! It was a super fun day out except for the crazy rain that struck just after lunch time. Boooo!
    I loved Will Paint Nails For Food’s Fractal design so much that I wanted to have a go myself. It took absolutely ages and made my eyes hurt but it was totally worth it. I’m also showing off the last of my new Born Pretty goodies today. I’m rocking a Rose Water Decal and some of their new, colourful 2mm studs.

    1. My base colours are Barry M Prickly Pear and Sally Hansen Crinolin.
    2. I applied the studs using a dot of clear polish and then a top coat over the top.
    3. The water decal is pretty self explanatory. Drop it in some water, wait 10 seconds, peel off the decal and place it on the nail.
    4. I used Barry M Plum and a small nail art brush to create the fractal design on my ring finger.
    5. It’s all topped with a coat of No7 Stay Perfect Top Coat.

    TwitterBloglovin’Tumblr

    Share: