Follow:
Browsing Tag:

Scotch Tape Mani

    31 Day Challenge, Nail Art, Uncategorised

    31 Day Challenge: Inspired by a Flag

    Genovia Flag Nail Art


    I’m so close to the finish line, I can almost taste it! Must admit I’m a little envious of all the dedicated ladies who are finishing up the challenge today and returning to sweet, sweet freedom. Although, as much as I always grumble about the challenge towards the end nothing beats that feeling of smug satisfaction you get once you’ve completed it!

    For today’s ‘Inspired by a Flag’ challenge, I’ve opted for a fictional flag again. From a movie… again! This year, it’s the flag of Genovia as seen in The Princess Diaries. I was really young when I first saw the movie and refused to accept that Genovia wasn’t a real place no matter how much my parents insisted! The real (fake) flag doesn’t have the gold stripes but I didn’t feel like braving a coat of arms design so I made a tactical substitution by adding the gold accents.

    1. I started with a base of Barry M Matte White then added a coat of Glisten & Glow HK Girl to dry it off.
    2. I covered the centre of each nail with a strip of scotch tape, then painted on either side with piCture pOlish Chillax and piCture pOlish Swagger.
    3. I added the golld accents with Barry M Gold Foil, then topped it all with another coat of HK Girl.

    31DC2014
    Princess Diaries Genovia Flag
    Genovia Flag // The Nailasaurus
    Share:
    Glitter, Uncategorised

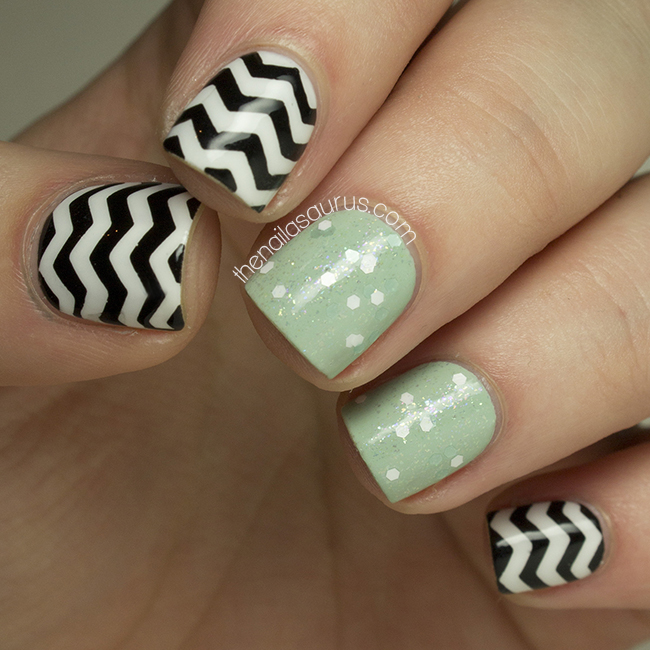
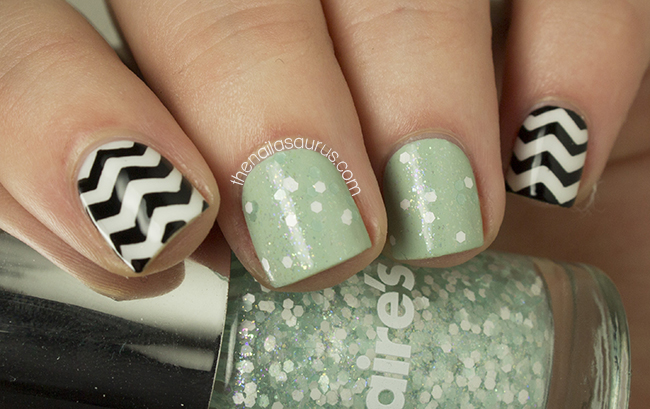
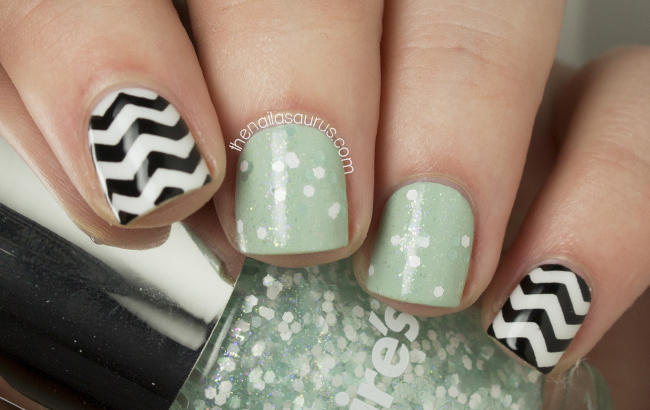
    Minty Glitter and Chevron Nail Art

    Whenever I pass a Claire’s Accessories, I can’t help but look in at the nail polishes ever since I found an amazing silver holographic glitter in there. Today I almost couldn’t believe my eyes when I was met with an amazing selection of indie-esque polishes on the shelf including some neon glitters. Considering that very few, if any, mainstream cosmetic brands in the UK have conquered the quirky glitter trend, I was pleasantly surprised to see these kind of polishes in Claire’s and I picked up three of them – a chunky neon mix, a blue neon glitter and this pastel green shimmery based glitter.
    These polishes run at £3.00 each and are now finally available to purchase online at claires.co.uk. I strongly suggest you take a look through the selection if you like drool-worthy glitter combinations and grab the silver holographic if you can!

    For the glittery nails, I used Sally Hansen Green Tea as my base colour and then applied two coats of Claire’s Shiver.
    To create the chevrons, I laid down a base of Barry M White followed with a thin coat of Glisten and Glow HK Girl to make it dry quickly. Once that base was completely dry, I cut scotch tape in to thin chevron stripes using some craft scissors and applied them to my nails.
    I painted over it all using W7 Black one nail at a time and quickly removed the tape while the black polish was still wet.
    It’s all topped off with two coats of HK Girl to smooth everything over.
    Share:
    Uncategorised

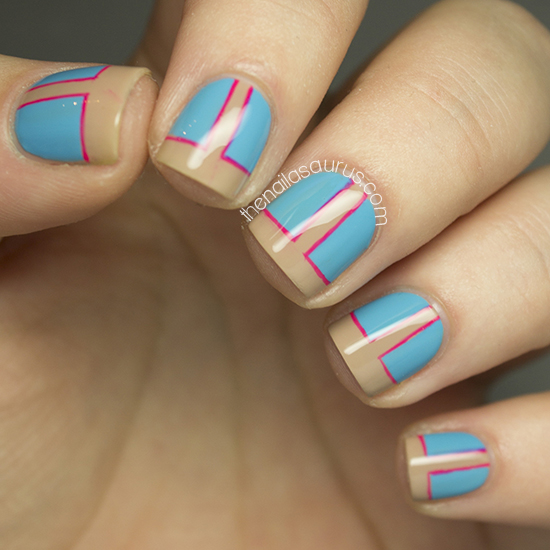
    Brightblocks

    I’m currently going through a top coat conundrum! I get these quite a lot when I’ve dried up my supply of whatever my favourite top coat of the moment is – this time it’s No7 Stay Perfect. Normally it happens because said top coat is no longer available or no longer on offer/sale!
    Most of the ones I have here are now a bit thick and they either leave loads of bubbles or make my mani shrink (exposing the very tips of the nails). In yesterday’s post I mentioned that I used the Color Club top coat which I got when I bought s collection of theirs from TK Maxx. At first it seemed like a great top coat: drying time was good and it was nice and glossy but when I woke up I had the dreaded sheet marks pressed in to my nails. I went to bed a whole 8 hours after I painted my nails! Now, that just won’t do.
    So I have a question for you, one that I ask a lot. What is your favourite top coat? INM Out the Door and Seche Vite always seem to top this list but I want to know if there have been any new discoveries of late. Something (very) affordable and available in the UK would be ideal!

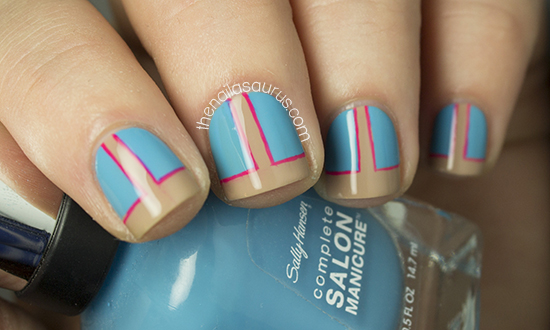
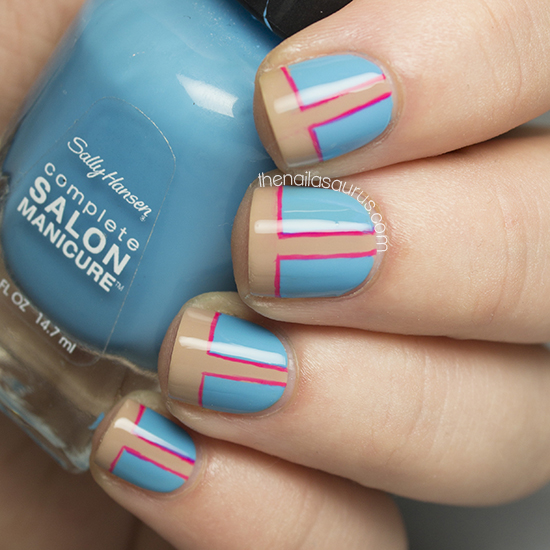
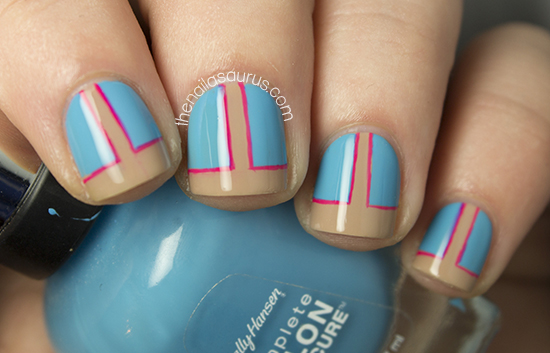
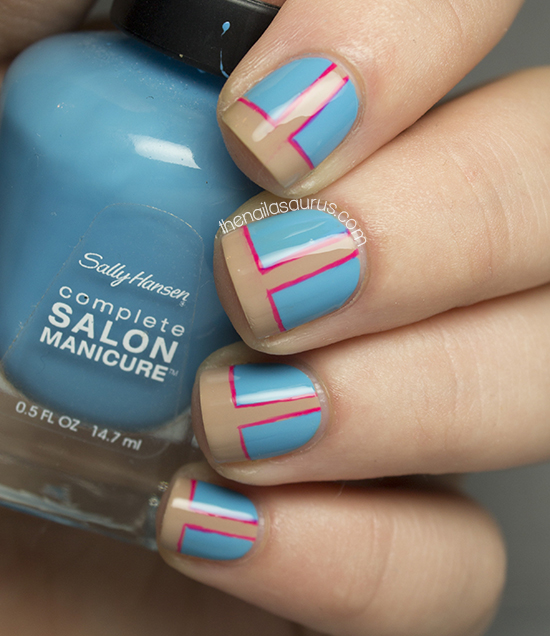
    For today’s nail art I used Deborah Lippmann Fashion as my base colour with a coat of Essence Better Than Gel Nails Fast Dry Top Sealer.
    To create the colour blocking effect, I used Scotch Tape to mark off a ‘T’ shape on my nails. First with a thin strip straight down the middle, then one across the tip.
    I painted on Sally Hansen Water Color over the top and immediately removed the tape. Once that was dry, I freehanded on the outlines using a nail art brush with Models Own Bubblegum.
    I finished it off with Color Club Top Coat (because that’s all that was available!).

    TwitterBloglovin’Tumblr

    Share:
    31 Day Challenge, Freehand, Uncategorised

    31DC2013 Day 28: Inspired by a Flag

    I can’t believe we’re so close to the end of the challenge already! In 3 days it will all be over and I can move on with my life. I admit it will be nice not to have to worry every day about slotting in time for blogging but I’ll be a little bit sad when the challenge is over.
    For today’s prompt: Inspired by a Flag, I knew I wanted to choose a fictional flag so I decided on the flag of the Tenenbaum family as seen in The Royal Tenenbaums! You get a very clear shot of it a few minutes in to the movie and glimpses of it throughout.  Coincidentally, I bought a new pink polish today which turned out to be the perfect light pink for the subject!

    The colours I used were Barry M White, W7 Baby Pink and Sally Hansen Razzle Dazzler.

    For the ‘T’ I freehanded on the white circle using a nail art brush and then the T with black acrylic paint.

    For the ‘tails’ I started with a white base, then used scotch tape to mark off the triangles and painted over it in Baby Pink.

    It’s all finished with two coats of No7 Stay Perfect Top Coat.

    See what’s coming next in the 31 Day Challenge 2013!

    TwitterBloglovin’Tumblr

    Share:
    Glitter, Tutorial, Uncategorised

    piCture pOlish Blog Fest 2013

    Press Sample


    – Celebrating the Year of the Blogger –

    I’ve been absent for a bit longer than planned since my holiday but I’m back with a bang today as it’s piCture pOlish’s Blog Fest! This will be the second year that piCture pOlish have held Blog Fest which involves dozens (maybe even hundreds) of nail bloggers worldwide. We’re all posting our nail art creations today and 3 of us will be chosen to create a collaboration shade with piCture pOlish. One will be voted for by you guys on Pinterest, one by the participants and the final one will be chosen by the girls at piCture pOlish!

    If you want to vote, you can check out all the entries on the Pinterest Board and submit your favourite on the piCture pOlish website!

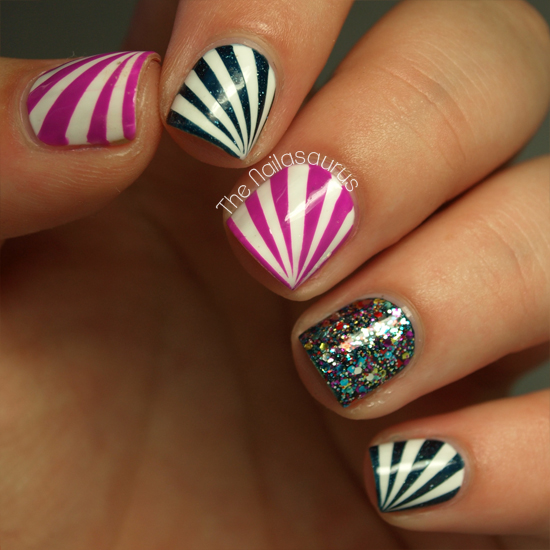
    I was sent three piCture pOlish shades to work with; Blogger, Hope and Mad Magenta. I decided to create this starburst design using scotch tape with an accent nail of two coats of Blogger over two coats of Hope. Cutting the tape is definitely the trickiest part of this nail art! At first it’s difficult to get such tiny strips but once you get the hang of it, it’s comes easy.
    Step 1: Start with a base coat of white nail polish, I used Barry M White, and apply a fast drying top coat. 

    Step 2: Cut some very thin triangles out of scotch tape. Aim for about 4-5 triangles per nail.

    Step 3: When your base colour is completely dry, use tweezers to place the triangles on to your nail working from one corner outwards. Make sure there’s a bit of overhang by the cuticles so you can easily grab it to remove.
    Step 4: Paint your second colour over the tape.
    Step 5: As soon as possible, carefully remove the strips of tape.
    Step 6: Finally, add a top coat and use a nail art brush dipped in acetone to clean up any mess around your cuticles.

    piCture pOlish ship worldwide from their website but you can also click here to find piCture pOlish stockists in your country. Make sure you check out there Everyday Deals page before you order so you’re not missing out on any offers!
    Where to find piCture pOlish
    Share:
    Glitter, Studs, Uncategorised

    Half/Stud/Half

    I know it’s been quiet around here this week. I’ve been more than a little bit poorly but I’m on the mend now and slowly getting back in to the swing of things. I’ll start with something sweet… pastels!

    The colours here are Sally Hansen Green Tea, Sally Hansen Dorian Gray, NYC Raindrop, NYC Lavender Cupcake with Sonnetarium Lenten Rose on the ring finger.
    I painted them all on as skittles then added a top coat to make them dry nice and quickly. Once the base colours were dry, I used scotch tape to mark a clean line halfway down each nail. Then I painted a second colour over the top one nail at a time and removed the tape straight away. I waited for that to dry and added a final top coat, attaching the studs while that was still wet.

    TwitterBloglovin’Tumblr

    Share:
    Uncategorised

    Tape Chevrons (with Step-by-Step)

    Yesterday I finally picked up some craft scissors perfect for cutting scotch tape in to all sorts of interesting designs. I found them in Tesco and they had zig-zag and scallop patterns so I picked up both and set about creating some chevron nails. I’ve attempted this a few times freehand but every time was a fail so I set my sights on some of these scissors! Chevrons seem to be a big trend coming in to summer so I’m sure I’ll get plenty of use out of them.
    My base colour is NYC Lavender Cupcake and the silvery, gun metal grey is A-England Dorian Gray.

    To get this look you’ll need some scotch tape and craft scissors that cut in a zig-zag. Cut of plenty of thin chevron strips before you start so they’re ready to go!

    1. Make sure your base colour is completely dry and apply the strips to your nail using tweezers. Keep them as parallel as possible and line up the points.
    2. Paint over the whole nail using your second colour.
    3. While the second colour is still wet, carefully peel off the tape. Once everything is dry, apply your top coat and use a small nail art brush dipped in acetone to clean up around your cuticle.
    Share: