Follow:
Browsing Tag:

Rimmel

    Glitter, Uncategorised

    We’ve Got a Headfirst Kind of Love

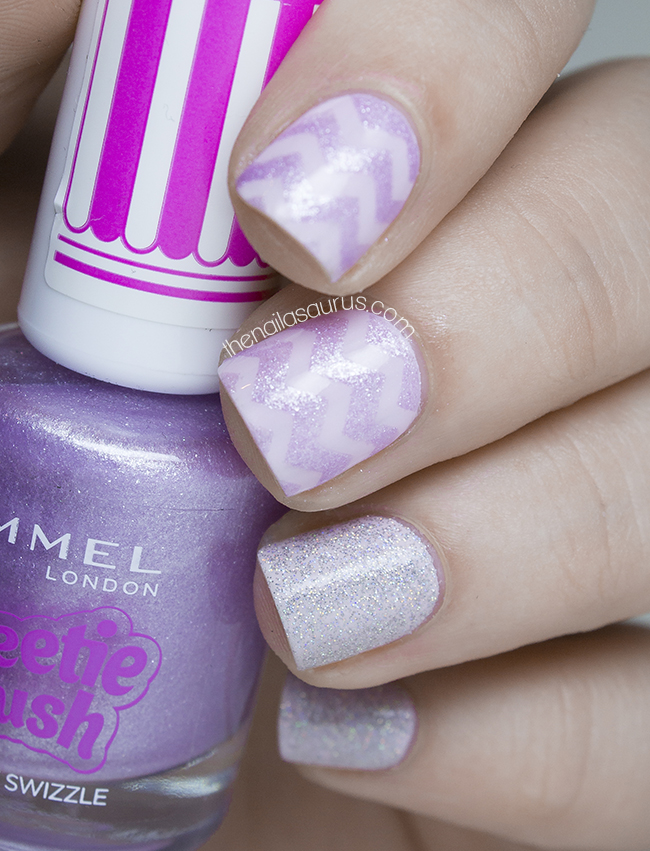
    My Instagram feed seems to have been taken over by Chevron nails recently and I’m pretty happy about that. I just love the way they look but haven’t always loved the tedious process of creating them using scotch tape and craft scissors. Here comes Nail Vinyls to save the day. There are quite a lot of places to get pre-cut vinyl chevrons but I went with Nail Vinyls as they’re the ones that always crop up on IG, plus they make mini versions which are definitely needed for my teeny-weeny nails.

    1. I used NYC Lavender Cupcake as my base colour on every nail and applied HK Girl to the fingers where I was going to add the chevrons. 
    2. While I was waiting for that to dry, I used two coats of Claire’s Silver Holographic on my pinky and ring finger.
    3. For the chevron effect, I stuck on some of the mini chevrons from Nail Vinyls and painted over them with a thick layer of Rimmel Violet Swizzle. I did this one nail at a time and made sure to remove the vinyls while the Rimmel polish was still wet.
    4. Finally, I topped it all off with two more coats of HK Girl.
    Share:
    Stamping, Uncategorised

    Done is Better Than Perfect

    They say that ‘Done is Better Than Perfect’ and it’s a mantra that I’ve been trying to adopt recently. I’m a perfectionist to the core which can be a great thing but also means that I procrastinate whenever I doubt my ability to complete the task at hand to ‘perfection’. I have so many ideas scribbled down for this blog but because of that mind block, I’ve been putting them off for too long.

    This weekend, I told myself that enough is enough – my blog has become too formulaic, too predictable and it’s no fun for anyone! I want to start mixing things up and I think the best way to do that is to proclaim my intention to you guys. If I say it, I have to do it right? And I figure that the best way to do it is to push forward with a new set of ideas. Even if it’s not perfect, it’s better than nothing!
    I won’t be doing anything too drastic. There will still be a lot of my ‘regular’ posts like this one with some nail art and a bit of chat but I want to splice in some other types of posts too, like little extra treats to fill things out at least once a week!

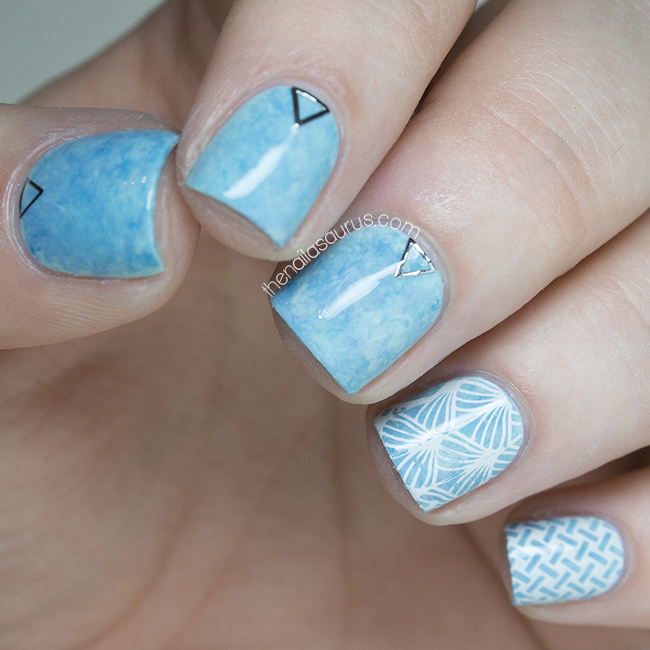
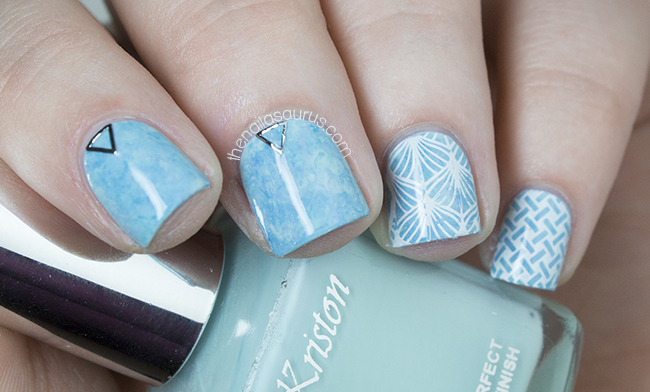
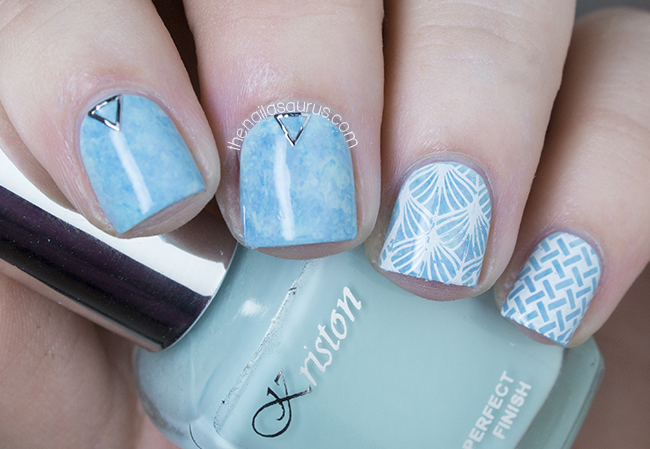
    I used Kriston 05 as my base colour as it’s a very light shade of mint.
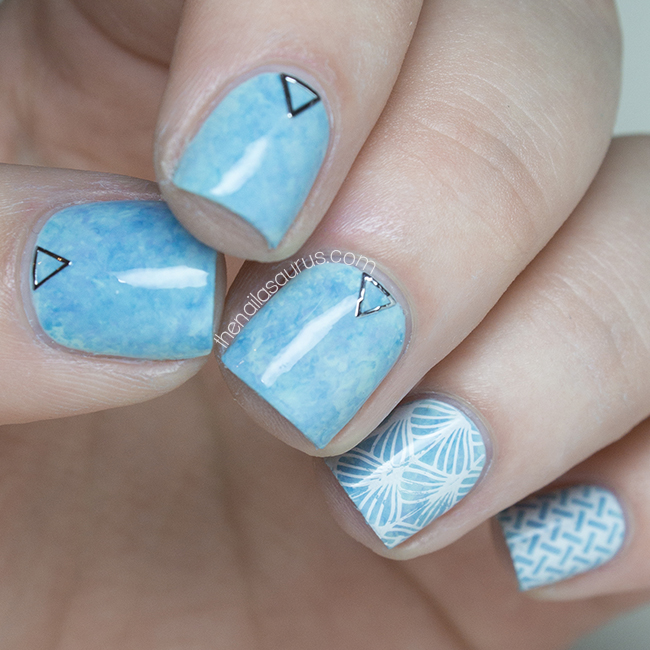
    Using the Saran Wrap technique, I created the mottled effect with the Kriston shade, NYC Water Street Blue, NYC Blue Sky and Rimmel Aqua Cool.
    I added some of the Silver Triangle embellishments from She Sells Seashells. I gently curved them first using a pair of tweezers so they’d sit flush to my nail.
    The stamped designs are from MoYou Plate Fairytale Collection 06 and I used BK Matte White.
    It’s all topped off with a Color Club Top Coat.
    Share:
    Freehand, Uncategorised

    Happy Saint David’s Day!

    I have never been able to decide whether I’m English or Welsh as my family is English and I was born in England but I’ve lived my whole life in Wales, albeit very close to the border. I tend to float between the two and with my generic British accent, I can pull them both off pretty convincingly! Since it’s Saint David’s Day today, the mood is decidedly Welsh and I’ve created some nail art for the occasion.

    My first finger is the Welsh flag, or at least my simplified interpretation of it. I set down a base of Barry M White and freehanded on the Welsh Dragon using Rimmel Heart on Fire. I added the green in last using Sally Hansen Grass Slipper.
    On my ring finger, I’ve painted a Daffodil – the national flower of Wales. I used Barry M Mist as my base colour and freehanded on the flower using a nail art brush with NYC Lexington Yellow and Sally Hansen Sun Kissed.
    For the remaining fingers, I used Rimmel Heart on Fire, Barry M White and Sally Hansen Grass Slipper.
    It’s all topped off with a coat of Glisten and Glow HK Girl.

    Share:
    Glitter, Gradient, Uncategorised

    Kitty Cat

    This last week or so I’ve been completely obsessing over these cutie-pie cat nail decals from Born Pretty Store. I bought a bunch of designs with my fingers crossed that they would be the super bendable and sticky decals that I like and that actually work on my nails so I’m very happy that they are! When they first showed up I was a bit disappointed that they were covered with a holographic sheen as this wasn’t very clear in the photos. Once I saw past the sheen and realised how easy they are to apply, I grew to love them and I’m about to go back and order pretty much every design on the website. Oh, and they glow in the dark!
    I’m going through a bit of a dry spell with nail art at the moment which is a shame because I had a good blogging streak going. I need to snap out of the drought soon because I have The Lacquer Legion and Nailvengers both coming up this Friday. Better go now, I have some panicking to do!

    For the gradient nails I used Revlon Cloudy as my base colour and created the gradient using Rimmel Aqua Cool. There’s a gradient tutorial here.
    I topped the gradients with a coat of China Glaze Fairy Dust and finished with a coat of Glisten and Glow HK Girl.
    For the kitty cat nail, I used a base coat of Barry M White first as the decals are not completely opaque. I had to trim down the decal so that the whole cat face would fit on my tiny nails and then just placed it on and smoothed it down with a finger, tucking the edges under my cuticles with a toothpick. You can buy the decals from bornprettystore.com.

    Share:
    Christmas, Freehand, Glitter, Uncategorised

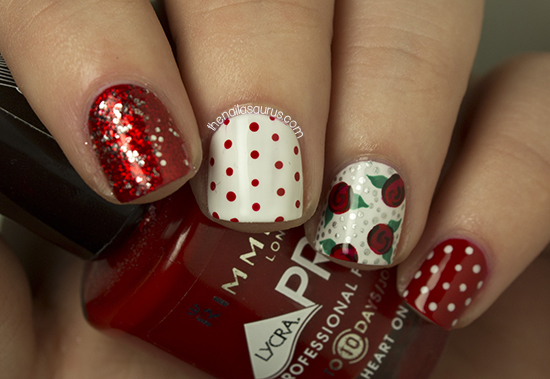
    Festive Floral Nail Art

    Does anyone else feel like December has completely flown by?! For once, I’ve actually been fairly organised and I finished up my Christmas shopping yesterday. Gotta love online shopping at times like these, it’s almost unbearable to be real-world shopping on a weekend in the run up to Christmas. Sit me at my desk with a hot chocolate and a mince pie and I’m happy!

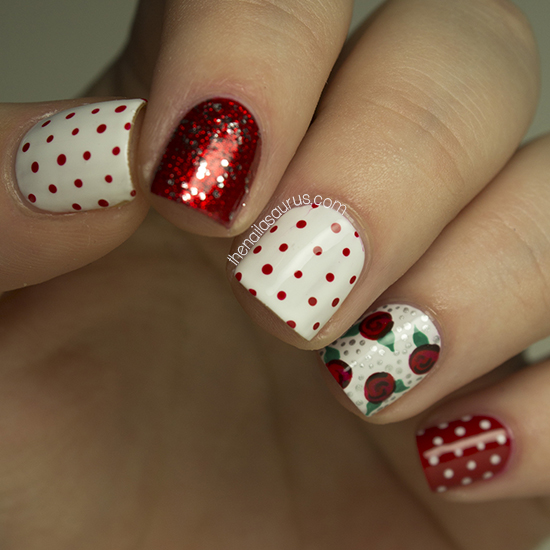
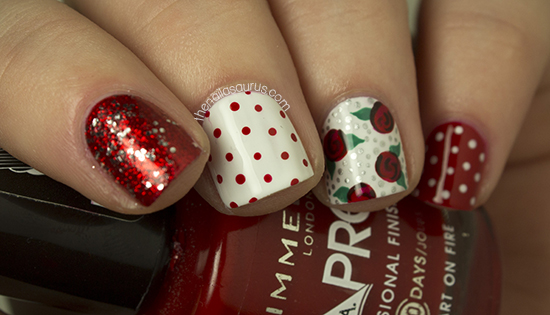
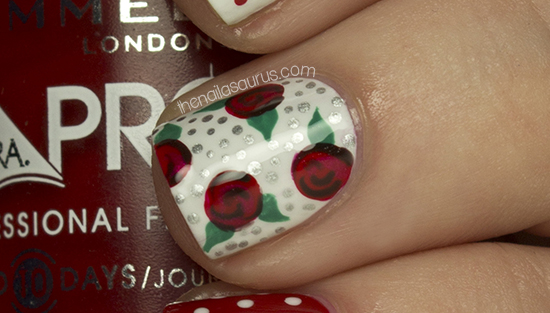
    I had the strongest urge to paint some roses on my nails this week so I picked a festive colour scheme to go with it! The main colours here are Barry M White and Rimmel Heart on Fire.
    The red glitter is two coats of Sally Hansen Cha-Ching over one coat of Heart on Fire.
    I’ve written a tutorial for the freehanded roses so click here for that! I then dotted around them using Barry M Silver Foil and a dotting tool.
    It’s all topped off with a coat of Glisten and Glow HK Girl.

    iVillage invited me to write a tutorial for their 30 Days of Christmas DIY series and I chose to do Christmas Puddings! Click here to see the full tutorial!
    Share:
    Freehand, Gradient, Stamping, Uncategorised

    Hunger Games: Catching Fire Inspired Nail Art

    I’m a huge Hunger Games fan so of course, going to see Catching Fire was on the top of my to-do list last weekend! The second book is my favourite from the trilogy and the film very nearly lives up to the magic of the book.

    Throughout the film I kept getting distracted by the outfits that the tributes wear in the arena. The honeycomb pattern, that was most noticeable on the shoulders, with the gradient effect in all those different shades of grey was just calling to me and I kept thinking that it looked identical to one of the designs in the new Bundle Monster set. Before I even left the cinema, I knew exactly how I’d be paying tribute to the movie! This isn’t the most exciting Hunger Games nail art that I’ve created but it’s one of my favourites.

    I started with a base of Barry M White. I covered my cuticles with Liquid Palisade to protect them from any mess and created a gradient using Rimmel Grey Matter. There’s a gradient tutorial here.

    I added the honeycomb pattern using Rimmel Grey Matter with Bundle Monster Plate BM422.


    It’s all topped off with two coats of KBShimmer Clearly on Top.

    Previously:
    May the Odds be Ever in Your Favour
    Nails on Fire

    Share: