Follow:
Browsing Tag:

Red

    Freehand, Nail Art, Uncategorised

    And Make it Fast | Fast Food Nail Art

    Last night, I got the urge to have a little de-stash which resulted in a two hour sort through of all of my nail polish and nail art supplies. My collection has been knocked down 473 bottles which now occupy 5 Helmer drawers and I feel very cleansed and refreshed! I was at a point where bottles were spilling over on to my desk and filling boxes under the bed which was really frustrating me as I really like for everything to have its place. Also, I really don’t want to end up as the lady on Hoarders who only eats takeaway because her kitchen cupboards are stuffed with 10,000 bottles of nail polish!
    It got me wondering how many polishes is ‘normal’ for a hobbyist to have. I asked on Facebook yesterday and answers ranged from 10-1000+ so it seems I’m in the median range. I know I have a modest collection compared to some other nail bloggers but I’d really like to know how many you have and/or how many you think is reasonable! Let me know in the comments.
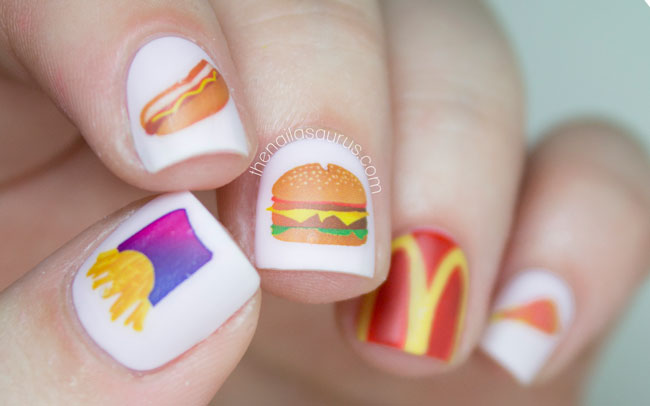
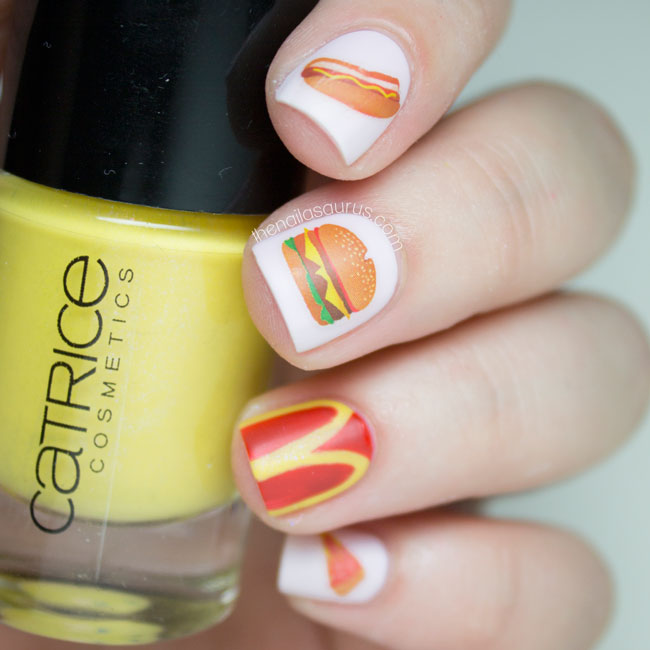
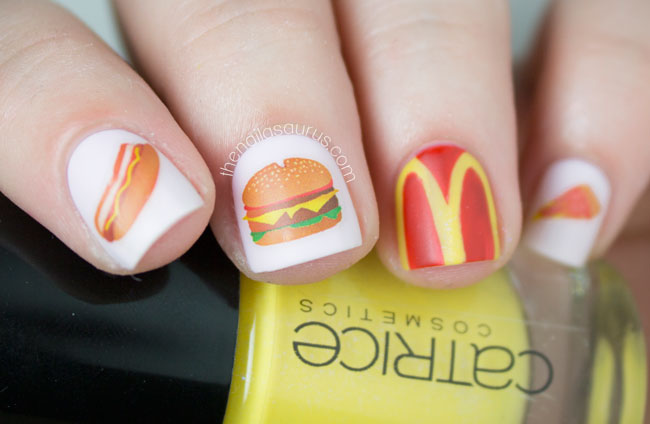
    On to the nail art! These mouth watering water decals are part of Nailed Kit’s June subscription package along with the tribal decals I posted a while back. You have until June 30th to sign up if you want to get your hands on these designs. Of course, I just had to add the golden arches and now I just want to eat McDonalds!
    I used Barry M Rose Hip as the base colour for the water decals.
    To create the ‘M’, I painted on a base of Catrice Earnie & Birdy (yellow), then freehanded on the red details using Rimmel Heart on Fire with a nail art brush.
    It’s all topped with one coat of Glisten & Glow HK Girl and one coat of Rimmel Matte Top Coat.
    Share:
    Freehand, Uncategorised

    For Shelley

    The Nailasaurus | British Nail Blog

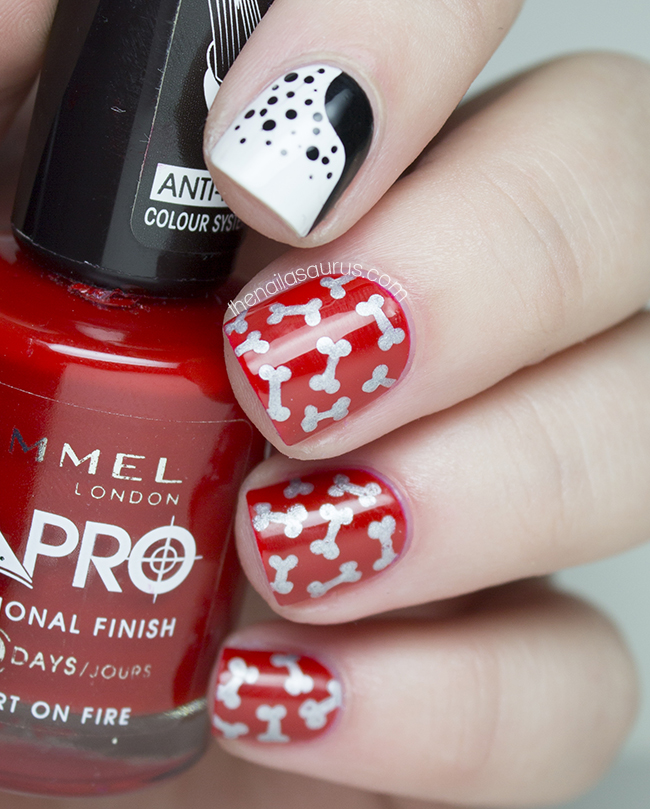
    I want to dedicate today’s post to Shelley, the eldest of our two dogs who unfortunately passed away last night. She fell ill in the morning and her condition worsened throughout the day until she just slipped away so it was quite sudden and unexpected. She lived to the ripe old age of 12 which isn’t bad at all for a dog that was always falling down rabbit holes and gobbling up any old junk she found on the floor! Maybe I’m biased but she’s definitely the prettiest dog I’ve ever seen and she was just the softest dog in the world. Just don’t ask what breed(s) she was because we never knew… we’re still guessing!
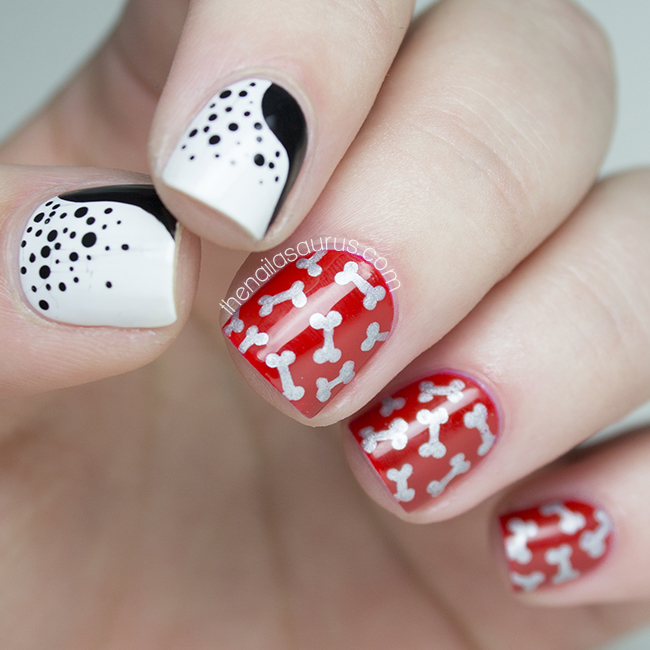
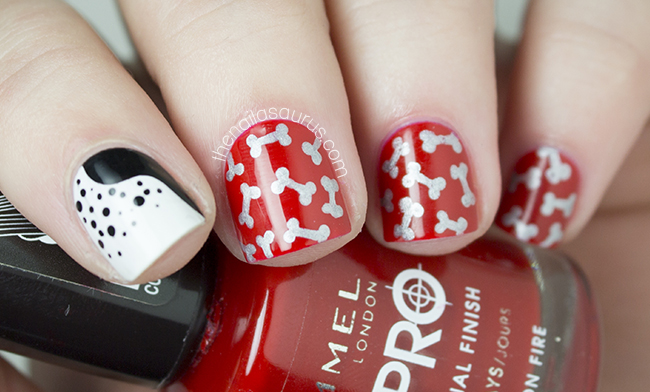
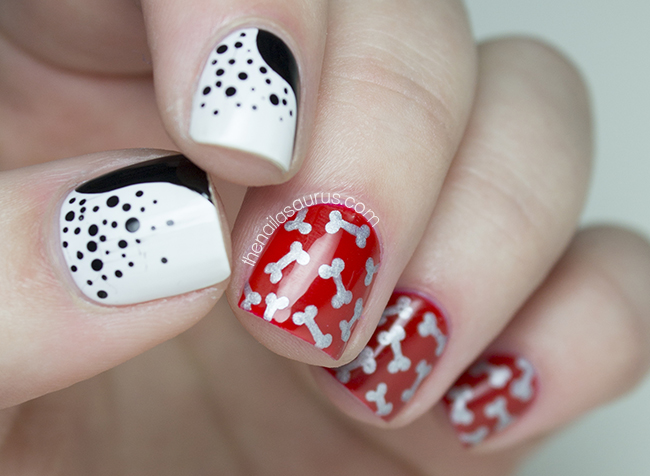
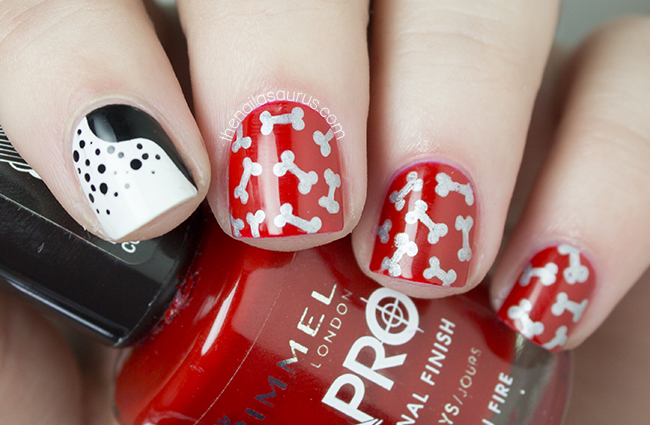
    Shelley always wore a red collar with little bone shaped studs and I remembered One Nail to Rule Them All’s bone design which I thought would be a perfect match after I switched up the colours. The other fingers match her markings – black patches and speckly spots.
    I used Rimmel Heart on Fire and Barry M White for my base colours. The bones were drawn on with Barry M’s Nail Art Pen in Silver and I freehanded on the ‘markings’ using the Sweet Color Liner in Black. It’s topped with KBShimmer Clearly on Top.
    The Nailasaurus | British Nail Blog
    The Nailasaurus | British Nail Blog
    The Nailasaurus | British Nail Blog
    The Nailasaurus | British Nail Blog
    Share:
    Freehand, Uncategorised

    Happy Saint David’s Day!

    I have never been able to decide whether I’m English or Welsh as my family is English and I was born in England but I’ve lived my whole life in Wales, albeit very close to the border. I tend to float between the two and with my generic British accent, I can pull them both off pretty convincingly! Since it’s Saint David’s Day today, the mood is decidedly Welsh and I’ve created some nail art for the occasion.

    My first finger is the Welsh flag, or at least my simplified interpretation of it. I set down a base of Barry M White and freehanded on the Welsh Dragon using Rimmel Heart on Fire. I added the green in last using Sally Hansen Grass Slipper.
    On my ring finger, I’ve painted a Daffodil – the national flower of Wales. I used Barry M Mist as my base colour and freehanded on the flower using a nail art brush with NYC Lexington Yellow and Sally Hansen Sun Kissed.
    For the remaining fingers, I used Rimmel Heart on Fire, Barry M White and Sally Hansen Grass Slipper.
    It’s all topped off with a coat of Glisten and Glow HK Girl.

    Share:
    Freehand, Glitter, Uncategorised

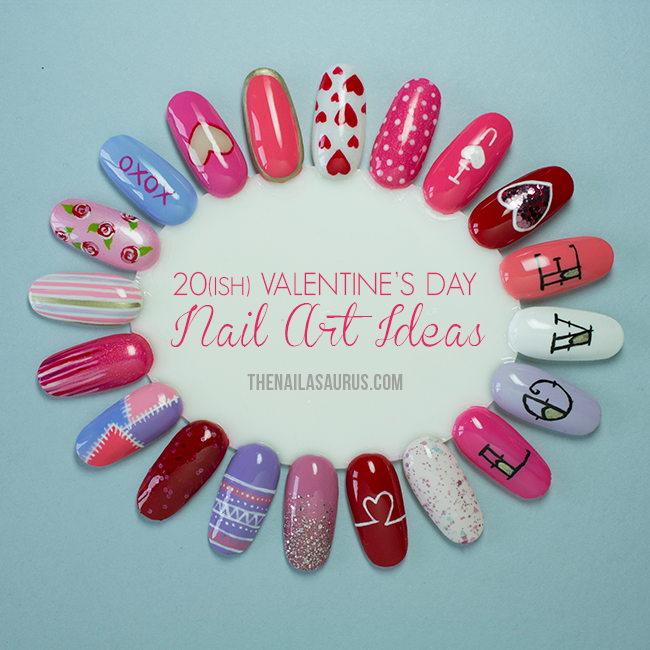
    20(ish) Valentine’s Day Nail Art Ideas

    Valentine's Day Nail Art Wheel
    For the last 7 days or so, my desk has been completely overflowing with an array of pink polishes and today is the day I finally finished my Valentine’s Nail Wheel. I forgot how long these things take but I had a so much fun with my Christmas Nail Wheel that I thought I’d do the same for Valentine’s Day! Many of these designs have been seen before on this blog and I’ve linked to tutorials wherever I have written/can find them. There will be plenty of Valentine’s nail art coming up this week in the run up to the 14th but I wanted to share this as I know plenty of you will be on the prowl for romantic nail art ideas and this selection might spark something in you!

    Soft Coloured Tribal. Glitter Gradient. Heartbeat. Delush Polish Je Ne Sais Quoi.
    Freehand Nail Tatz with Tattoo Ink font
    Alternatively: Nailz Craze NC06 Stamping Plate
    Glequin Heart. I ♥ U. Polka Dots. Love Hearts.
    Share:
    Gradient, Holographic, Stamping, Uncategorised

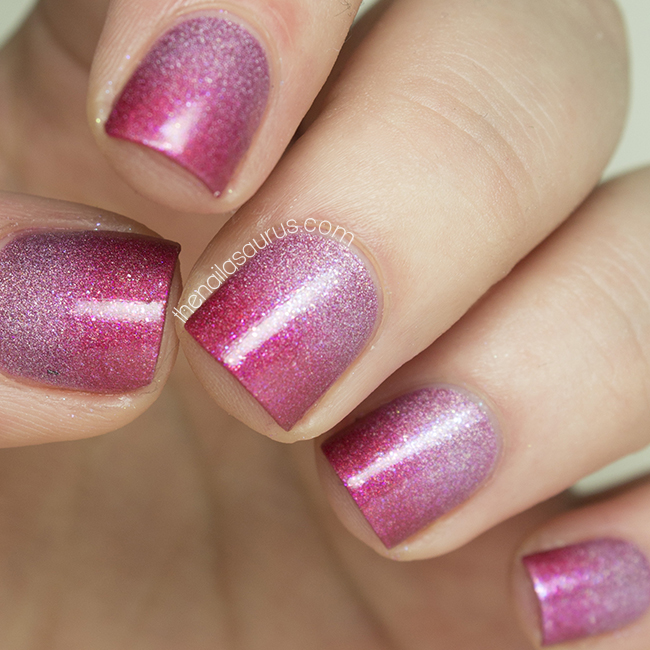
    Valentine’s Day Holographic Gradient Nail Art

    You may notice that things are looking a little different around here. Over the weekend, I finalised the redesign on my blog and I really love the new look! It’s been a long time coming so it’s such a great feeling to tick it off my to-do list. I wanted to clean up all the clutter and make things a bit airier so I’m really pleased with the outcome and my favourite part is the bigger pictures! I hope you guys like it too but if you have any suggestions for functionality or features that could make it better for you to visit, look around and read, then I’d really like to hear your thoughts.
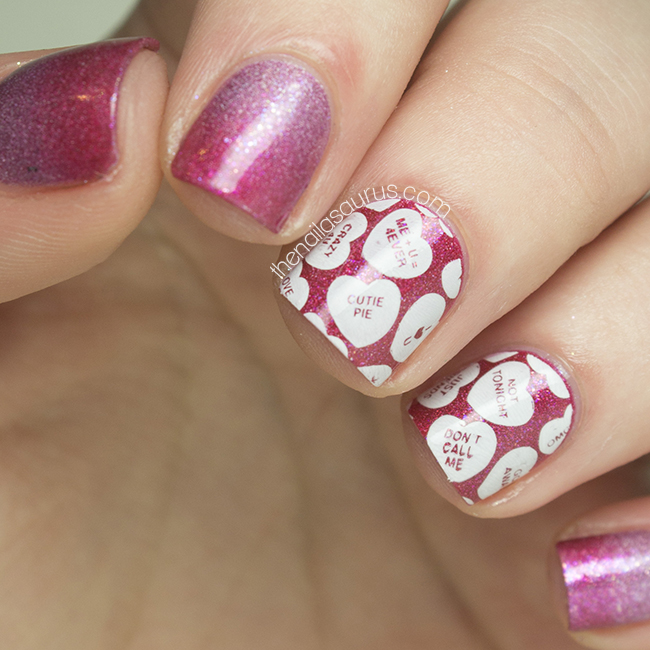
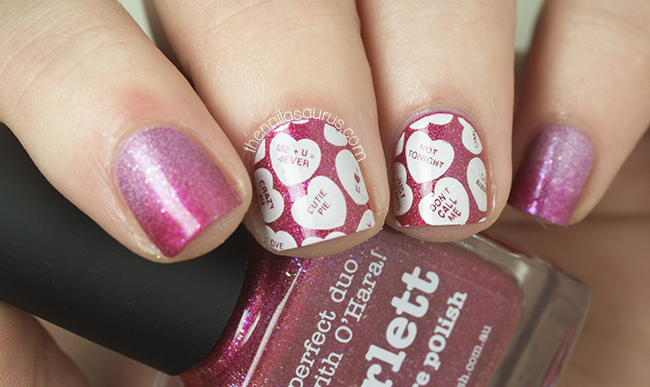
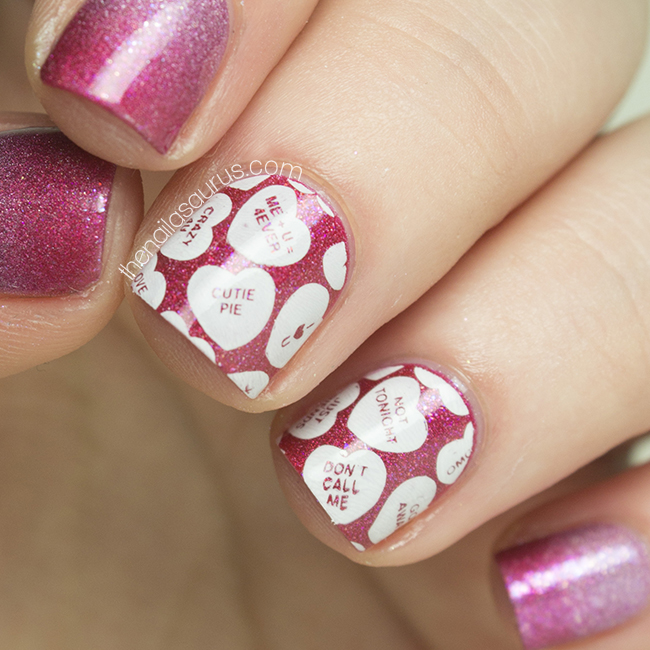
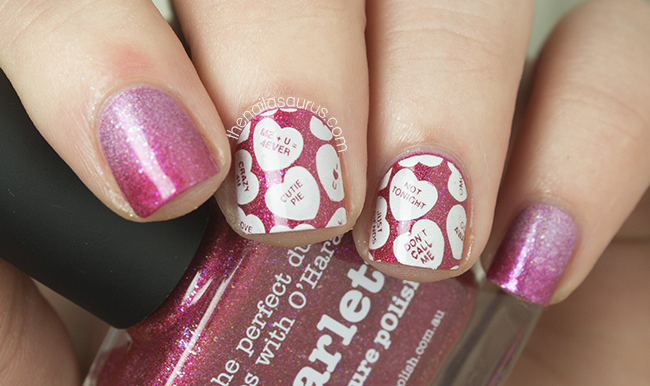
    Today’s nail art features a few from the new piCture pOlish collaboration collection – the Bijou Holos. These two shades are just so perfect for Valentine’s day so I thought I’d combine them for a sweet as sugar Valentine’s gradient.

    I used piCture pOlish Pirouette for the base colour and then created a gradient using piCture pOlish Scarlett.  There’s gradient tutorial here.
    I had to remove the gradient from two of my nails after a failed stamping attempt so I painted them again with Scarlett and then stamped using Bundle Monster Plate BM421 and BK Matte White.
    It’s all topped off with a coat of Glisten and Glow HK Girl.

    Here are a few shots of the gradient before any nail art.

    Share:
    Uncategorised

    The Lacquer Legion Reinvention: Glequins… One Year Later

    The first ever day of The Lacquer Legion is upon us, and what a day it promises to be! Along with my fellow Lacquer Legion admins Chalkboard Nails, Work/Play/Polish and Rebecca Likes Nails, we’ll be announcing a new theme every month and today’s theme is Reinvention.
    I must say that like many of you, I was fairly stumped by the prompt at first. After a lot of thinking, I decided to look back to see what I was doing a year ago and see if it was something I could somehow reinvent. It turns out the blog post I published on this day last year was ‘WTF is a Glequin?‘ so I thought today would be the perfect opportunity to dive back in to Glequin nail art and ‘reinvent’ it with a more grown up look.
    You can follow all The Lacquer Legion action on Instagram (Statigram link), TwitterTumblr and Facebook using the hashtag, #LLReinvention and don’t forget to share your links on The Lacquer Legion’s Facebook Page.

    I used Barry M Burgundy Crush as my base colour.
    One nail at a time, I used one coat of clear nail polish and stuck on the diamond shaped glequins (colours #2 and #5) using a toothpick dipped in clear polish to make it sticky at the end. I actually filmed a tutorial for applying Glequins which you can see on my YouTube channel here!
    It’s all topped off with two coats of Glisten and Glow HK Girl to smooth everything over.

    Share:
    Christmas, Glitter, Stamping, Uncategorised

    My Christmas Day Nails

    I hope everyone had a very Merry Christmas and indulged in plenty of good food and family time! This week between Christmas and New Year is always a bit of a funny one. We’re all trying to get back in to the swing of things but there are still bank holidays and plans to be made. I’m going back to work on the 2nd so I’m just making the most of my time until then – I’ve mostly just been chilling out and sleeping!

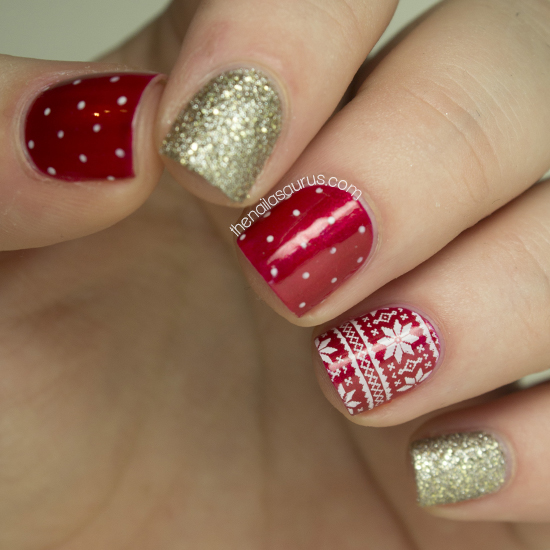
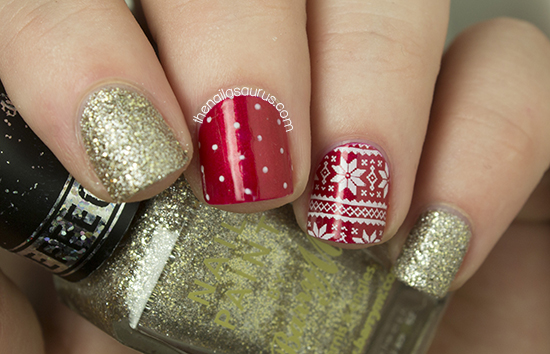
    These are the nails I wore for Christmas day! I originally painted some with an icy blue theme but ditched them for something more festive in gold and red. Make sure you click to continue reading to see both looks!

    Christmas Nail Art

    Christmas Nail Art
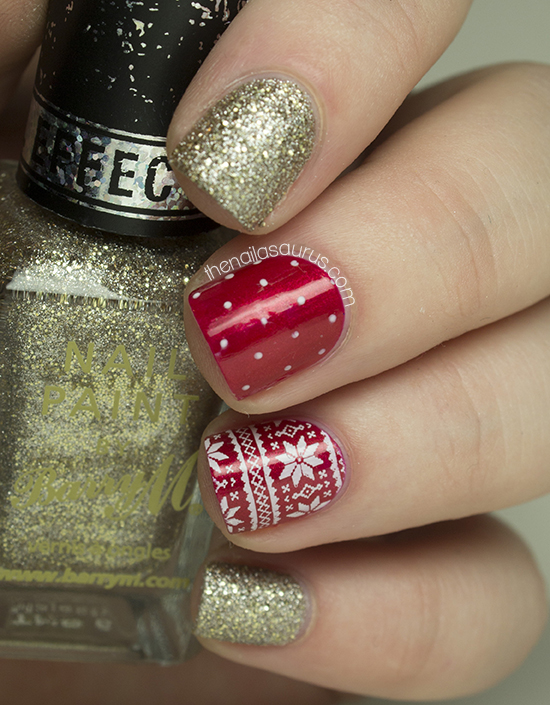
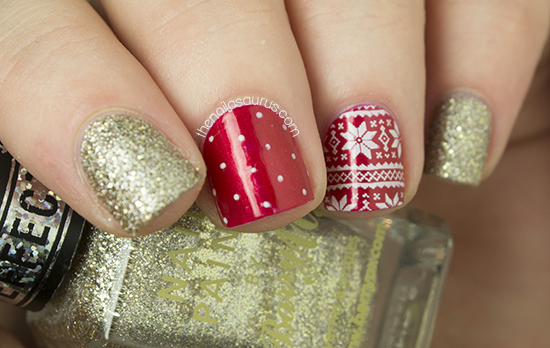
    For this mani, the base colours are Essie Jag-U-Are and Barry M Majesty – a textured gold glitter.
    For the fair isle pattern, I used Winstonia Plate W120 and BK Matt White
    I totally missed this plate before Christmas eve but it has to be one of the best Christmas stamping designs I own. Although I did have a nightmare transferring it on the stamper from the plate and then actually lining it up properly on my nail! I had to try 5 times before I got this one right!
    I created the dots using a tiny dotting tool and Barry M White.
    I topped off the red nails a coat of Glisten and Glow HK Girl.

    Christmas Nail Art

    Christmas Nail Art

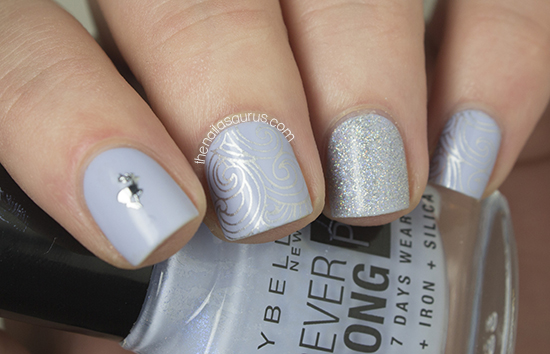
    Blue Winter Nail Art

    Blue Winter Nail Art
    I really liked these nails but just thought the colour was too ‘winter’ and not enough Christmas.
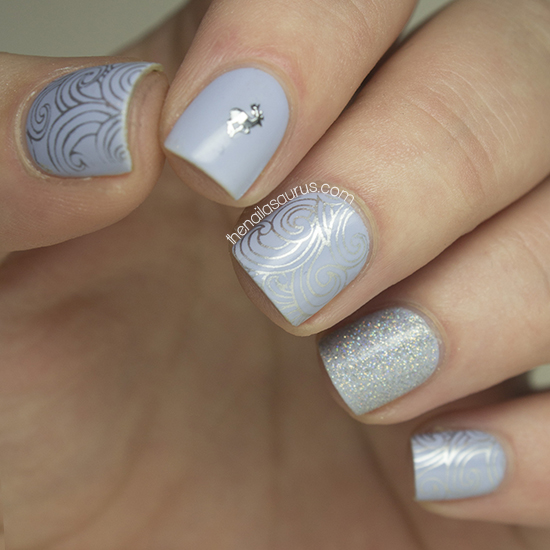
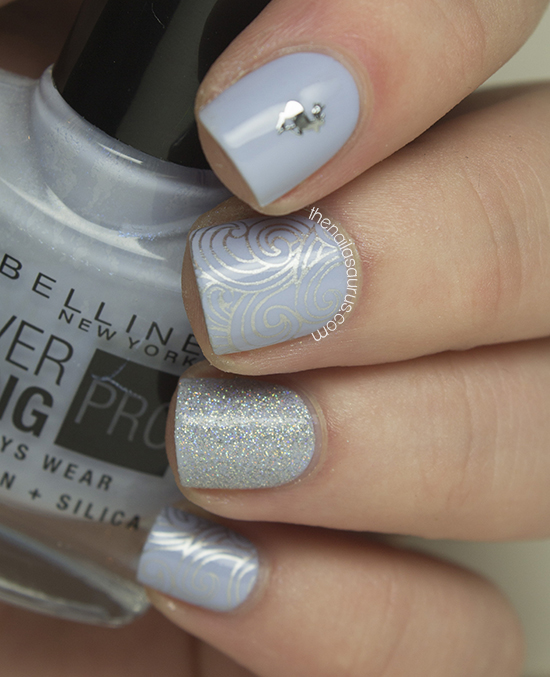
    I used Maybelline Ceramic Blue as my base colour. The accent is 2 coats of a holographic glitter from Claire’s.
    The swirly stamping design is from MoYou Fairytale 02 Plate using Barry M Silver Foil

    The deer decal on my index finger is from She Sells Seashells.

    Again, it’s all topped with Glisten and Glow HK Girl

    Blue Winter Nail Art

    Blue Winter Nail Art

    Share: