Follow:
Browsing Tag:

No7

    Stamping, Uncategorised

    Feather Nails… Finally!

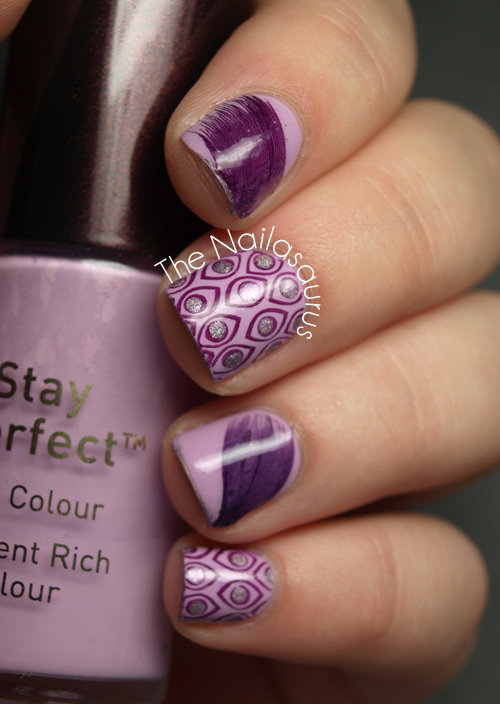
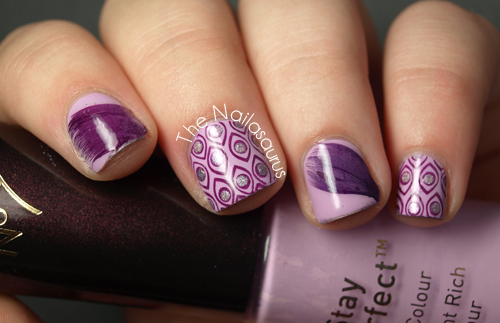
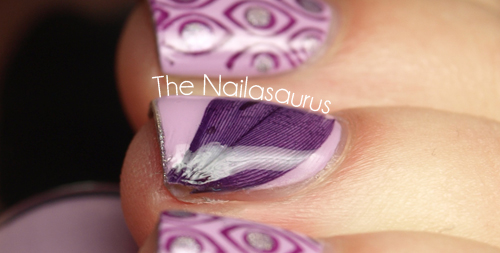
    I’ve been in love with feather nails ever since I saw them on Chloe’s Nails over a year ago! I’ve tried many many times since then to recreate something similar but always failed miserably. Well when I was in the craft aisle at my favourite junk shop recently searching for anything I could stick to my nails, I spotted these purple feathers and knew I’d be attempting the ‘feather nail’ again.
    This time I finally succeeded and now all I want is MORE FEATHERS! It is very tricky to get a feather stuck to your nail but once it’s there you’ll never want to take it off. 
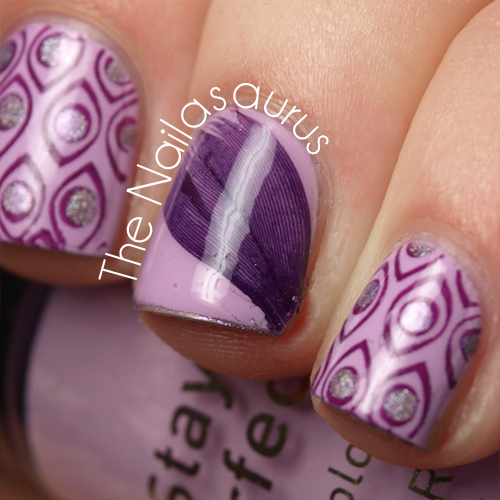
    Erika has a great method for feather nails that involves glue which you can see here. It’s kind of hard to explain how I did this myself. I painted on the base colour of No7 Lucky Lilac and let it dry completely, then I used one coat of clear polish and stuck the feather on to that. Once the clear polish was dry and the feather stuck quite well, I painted on another coat of clear polish following the flow of the fibres to smooth it down. I just kept adding layers of top coat and gently pressing down the feather with a toothpick until I was happy!
    The rest of the nails are stamped with Bundle Monster Plate BM-212 and Cult Nails Vicious. I used a dotting tool to add accents of A-England Princess Tears and finished it off with a top coat of Sally Hansen Hard as Nails.
    TwitterBloglovin’Tumblr

    Share:
    Freehand, Uncategorised

    Raise Your Nails For Luca!

    The subject of this post is kind of a serious topic considering the kind of stuff I usually write about. Today I want to take some time to tell you about an inspirational little boy of just 3 years old – Luca – who survived against all odds after he was diagnosed with Meningococcal Septicaemia in January this year. He didn’t come away unscathed however, and the devastating effect the disease had on his body meant he ended up losing both of his legs. A charity was founded to help raise the funds so that Luca will be able to get the best prosthetics available and every chance at a great life.

    I’ve been following his story on Facebook for a while now and every little snippet brings a smile to my face. Luca’s got quite the online following and I’m not surprised. The campaign calls for everyone to ‘Raise Your Hands For Luca’. All you need is a pen and a palm to show your support, but you can read more about that on the Facebook Page. Of course, instead of writing it on my palm, I had to scribble it on my nails and raise them instead!

    I thought I would just take some time to show my support to Luca the best way I know how and try to share the cause with you guys. Please go and Like or Follow ‘For Luca’. I do both and I promise you’ll love seeing his updates!

    Read Luca’s story here
    For Luca on Facebook
    @For_Luca on Twitter
    For Luca on Just Giving

    This base colour is No7 Lucky Lilac and I freehanded on the lettering with a small striping brush. The font is Action Jackson.
    I used the 2012 Bundle Monster set with W7 Black to add some fancy details on the ‘spare’ nails.
    Finally, I added a topcoat of Cult Nails Wicked Fast.

    TwitterBloglovin’Tumblr

    Share:
    Uncategorised

    Pastel Paradise

    A comment on yesterday’s manicure prompted me to create something a bit more summery today. I always have to consciously make the decision to wear summery colours as opposed to the dark shades I normally favour. I have plenty of brights and pastels in my stash but I normally reach for the dark ones first!

    My base colour is Cult Nails Manipulative and I used No7 Stand Back with a striping brush to draw chevrons on the tips. 
    The gold accents are Barry M Gold Foil, again with a striping brush, and I initially just drew thin, straight lines but decided to add a few curves which definitely turned out for the best.

    TwitterBloglovin’Tumblr

    Share:
    Stamping, Uncategorised

    Testing, Testing…

    My 2012 Bundle Monster plates came yesterday so as you can imagine, it was a very exciting day here! I didn’t actually get a chance to play with them until the evening though and even then I forgot to take pictures so you’re seeing a day old mani in the pictures – please ignore any chipping!
    I was lucky enough to win them in the Bundle Monster nail art competition which is becoming something of an annual tradition! But after months of anticipation, the plates are finally available to buy on Amazon.com and the Bundle Monster website. I haven’t spotted them on Amazon.co.uk just yet. If you’re in the UK, I’m pretty sure you can still buy them from Amazon.com but there is a shipping charge and they’ll take a little while to get here. I’m sure they’ll pop up on the UK site soon though.
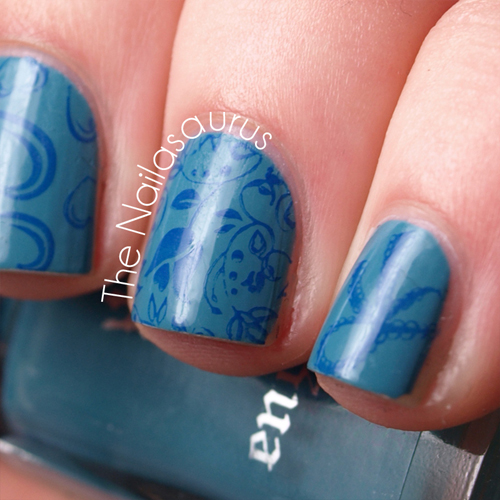
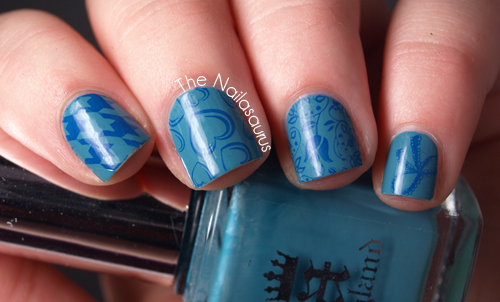
    I went a bit crazy and just tested out some of the first designs that caught my eye. The plates I’ve used here are BM322, BM317 and BM306.
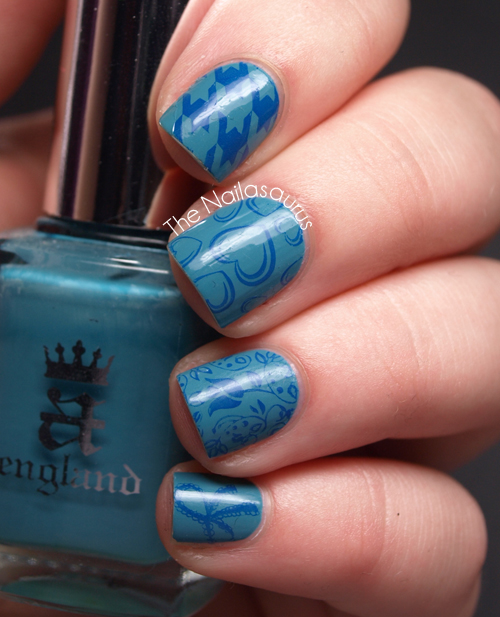
    The base colour is A-England Galahad* and I stamped with No7 Poolside Blue.

    UPDATE! The plates are now available on Amazon.co.uk!
    *Items marked with an asterisk were sent for consideration. See my disclaimer for more info.

    TwitterBloglovin’Tumblr

    Share:
    Freehand, Uncategorised

    Put The Pieces Back Together

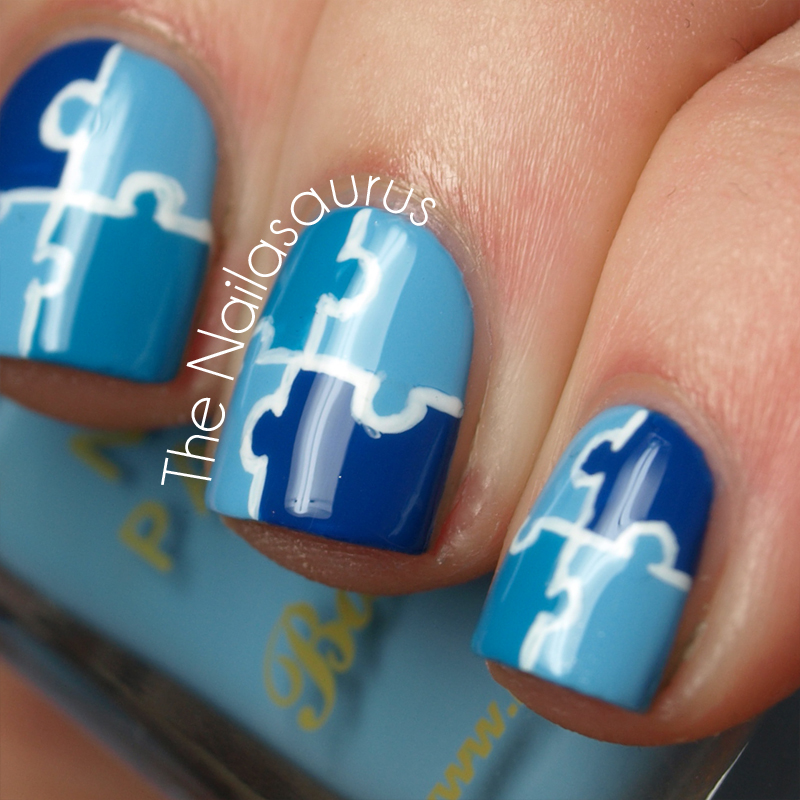
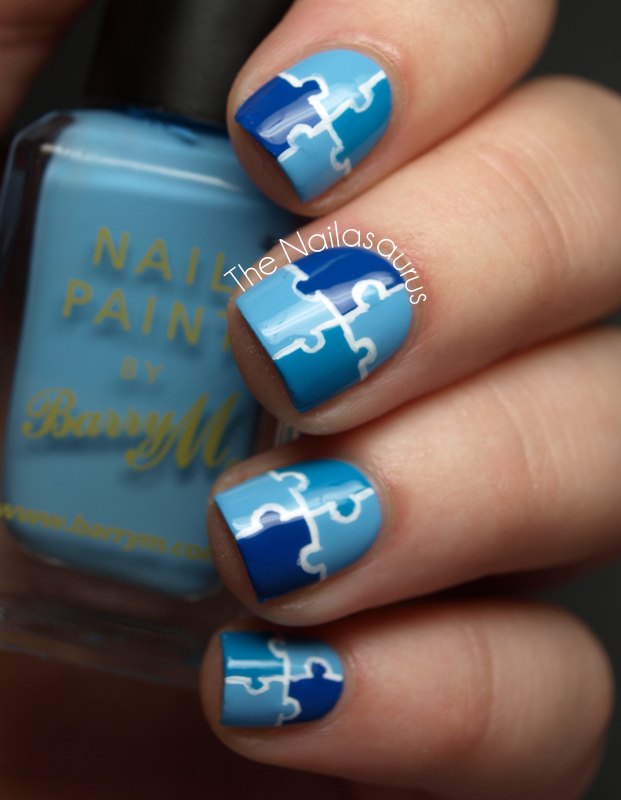
    This idea has been sitting on a post-it note for a while now. I actually have a wall covered in post-its with nail art ideas on, I just need to find the time to get through them! Blue is my favourite colour to wear on my nails and it’s been way too long since it graced my nails. Since I couldn’t decide exactly which shade I wanted to wear, this design was ideal.

    I used Barry M Blueberry Ice Cream for my base colour. Next, I freehanded on 2/4 of the puzzle shapes on each nail with No7 Poolside BlueSally Hansen Insta-Dri Brisk Blue, and a nail art brush.
    I outlined the shapes using the same small nail art brush with white acrylic paint.
    Finally, I topped it with two coats of Cult Nails Wicked Fast.

    TwitterBloglovin’Tumblr

    Share:
    Gradient, Uncategorised

    Go On… Have Another!

    I’m back to the gradients! The Gradient Tutorial I posted about a month ago has really blown up and I really want to thank everyone who shared it on their blogs/twitter/pinterest/wherever! 
    I used to really hate making tutorials but the amazing response to that one has made me change my mind. They always seemed so much hassle to create but now I’ve found a ‘tutorial creating’ style that works for me, hopefully they’ll become less of a chore and become way more fun for me to write and you to read!
    It’s not your eyes playing tricks on you, this manicure does look very pink toned even though the polishes are definitely purples (and the names prove it!). I must have got the white balance wrong on my camera, whoopsy!
    Purple Gradient Nals by The Nailasaurus

    Purple Gradient Nals by The Nailasaurus
    I used No7 Lucky Lilac as a base coat and Barry M Bright Purple as the second colour in the gradient following this tutorial.

    Purple Gradient Nals by The Nailasaurus

    TwitterBloglovin’Tumblr

    Share:
    Studs, Uncategorised

    Stud Up! Day 2: Cut Me Up

    I did this mani three times before I was happy with it today! It started with the vertical line idea but that was boring and too similar to yesterday. Second time round I added some stripes but that wasn’t working for me so I decided on a split colour which works quite nicely.
    I used No7 Stand Back as the base colour. Using a striper brush, I painted on Cult Nails Time Traveler on one side of each nail. Then while those were still tacky, I added on the studs using a toothpick dipped in clear polish to make it tacky.

    TwitterBloglovin’Tumblr

    Share: