Follow:
Browsing Tag:

Green

    Glitter, Swatch, Uncategorised

    Black Cat Lacquer: Welcome to Portlandia Swatches

    Today I have Black Cat Lacquer‘s Welcome To Portlandia collection* for your eyeballs. I have to admit, when I first saw these polishes in the bottles I wasn’t completely sold but as soon as they were on my nails I completely changed my mind about every single one. Aside from the black and white glitter, they each bring something totally new to my stash – I’ve never seen anything else like them.
    If you fancy getting these on your hands, you can buy from Black Cat Lacquer‘s website or their Etsy Shop. They ship internationally plus you can get 20% off with discount code NAILASAURUS20 on their dot com and Etsy!

    This is two coats of Put A Bird on It over Nails Inc All Saints Row. It’s a selection of lightly coloured matte glitter in a shimmery, slightly white base.

    Sanitation Twins is a real jumble of colours and glitters. Too many to list here! It gives great, even coverage and I used two coats over NYC Lavender Cupcake and Barry M Greenberry on the accent.

    The Dream of the 90s is Alive looks like it has a grey shimmer base but I used two coats over this dark colour, Nails Inc Belgrave Place, and all I saw was a bit of shimmer. I suspect it would be a different story over lighter colours.


    I think We Can Pickle That is my favourite from the collection. The base is a mint shimmer and the combination of glitter is just perfect. I can see pink, black and a few shades of green and blue in squares and hexes. I used two coats over Essie Navigate Her.

    Finally, we have Women and Women First which is a black and white glitter in a clear shimmery base. There’s a mix of hexes, squares and bar glitter. Here you see two coats over Barry M Dragon.

    TwitterBloglovin’Tumblr

    Share:
    Uncategorised

    Stripe Me Down

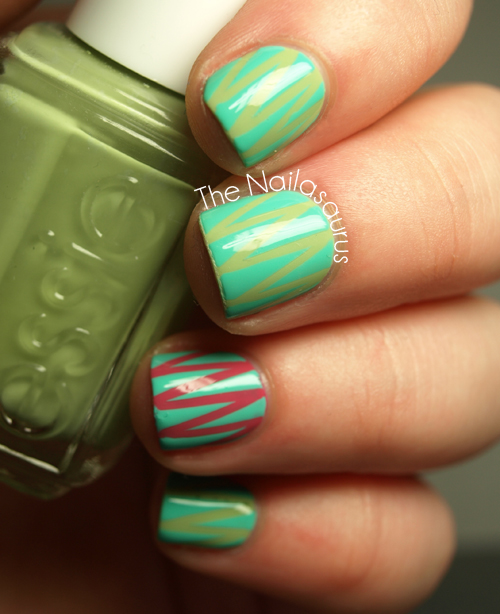
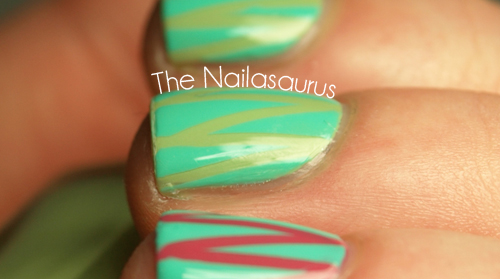
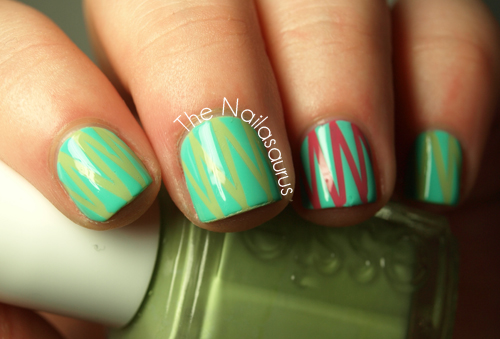
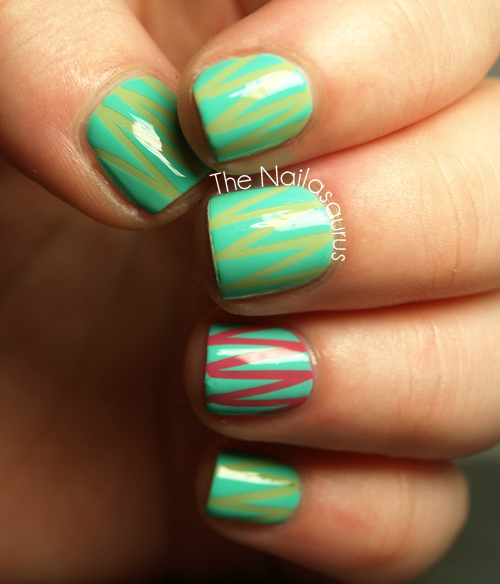
    I am getting completely obsessed with striping tape manis. The possibilities are just endless and I find myself reaching for the rolls again and again recently. In hindsight, this was too subtle of a colour combo to pick for photographing under a bright light. The contrast was much more visible in real life but hopefully you can see it well enough in the pictures.

    I used China Glaze Passion for Petals as the base colour on my ring finger and Essie Navigate Her on the rest. I used one coat of Seche Vite and waited 15 minutes before applying striping tape first in lines straight from cuticle to tip, then diagonally between those lines using a pair of pointy tweezers.
    Next I painted on one thick coat of Barry M Greenberry one nail at a time and removed the tape while that was still wet. I topped it all off with one coat of Seche Vite.

    TwitterBloglovin’Tumblr

    Share:
    Studs, Uncategorised

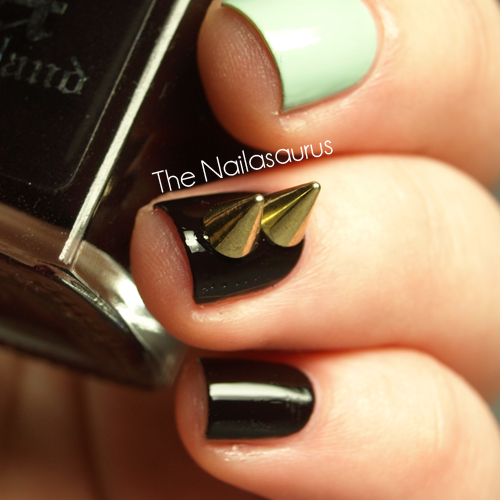
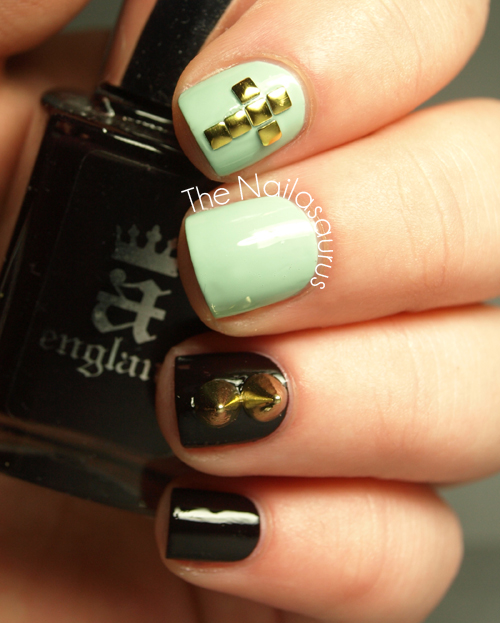
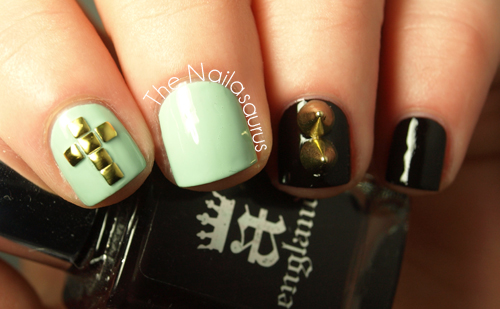
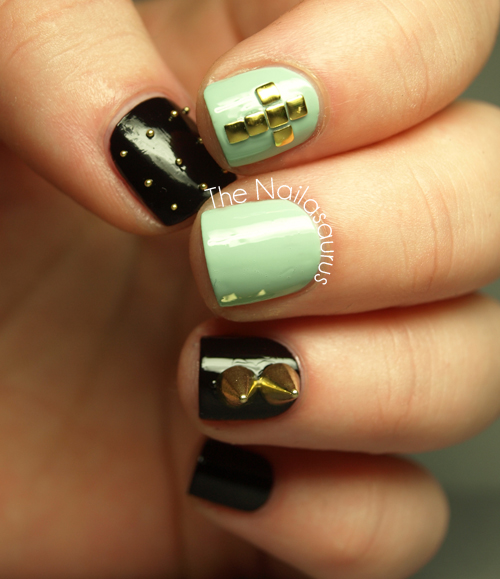
    Born Pretty Spikes

    We all know that I have a penchant for studs. Whether it’s clothes, nails or shoes – if it’s got studs on, I’ll be there drooling all over it. The next logical step is spikes and Born Pretty have started stocking nail sized ones! They’re available in gold and silver and come in packs of 10 for $0.99 or 100 for £7.99.
    I used clear nail polish to attach these to my nail. I just used a nail art brush to dab a spot on where I wanted them and stuck them on. I tried using tweezers but with all those smooth, glossy, rounded surfaces there was no hope of getting a good hold so I just used my fingers.

    My base colours are A-England Lancelot and Sally Hansen Green Tea. I top coated it all with a coat of Sally Hansen Insta Dri before quickly applying Born Pretty’s 2mm square studs to create the little cross on my index finger. The spikes* are also from Born Pretty here.

    TwitterBloglovin’Tumblr

    Share:
    Gradient, Swatch, Uncategorised

    New Summer Barry M Gelly Swatches and Gradients!

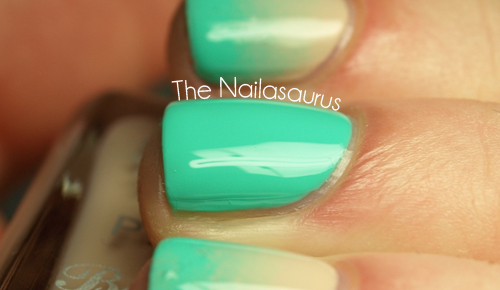
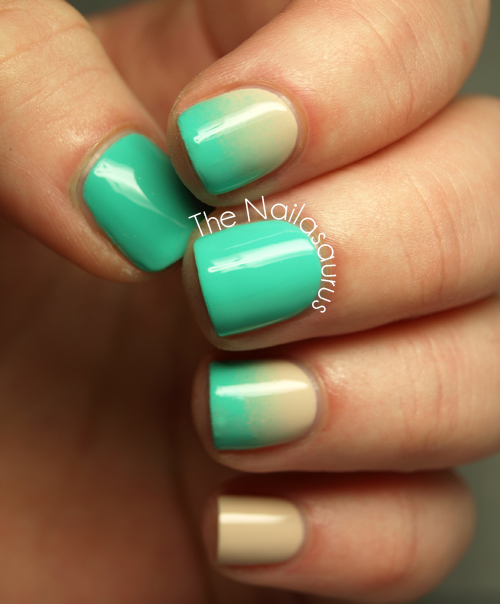
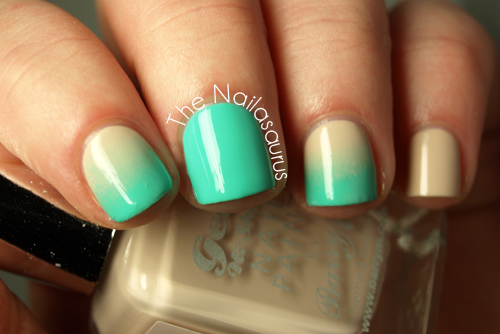
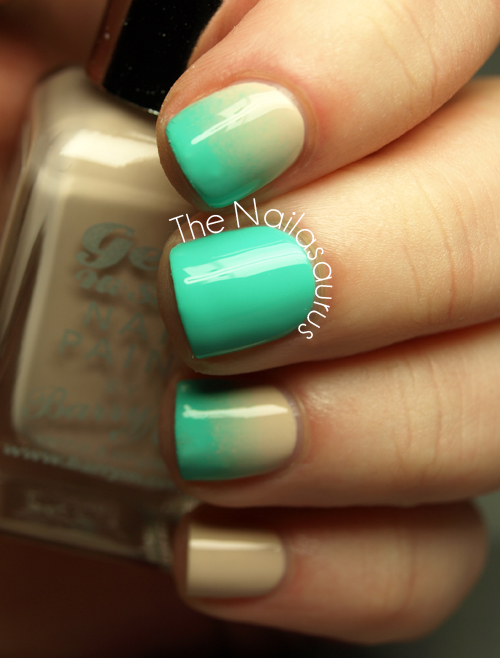
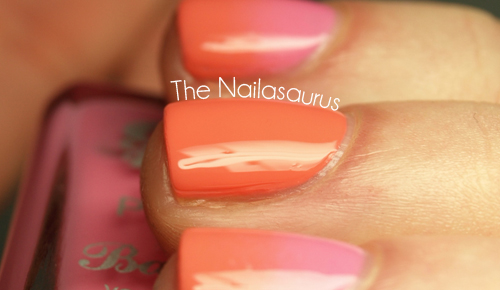
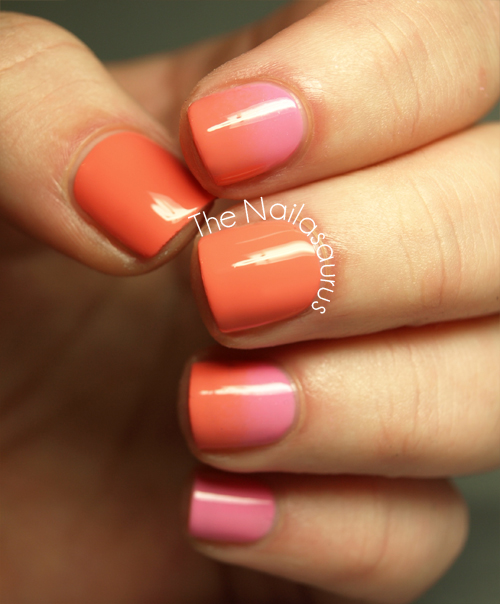
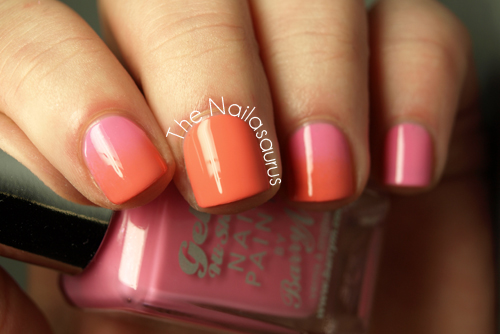
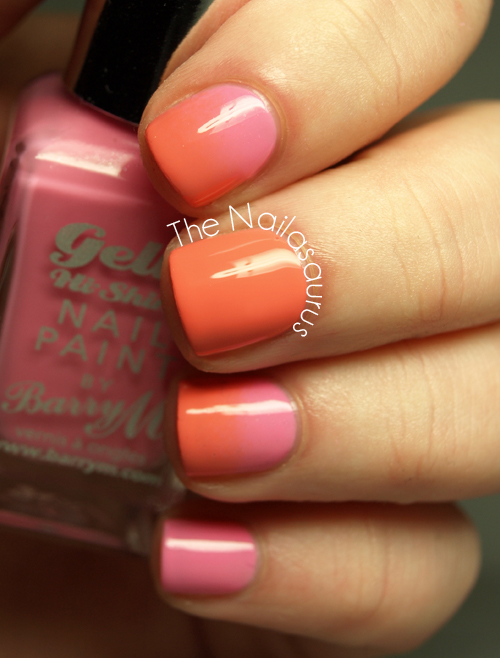
    I’ve got some more Barry M Swatches to show you today, these are the new additions to the Gelly line. There are four new shades, all nice and bright for summer. Instead of just more boring old swatches, I thought I’d show you these in some gradients. I’ve found the Gellies work really well for blending in to gradients and when I saw these, I knew they’d make for some great colour combos. There’s a tutorial for the gradient look here.

    Greenberry (Green) and Lychee (Nude)

    Both of these shades apply perfectly in two coats. Lychee is a nude shade at the cool end of the spectrum which the Barry M range has been needing for a long time. It’s a really gorgeous creamy colour which will look amazing next to a sun tan.
    I really love Greenberry too. I think my pictures are quite accurate colour-wise but it’s so hard to describe it in words! I just really like it!
    This mani is topped with a coat of Seche Vite but the polishes are really shiny on their own.

    Papaya (Orange) and Dragon (Pink)

    How amazing is this colour combination? These two were just made for each other!
    Papaya is a creamy coral which probably ties with Greenberry as my favourites of the selection. It’s a two coater. I don’t have too much else to say about this one either, I’ll let the pictures do the talking here!
    Dragon has a very subtle shimmer which is barely there but adds a touch of sparkle to what would otherwise be just another pink polish. It needs three thin coats to be opaque but you’d get away with two thick ones. I should also mention here that they all dry really quickly!
    Again, this one’s topped with a coat of Seche Vite.

    These polishes will be available in Superdrug on February 13th and Boots on February 20th.
    They’ll also be for sale at BarryM.com from February 13th.

    Are you getting excited for all the summer shades that are hitting shelves this month? I like the cheerful colours but it just makes me more sad that it’s not summer quite yet!

    TwitterBloglovin’Tumblr

    Share:
    Glitter, Uncategorised

    ‘Simplicity is the ultimate sophistication’

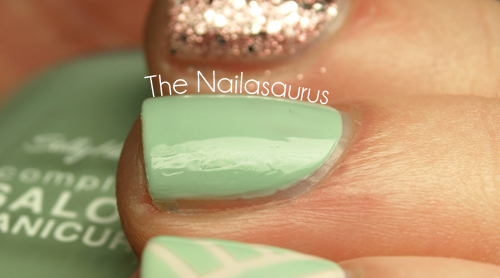
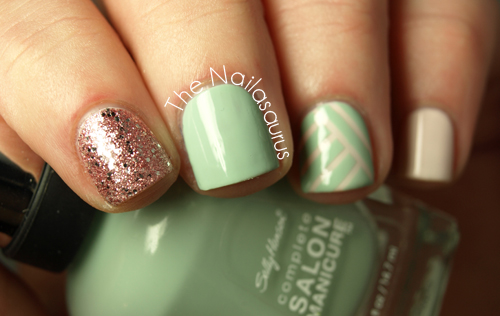
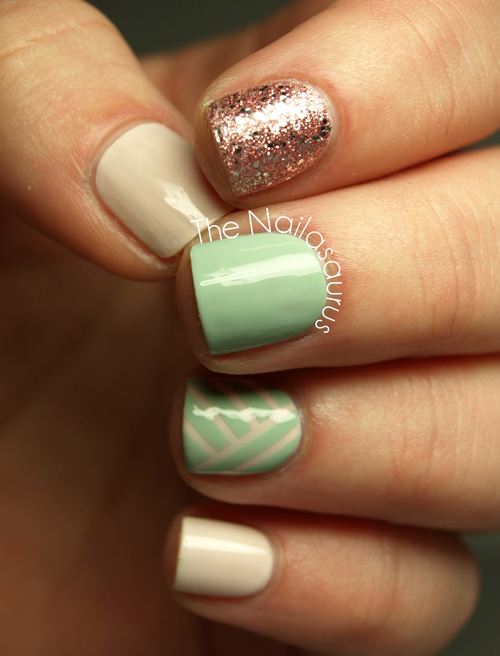
    I felt like wearing a simple, clean springtime manicure today but I wanted to mix things up with a colour combination I haven’t tried before – Green and Pink. The great thing about pastels is you can mix absolutely any colours, even ones that would normally hurt your eyes. Can you imagine a combination of bottle green and hot pink? I can and it’s not an image I want to hold on to… but make them both pastels and it looks so freakin’ pretty!

    I used Sally Hansen Crinoline as my base colour with Green Tea just on my middle finger. I added three thin coats of Sally Hansen Gem Crush Razzle Dazzler* to my ring finger to add some sophisticated sparkle. For the criss cross on my ring finger, I made sure the pink base was completely dry before applying small strips of striping tape using nail art tweezers. Then I painted on one thick coat of Green Tea and peeled off the tape while that was still wet.
    Finally, I topped everything with two coats of Seche Vite for a glassy finish.

    TwitterBloglovin’Tumblr

    Share:
    Glitter, Uncategorised

    Confessing My Love

    I love Sally Hansen. It’s true. I only realised it today, but there’s no denying it!
    Recently I’ve been finding a lot of Sally Hansen Complete Manicure polishes in Poundland. Yeah, you read that right. That shop where everything is just £1 – it’s the equivalent of a dollar store in the US. Anyways, there are normally only a few good colours on the shelves at any one time so I’ve picked up one or two at a time and now have a total of six bottles and I think it’s my new favourite line of polish.
    Today I found two new colours – Fairy Teal, which I first fell in love with years ago when I saw it on a blog that I unfortunately can’t remember the name of anymore, and Green Tea which is the perfect mint creme that I’ve been searching for all these years. Ladies, if you’re in the UK, you need to go to Poundland. Now. Like, yesterday!
    In order to fully express my love for this brand, however fleeting it may be, today’s mani was created with nothing but SH polishes.

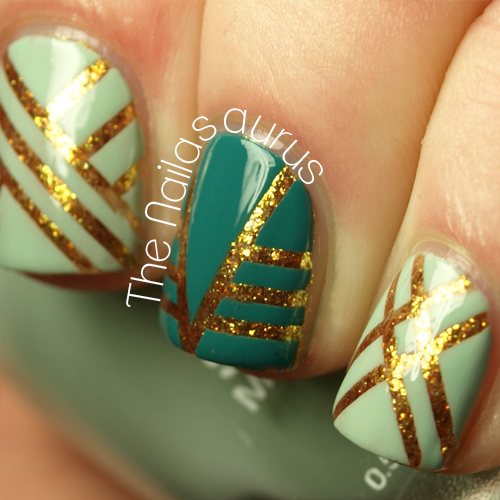
    I used Sally Hansen’s Green Tea and Bamboo Base Coat. Then I applied two coats of Gilded Lily* as my base colour and applied one coat of Insta-Dri*.
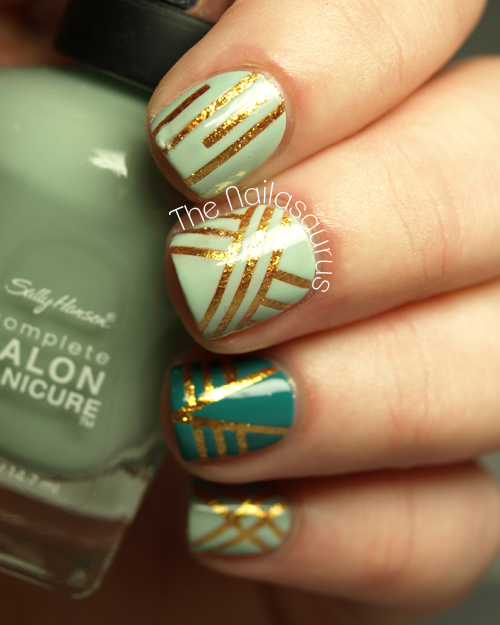
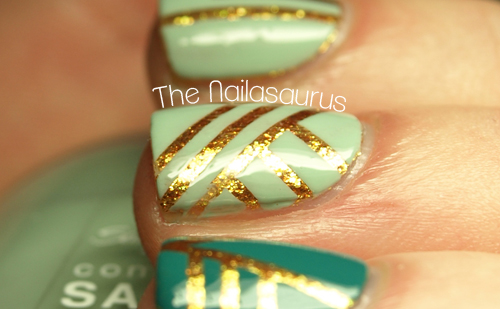
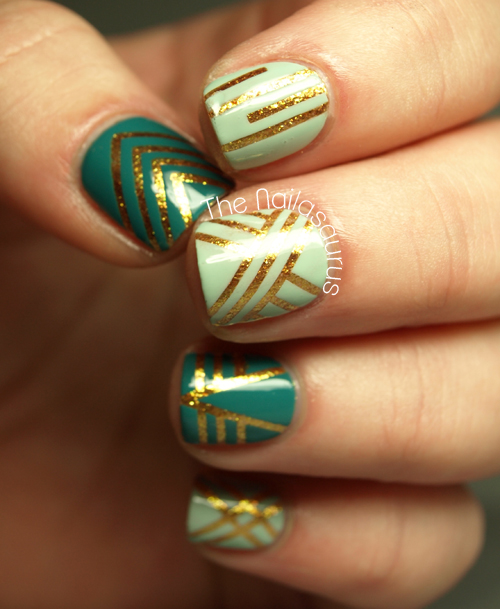
    Next, one nail at a time, I placed small strips of striping tape where I wanted to keep the golden base coat visible. I did this using some nail art tweezers – it’s way too fiddly to do it precisely using just your fingers. I applied Green Tea and Fairy Teal over the striping tape and peeled off the strips while the polish was still wet. Finally, I topped it off with two coats of Insta-Dri, which I would definitely rate highly as a fast drying top coat.

    TwitterBloglovin’Tumblr

    Share:
    31 Day Challenge, Uncategorised

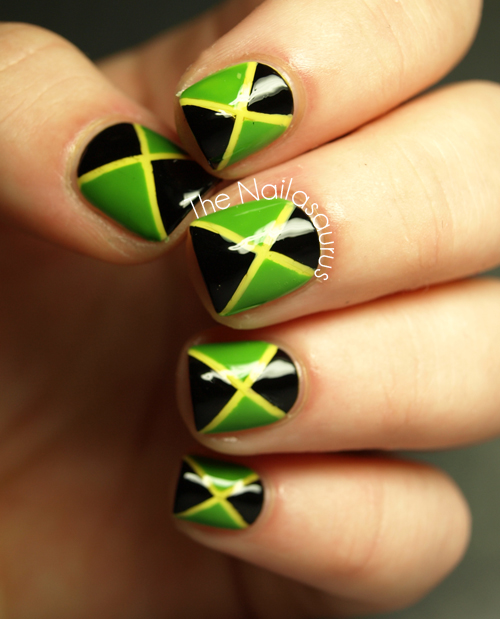
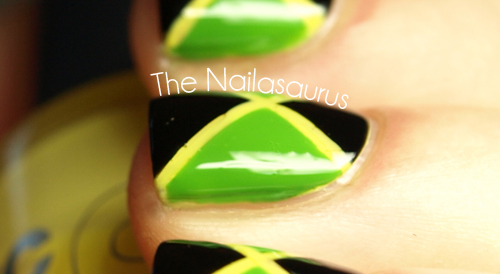
    31DC2012 Day 28: Inspired by a Flag… Jamaica

    My weekends used to be a chance to relax and unwind and get a bit of blogging done but recently they’ve become so hectic. I’ve just found 10 minutes in the middle of all the hustle and bustle before I set off to Birmingham for The Black Keys’ gig tonight. I am excite!
    Today’s challenge prompt is Inspired by a Flag and I picked Jamaica’s. Rie has had to postpone her challenge but Cris has her flag nail art waiting for you here

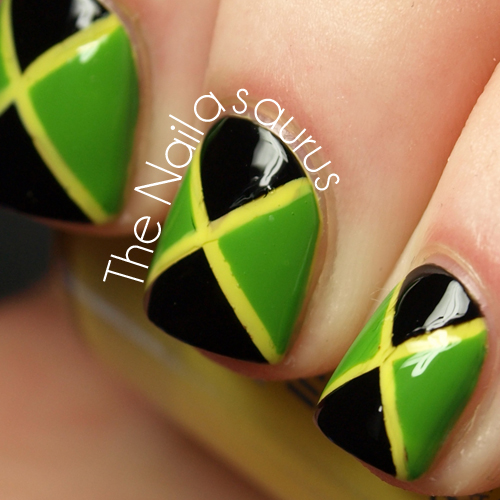
    I started with one coat of Barry M White and then 2 coats of NYC Lexington Yellow before adding one top coat of Seche Vite to make it dry ready for… striping tape which I placed on the nail in a cross to mark off where the yellow lines would stay. 
    I used W7 Black and NYC High Line Green* with a nail art brush to paint on the triangle sections, being careful not to overlap the striping tape too much. 
    Next I peeled of the striping tape and used a bit of the NYC Lexington Yellow with a striper brush to neaten up any of the bit where the dark colours had crept under the tape.
    Finally, I used two coats of NYC In a New York Minute to top it all off.

    TwitterBloglovin’Tumblr

    Share: