Follow:
Browsing Tag:

Green

    Glitter, Nail Art, Stamping, Uncategorised

    Raindrops on Roses

    Pastel on pastel is never going to look bad but it’s so hard to find pastel shades that are pigmented enough to use with stamping. I mentioned in my post about piCture pOlish’s Urban Shades collection (see that here) that I thought Chillax would work well for stamping and I’m so glad that it does. While it is admittedly on the bright side for a pastel, I think it can pass as it does look a little more muted with the stamps!
    I used Barry M Rose Hip as my base colour here. On the accent nails, I used Claire’s Shiver which is a glitter in a shimmery clear base with white and pastel green hexes.
    For the stamping, I used piCture pOlish Chillax.
    The designs are from MoYou’s Fairytale Collection Plate 02 and Pro Collection Plate 07 (which isn’t on the website anymore, but the same rose pattern is on XL Plate 07). To get 20% off your first order at moyou.co.uk, log in to your account and use the code SAMMY20.
    It’s all topped with a coat of Glisten & Glow HK Girl.
    Share:
    Freehand, Nail Art, Uncategorised

    piCture pOlish Urban Shades Nail Art

    piCture pOlish Urban Shades Swatches and Nail Art | The Nailasaurus
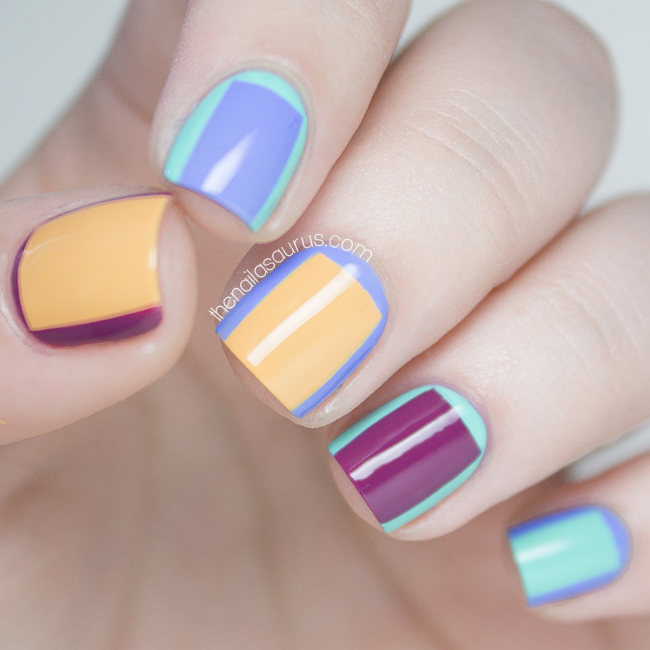
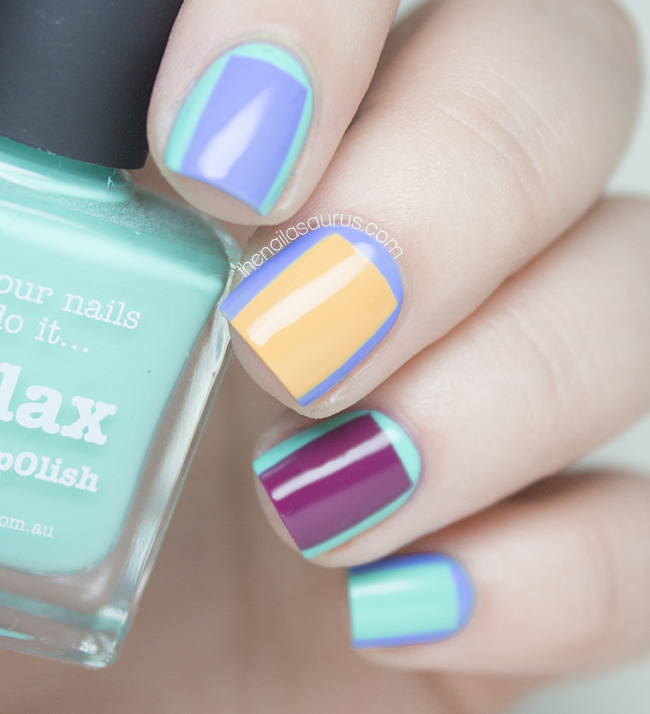
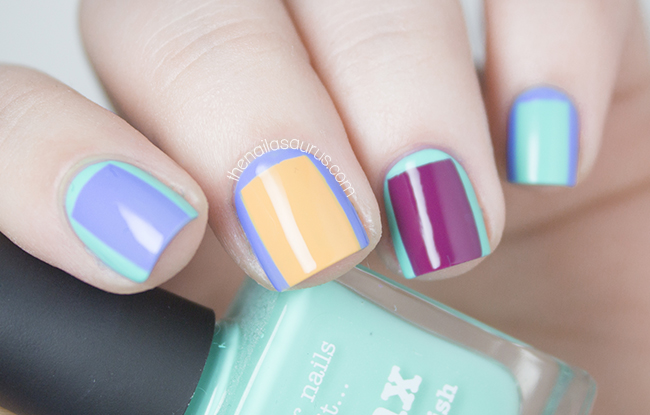
    For piCture pOlish’s Urban Shades collection, I wanted to create some nail art that was suitably urban and edgy and I came up with this geometric design. Get it? Because it has lots of edges. Sorry.
    It took me a while to warm to these shades but now that we’ve transitioned right in to summer, I really love them. I used 3 thin coats of Totes (sunny orange) to smooth it out because I thought it looked a little streaky with just two. Chillax (bright minty green), Swagger (blue) and Bonkers (pink) were all perfect with just two thin coats. They’re all pigmented enough to use in freehand nail art, but I haven’t had a chance to try them with stamping yet. I think Chillax will actually be the best for stamping as it is so pigmented which is rare in a minty shade like that.
    The base colours for this mani are the ones in the middle of the nail and I freehanded on the borders afterwards using nail art brush. See how each shade works over the other shades with just a thin coat and no clumpiness? I love it!

    Where to buy piCture pOlish Urban Shades…

    The Urban Shades collection is available from the Picture Polish website and their worldwide stockists
    piCture pOlish Urban Shades Swatches and Nail Art | The Nailasaurus
    piCture pOlish Urban Shades Swatches and Nail Art | The Nailasaurus
    piCture pOlish Urban Shades Swatches and Nail Art | The Nailasaurus
    piCture pOlish Urban Shades Swatches and Nail Art | The Nailasaurus
    Share:
    Freehand, Uncategorised

    Social Media Apps Nail Art

    Social Media has come so far in the last few years that it’s sometimes hard to keep up. The last time I did some social media nails was almost two years ago and I thought it was time for a little update so today I’ve gone all mobile with some social app nail art!
    These are my favourite social apps at the moment – the ones that I use the most and kind of rely on to stay in touch with friends! We’ve got Facebook Messenger, Instagram, WhatsApp, Snapchat and Vine. Admittedly I’m not very active on Vine myself but I just can’t get enough of those 6 second clips! I am however on Snapchat as thenailasaurus if anyone wants to see what happens behind the scenes here!

    Are there any apps I’m missing? Which apps do you use most to keep in touch with friends and relatives?

    Here are the polishes I used for the base colours…
    FB Messenger: Barry M Malibu
    Instagram: Barry M Caramel and Essie Glamour Purse
    WhatsApp: Sally Hansen Grass Slipper
    Snapchat: Gradient Using Tiger 56 (a very light pastel yellow) and NYC Lexington Yellow. There’s a gradient tutorial here.
    Vine: Barry M Kiwi
    All of the white detailing was done using the polish from the Sweet Color White Liner but I used a separate nail art brush, not the one in the bottle.
    Share:
    Uncategorised

    Introducing #guiltfreeze with yoomoo x Nails Inc.

    Pink Water Marble Nail Art | The Nailasaurus | UK Nail Art Blog

    This summer, yoomoo have teamed up with Nails Inc. to bring us #guiltfreeze, a nail art competition with prizes up for grabs every week. Nails Inc. are bringing the nail art and yoomoo will be providing the mouthwatering snacks! To keep up with the competition and tutorials, make sure you like yoomoo on Facebook or subscribe to their YouTube channel.

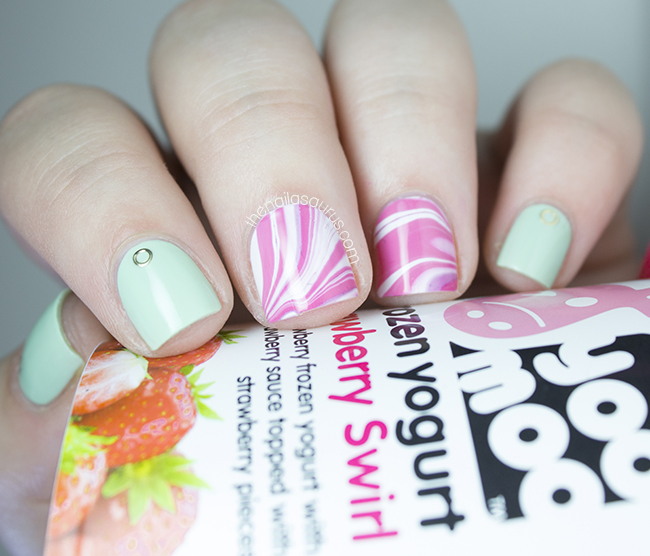
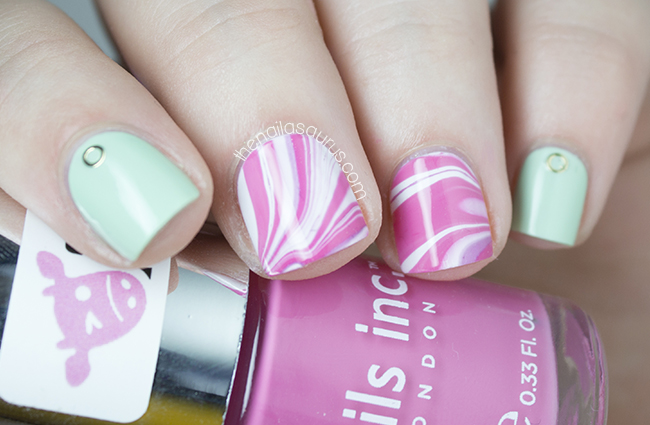
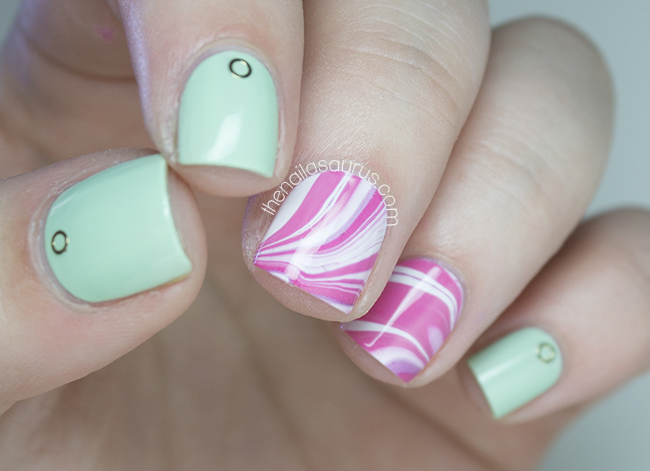
    The first tutorial in the series is Water Marbling so that’s what I’m trying my hand at today. In the past I haven’t had the best luck with marbling – it’s definitely one that comes with practice but I truly nailed today’s attempt. I got both nails done on the first attempt and managed not to ruin them before they were dry. Success!

    How to enter #guiltfreeze

    1. Visit yoomoo on Facebook to get your money off voucher here
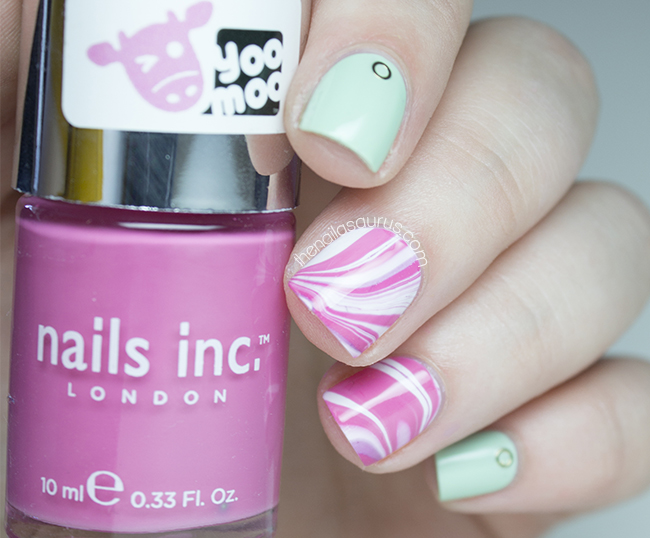
    2. Snap a picture of your yoomoo inspired nail art with your pot of yoomoo in hand (just like my picture above)
    3. Post your picture to Instagram with the hashtag #guiltfreeze to win on-the-spot prizes
    Pink Water Marble Nail Art | The Nailasaurus | UK Nail Art Blog
    For my take on Nails Inc.’s water marble, I used Barry M White as my base colour and created the marble using Barry M WhiteDifferent Dimension Lucky and Nails Inc. Udderly Shocking Pink. If you want to get your hands on your own bottle of Udderly Shocking Pink, make sure you enter your nail art on Instagram for a chance to win!
    I also used Revlon Minted with some circle decals from Born Pretty Store (#123).
    It’s all topped off with a coat of Glisten & Glow HK Girl.
    Pink Water Marble Nail Art | The Nailasaurus | UK Nail Art Blog
    Pink Water Marble Nail Art | The Nailasaurus | UK Nail Art Blog
    Share:
    Uncategorised, Waterfall

    Nailvengers Assemble: Untried Polishes

    Mint Green Waterfall Nail Art | Nailvengers | The Nailasaurus UK  Nail Art Blog

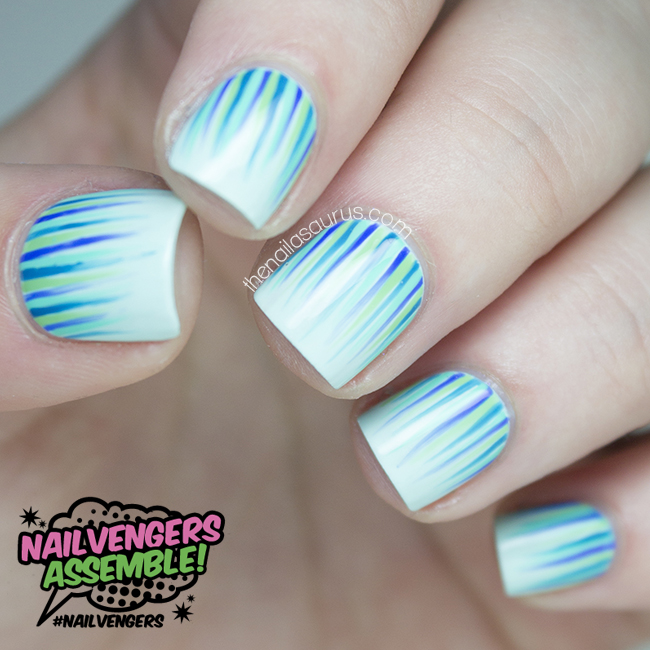
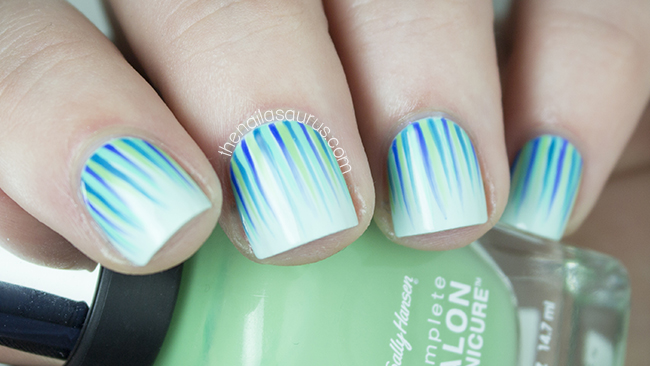
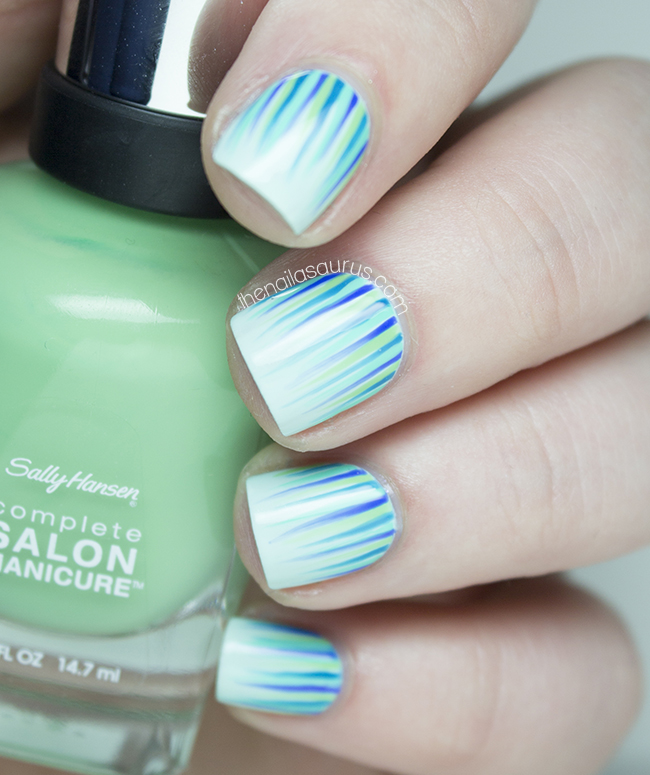
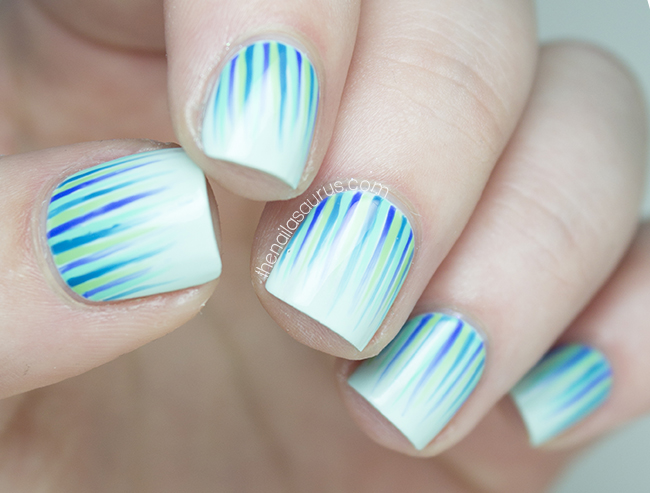
    This month’s mission is to use at least 3 untried polishes from our stash. I’m pretty good at using polishes soon after I buy them because I tend to purchase in small bundles of 3-4 polishes and get very excited to use them. I did find a few stragglers that were perfect for a mint themed waterfall manicure. It’s been a while since I dedicated a whole hand to the waterfall and I really love the colour theme in this one so I’m very happy about today’s post!

    Mint Green Waterfall Nail Art | Nailvengers | The Nailasaurus UK  Nail Art Blog
    The base colour on this one is Rimmel Breakfast in Bed
    I used Sally Hansen Mojito, Rimmel Britpop, NYC Hudson Breeze and piCture pOlish Chillax in the waterfall. There’s a waterfall tutorial here.
    It’s all topped off with one coat of HK Girl.

    Mint Green Waterfall Nail Art | Nailvengers | The Nailasaurus UK  Nail Art Blog

    Mint Green Waterfall Nail Art | Nailvengers | The Nailasaurus UK  Nail Art Blog

    Don’t forget to stop by the other ladies’ blogs to see what they dug out for the Untrieds challenge.

    Share:
    Stamping, Uncategorised

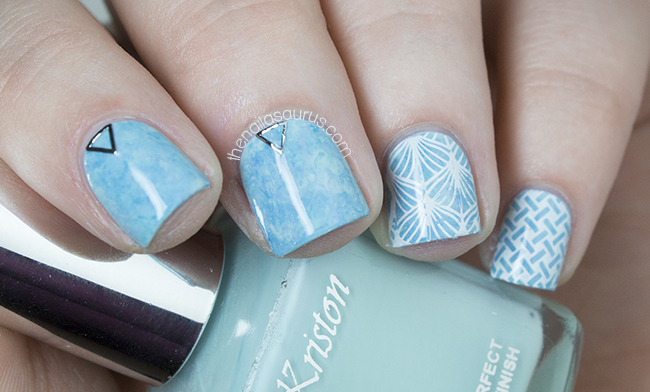
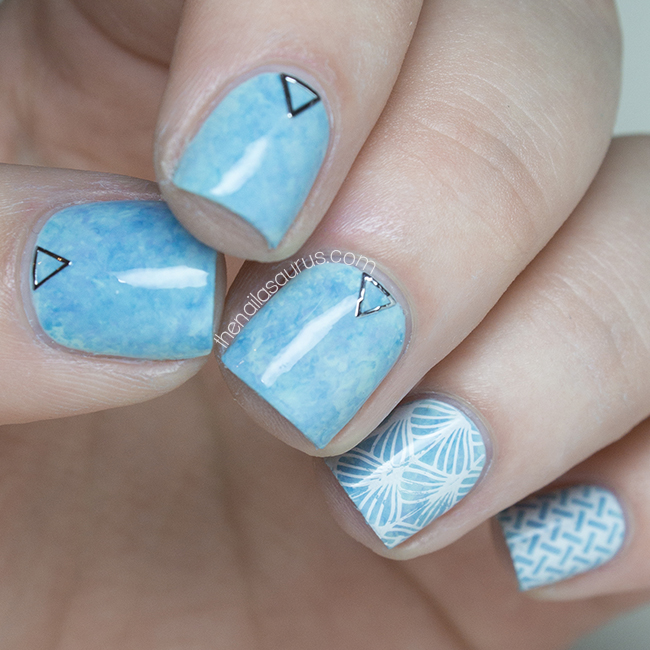
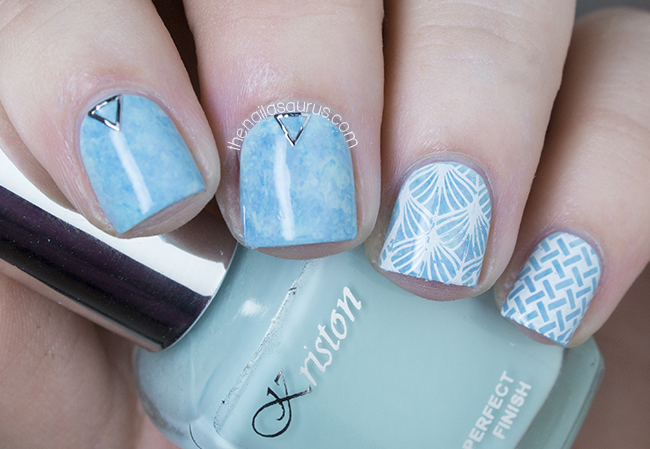
    Done is Better Than Perfect

    They say that ‘Done is Better Than Perfect’ and it’s a mantra that I’ve been trying to adopt recently. I’m a perfectionist to the core which can be a great thing but also means that I procrastinate whenever I doubt my ability to complete the task at hand to ‘perfection’. I have so many ideas scribbled down for this blog but because of that mind block, I’ve been putting them off for too long.

    This weekend, I told myself that enough is enough – my blog has become too formulaic, too predictable and it’s no fun for anyone! I want to start mixing things up and I think the best way to do that is to proclaim my intention to you guys. If I say it, I have to do it right? And I figure that the best way to do it is to push forward with a new set of ideas. Even if it’s not perfect, it’s better than nothing!
    I won’t be doing anything too drastic. There will still be a lot of my ‘regular’ posts like this one with some nail art and a bit of chat but I want to splice in some other types of posts too, like little extra treats to fill things out at least once a week!

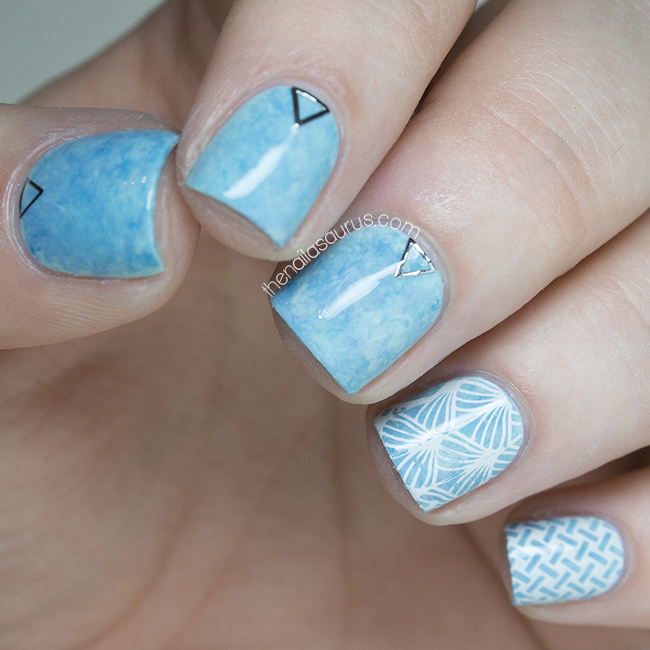
    I used Kriston 05 as my base colour as it’s a very light shade of mint.
    Using the Saran Wrap technique, I created the mottled effect with the Kriston shade, NYC Water Street Blue, NYC Blue Sky and Rimmel Aqua Cool.
    I added some of the Silver Triangle embellishments from She Sells Seashells. I gently curved them first using a pair of tweezers so they’d sit flush to my nail.
    The stamped designs are from MoYou Plate Fairytale Collection 06 and I used BK Matte White.
    It’s all topped off with a Color Club Top Coat.
    Share:
    Glitter, Uncategorised

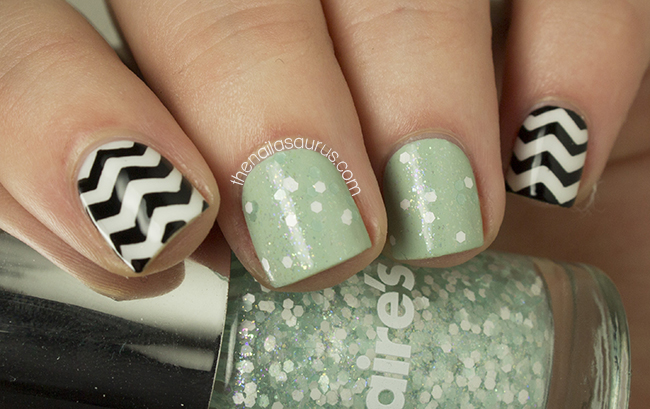
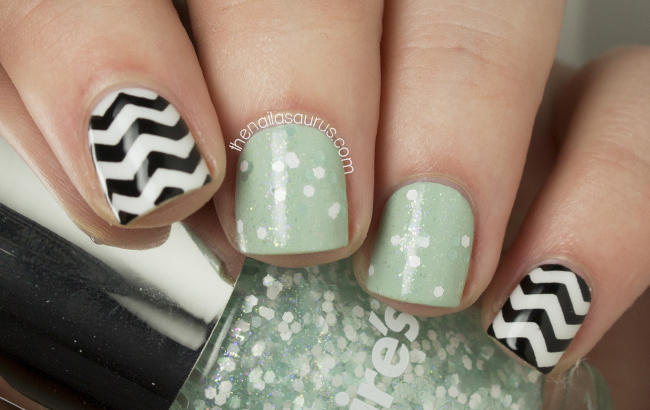
    Minty Glitter and Chevron Nail Art

    Whenever I pass a Claire’s Accessories, I can’t help but look in at the nail polishes ever since I found an amazing silver holographic glitter in there. Today I almost couldn’t believe my eyes when I was met with an amazing selection of indie-esque polishes on the shelf including some neon glitters. Considering that very few, if any, mainstream cosmetic brands in the UK have conquered the quirky glitter trend, I was pleasantly surprised to see these kind of polishes in Claire’s and I picked up three of them – a chunky neon mix, a blue neon glitter and this pastel green shimmery based glitter.
    These polishes run at £3.00 each and are now finally available to purchase online at claires.co.uk. I strongly suggest you take a look through the selection if you like drool-worthy glitter combinations and grab the silver holographic if you can!

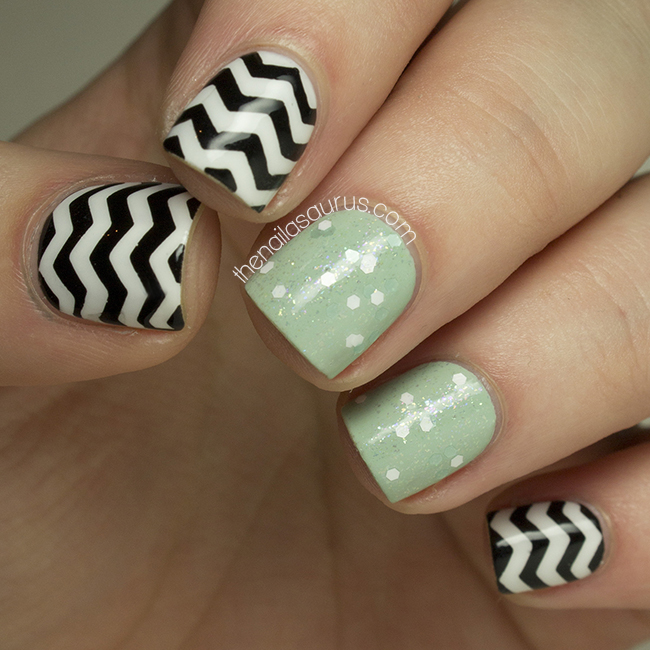
    For the glittery nails, I used Sally Hansen Green Tea as my base colour and then applied two coats of Claire’s Shiver.
    To create the chevrons, I laid down a base of Barry M White followed with a thin coat of Glisten and Glow HK Girl to make it dry quickly. Once that base was completely dry, I cut scotch tape in to thin chevron stripes using some craft scissors and applied them to my nails.
    I painted over it all using W7 Black one nail at a time and quickly removed the tape while the black polish was still wet.
    It’s all topped off with two coats of HK Girl to smooth everything over.
    Share: